

In this tutorial, we will see how to use the couple MDT (Microsoft Deployment Toolkit) and WDS (Windows Deployment Services) to deploy Windows images.
The pair WDS and MDT to deploy images by starting with the network (PXE) with WDS and MDT allows customization and automation pictures.
The objective of the tutorial is to use WDS to offer a PXE environment and deployment of Windows and MDT images for personalization.
Prerequisites
- Know the deployment on Windows Server.
- A server with the WDS role installed and configured
- A server with MDT / ADK with the WinPE environment installed not configured (can be installed with WDS).
- Windows ISO to deploy
In this tutorial, WDS and MDT are installed on the same server.
Add Windows image to WDS service
1. Mount the Windows ISO on the WDS server or decompress it with 7zip.
For the tutorial, I used Windows 7.
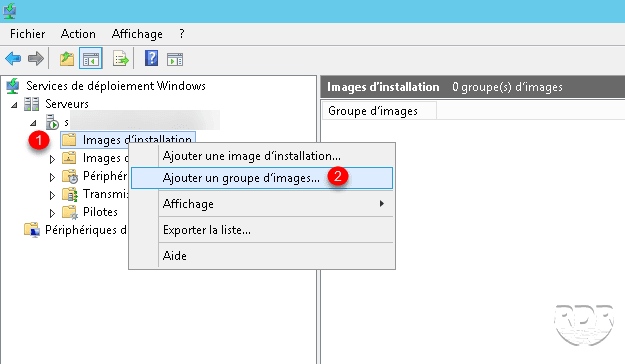
2. Open the WDS console, right click on Installation image 1 and Add an image group … 2.
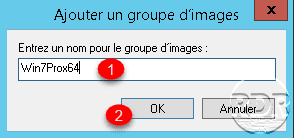
3. Enter a name for the group 1 and click OK 2.

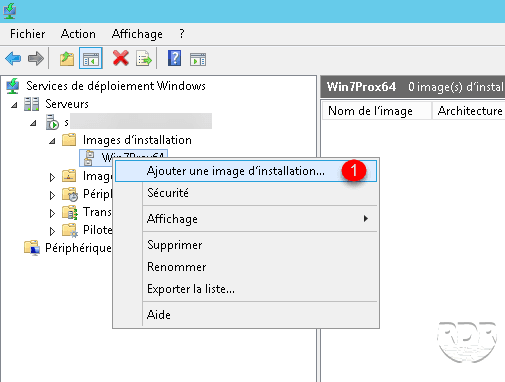
4. Right click on the group and click on Add installation image 1.
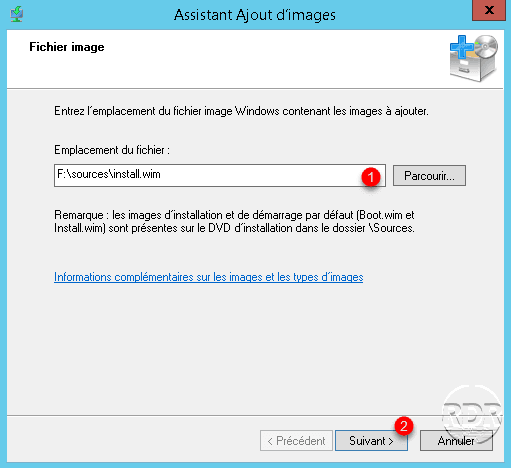
5. Enter the location of the install.wim 1 file located in the ISO source folder, click Next 2.
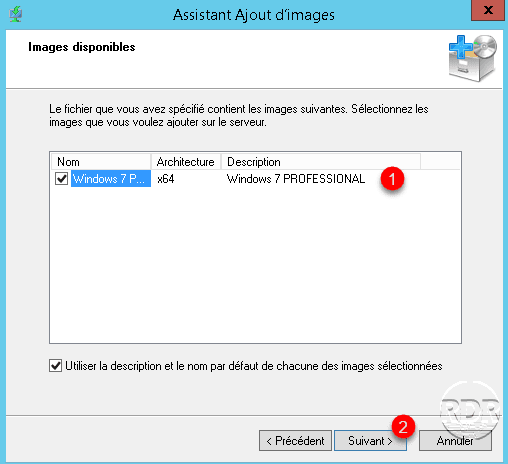
6. Select the Windows version to add 1 and click Next 2.
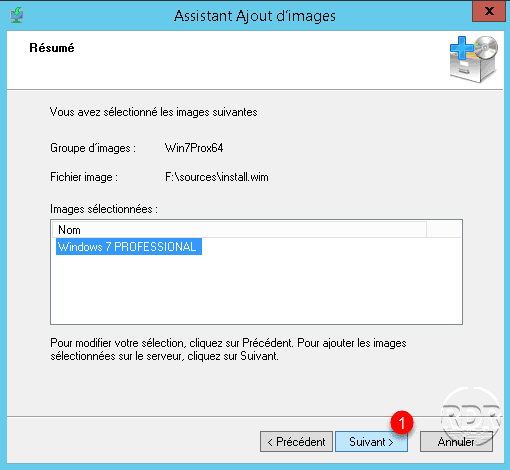
7. Confirm the addition by clicking Next 1.
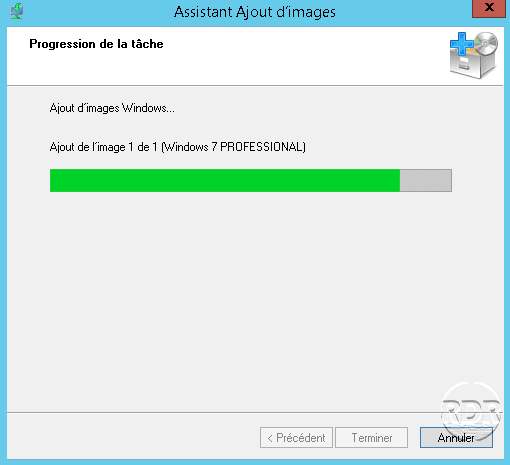
8. Wait while adding the image …
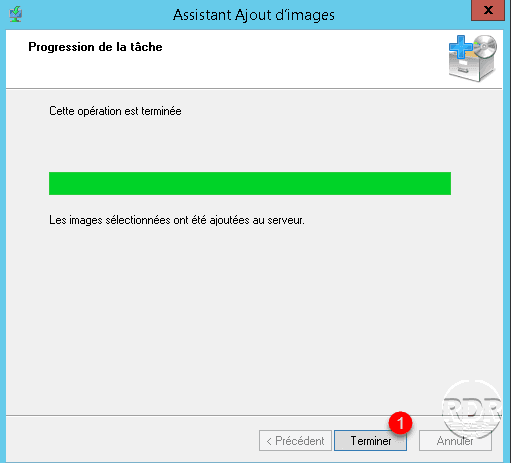
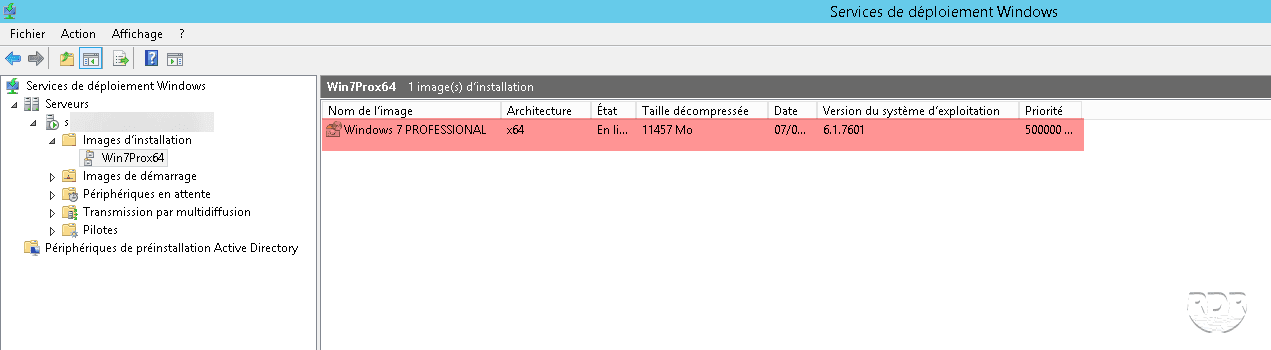
9. The image is added to the WDS server, click on Finish 1 to close the wizard.
10. The installation image is added to the group.
We will now go to the configuration of MDT.
Configuration of MDT
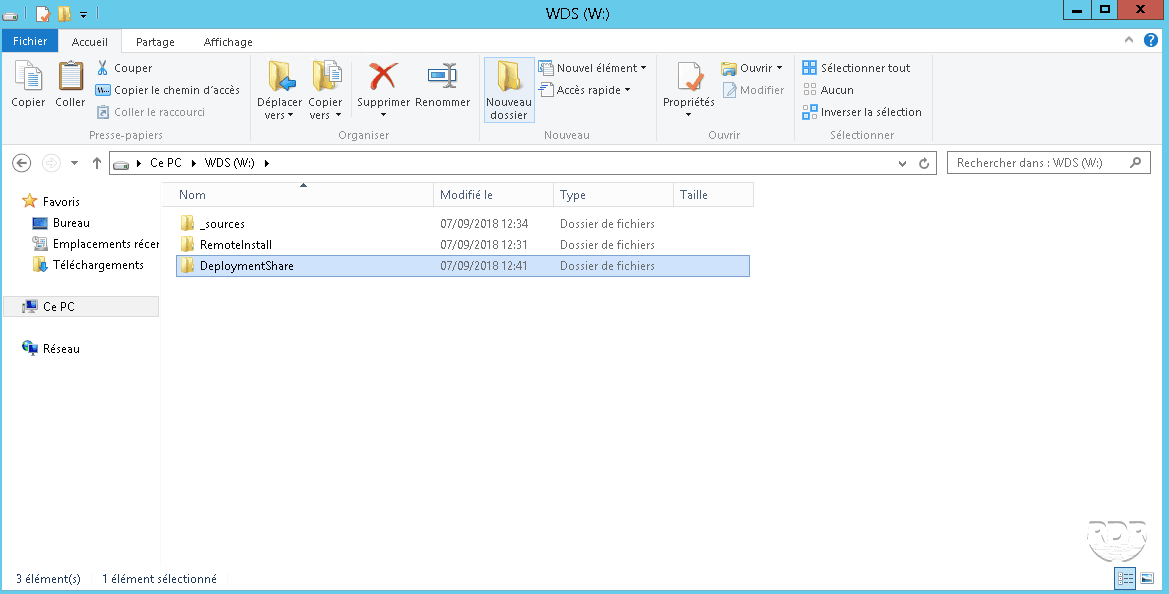
1. On the server where MDT is installed, create a folder (DeploymentShare) which will receive the folder structure and file necessary for proper functioning.
2. Open the MDT console.

3. Go to the Deployment Shares folder 1 and click on New Deployment Share 2 in the Actions section to launch the configuration wizard.
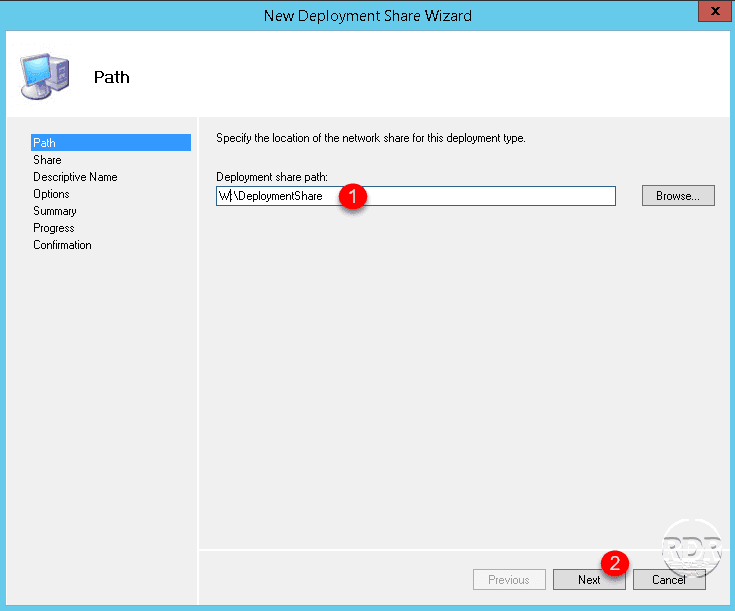
4. Indicate the path of the folder 1 to create in point 1 and click on Next 2.
5. If necessary, modify the name of the share 1 and click on Next 2.
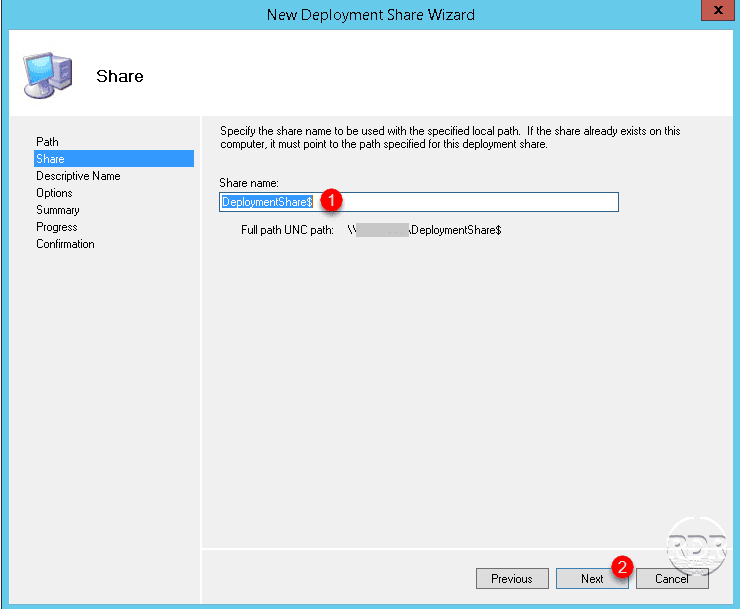
A $ is added at the end of the share name to hide it.
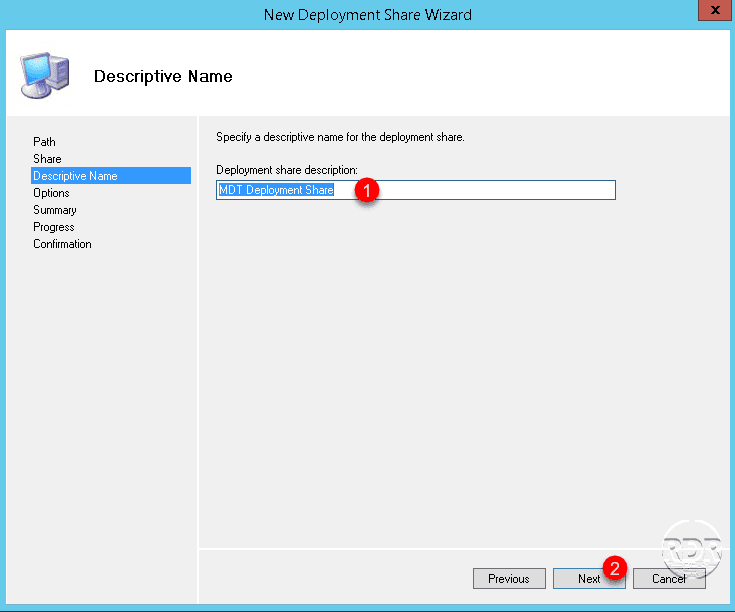
6. Change the description of the share if necessary 1 and click on Next 2.
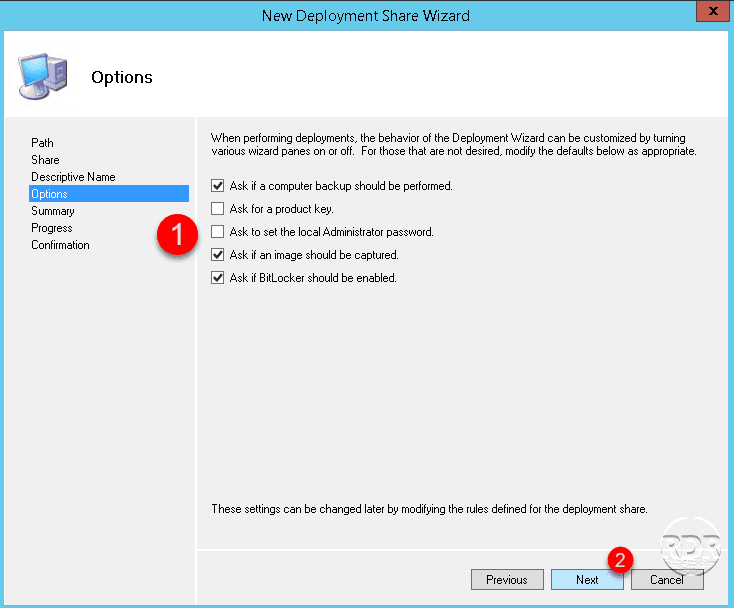
7. Select the default 1 options that will be configured in the task sequences, they can be modified later. Click on Next 2.
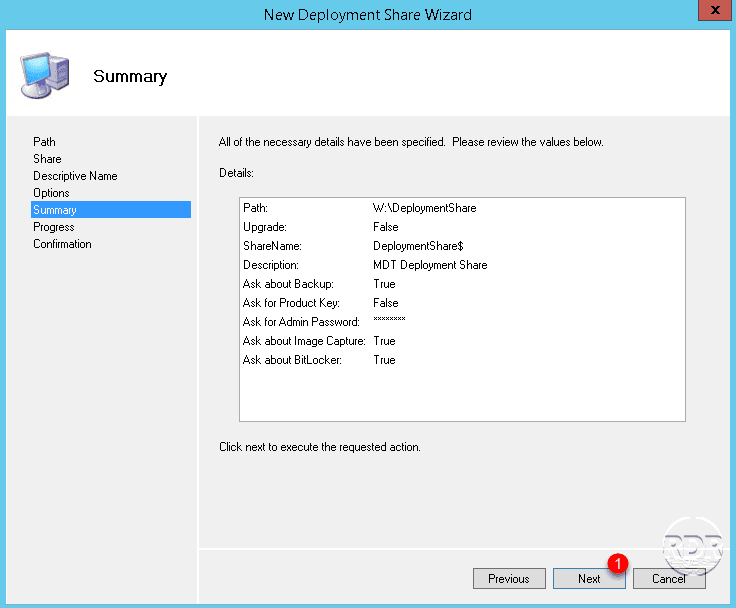
8. A summary of the configuration is displayed, click on Next 1 to validate and start the generation of the deployment space.
9. Wait during generation …
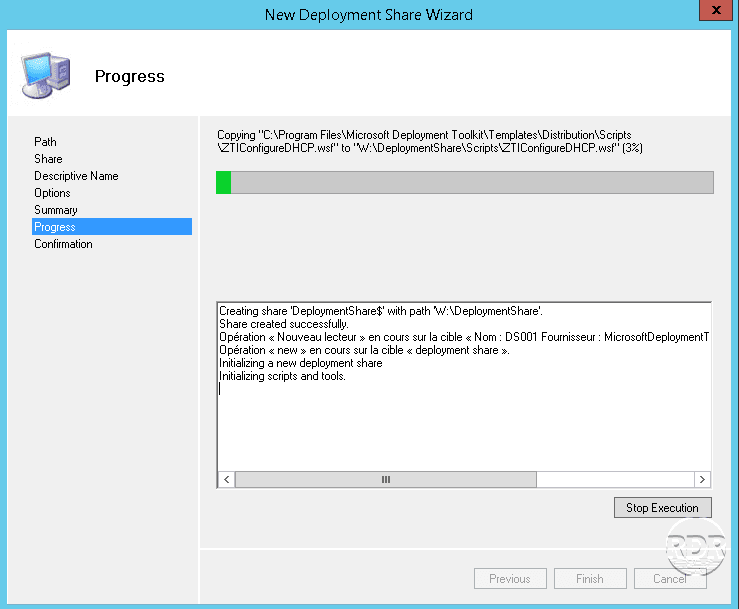
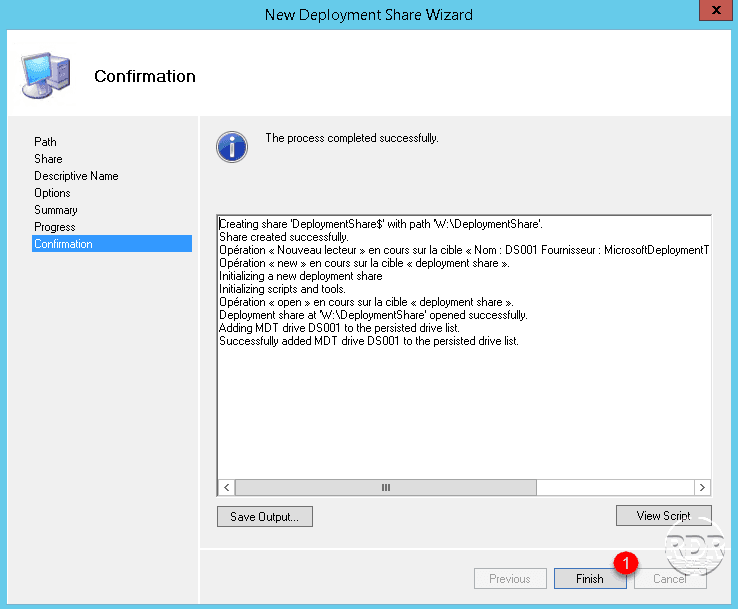
10. The deployment environment is generated, click on Finish to exit the wizard.
11. Overview of the MDT environment.
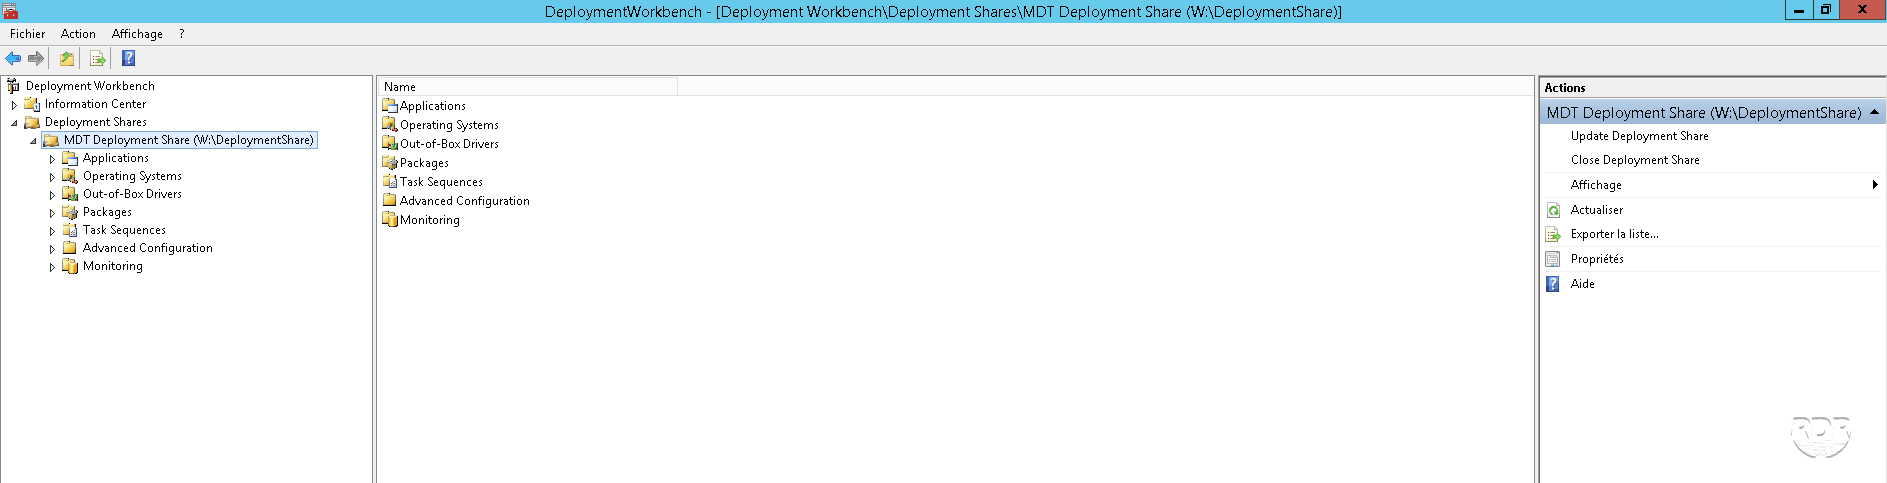
Now that the MDT environment is ready, let’s take a quick tour of the different files.
First steps with the MDT console
As you can see, several folders are available under the MDT Deployment Share environment.
Applications
It is in this folder that we will add the applications that we want to install when deploying an OS.
MDT does not allow automatic application deployment on already installed workstations. There is however a way to start making a task sequence to be able to manually install the proposed applications.
Operating Systems
This file will contain all the operating systems.
Out-of-Box Drivers
This is where you will need to store the drivers for the various stations.
Packages
This folder is similar to that of applications, it may contain Windows patches to install during deployment.
Task Sequences
Contains the list of task sequences. A sequence of tasks is a set of actions to be carried out during deployment
Advanced Configuration
This folder allows you to enter the advanced configuration of MDT
Monitoring
When this is activated, it is possible to follow the deployment of the stations in progress.
Now that we have toured the console, we will create the boot image, which will allow the installation of Windows.
Configuration and generation of the boot image”
When generating the boot image, it is available in two formats:
- ISO allows you to create a bootable key or put it directly on a VM.
- WIM can be integrated into WDS to start workstations on the network using the PXE boot.
Setting
Before generating the boot image, let’s take a quick tour of the available options.
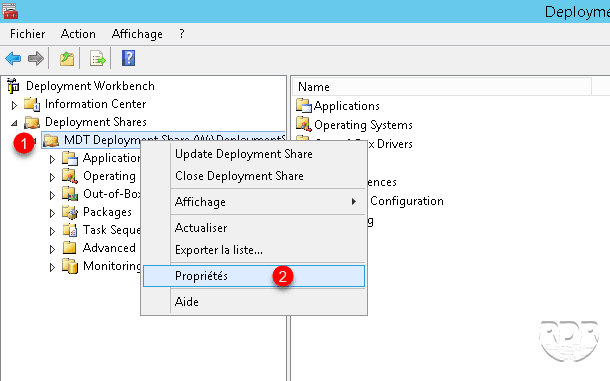
1. Right click on MDT DeploymentShare 1 and click on Properties 2.
2. The General tab allows you to modify the description and the local and UNC location of the folder. It is also possible to change the choice of x86 and x64 supported platforms.
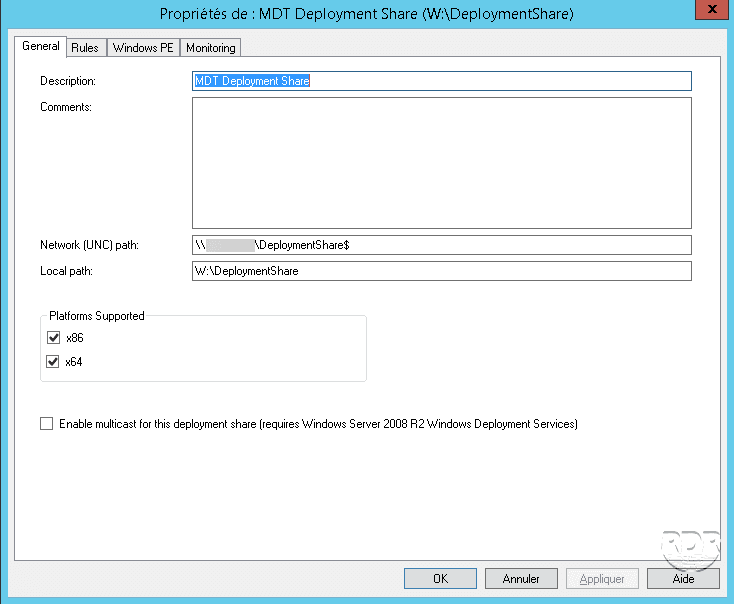
If the entire IT infrastructure supports x64 architecture, I advise you to deactivate x86. It is possible to deploy 32bit systems from an x64 boot image.
3. The Rules tab allows you to edit the CustomSettings.ini and Bootstrap.ini files which allow you to customize the behavior and windows of Windows PE.
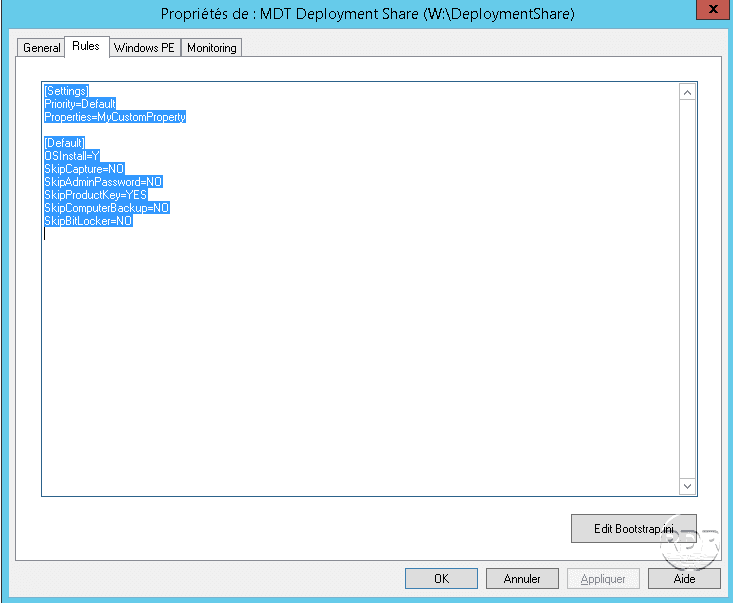
If changes are made to the Bootstrap.ini file, it is necessary to regenerate the boot images.
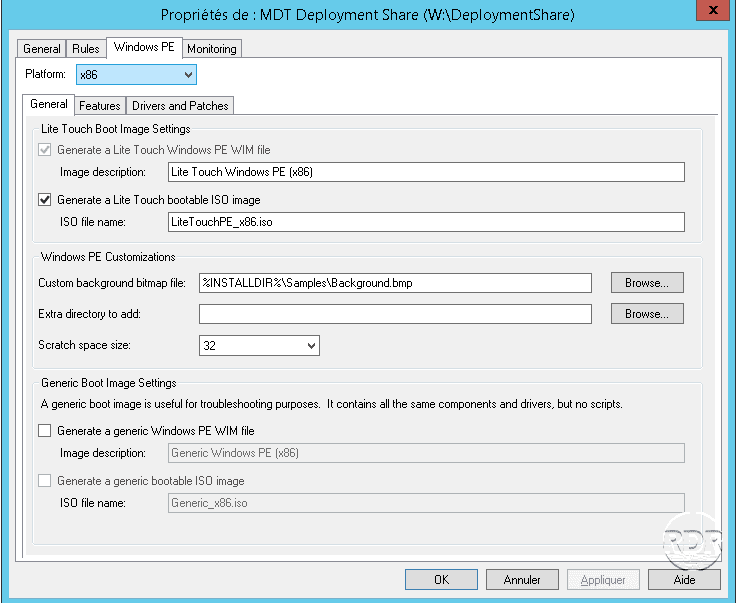
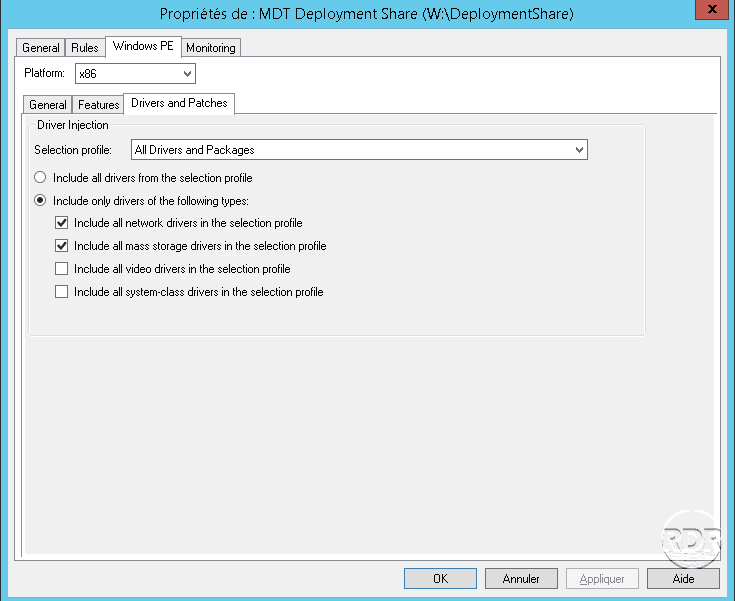
4. The Windows PE tab allows you to configure the boot image itself. Each platform (x86 and x64) is configured separately with the options in the sub-tabs:
- General manages the type of image to generate (WIM / ISO).
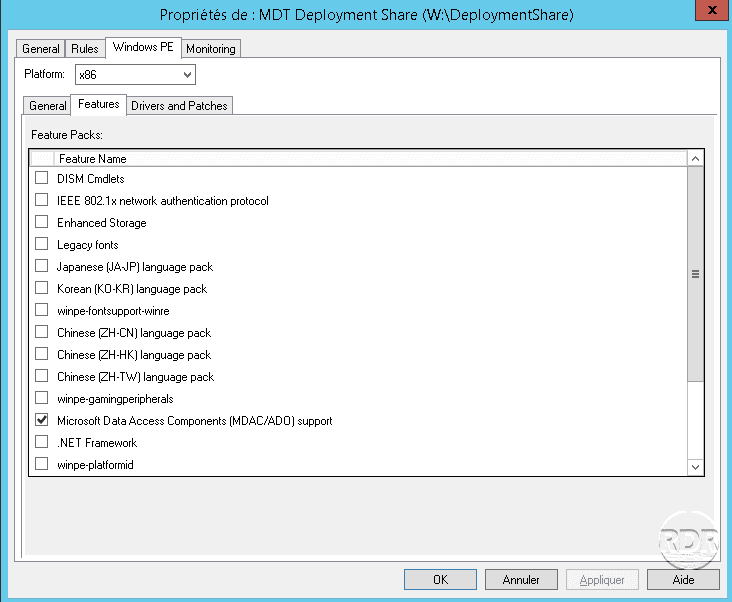
- Features allows you to add components and functions to the image.
- Drivers and Patches, as the name suggests, you can choose the drivers integrated into the image.
With each modification made in the above properties, it will be necessary to reconstruct the boot images, except in case of modification of the CustomSettings.ini file (rules tab).
Boot image generation
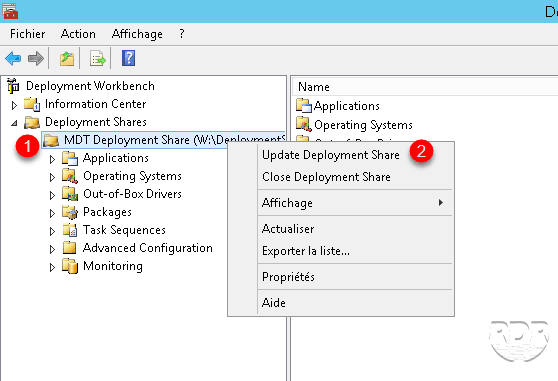
1. From the console, right click on MDT Deployment Share 1 and click on Update Deployment Share 2.

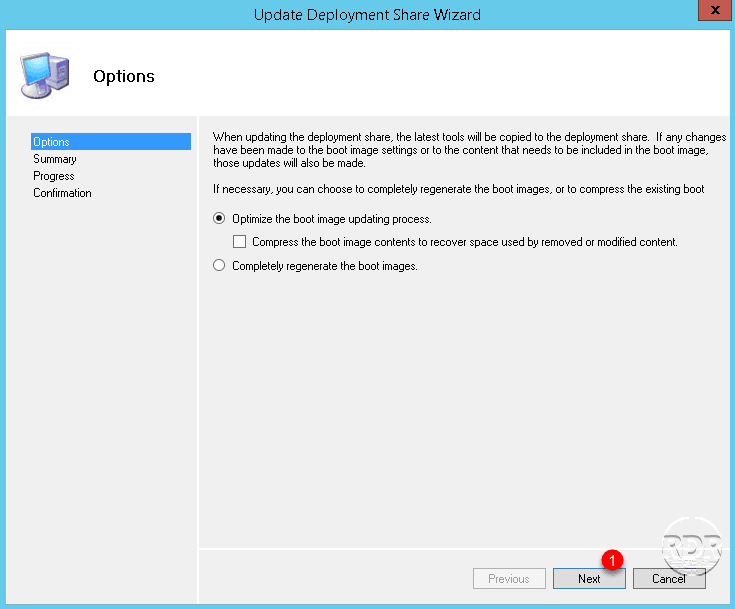
2. When the wizard is launched, click on Next 1.
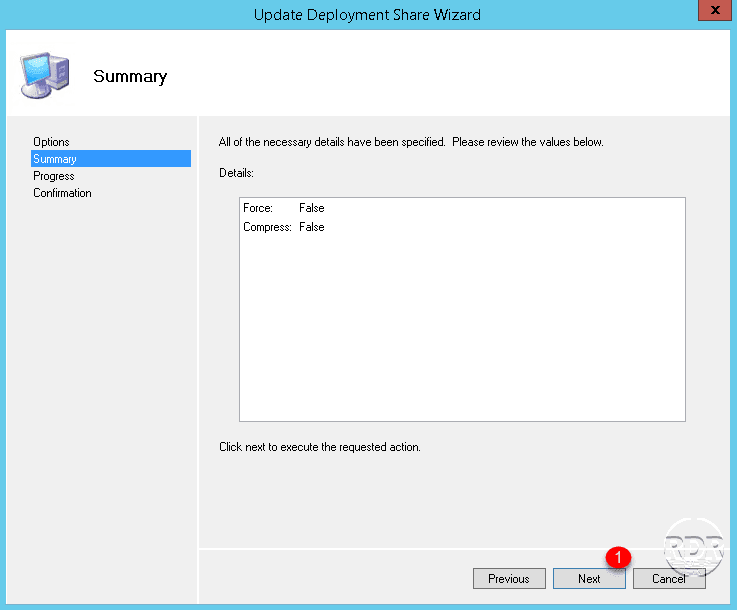
3. Click on Next 1.
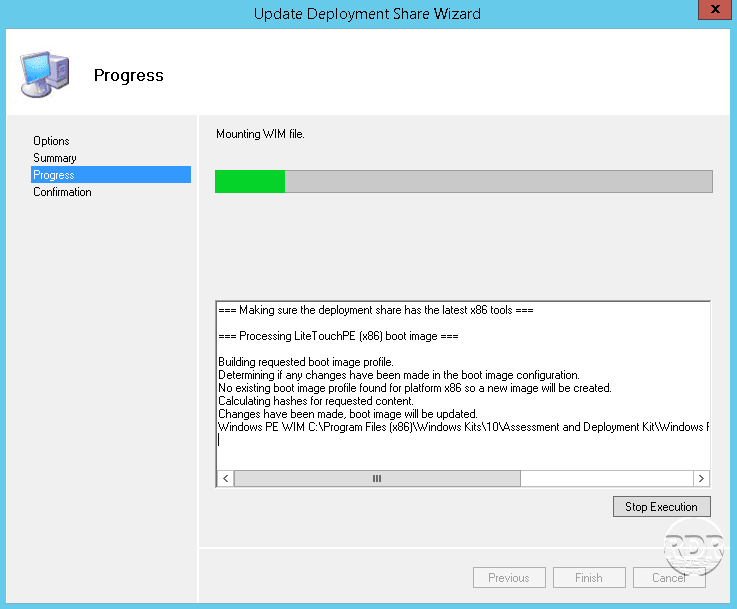
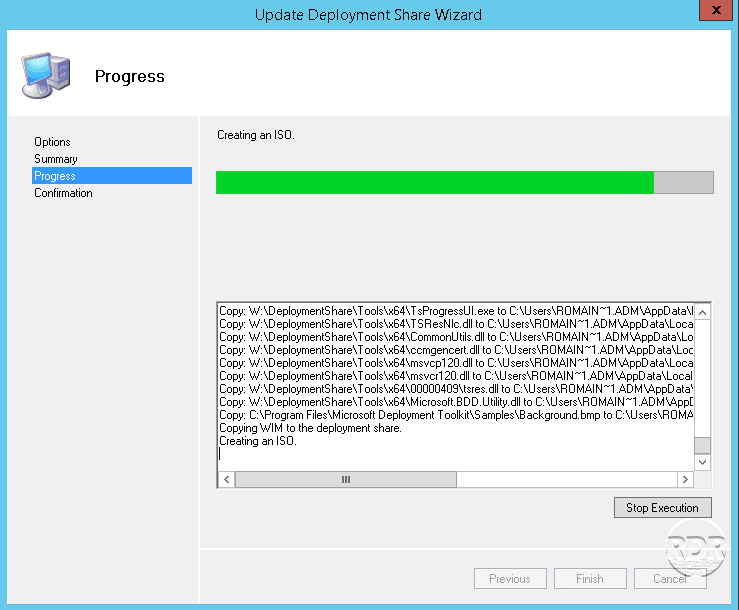
4.Wait during generation …
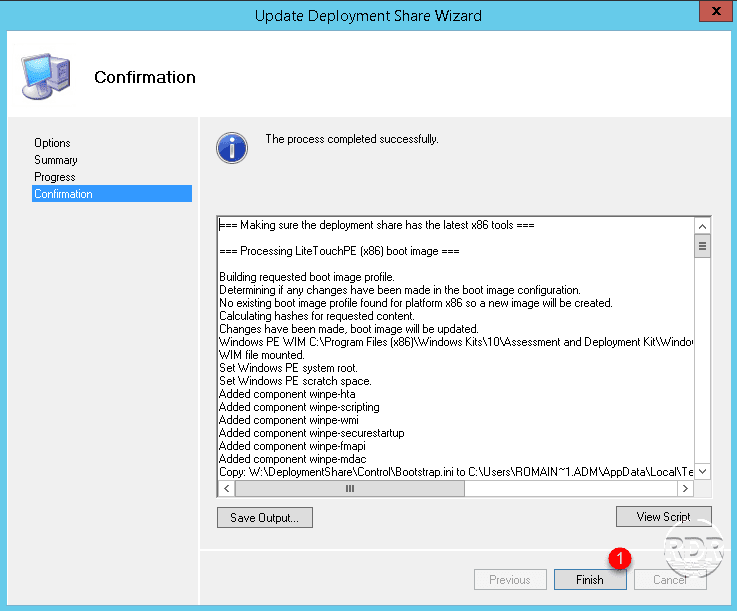
5. The images are created, click on Finish 1 to close the wizard.
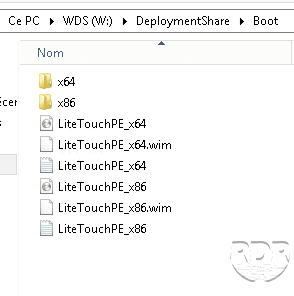
6. Go to the DeploymentShare / Boot folder of MDT to access the LiteTouchPE image file.
Now that the boot image is generated, we will see how to add it to the WDS service.
Add LiteTouchPE image to WDS
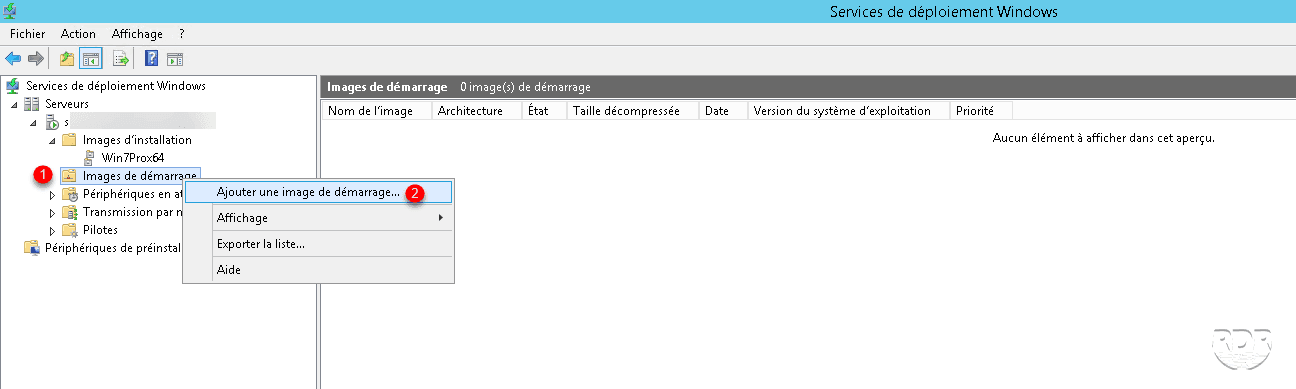
1. On the WDS console, right click on Boot image 1 and click on Add boot image … 2.
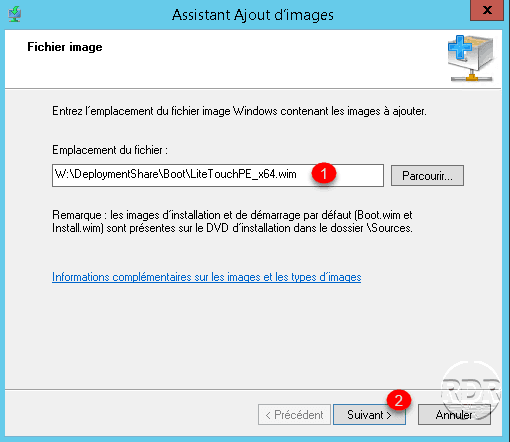
2. Indicate the path 1 where the image is stored in WIM format and click on Next 2.
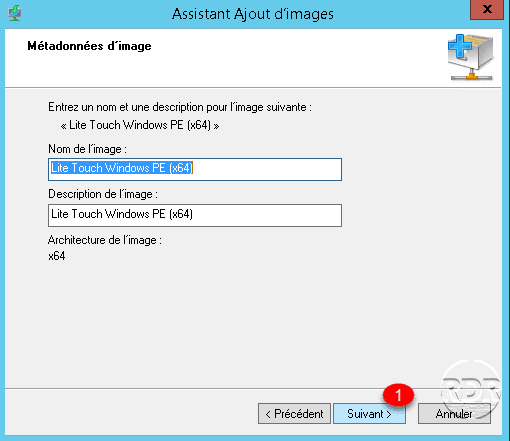
3. Click on Next 1, it is possible here to modify the name and description of the image.
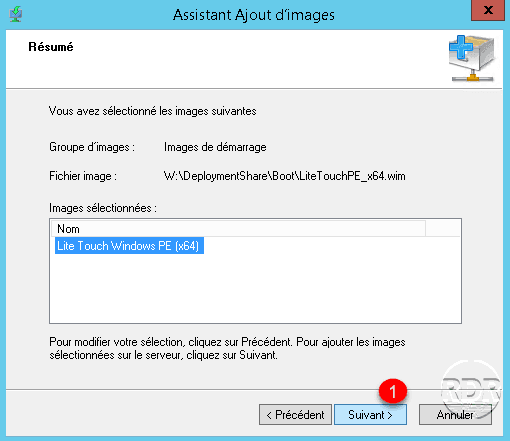
4. Confirm the addition of the image by clicking on Next 1.
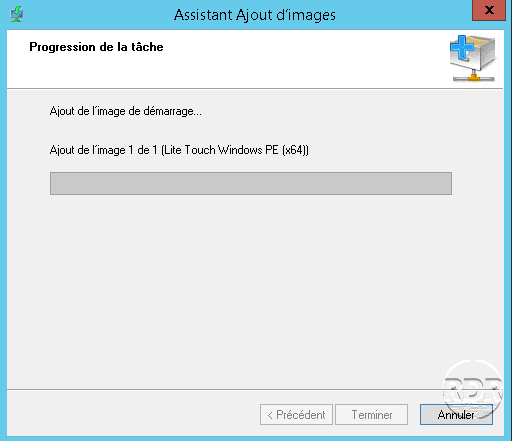
5. Wait while adding the image …
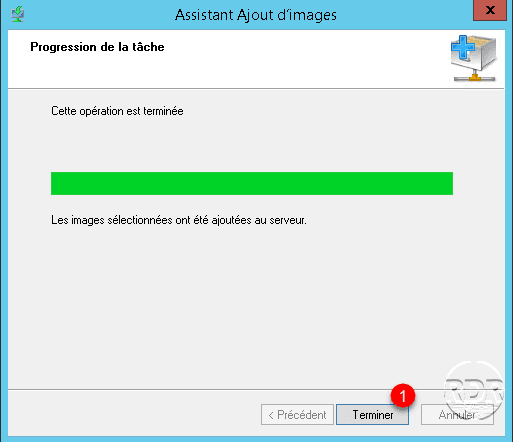
6. The image is added to the server, click on Finish 1 to close the wizard.
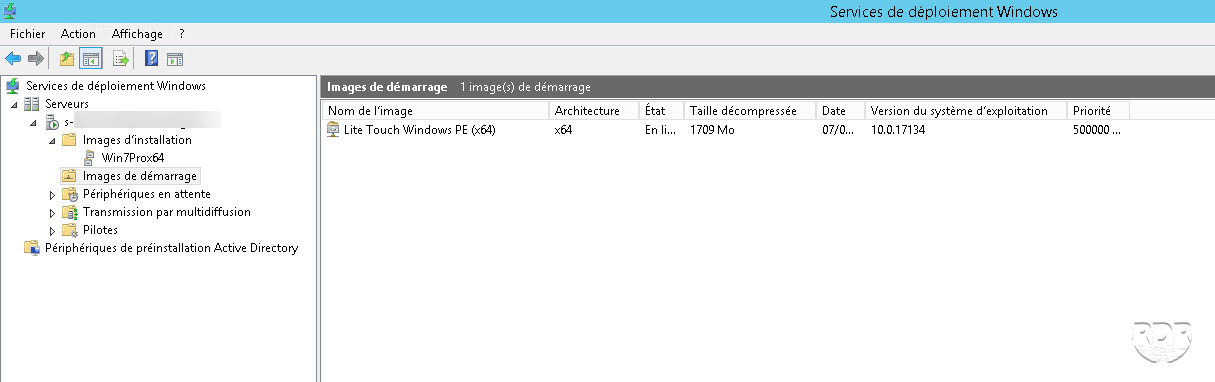
7. The image is available in the list.
Now that our WDS server is ready to deploy images, let’s see how to add a Windows image in MDT.
Add Windows image in MDT
In this part, we will see how to add the Windows images that are on the WDS server in MDT so that we can do a task sequence to deploy them.
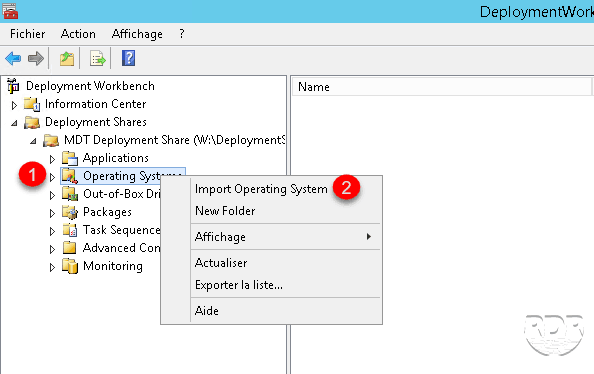
1. On the MDT console, right-click on the Operating Systems 1 folder and click on Import Operating System 2.
2. Select the Windows Deployment Services images 1 option and click Next 2.
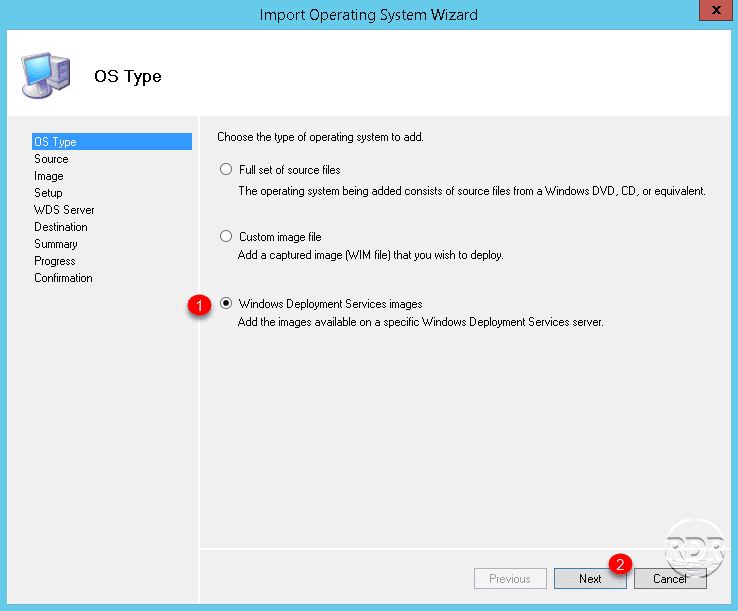
It is also possible to import a Windows operating system directly from an ISO or the WIM file, which can be a capture or that of installation CD.
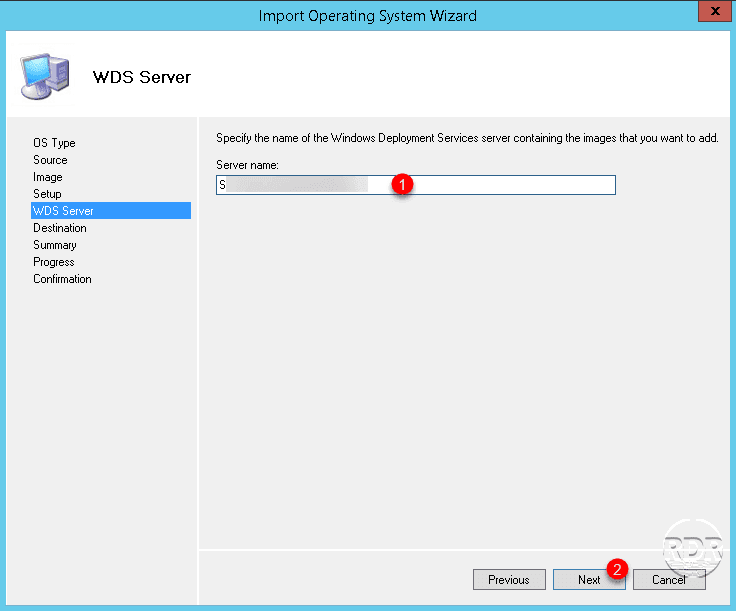
3. Enter the DNS name of the WDS server 1 and click Next 2.
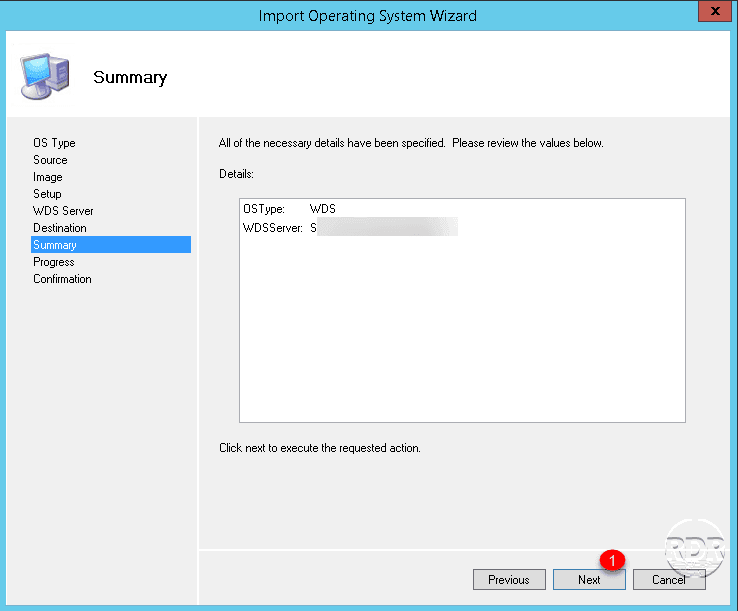
4. Confirm the import by clicking by clicking on Next 1.
5. Wait during the import …
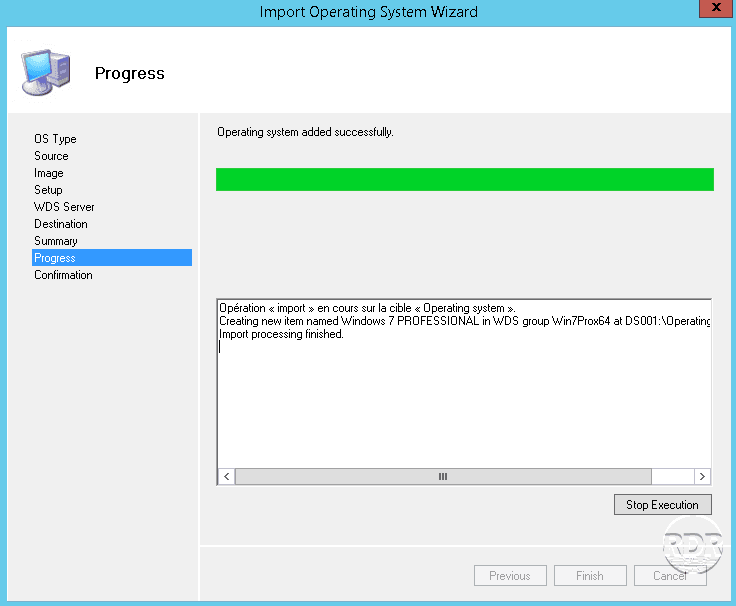
The import will recover all the active installation images.
6. Close the wizard by clicking on the Finish 1 button.
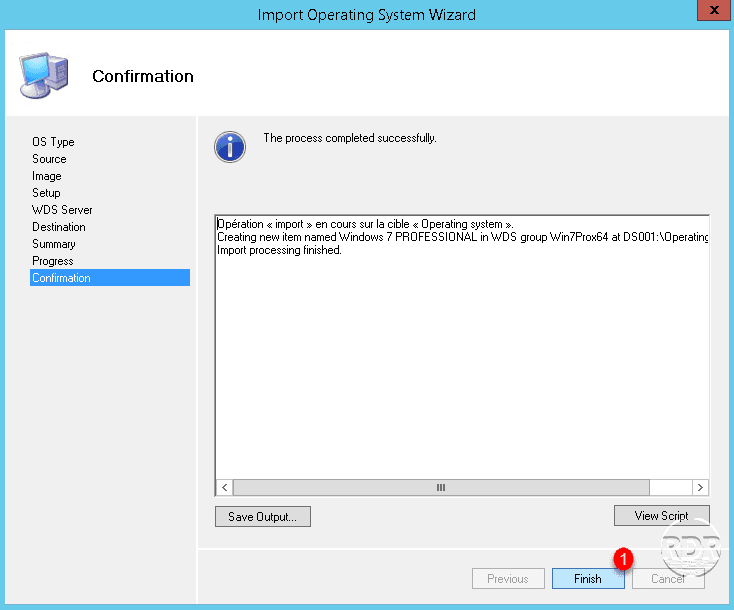
7. If the operation was successful, the installation images on the WDS server are available in the Operating Systems section.

Before you can deploy Windows images, you must add a task sequence (Task Sequances) to the imported images that will contain the deployment instructions.
Add a task sequence
A task sequence contains various instructions to be done during the installation of the operating system such as:
- The image to deploy
- Partitioning
- The computer name
- The time zone
- Applications to install
- …
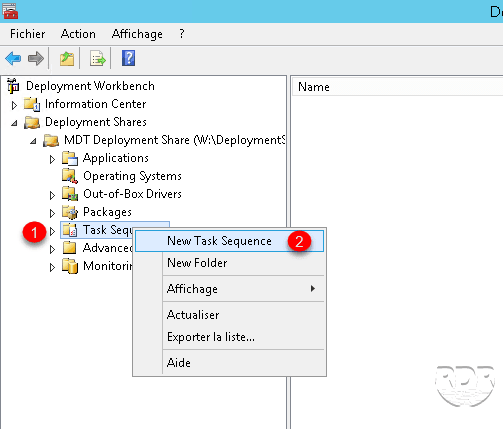
1. From the console, right click on Task Sequences 1 and click on New Task Sequence 2.
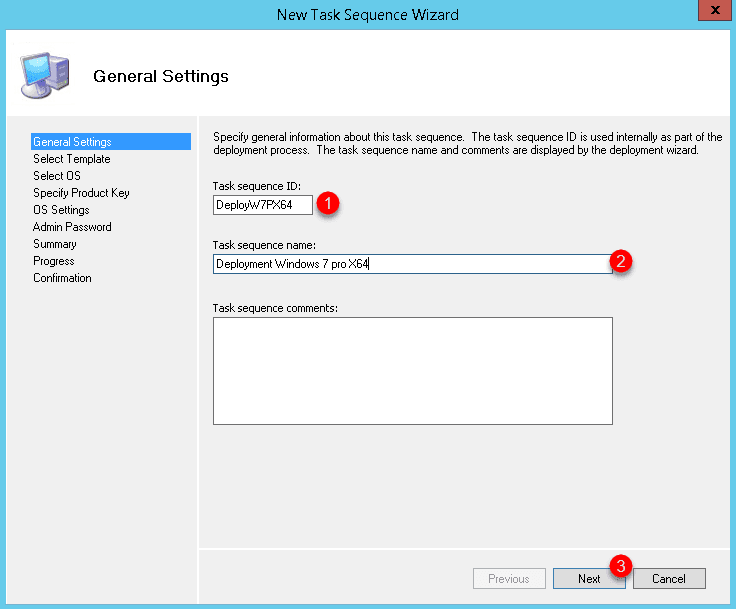
2. Enter an ID 1, a name 2 and click on Next 3.
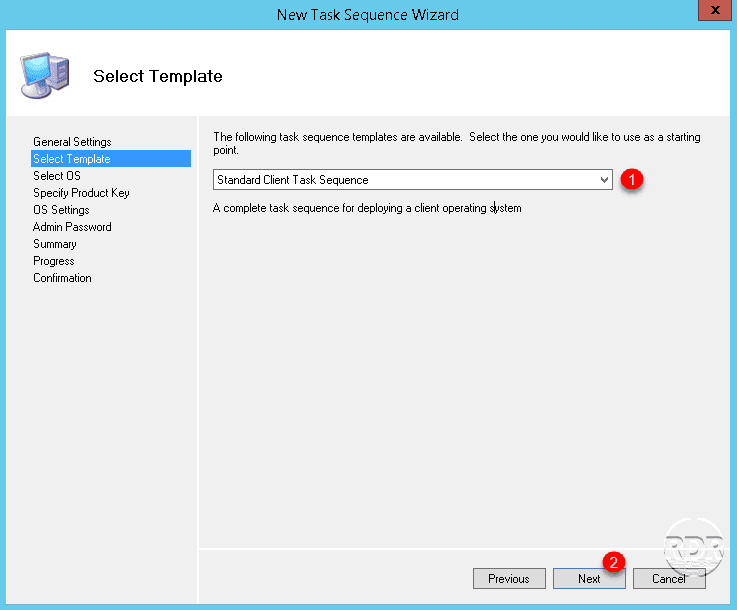
3. Select Standard Client Task Sequence 1 and click Next 2.
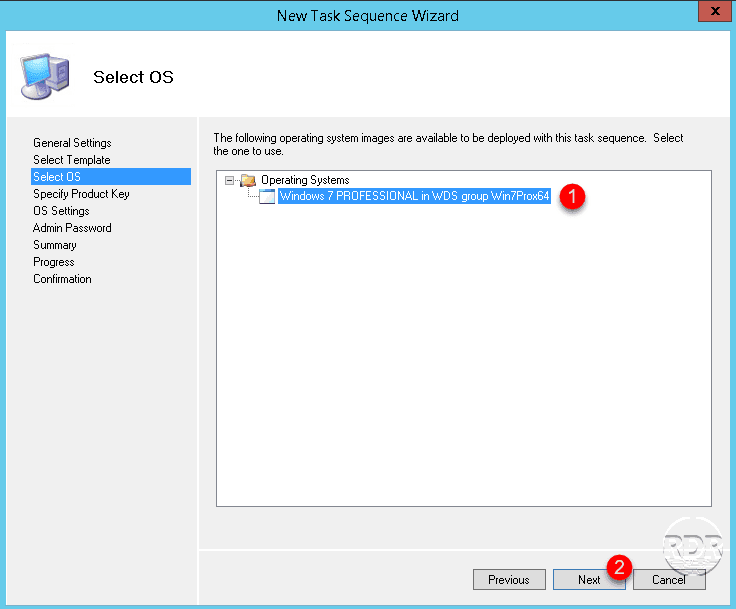
4. Select the Windows image 1 where the sequence will apply and click on Next 2.
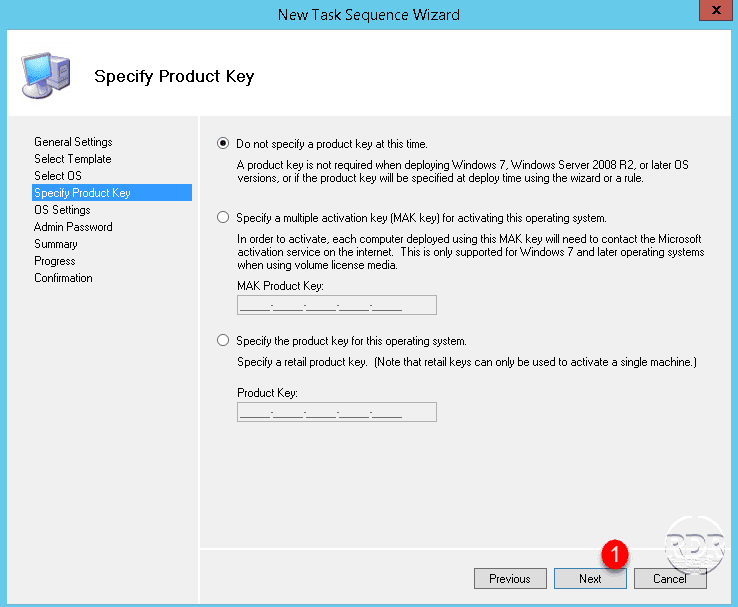
5. It is possible to specify the activation key at this stage. Click on Next 1.
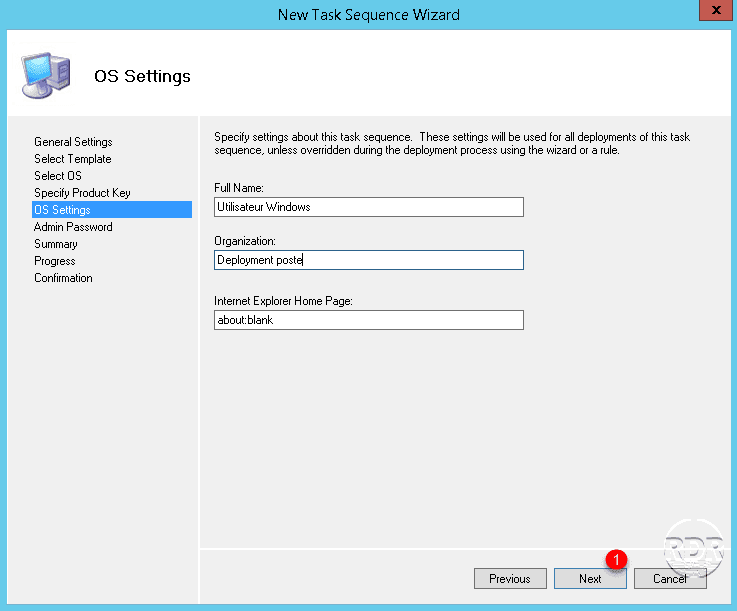
6. Click on Next 1.
7. Specify or not the e th password of the local administrator account 1 then click on Next 2.
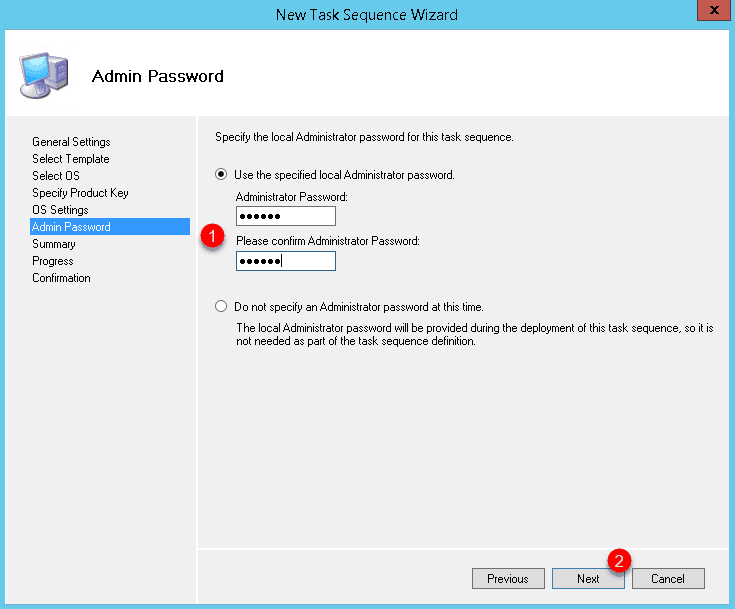
If you check the option Do not specify Administrator password at this time, the password will be that of the SAM database in the case of a captured image otherwise it will be empty in the case of an image which comes from an ISO Windows.
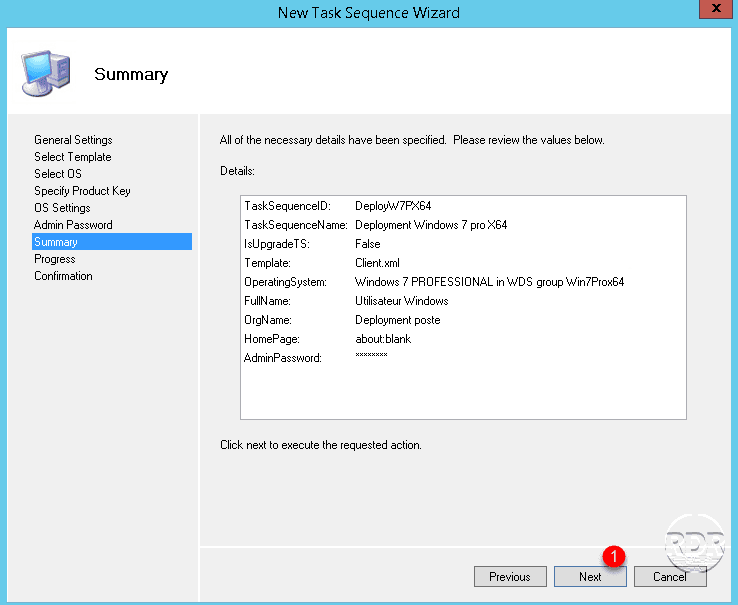
8. The summary of the sequence is displayed, click on Next 1 to confirm the creation.
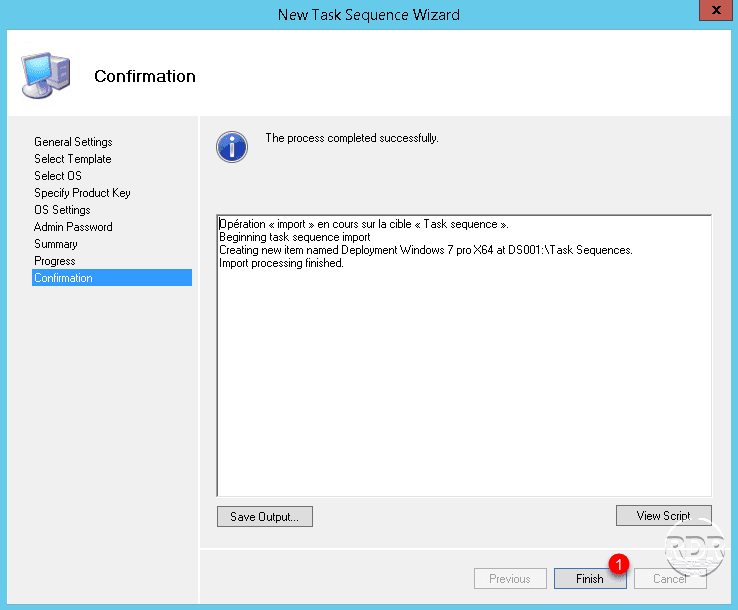
9. Once the sequence has been created, click on Finish 1 to close the wizard.
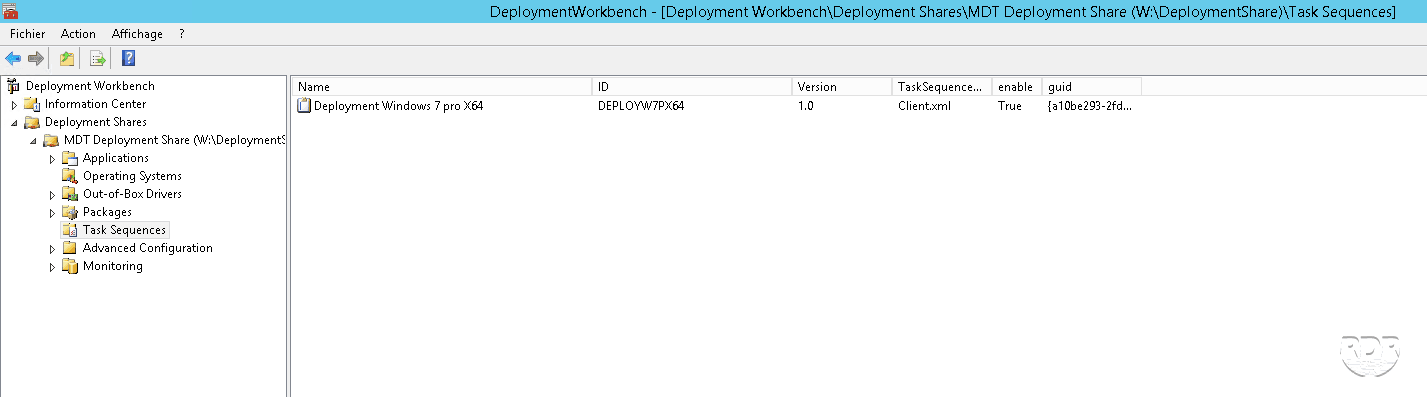
10. The sequence is added.
For the curious, it is possible to customize the sequence (partitioning, applications, windows update, command line …) by right-clicking on the sequence and clicking on Properties
Customizing sequences will be the subject of other tutorials
Now that we have created a task sequence, we can move on to Windows deployment.
Deploy Windows
In this part, we will see how to deploy Windows by starting on the network (PXE) and by applying the sequence created in the previous chapter.
The example which will follow was done on a virtual machine, if you want to deploy the operating system on a physical machine, you will certainly have to add the network drivers in MDT and recompile the boot image and update it in WDS (right click on the boot image and choose the option Replace image …).
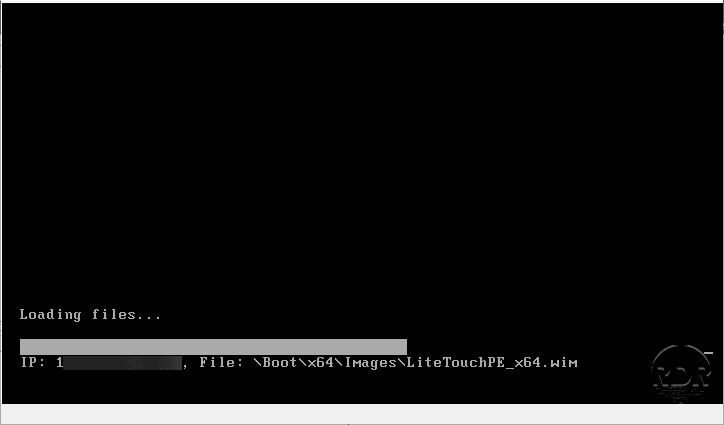
1. Start on the network F12 and once the IP address obtained click again on F12 to confirm the start on the network. Wait while the environment is loading …
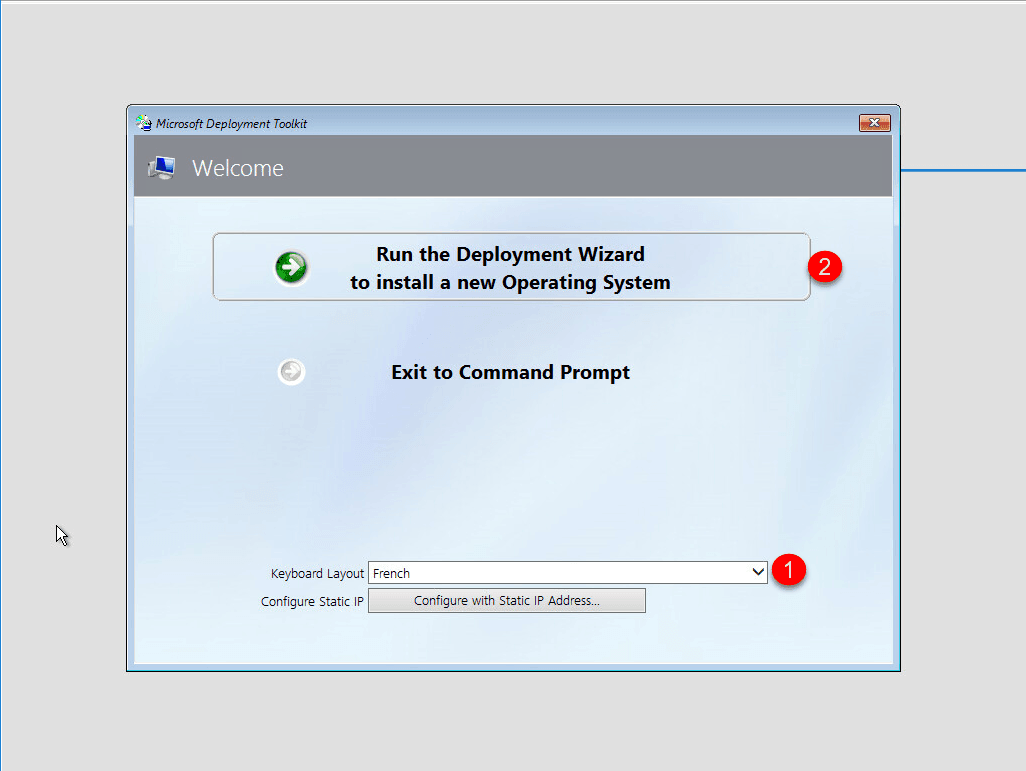
2. Change the keyboard configuration 1 then click on Run the Deployment Wizard to install a new Operating System 2.
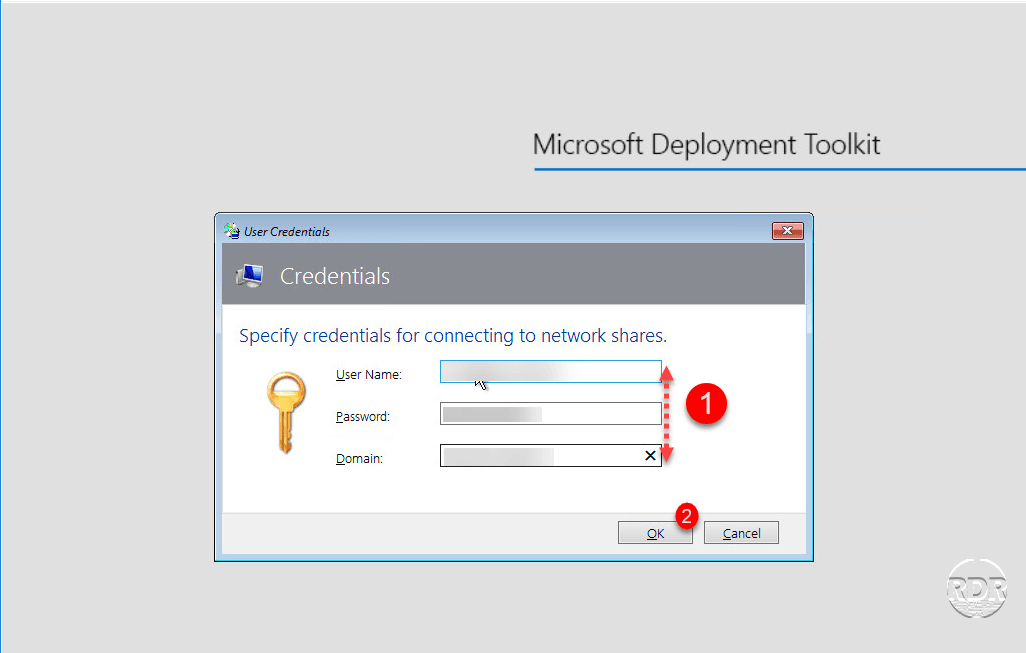
3. Enter the credentials of an account authorized to connect to the share on the MDT server 1 and click OK 2.
4. Choose a sequence 1 and click on Next 2.

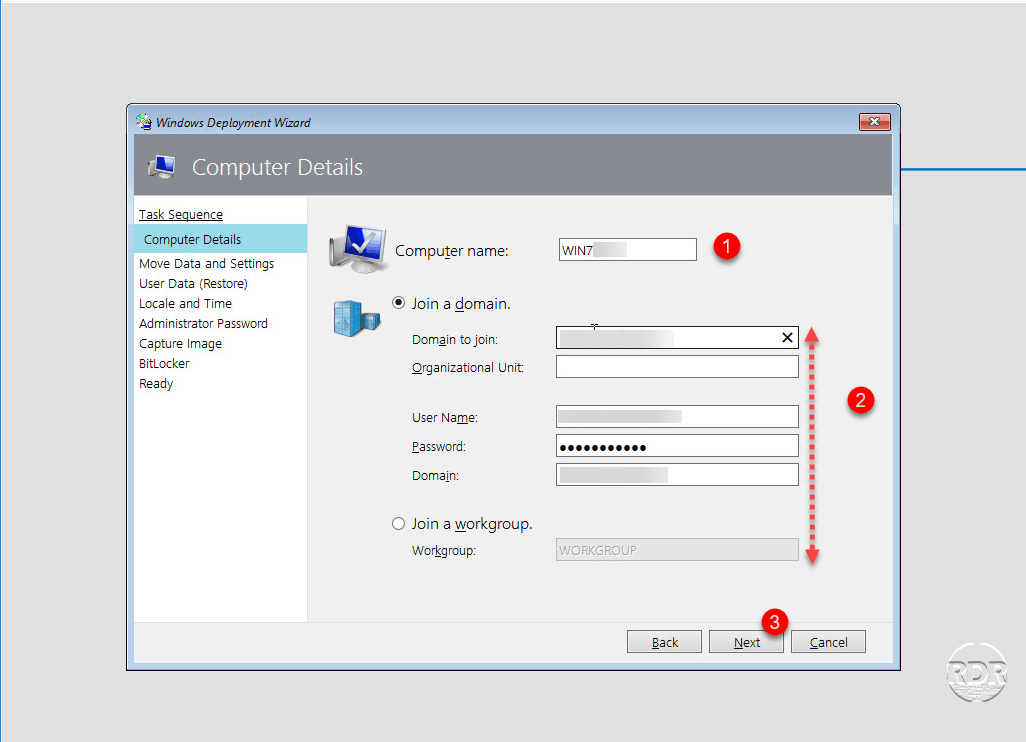
5. Enter the name of the computer 1, choose if the computer should be entered in the domain 2 then click on Next 3.
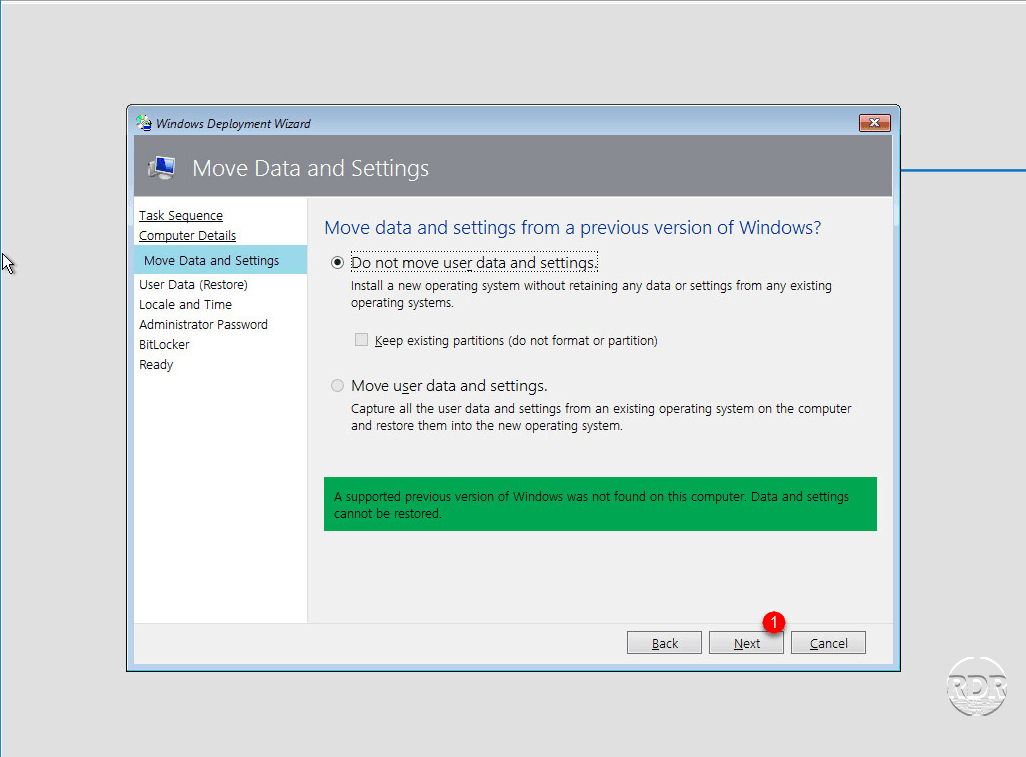
6. Click on Next 1, this step saves user data on a computer.
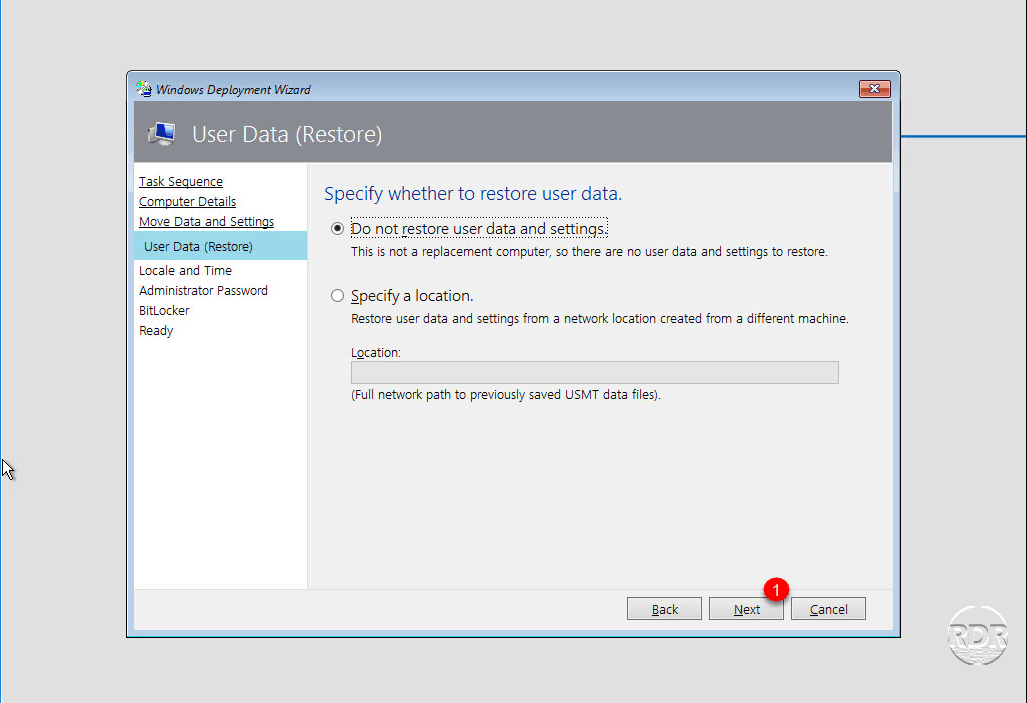
7. Click on Next 1, this step allows you to configure the restoration of the backed up data.
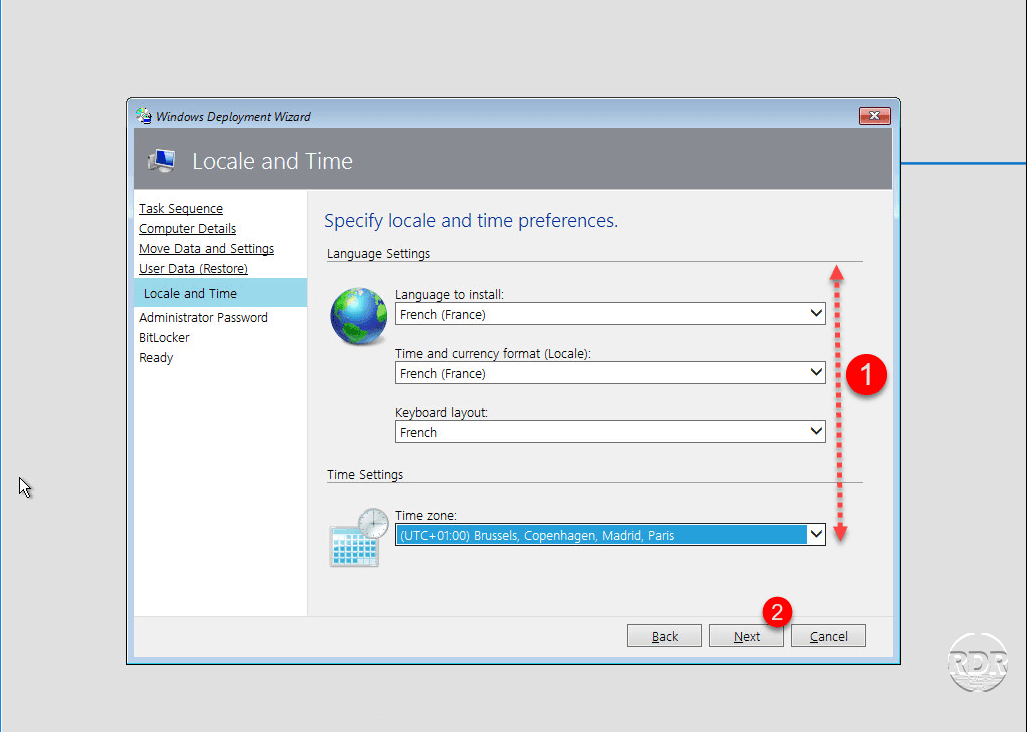
8. Configure the regional options of Windows 1 and click on Next 2.
9. Enter the password for the local administrator account 1 then click Next 2.
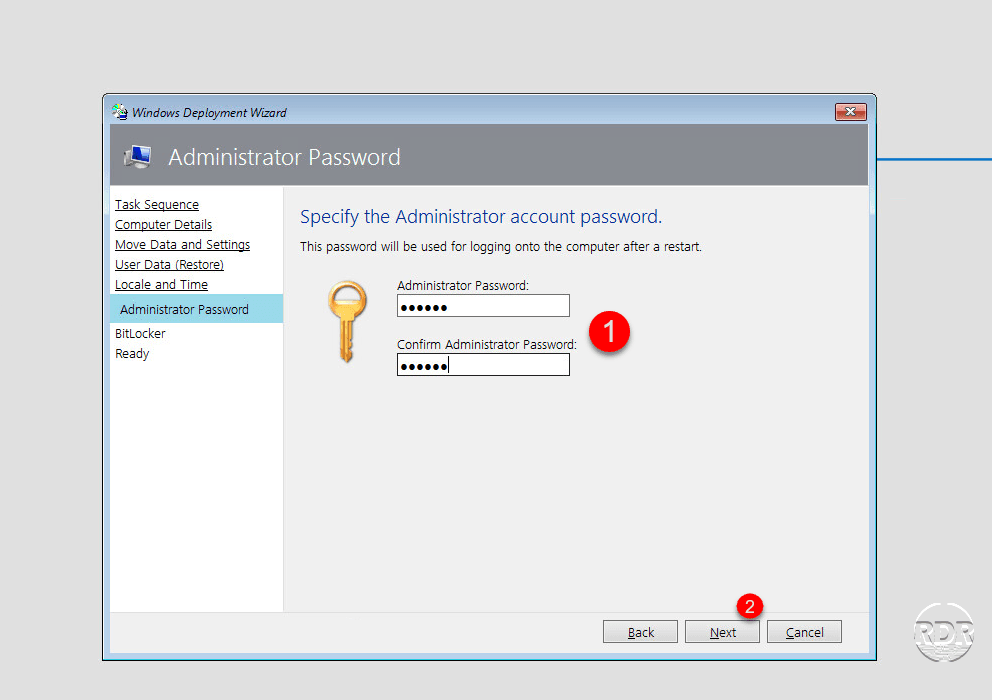
During the creation of the sequence, the administrator password has already been entered. To use the local administrator password entered when the task was created, a line must be added to the CustomSettings.ini file to pass this screen.
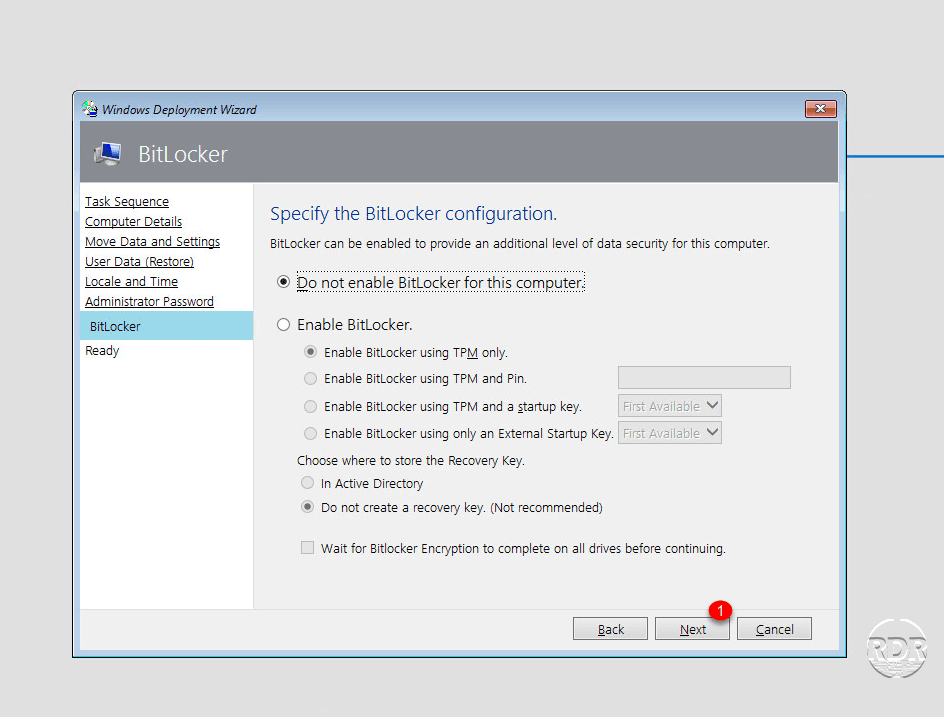
10. Click on Next 1.
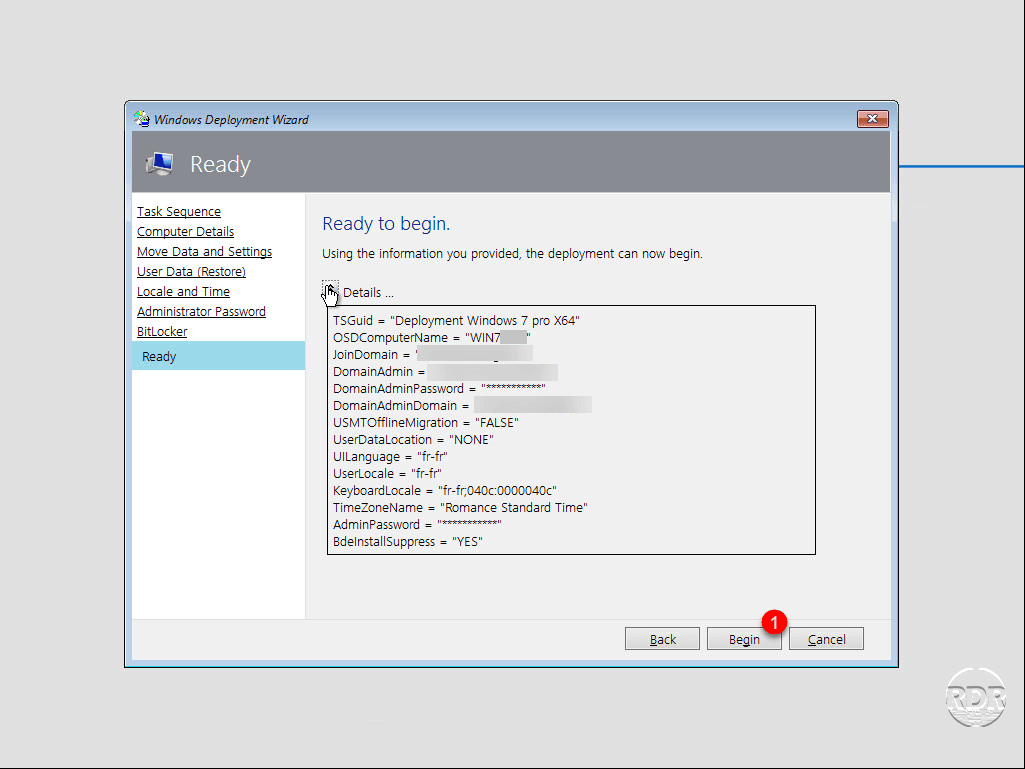
11. Click on Begin 1 to start the installation.
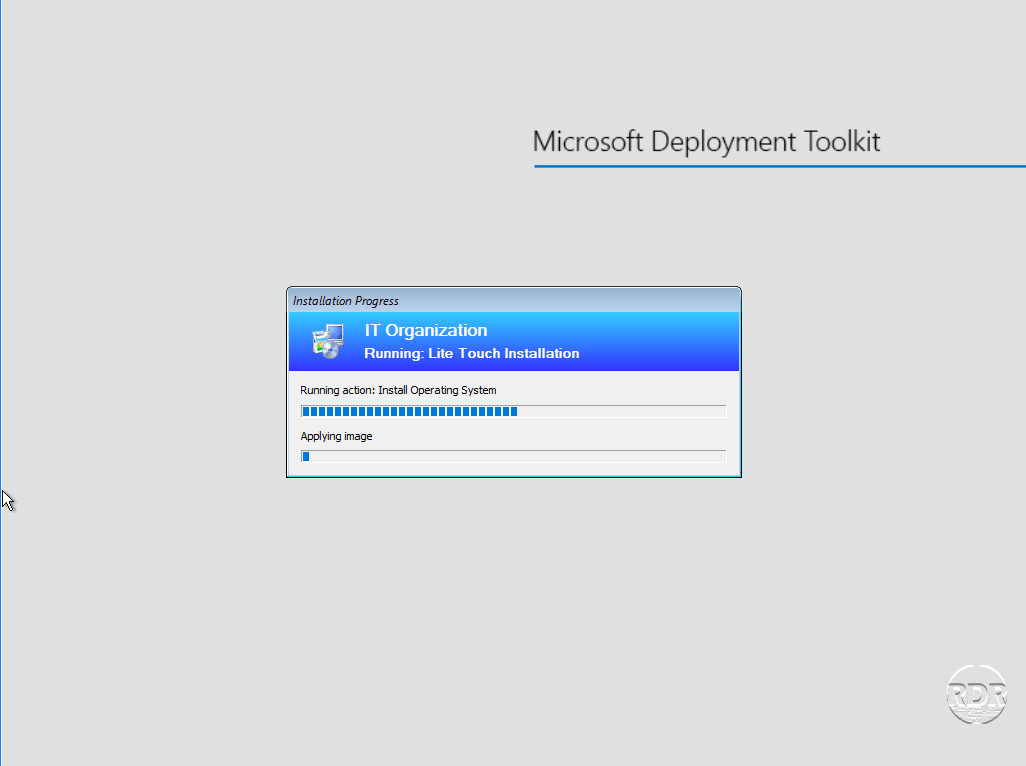
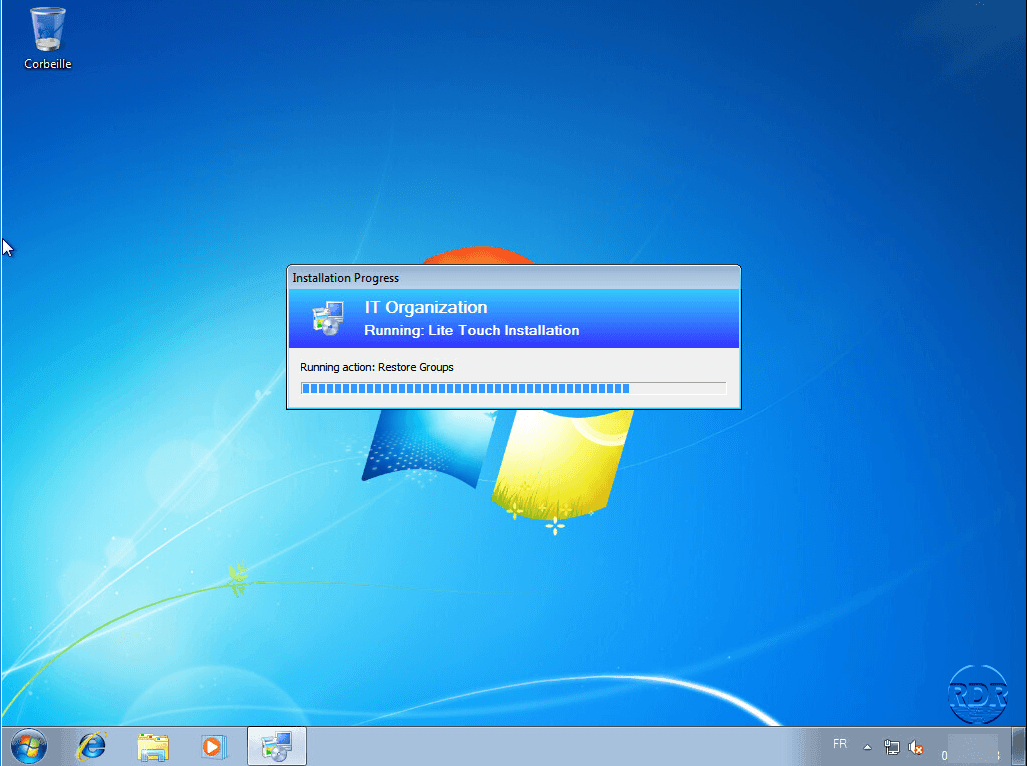
12. Wait while deploying Windows …
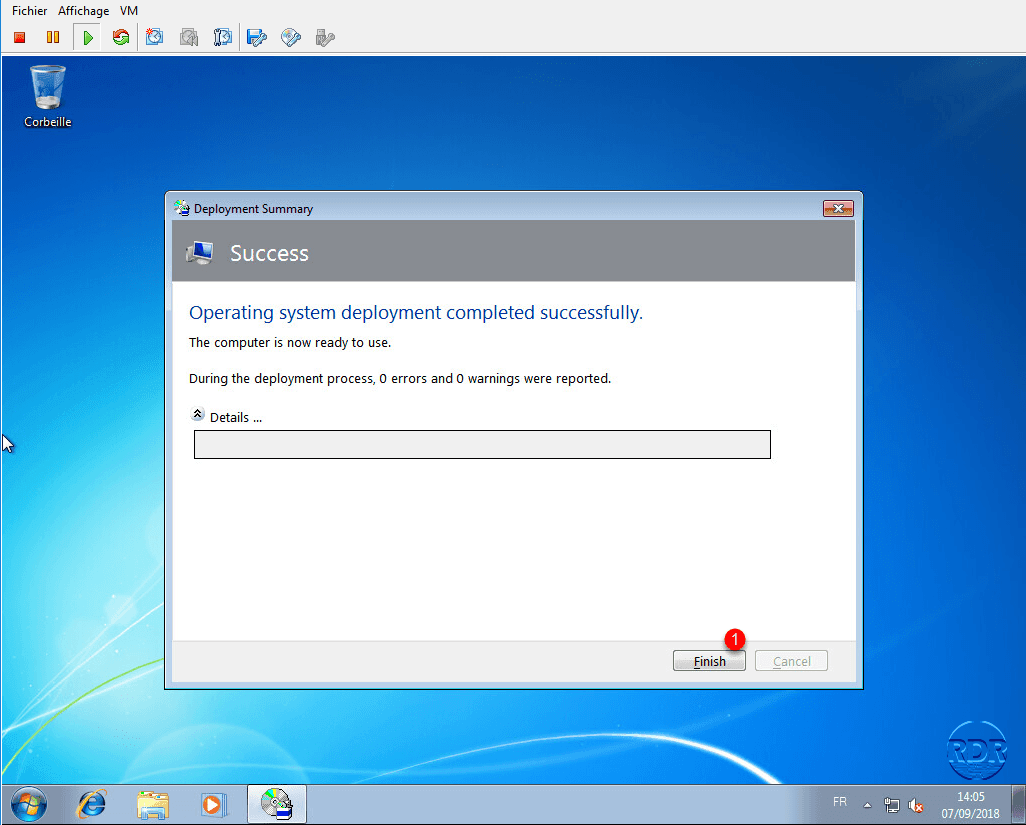
13. The deployment is finished, close the wizard by clicking on Finish 1.
Conclusion
With this tutorial, you can start using MDT to deploy Windows on client computers.
Links to other tutorials (in French translation in progress …):
- Déploiement d’application avec un focus sur MS Office.
- Ajout de drivers au déploiement
- Personnalisation et automatisation du déploiement (Bootstrap.ini/Customsettings.ini).
Microsoft Deployment Toolkit can also be used to deploy Windows Server, which makes it possible to set up a template to deploy your VMs under Hyper-V.