Preparation of the environment
Before you begin deploying the different roles on the servers, you must prepare the environment.
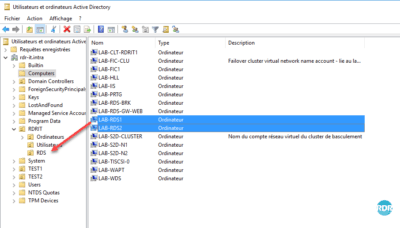
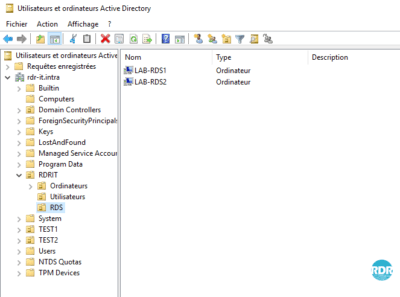
Move the Remote Desktop Session Host Servers to an OU
This operation will allow subsequently apply specific GPO at the RDS environment using a loopback policy for users parameters.
Open the Active Directory Users and Computers console, create a specific OU for the Remote Desktop Session Host servers, and move them in.
Folder for User Profile Disks – UPD
1. On a file server, create a folder for storing UPDs.
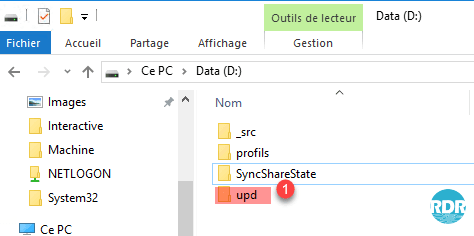
2. Share the folder, the accounts of the computers having the remote desktop session host role (LAB-RDS1 $ and LAB-RDS2 $) must have full control.

DNS records
Create a type A record with the same name that will point to the IPs of your remote desktop session host, as shown below.

The above DNS records are to be created only if you want to access the remote desktop by manually configuring the RDP client or if you are using a thin client that does not support configuring collections.
This solution is not recommended.
As part of the LAB, I added a record of type A rdsgw pointing to the IP of the server LAB-RDS-GW-WEB to be able to use the gateway internally.
In production, it will be necessary to provide a recording on a domain accessible from Internet of type A on a public IP and to set up a rule on router / firewall to authorize the traffic on the port 443.
It is also possible to access the RDS farm directly configuring the connection by the broker server. This solution involves modifying the .rdp file.
Server Manager: Add Servers in One Console
To use the Windows Deployment Tool, you must add the servers that make up the RDS environment in one console.
The following operations are to be done on the server brker (LAB-RDS-BRK.rdr-it.intra).
1. From the server manager, click Add more servers to manage 1 .

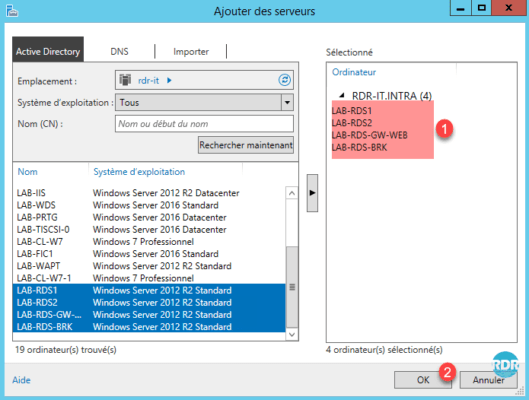
2. Launch a search 1 in the Active Directory to view the available computers. Select the computers that make up the RDS 2 infrastructure and click on the 3 arrow to add them.
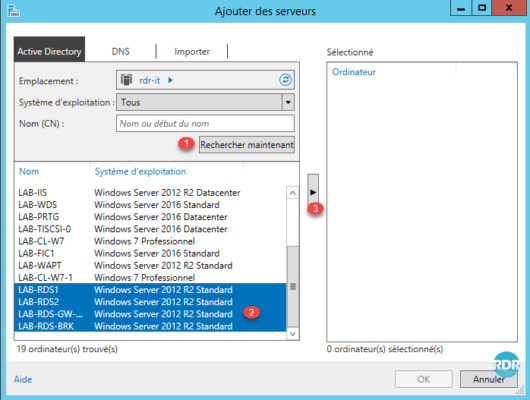
3. The servers are selected 1 , click OK 2 .
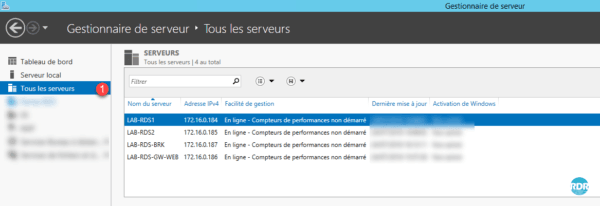
4. On the server manager go to All Servers 1 to view them.
Server Manager: Create a server group (optional)
1. From the Server Manager Dashboard, click Create Server Group 1 .

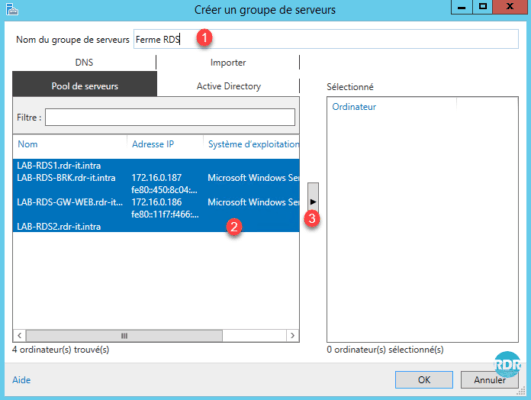
2. Name the group 1 , select the servers 2 and click on the arrow 3 to add them.
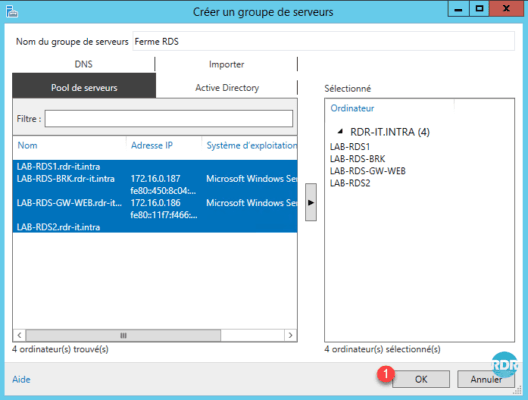
3. Confirm the creation of the group by clicking OK 1 .
4. On the server manager, the group is available in the left menu 1 . The group is found in the Roles and Server Groups section in a 2 box.
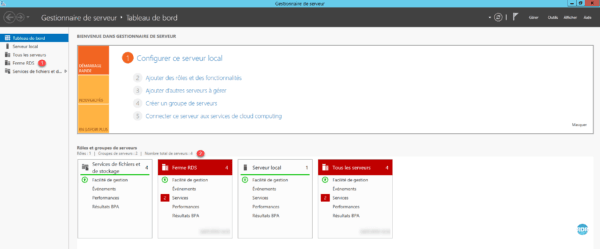
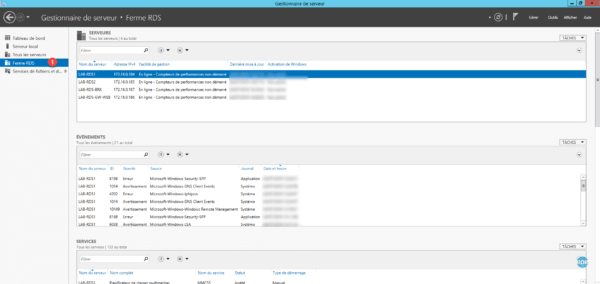
5. Click on the Firm group RDS 1 , one finds the same thing as in All the waiters limiting to the waiters which belong to the group.
Great resources here. I am designing almost the same setup for a 500 users base.