Presentation
In this tutorial, I will explain how to deploy an RDS server (Remote Desktop Services).
If you plan to deploy an RDS farm, that is to say several servers, use the tutorial: Deploy a RDS farm Windows 2012R2 / 2016/2019.
Before Windows Server 2012, installation was done by installing the Remote Desktop Session Host role on the server. Since Windows Server 2012, the remote desktop services installation wizard has been modified and goes through a personalized wizard which installs a set of services:
- The service broker
- The Remote Desktop Session Host Role
- Web access which provides access to applications published in RemoteApp.
With Windows Server 2012 also came the concept of collection, which includes a set of remote desktop session host server for desktop publishing and / or RemoteApp.
Each collection is independent, and a Remote Desktop session host server can belong to a single collection.
Prerequisites
Standard deployment of Remote Desktop Services requires an Active Directory domain.
For the RDS server (the one we are going to install), it must be a member of the domain and preferably have a fixed IP address.
Installing Remote Desktop Services
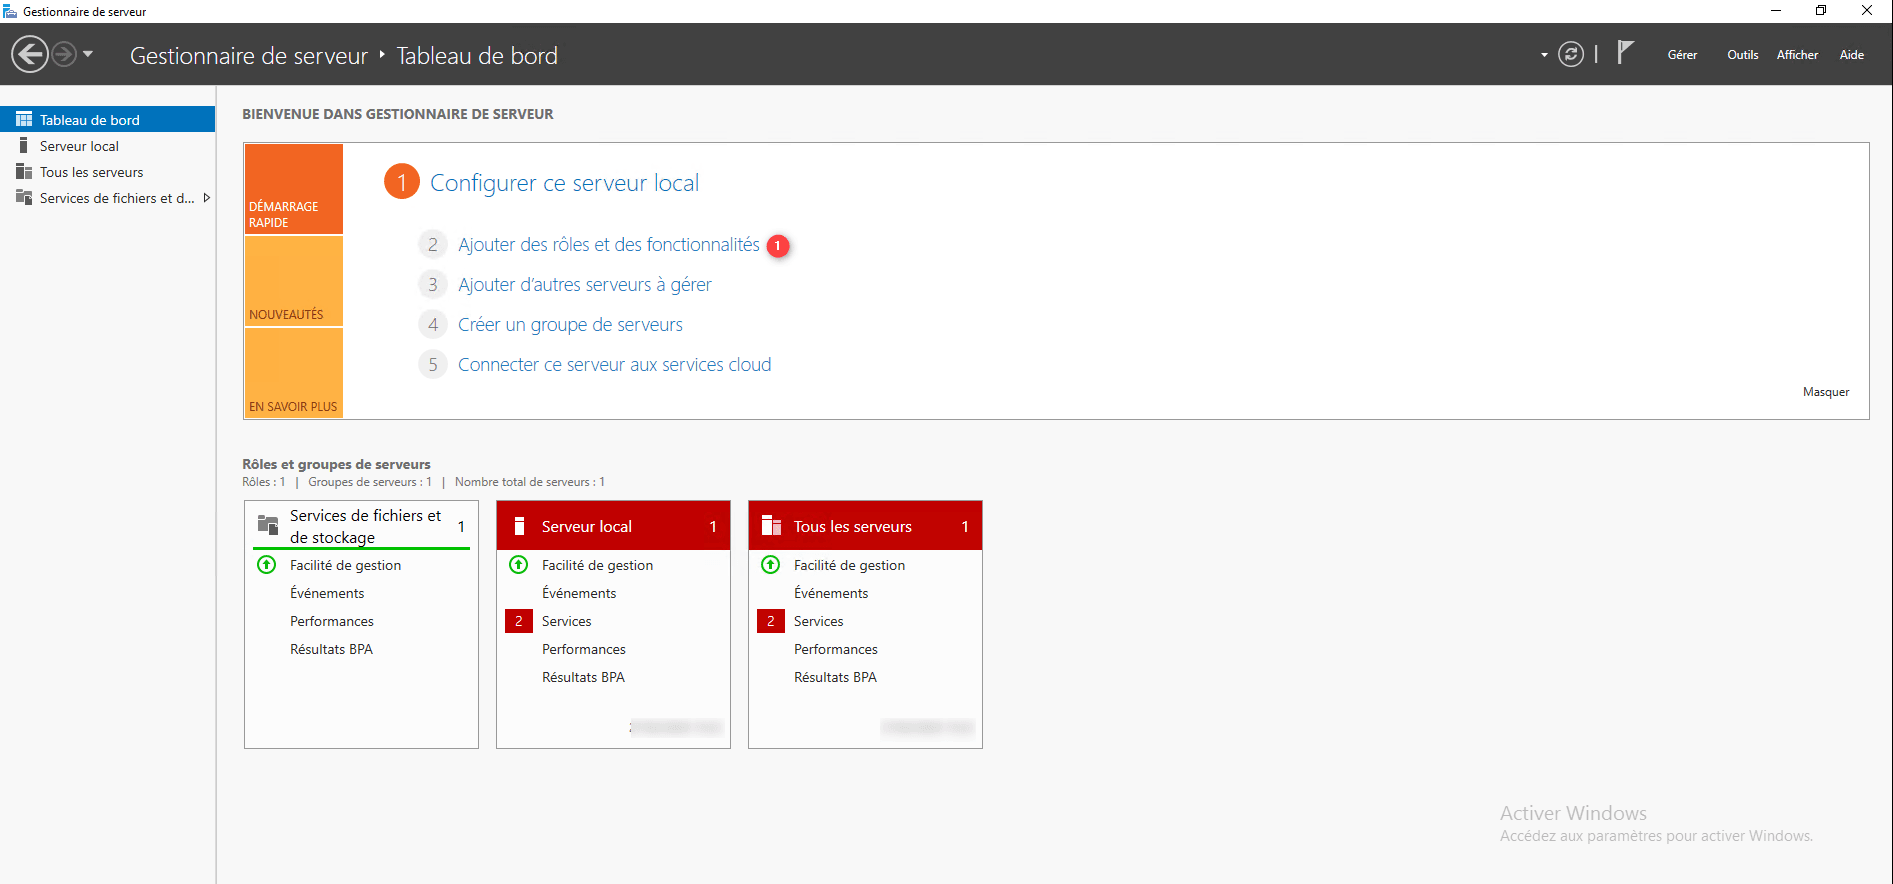
From the server manager of the future RDS server, click on Add roles of the 1 functionalities.
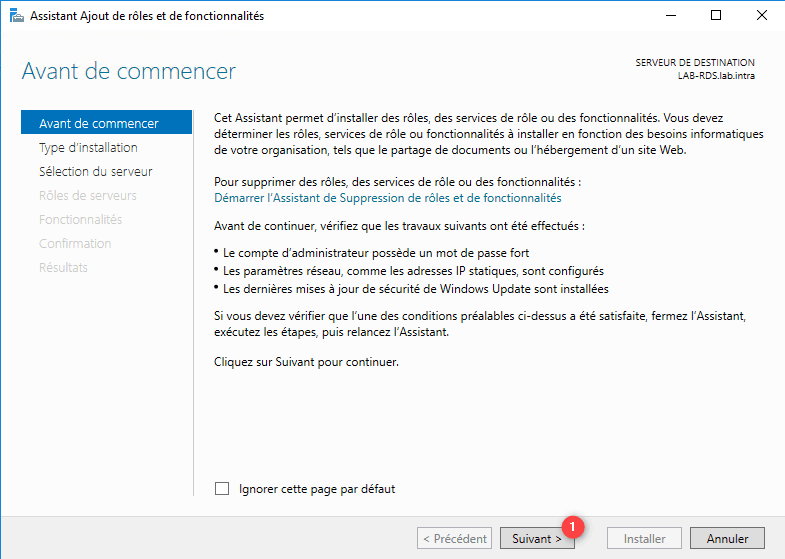
When the wizard is launched, click on Next 1.
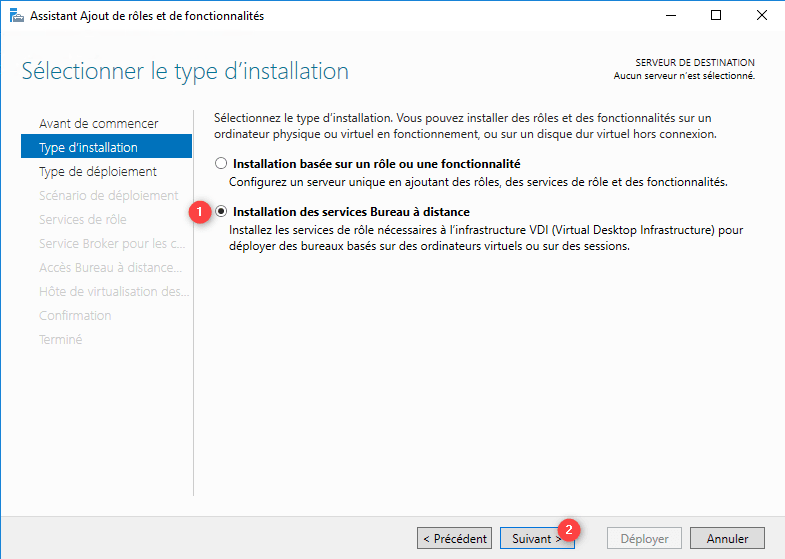
Choose the type of installation: Installation of Remote Desktop Services 1 and click Next 2.
Select Quick start 1 and click Next 2.
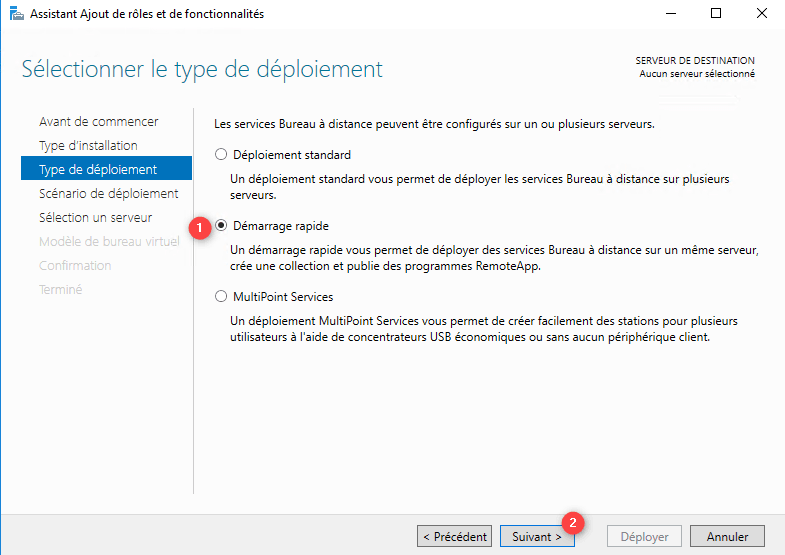
Quick start installs all roles (broker, remote desktop host and web access) on the same server.
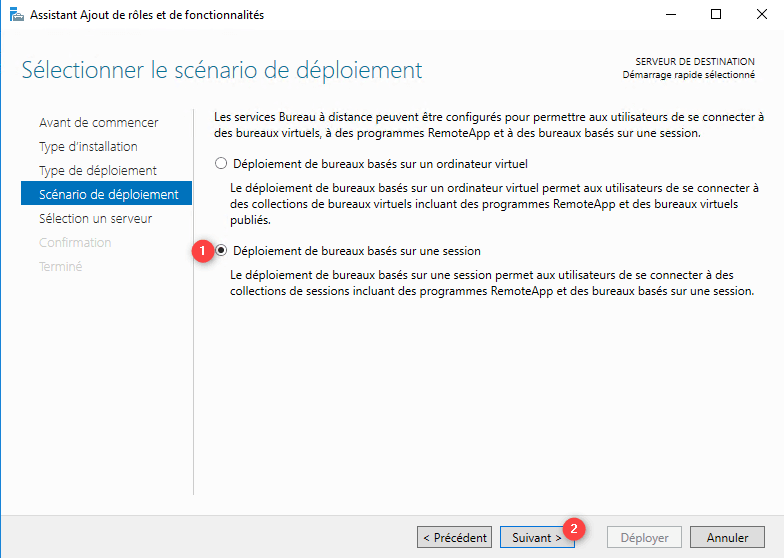
Choose the scenario Office deployment based on a session 1 then click on Next 2.
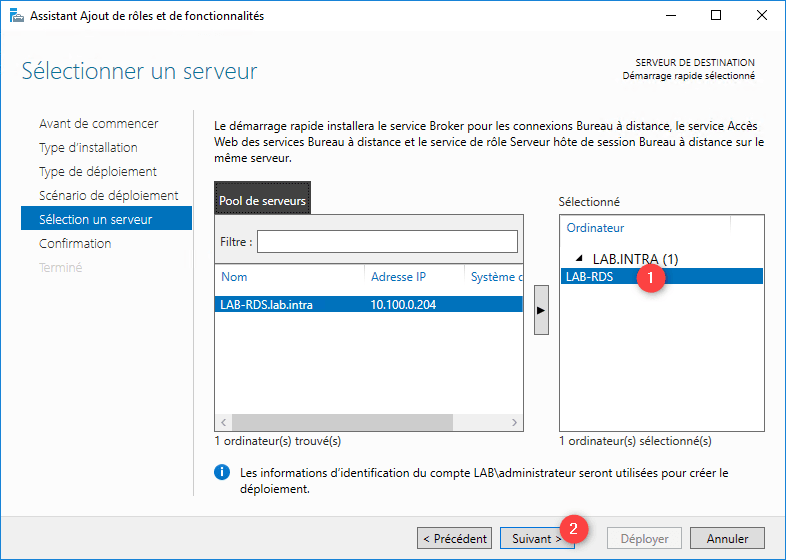
Select the server 1 and click on Next 2.
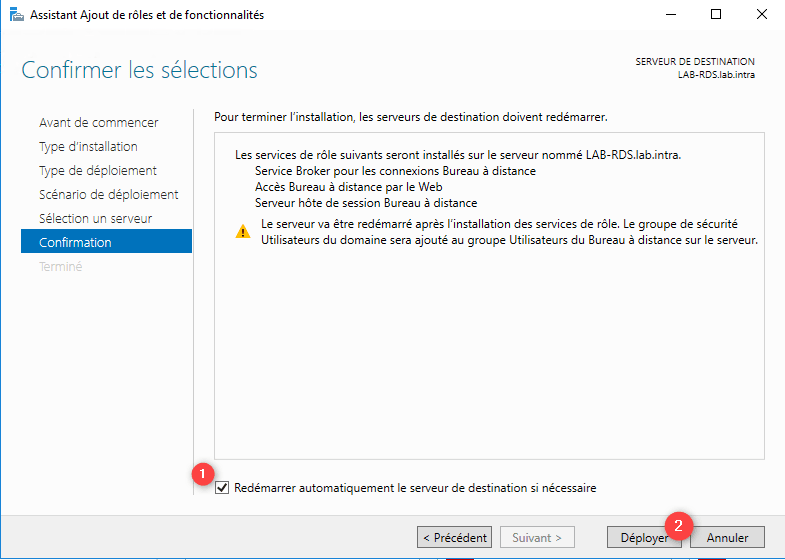
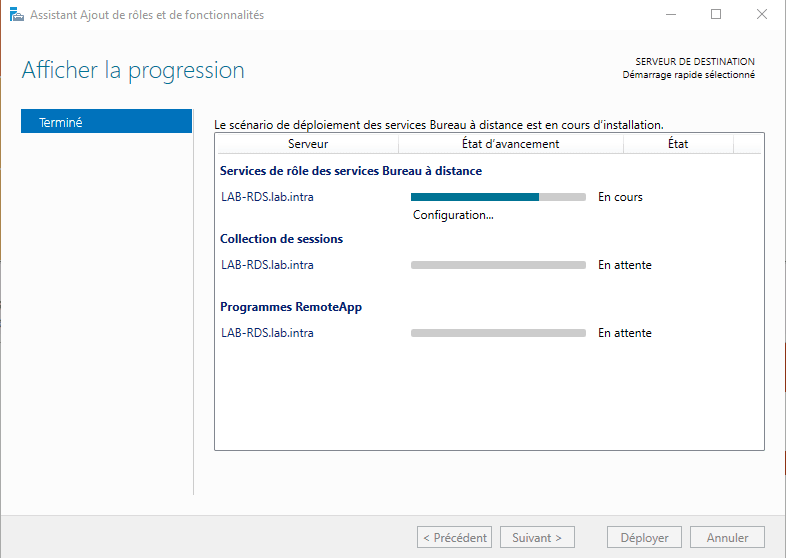
A summary of the configuration is displayed, check the box 1 to restart the server automatically and click on the button Deploy 2 to start the installation.
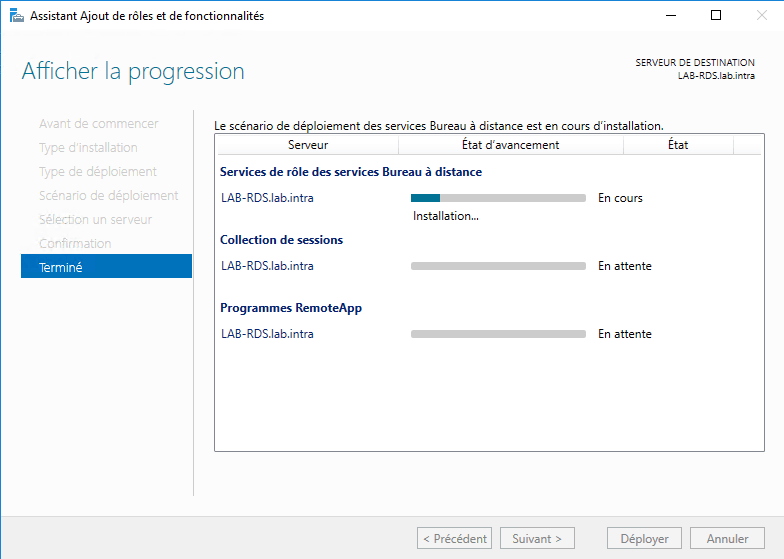
Wait during the installation, the server should restart …
The installation is finished, exit the wizard by clicking on Close 1.
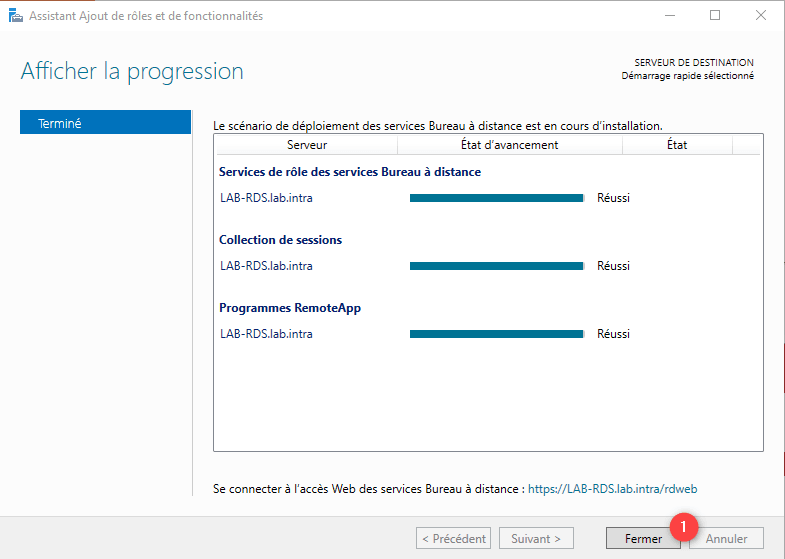
On peut voir dans le bas de la fenêtre l’url pour accéder au portail Web des RemoteApp.
RDS server configuration
In this part, we will give an overview of the configuration of the RDS deployment, you will find on the site many tutorials for the configuration. The links are available at the end of this tutorial.
During a Quick Start deployment, the RDS server is ready to use, a collection is configured (QuickSessionCollection) with RemoteApp configured.
Administration is done by the server manager by clicking on Remote Desktop Service 1 in the navigation menu located on the left.
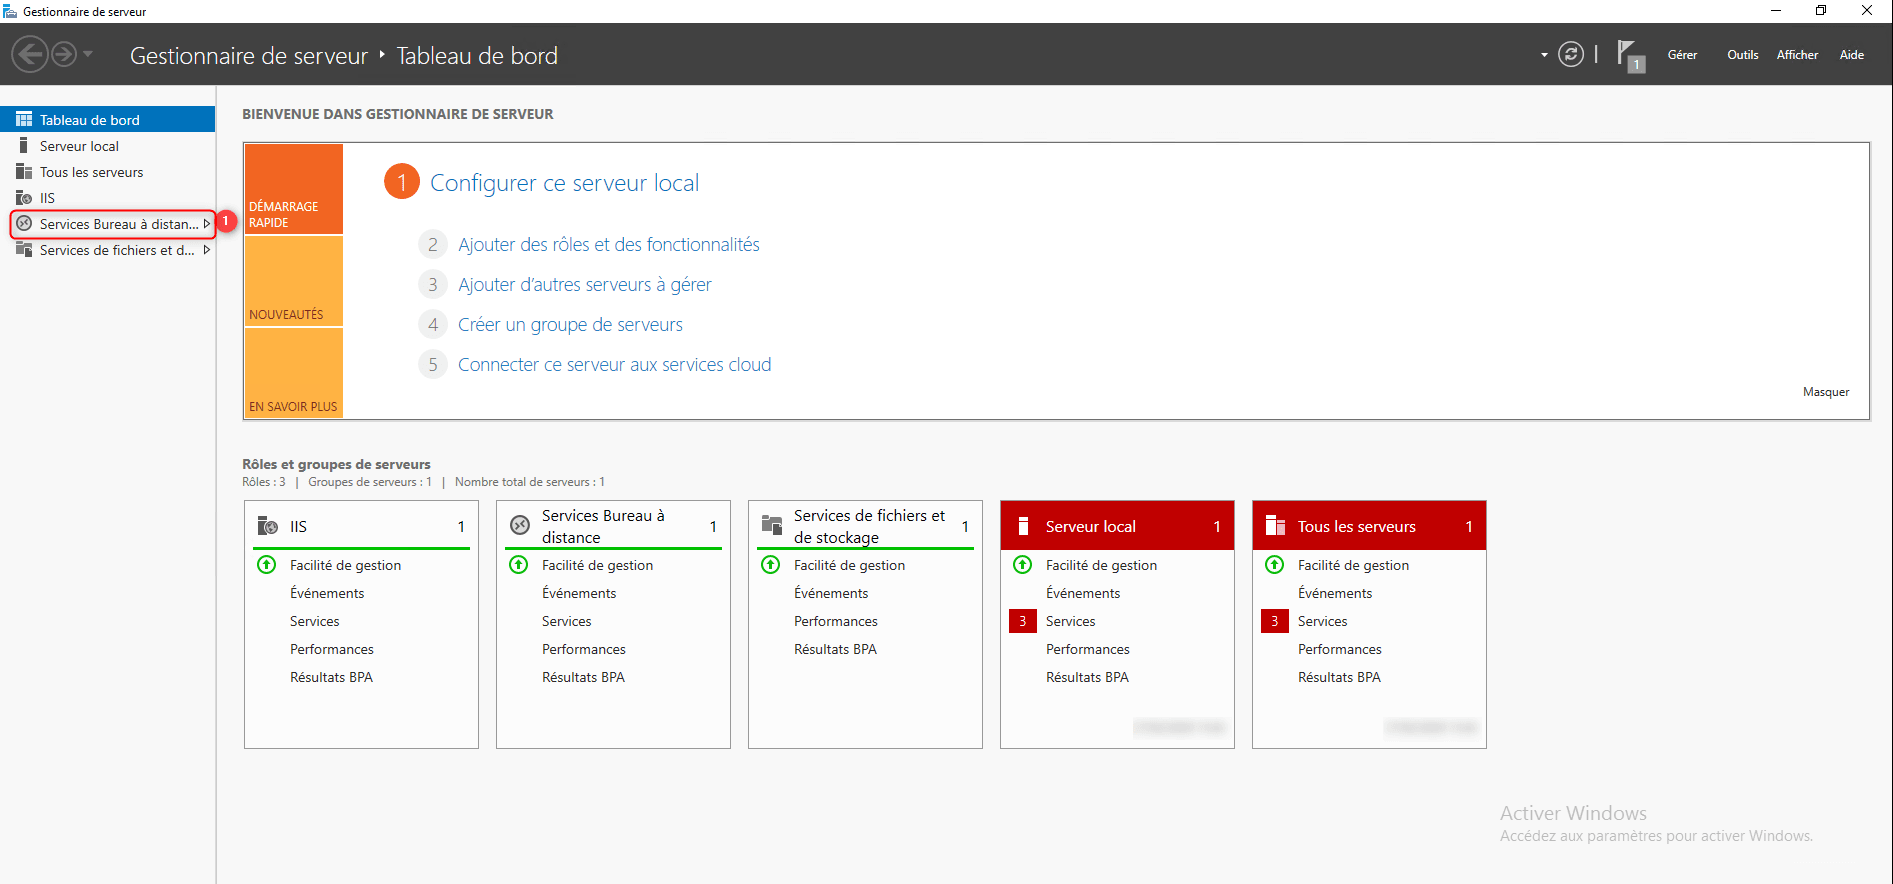
All remote office services can be administered from this part.

On the screenshot above, we can see the collection configured automatically. A synthetic diagram of the RDS deployment is available for a quick overview.
Collections
From the remote desktop management section, click on Collections 1.
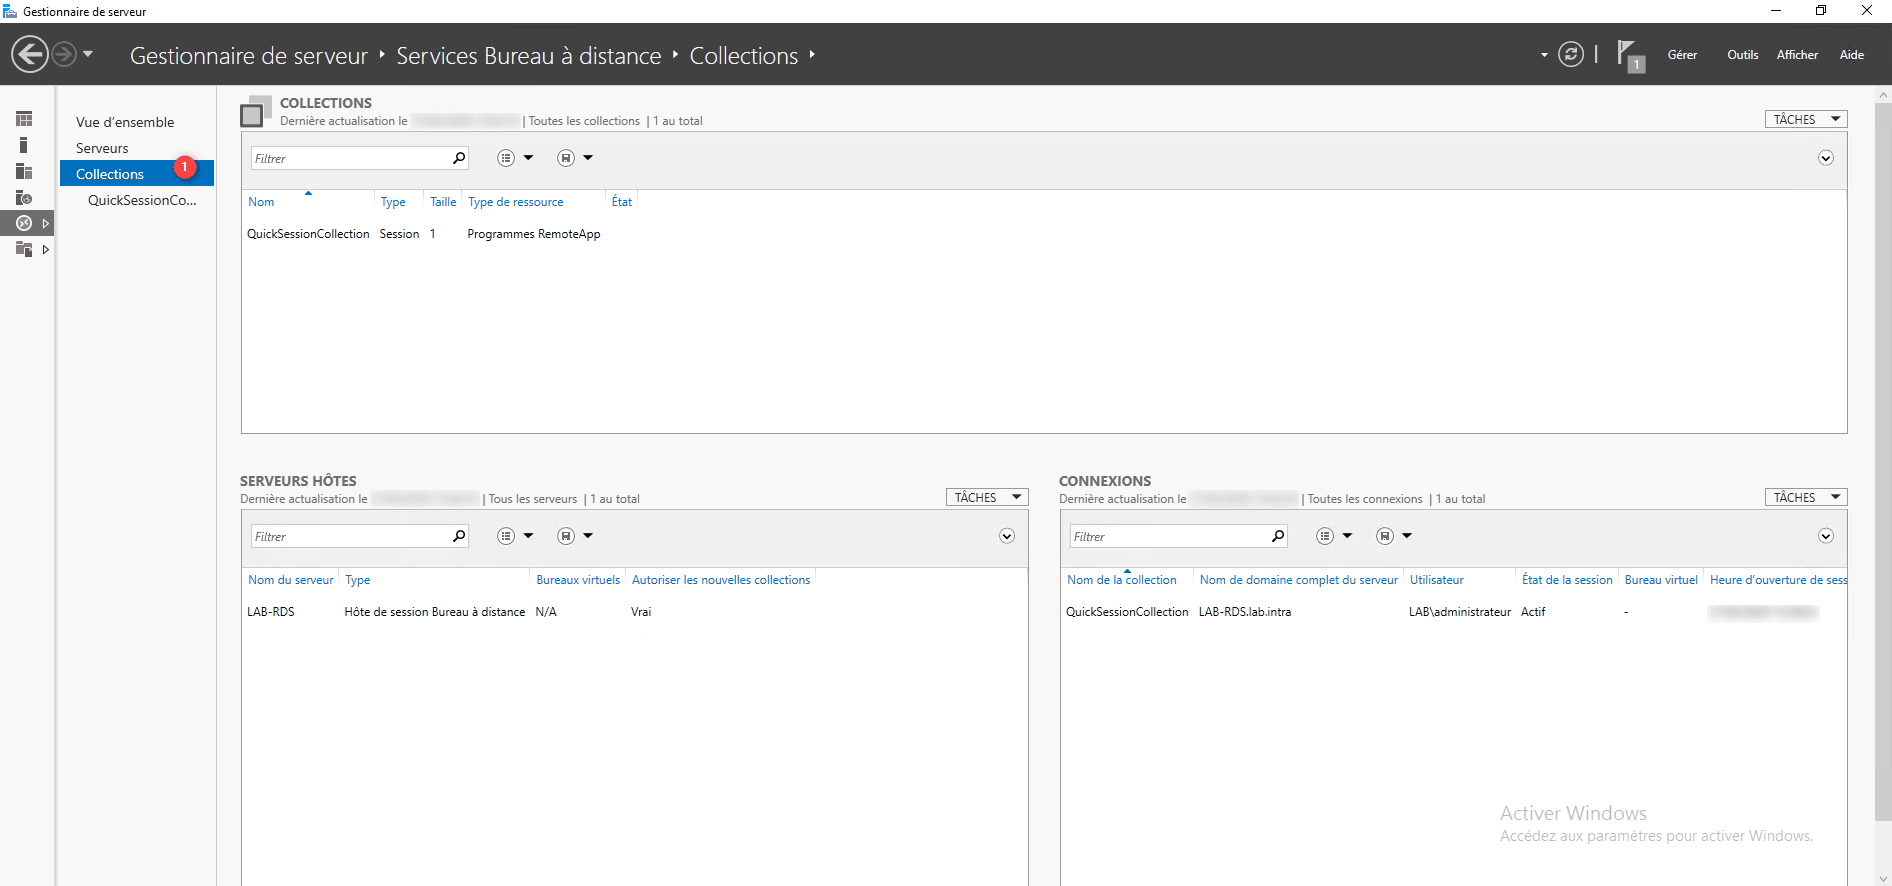
In this part, we can see the remote desktop session host collections and server. We see the QuickSessionCollection collection.
Tip: it is possible in the same server manager to administer several RDS servers.
Click on the QuickSessionCollection 1 session to access the details.
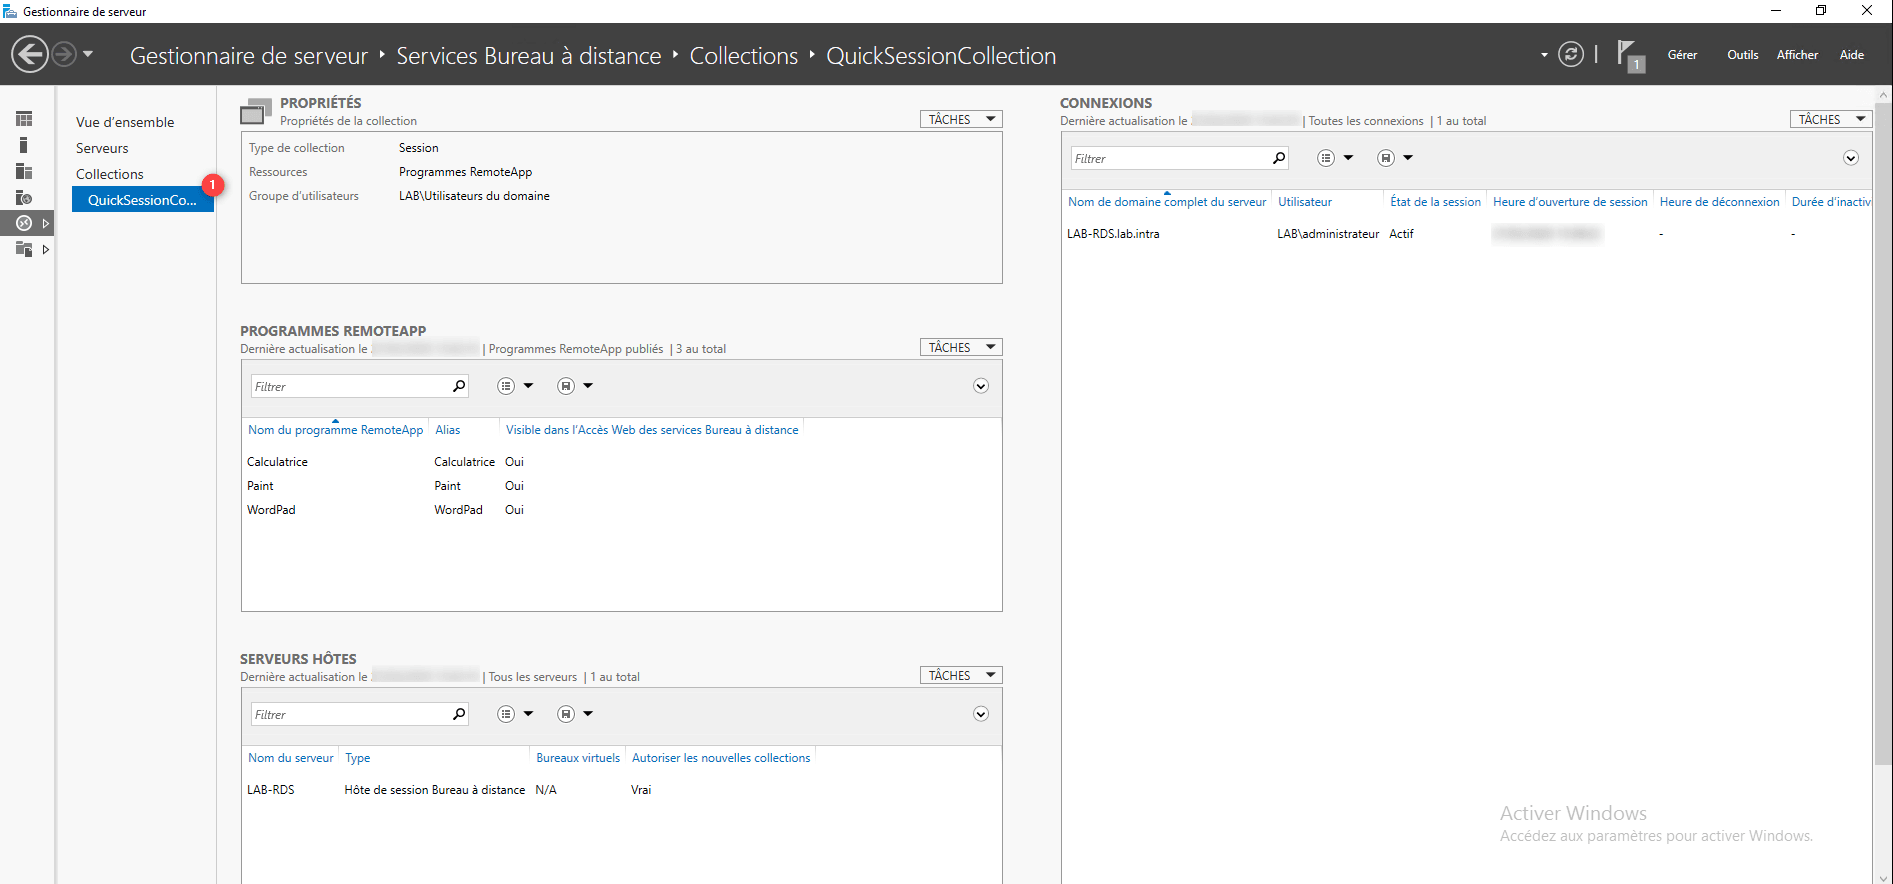
This section displays an overview of the configuration, we can see that the collection is available to all users of the domain and that 3 RemoteApps are published.
Installation and configuration of the license server
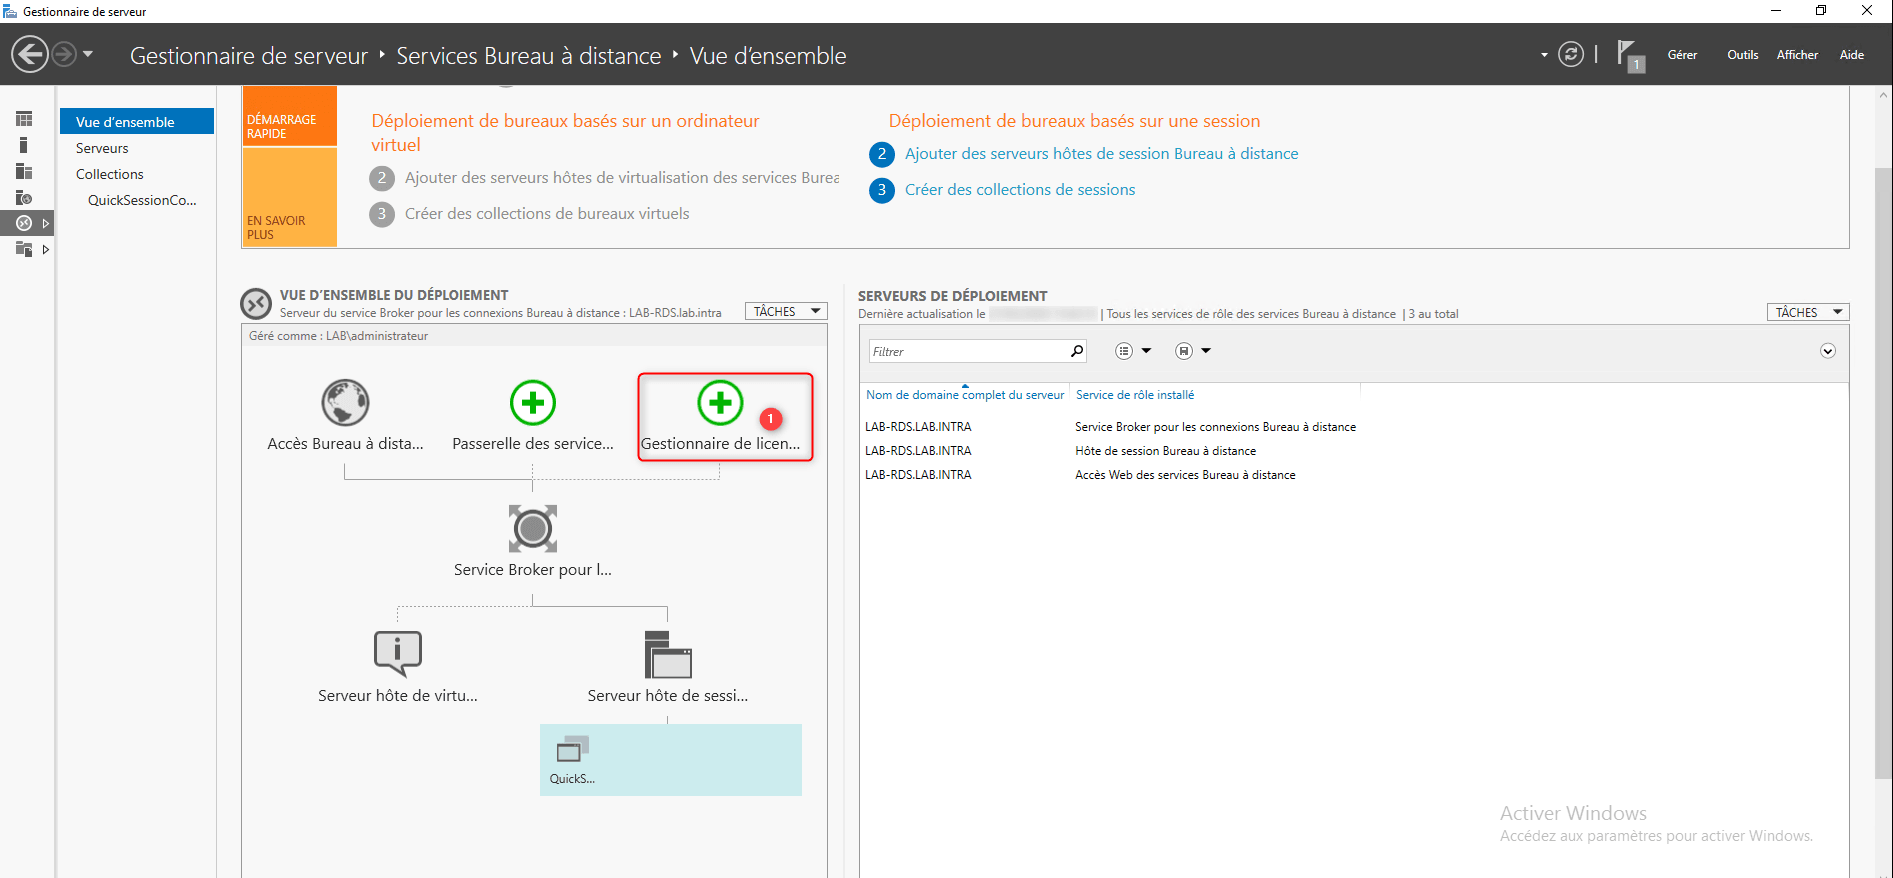
From the deployment overview, click on License manager 1 to launch the installation wizard.
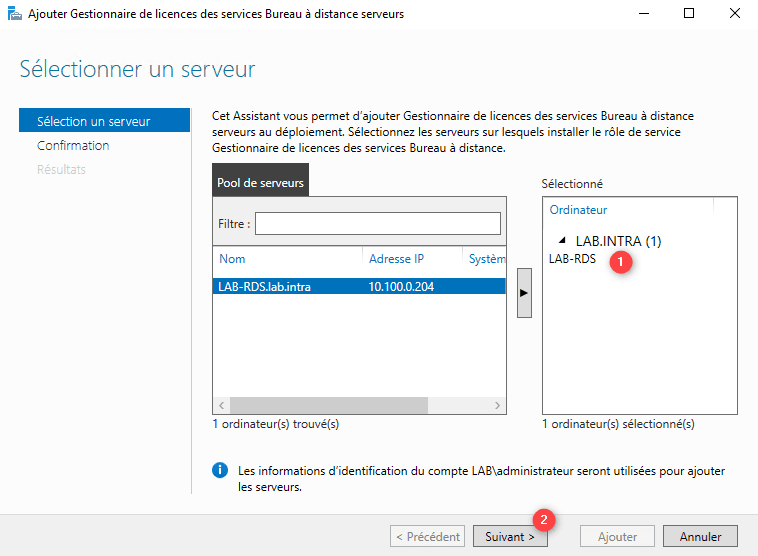
Select the RDS server 1 and click on Next 2.
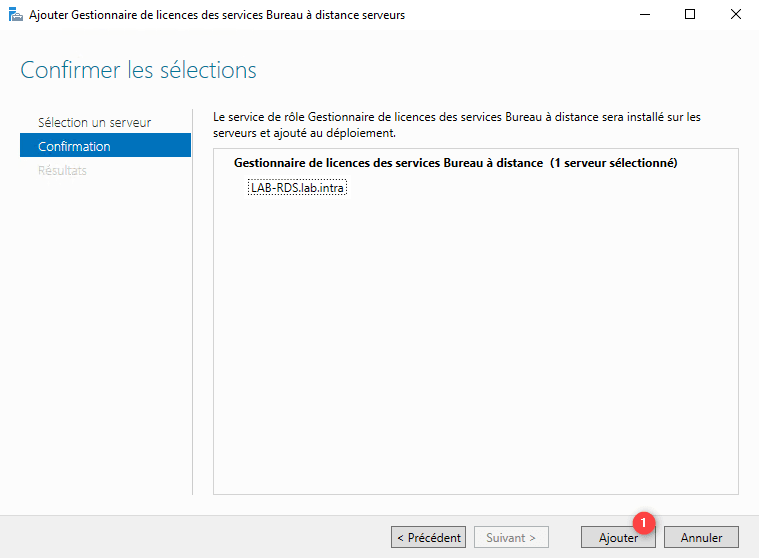
Confirm the installation of the license server by clicking on Add 1.
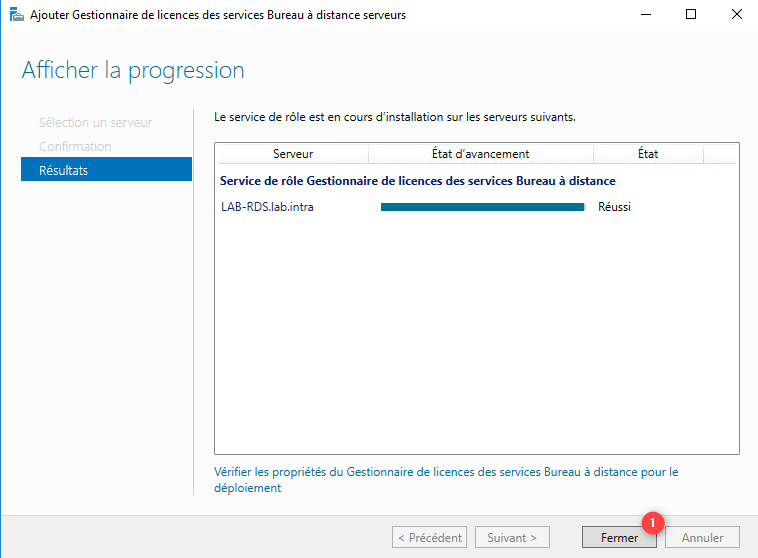
Once the installation is complete, exit the wizard by clicking on Close 1.
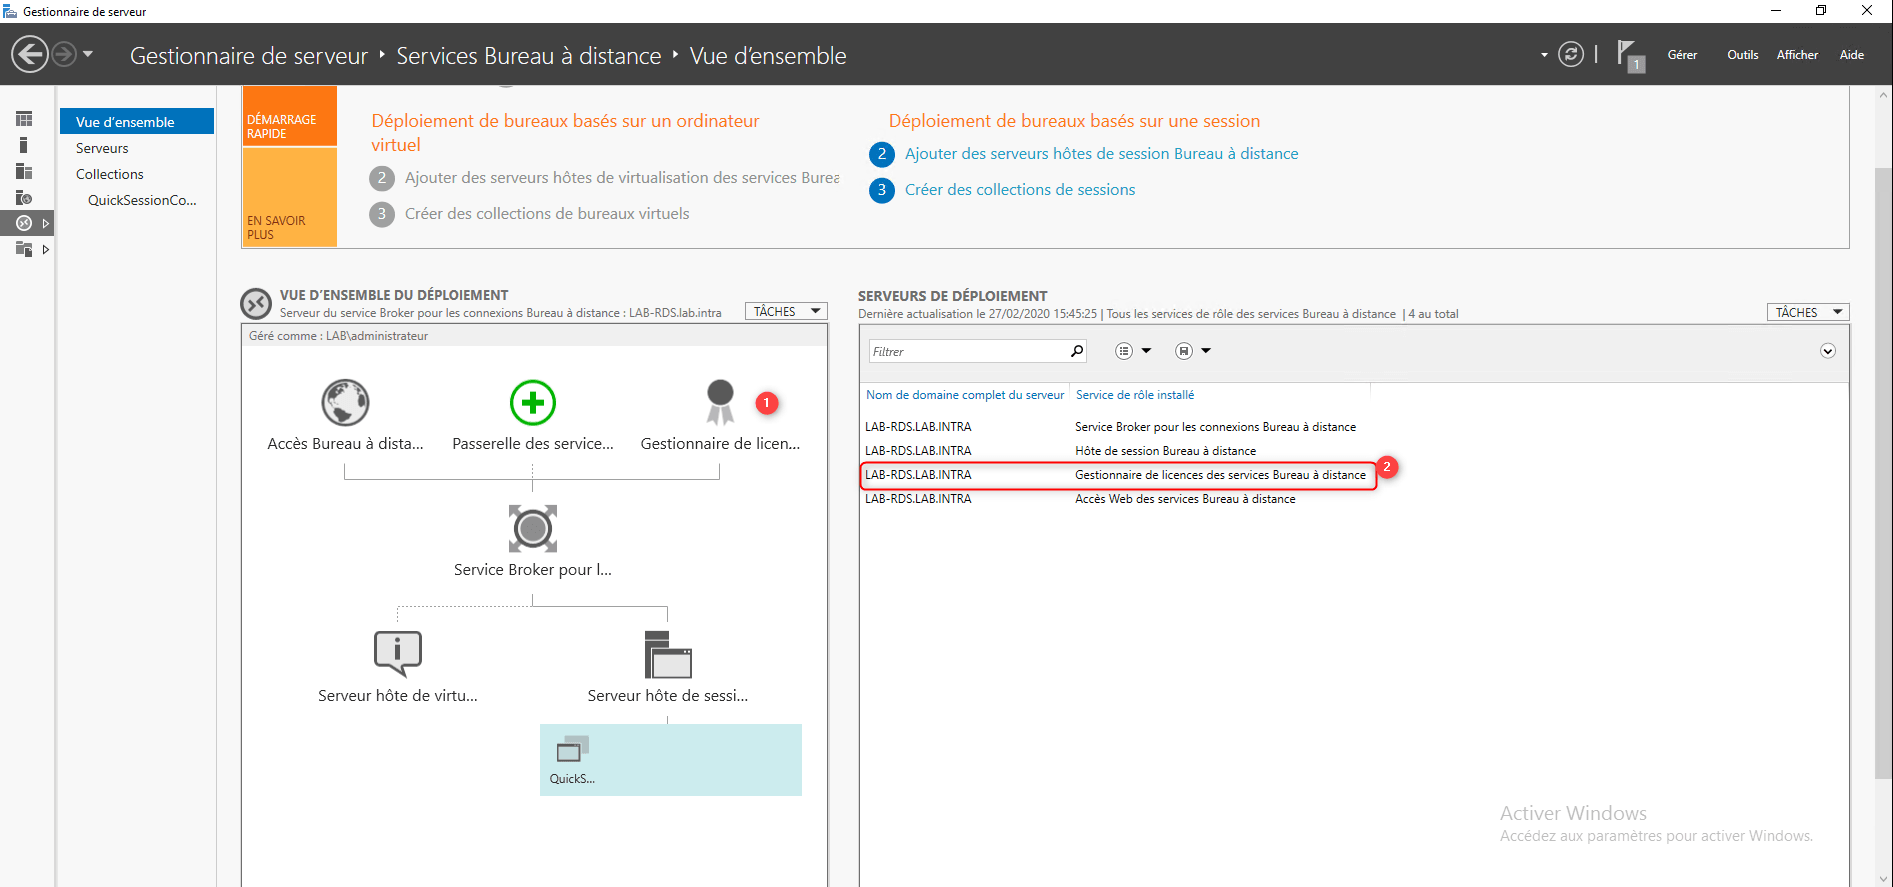
In the RDS deployment scheme, the license manager is available 1 and we can see that it is installed on the LAB-RDS server 2.
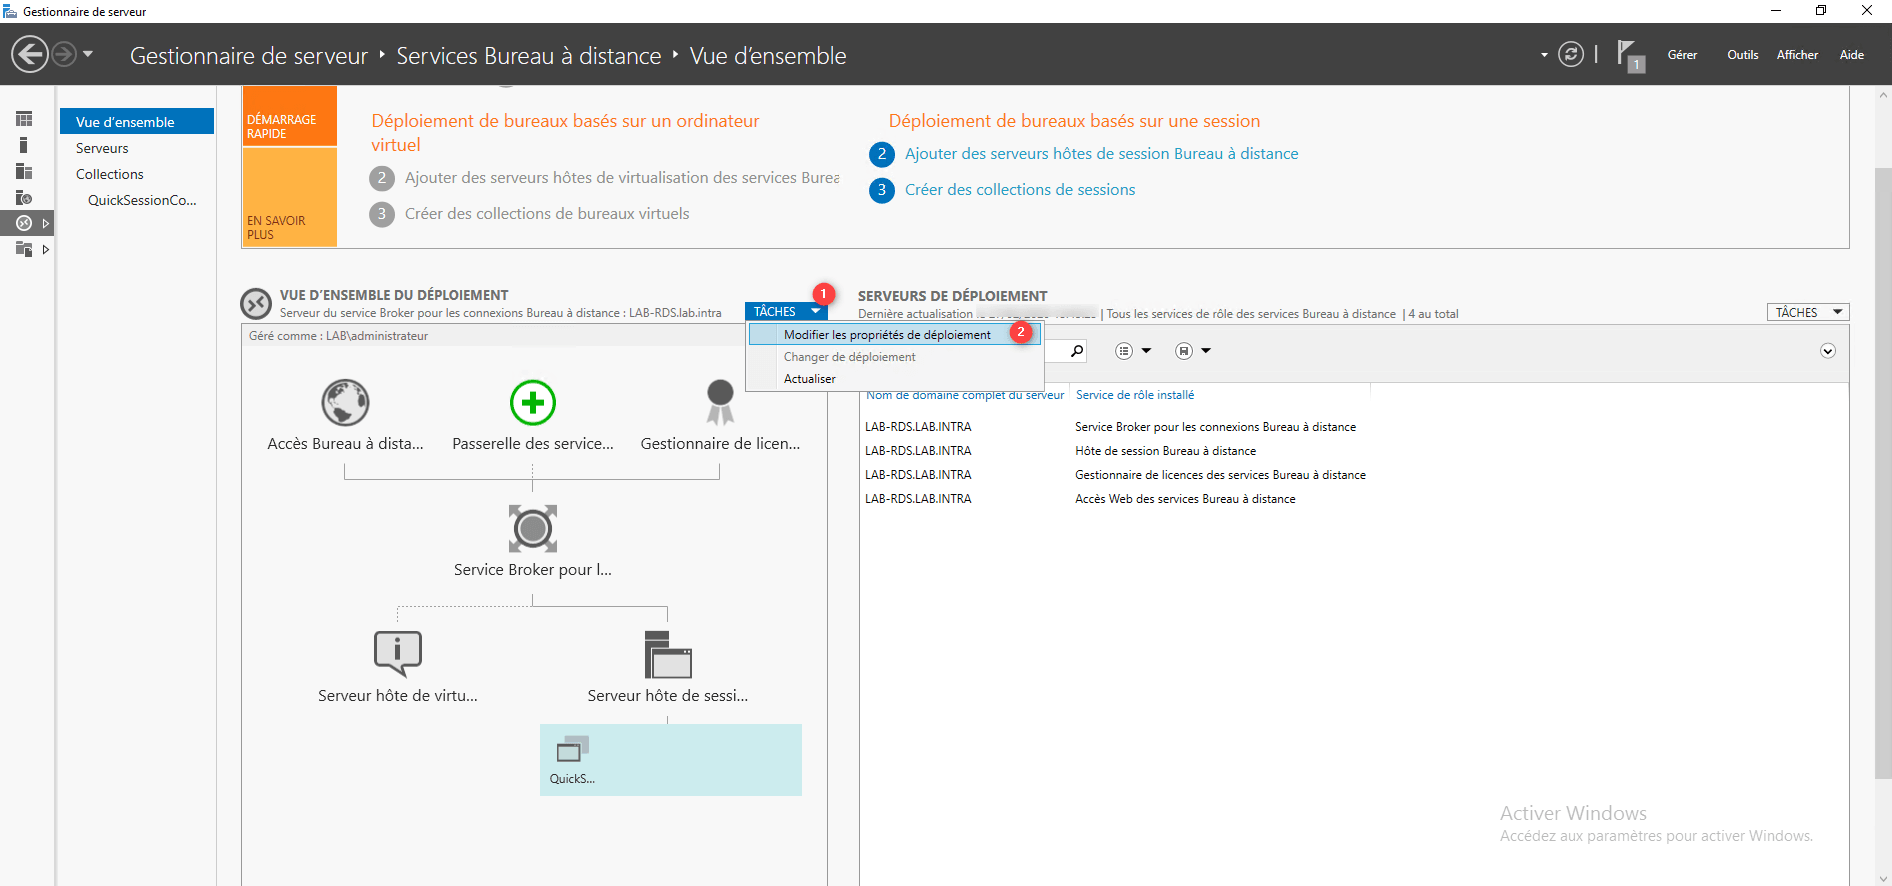
Now you need to configure the license mode, the license mode will depend on the type of CAL you have. Click on TASKS 1 and click on Modify deployment properties 2.
Go to License manager 1, choose the type of license 2 then click on Apply 3 and OK 4 to validate the configuration.
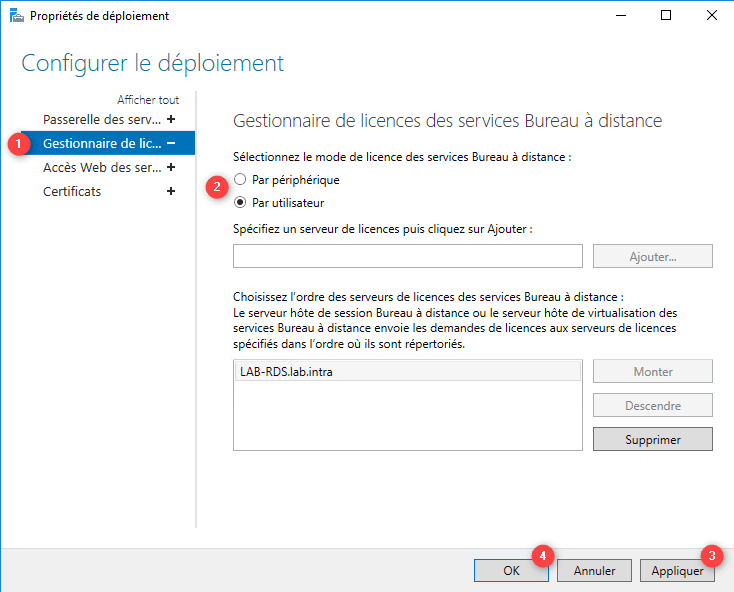
We can see that the server was added automatically in the available license servers.
Use Remote Desktop Services (RDS)
In this part, we will see how to use remote desktop services.
Remote desktop connection
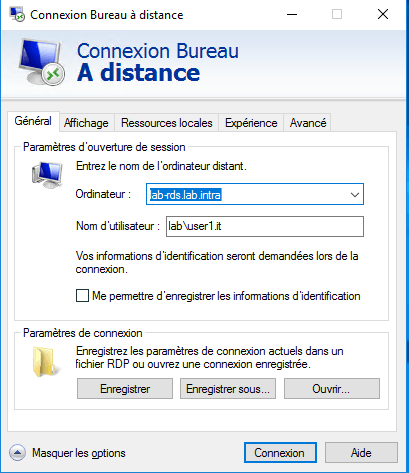
On a computer, launch an RDP client and enter the DNS name of the RDS server and domain user.
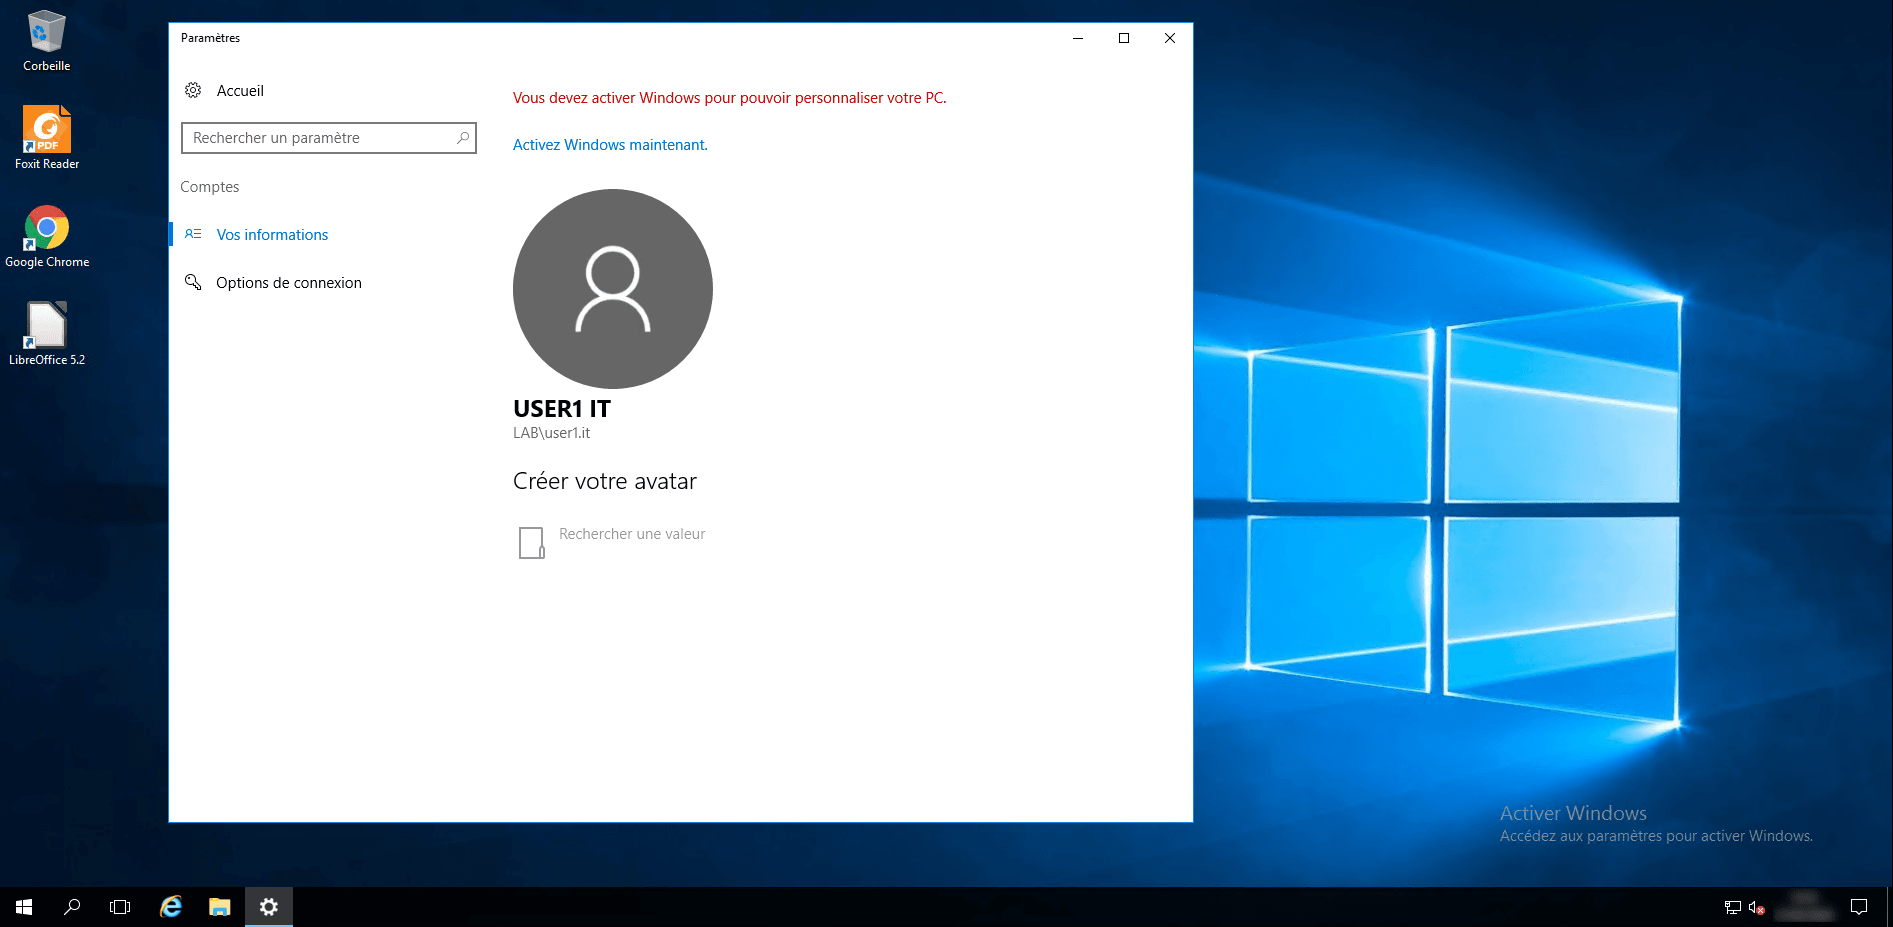
Enter the account password and validate the certificate alerts, the desktop must open on the RDS server.
Web access to RemoteApp
RemoteApps are applications launched from the server, the user only sees the application as if it were running locally on their computer.
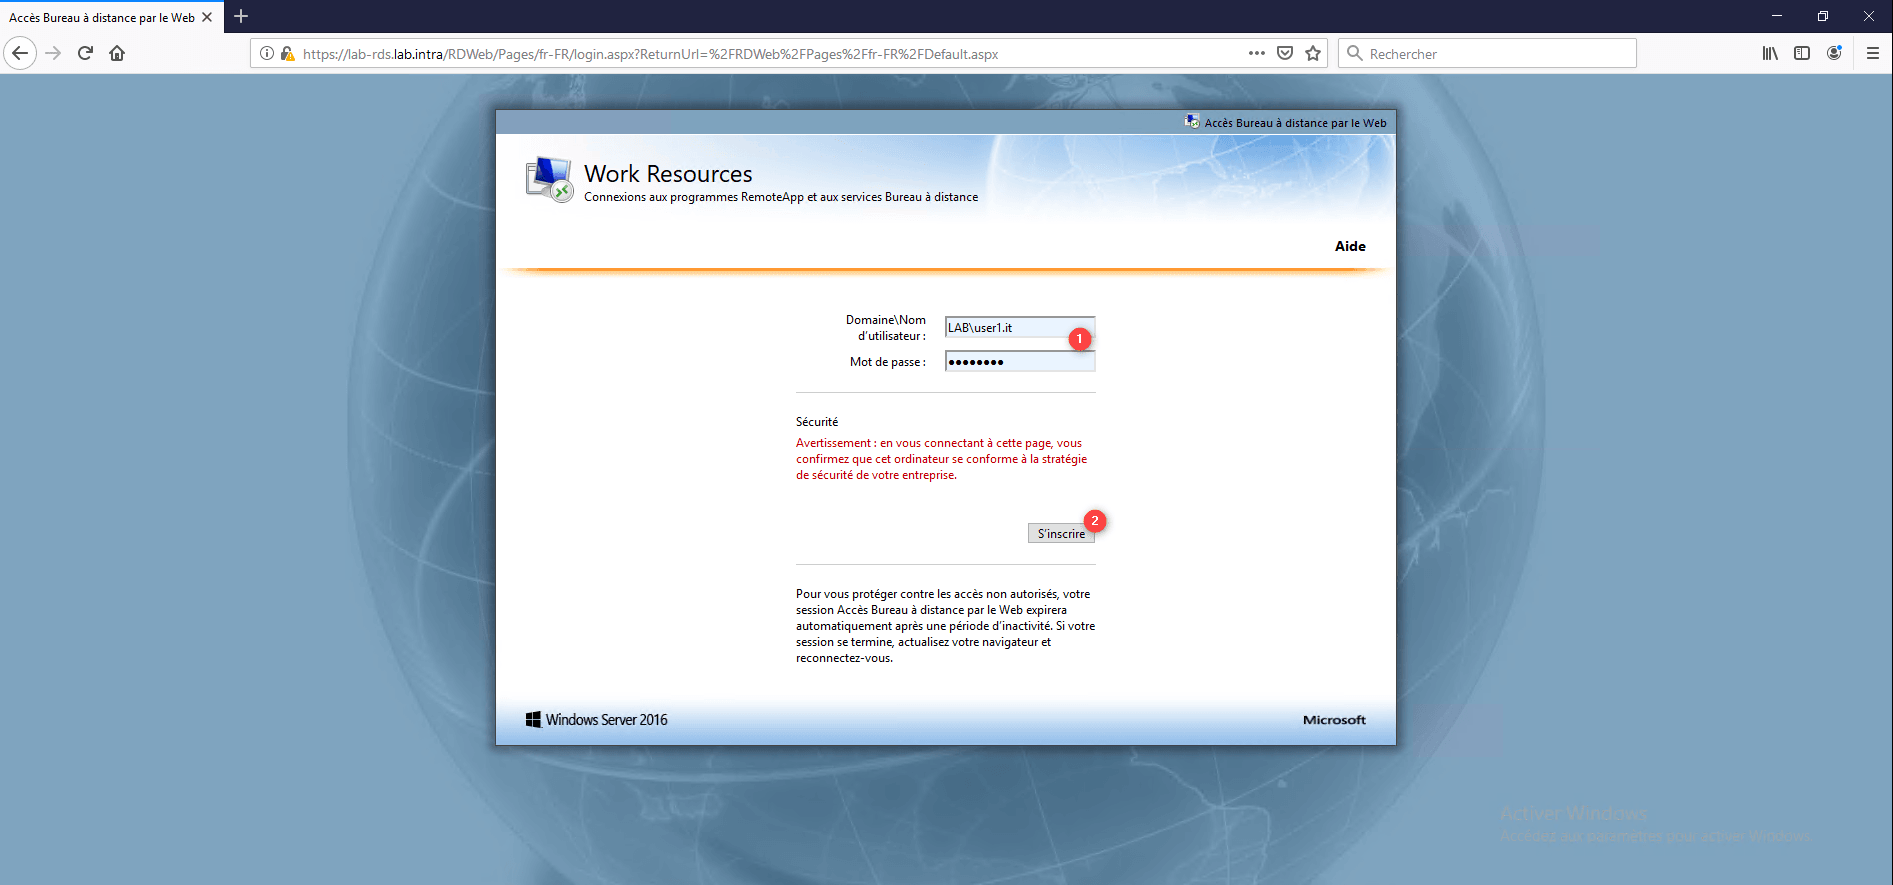
From a computer, launch a browser and enter the url https://fqdn-server-rds/rdweb.
On the authentication page, enter the information of a user from the domain 1 and click on the Register 2 button.
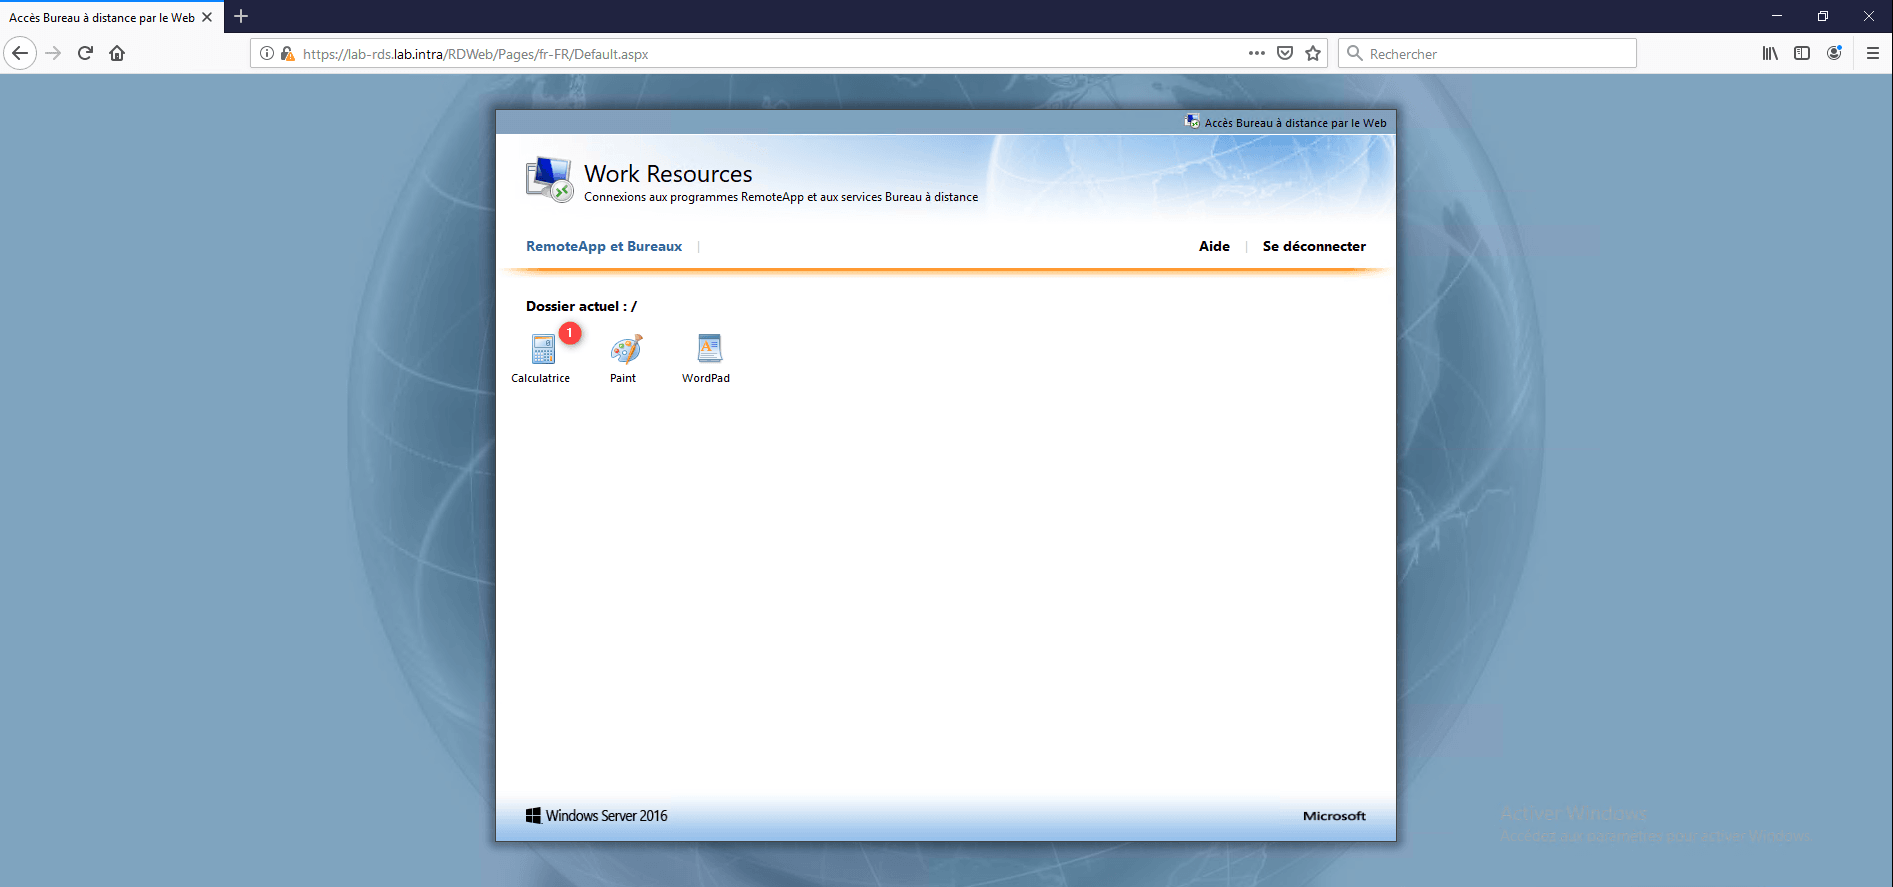
Click on the application to run, (and / or) download the rdp file and run it.
Wait while opening the session and opening the application …
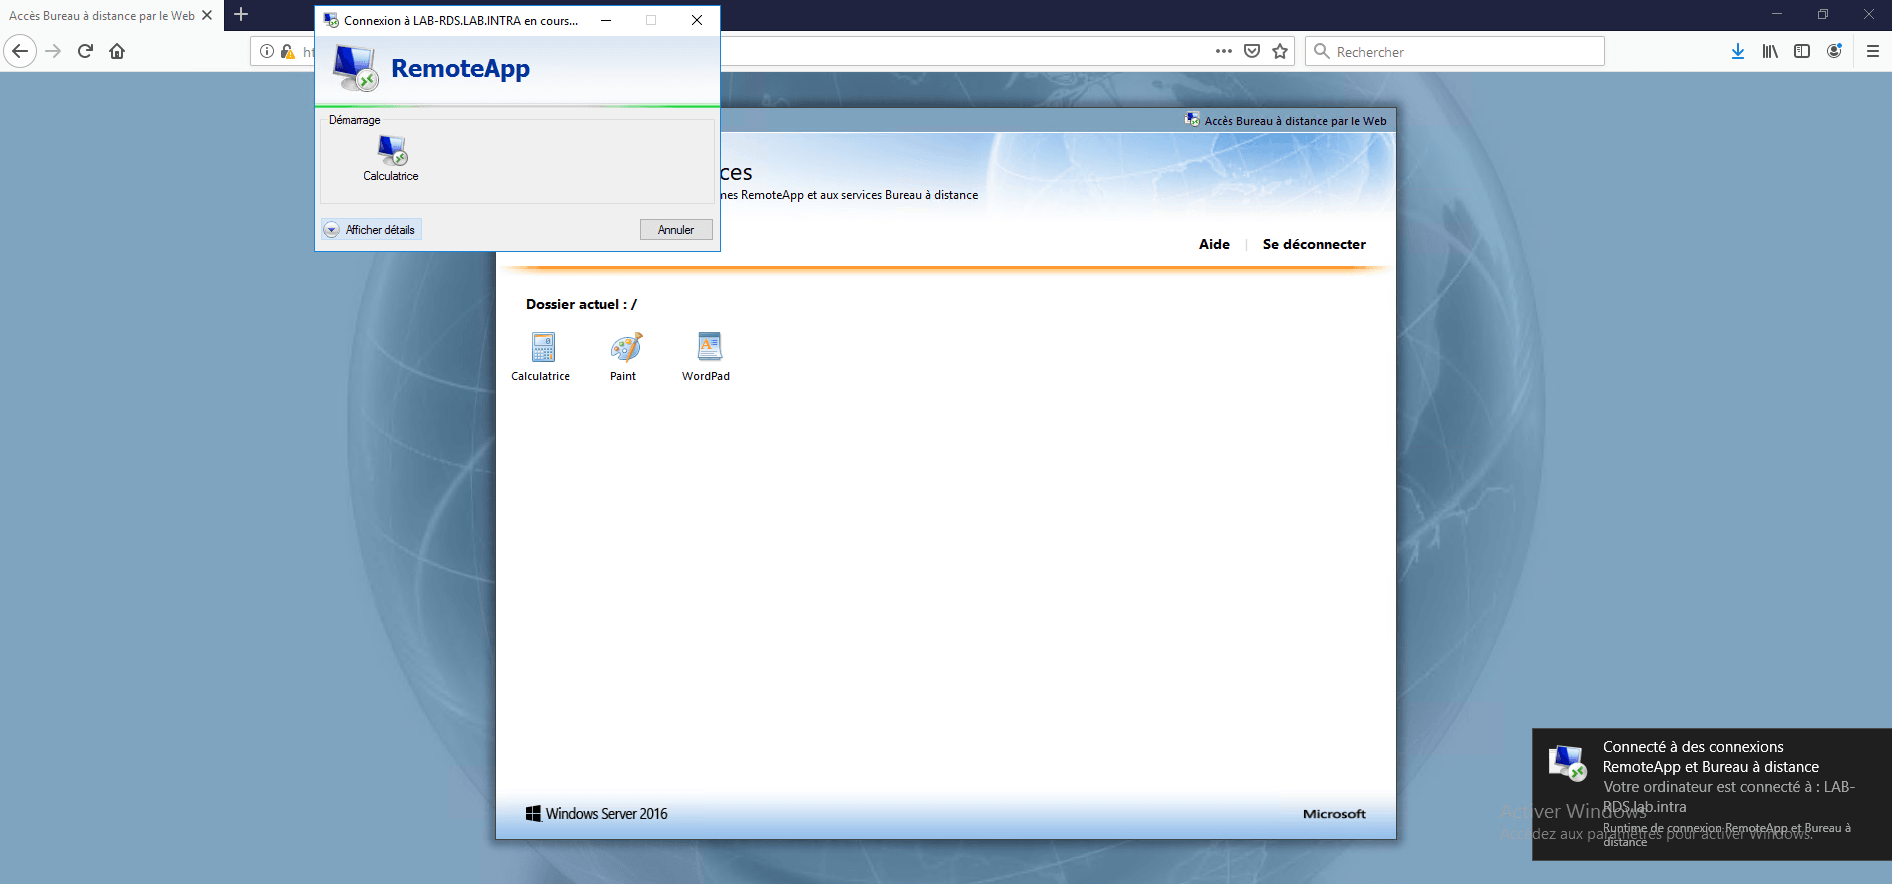
The application (the calculator) is run from the server, in the taskbar, we see that on the icon of this one a round logo is displayed to indicate that the application is launched from an RDS server.

Complements
Many tutorials on RDS environments are available on the site.
Here is a list of links to complete this tutorial: