Introduction
In this tutorial, I will tell you how to activate Bitlocker with a TPM chip.
Bitlocker is a feature of Windows that allows you to enable encryption of a hard drive in order to secure data.
The TPM chip is a hardware chip which will store the decryption key and which is specific to the computer.
It is also possible to activate the unlocking (decryption) using a code when Windows starts up.
In the tutorial configuration, no unlock code is requested at startup.
Before going into details, I’ll explain why you should enable encryption with a TPM chip.
This solution is especially useful in the event of loss or theft of your computer to protect the data on it provided you have a strong password so that it is not broken, if the disc is installed in another computer. , you will need to use the decryption key to access the data.
It is possible on generation 2 computers with Hyper-V, to add a virtual TPM chip to encrypt hard drives to increase the security of sensitive data.
Before you enable Bitlocker on a production server that is backed up, verify that your backup software supports Bitkocker. Often granular restoration is not available.
For the tutorial, I used a virtual machine under Hyper-V, on a physical computer, I let you check in the technical specifications of this one if it is equipped with a TPM chip.
You must also provide a USB key or another disk for storing the file containing the decryption key.
Add a TPM chip to a Hyper-V virtual machine (optional)
The addition of the component must be done with the computer off.
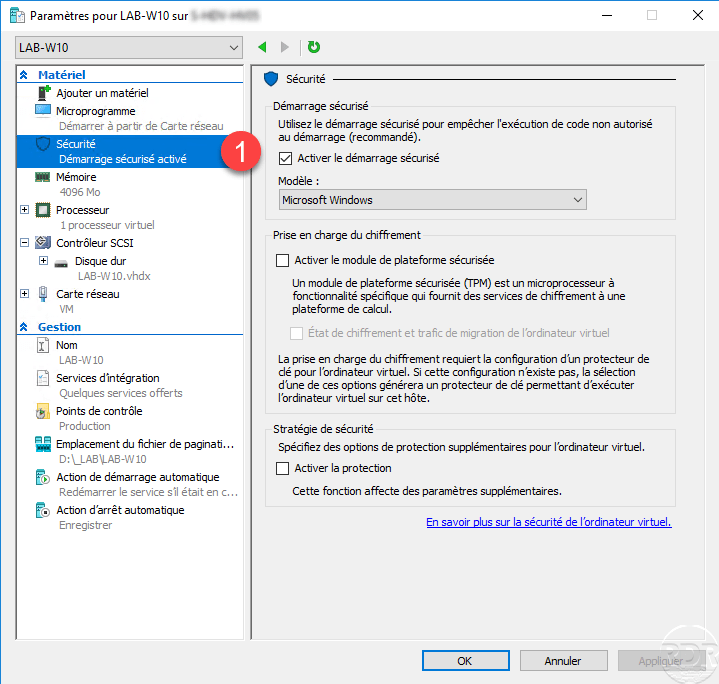
Open computer settings and go to Security 1.
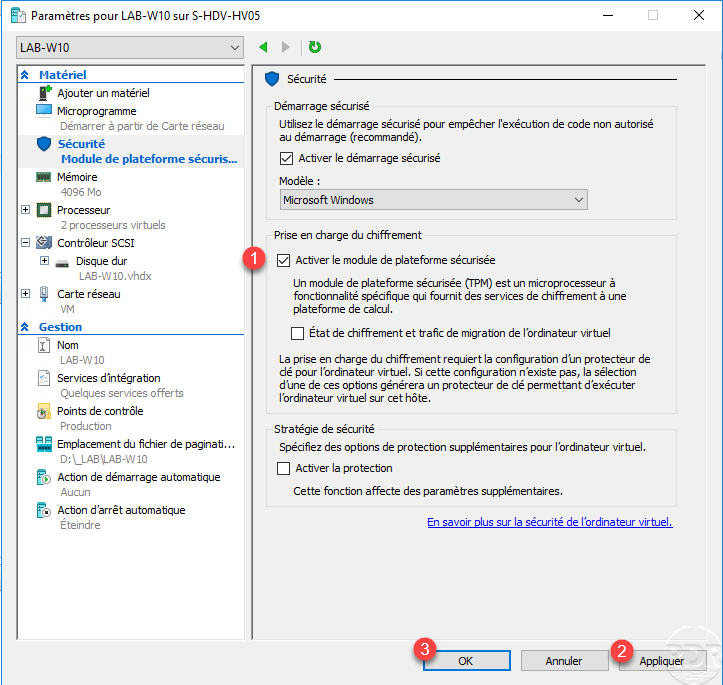
Check the box Enable Trusted Platform Module 1 and click Apply 2 and OK 3.
Check the presence of a TPM module
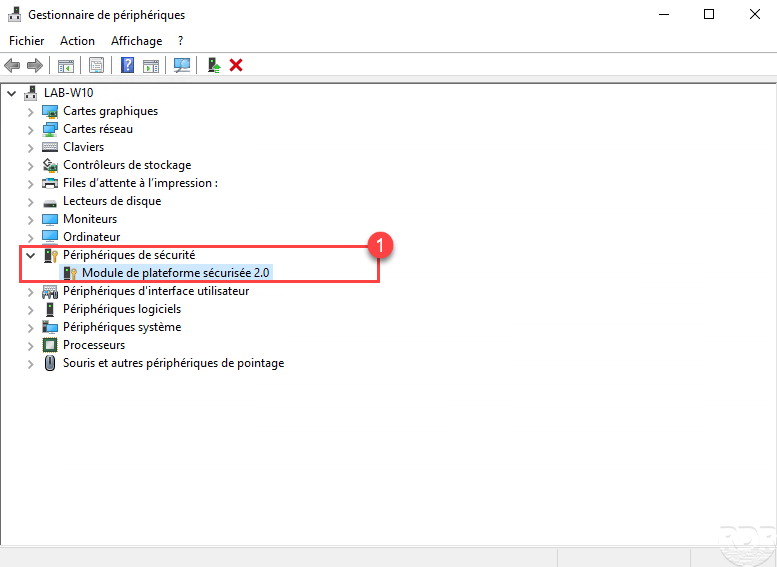
From Device Manager, check for the presence of Trusted Platform Module 2.0 1.
Activate Bitlocker
Open file explorer.
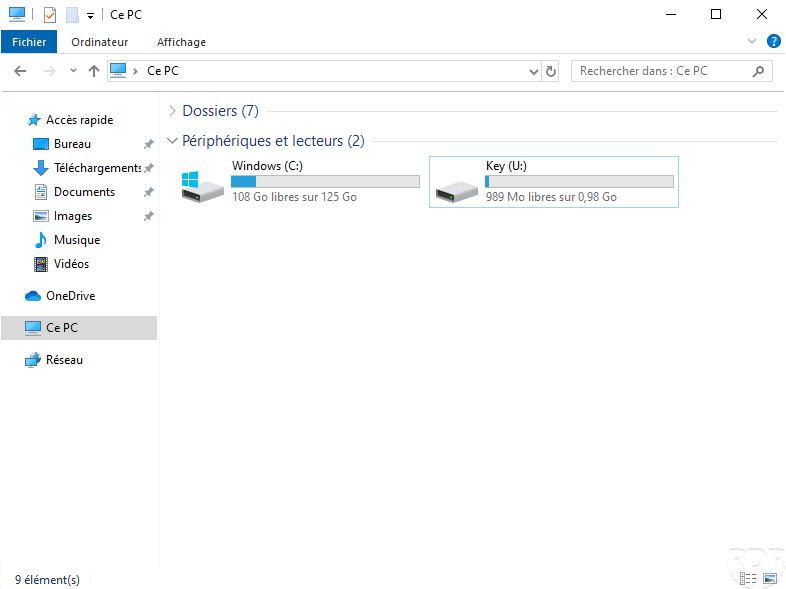
Connect a USB key before moving on, or in the case of a virtual machine add a virtual disk
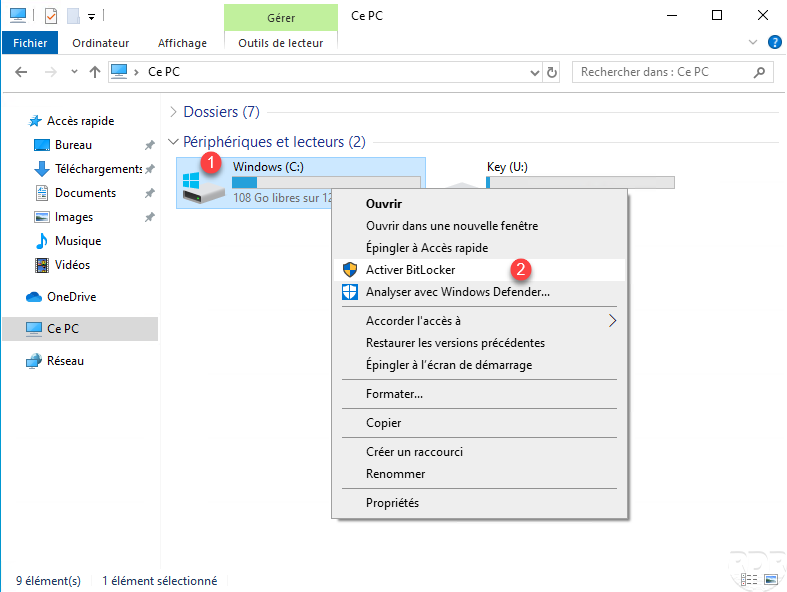
Right click on drive 1 and click on Activate Bitlocker 2.
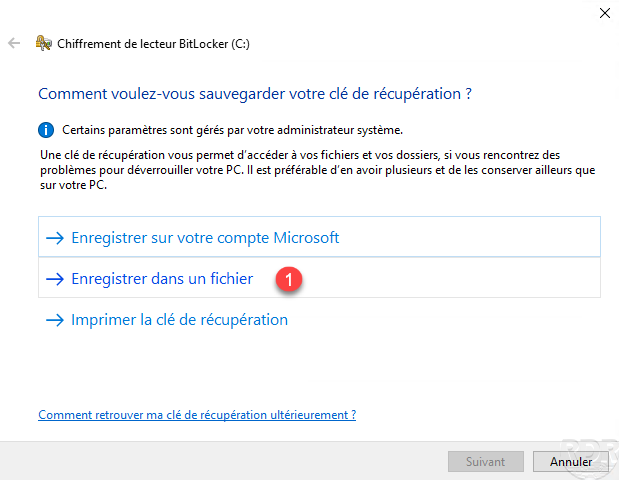
Once the wizard has started, the first step is to save the recovery key, click on Save in a file 1.
Save 1 the file containing the recovery key.
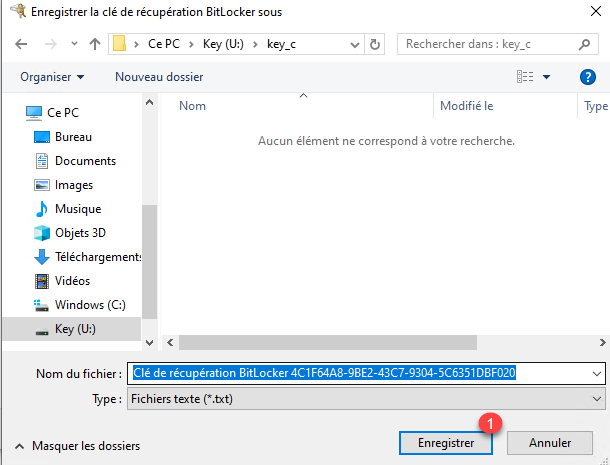
The file must be placed in a folder, it is not possible to save it to the root of a drive.
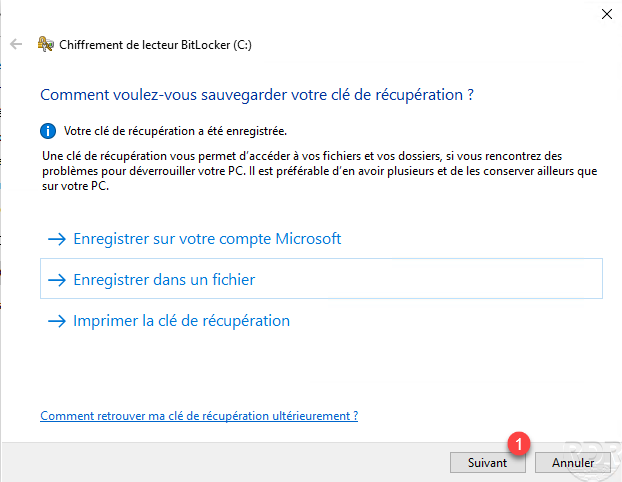
Click on Next 1.
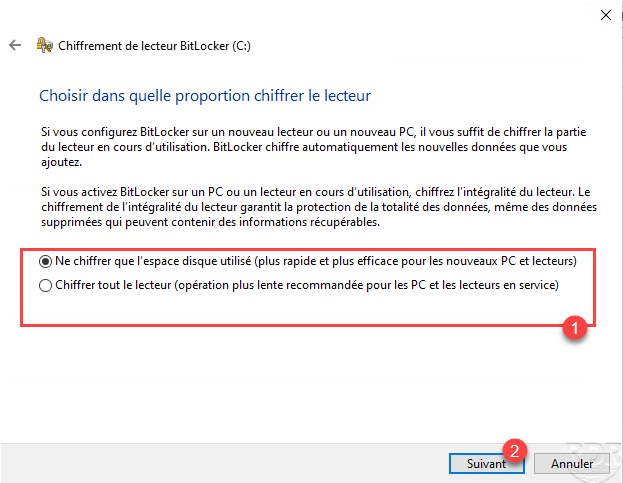
Choose whether you want to encrypt the entire disk or just the used space 1 and click Next 2.
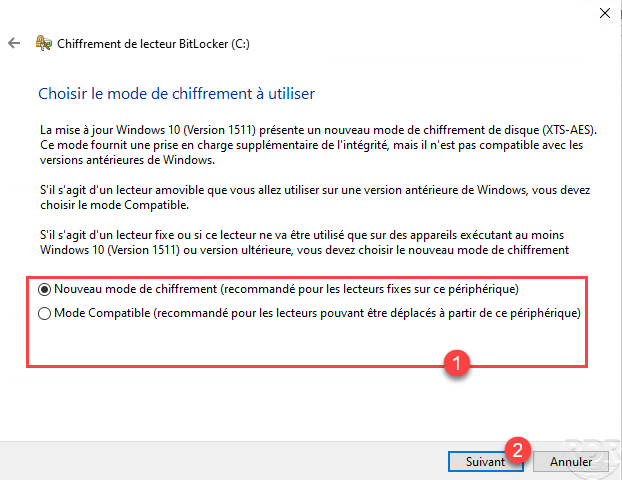
Choose Bitlocker encryption mode 1 and click Next 2.
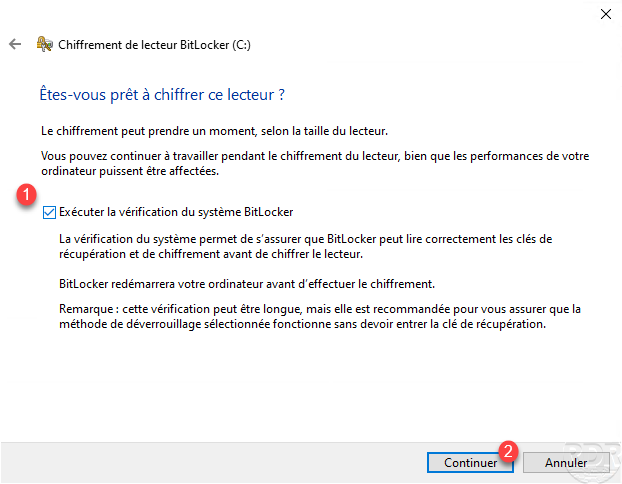
This option is optional, but I recommend that you check the Run Bitlocker System Check 1 box and click Continue 2.
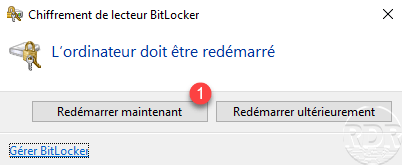
Click on Restart now 1, encryption will start after restarting the computer.
Wait during the restart, when it is done, open a session.
Open the file explorer and display the drives, a padlock is displayed on the drive where Bitlocker is enabled 1.
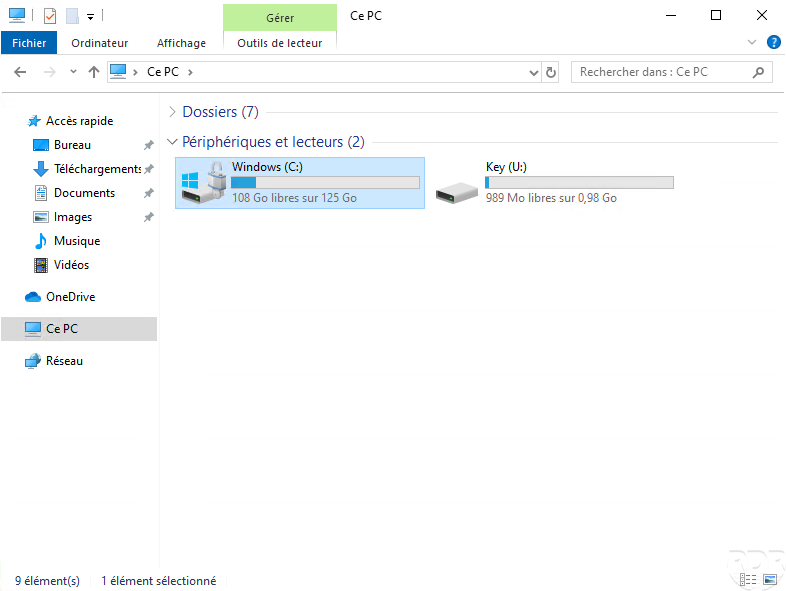
It is possible to follow the progress of the encryption by clicking on the icon in the notification area.
Conclusion
Bitlockler is a solution integrated into WIndows which increases the level of data security. Encryption of drives has an impact on performance, on SSD-type disks, this is hardly felt, on the other hand on entry-level laptops equipped with hard disks at 5200 rpm the loss of performance can be make feel.
I advise you to activate Bitlocker on laptops to provide an additional bulwark for the protection of your data, whether professional or personal, in the event of loss or theft. It is also recommended to enable it in shared cloud environments to limit data theft.
In business, it is possible to save the recovery key in the Active Directory.