


Intro
In this tutorial, we will see how to install the Admin Center in gateway mode.
As a reminder, the Admin Center is a Web interface that allows the administration of Windows servers using WinRM.
From the Admin Center, it is almost possible the same as with the graphical interface:
- Monitor a set of servers
- Install roles
- Change network configuration
- …
The Admin Center offers a graphical interface for the administration of a hyperconverged infrastructure.
Installation in Gateway mode, requires a dedicated Windows 2016/2019 server for the Admin Center
Unlike the local mode, that is to say that the Admin Center is directly installed on your Windows 10 computer (tutorial on Windows 10), the gateway mode will allow you to dedicate a server to the Admin Center which will be accessible by a Internet browser from any compatible Internet browser. This amounts to dedicating a server to management.
Below, an infographic from the Microsoft site that allows you to view the different types of deployment possible.
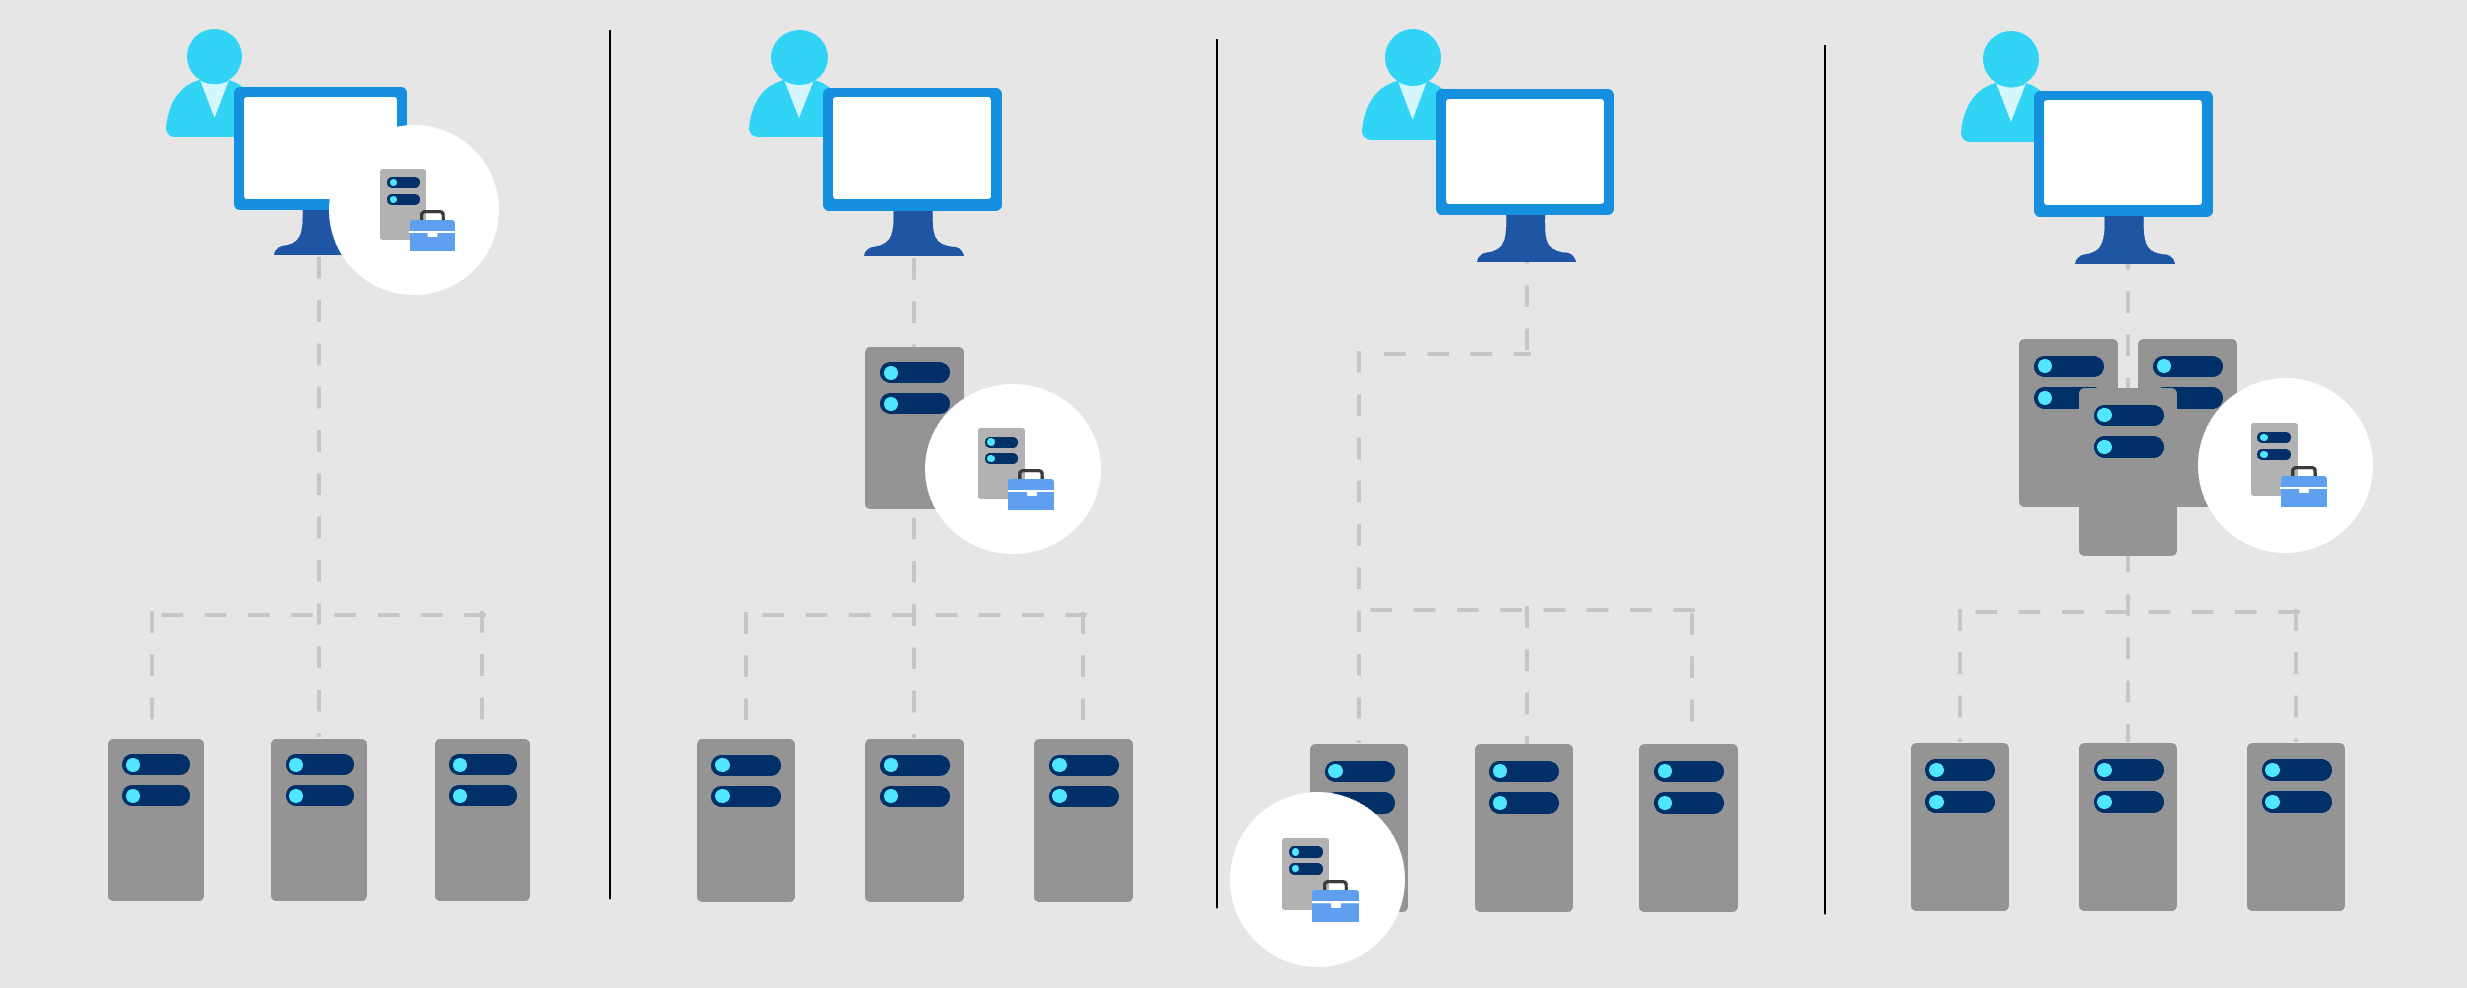
During installation, no configuration is necessary, installation in Gateway mode is automatic from the moment the Admin Center is installed on a Windows 2016/2019 server.
Prerequisites
A Windows 2016 or 2019 server preferably dedicated to the Admin Center and joined to the Active Directory domain.
If you want to install the Admin Center on a non-dedicated server, this must not be a domain controller and must not have the IIS role installed.
Download the latest version of the Admin Center from the Microsoft website : https://www.microsoft.com/fr-fr/evalcenter/evaluate-windows-admin-center
Admin Center Installation
Run the download file from the server.

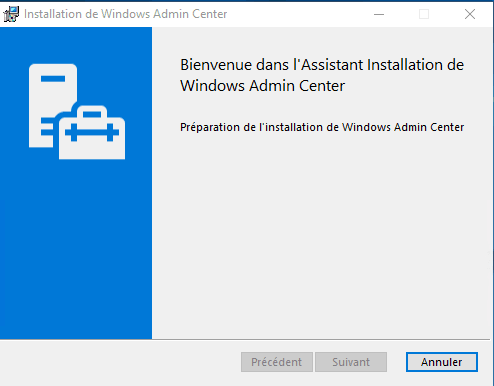
Wait while the installation wizard loads and initializes.
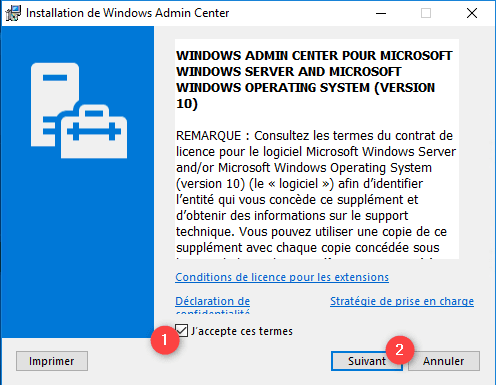
Check the box to accept the license 1 and click Next 2.
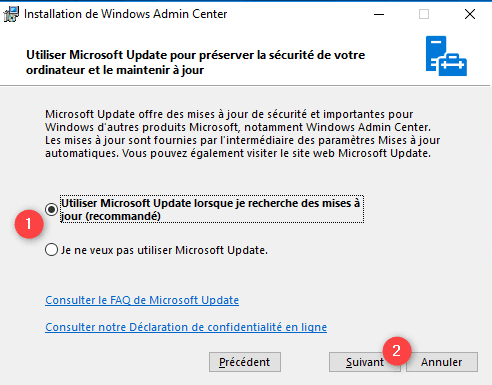
Choose the configuration for receiving updates 1 and click Next 2.
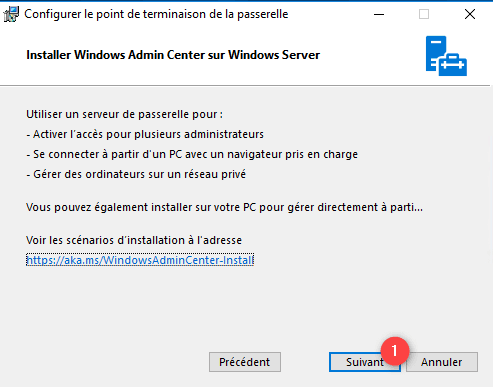
The wizard summarizes the installation in gateway mode, click on Next 1.
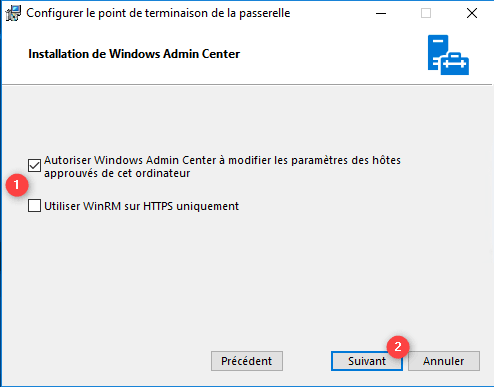
Configure the behavior of the Admin Center remote access 1 and click Next 2.
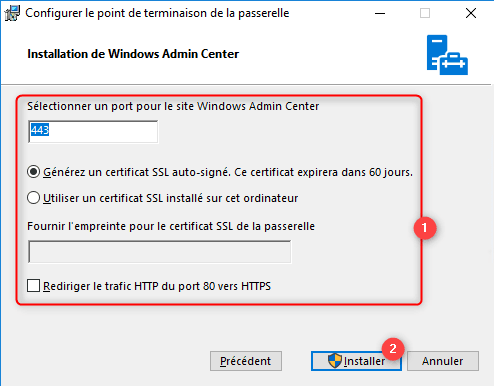
Configure the web server 1 and click on Install 2.
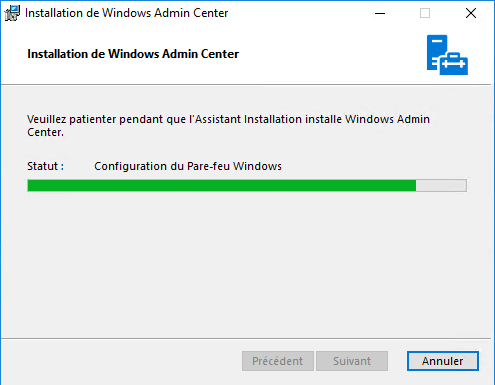
Wait during installation …
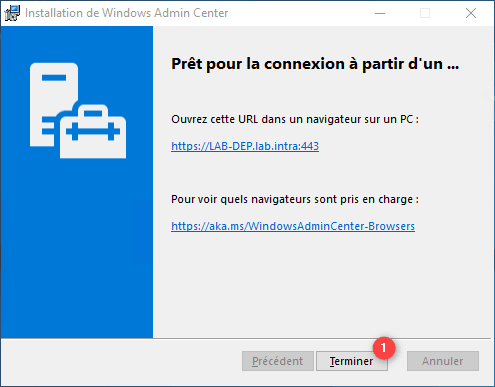
Once the installation is complete, exit the wizard by clicking on Finish 1.
Use the Admin Center
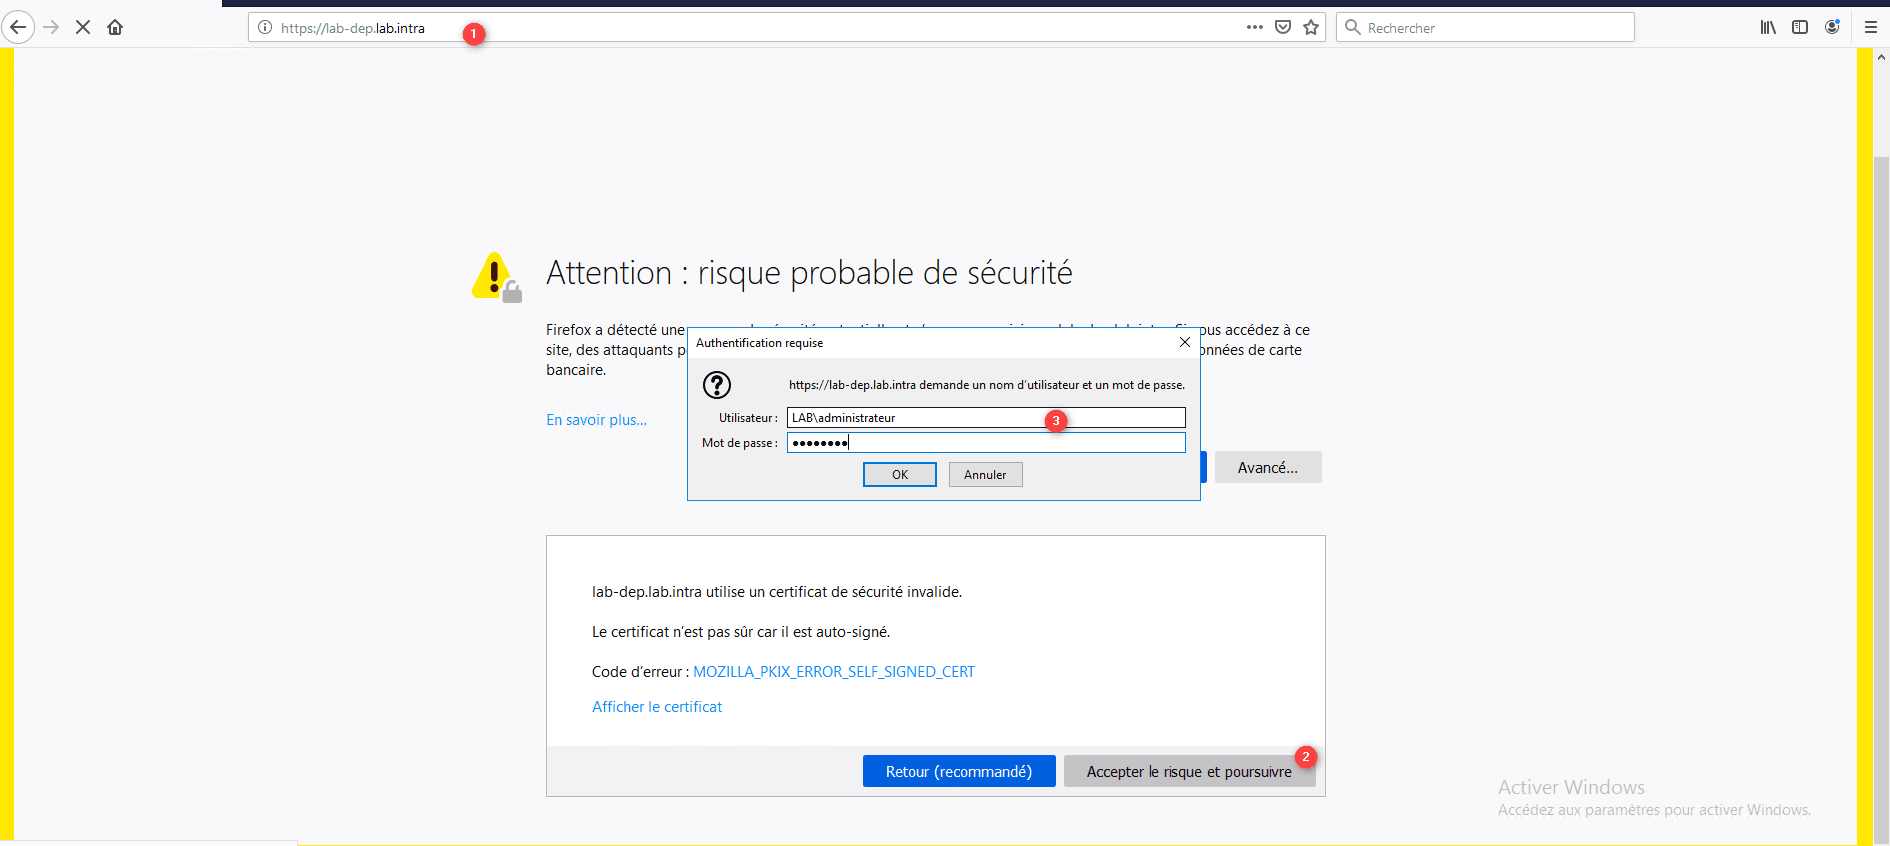
Launch a compatible browser (IE Edge, Google Chrome, Firefox) and enter the server name https: // fqdn-srv-admin-center 1, accept certificate alerts 2 and enter the credentials 3 of an account having the rights to administer servers.
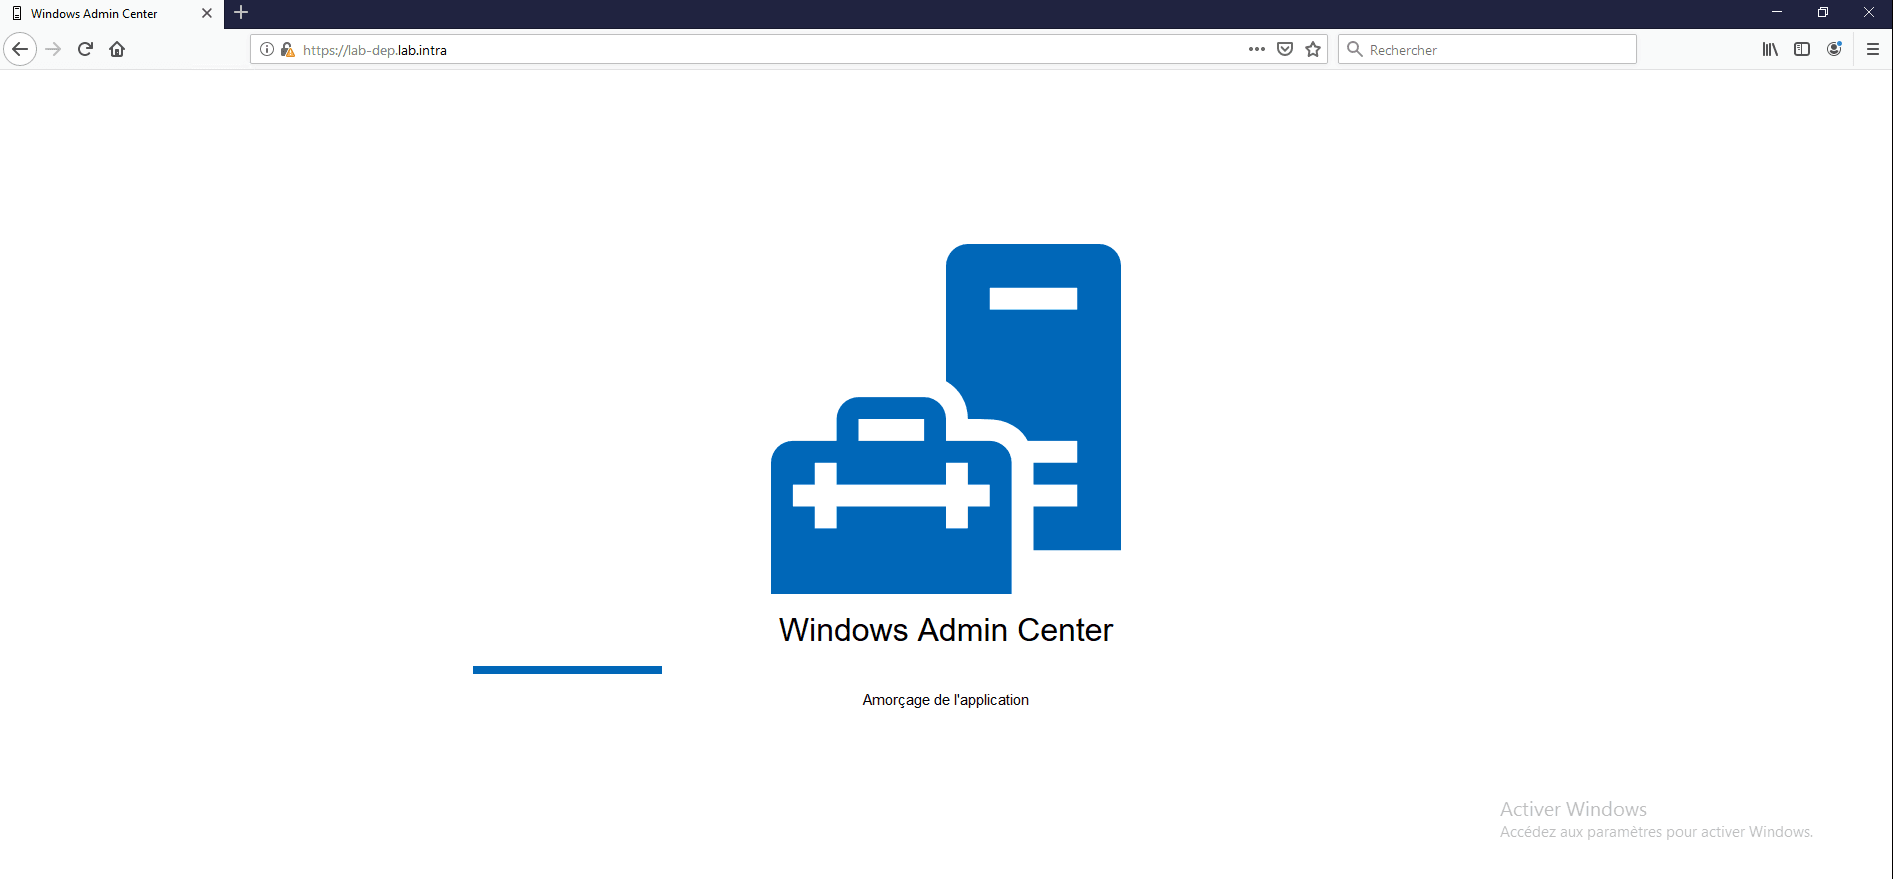
Wait while loading …
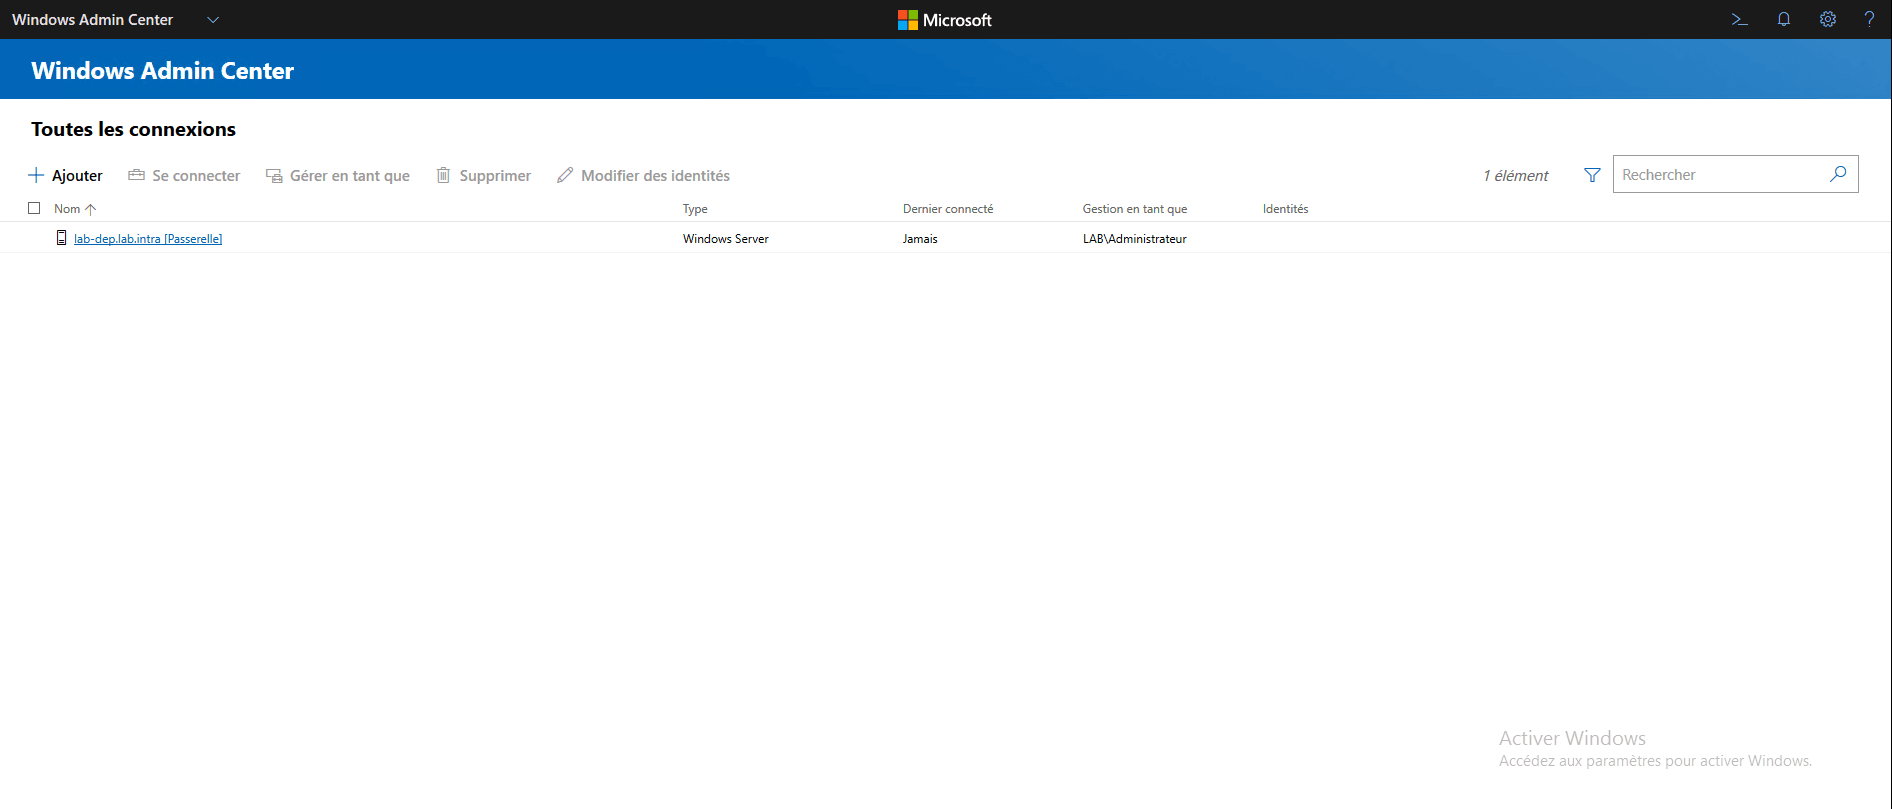
Once the Admin Center loaded , we arrive on the server list. By default, the gateway server is added. Just click on the server to access its administration.
Add a server in the Admin Center
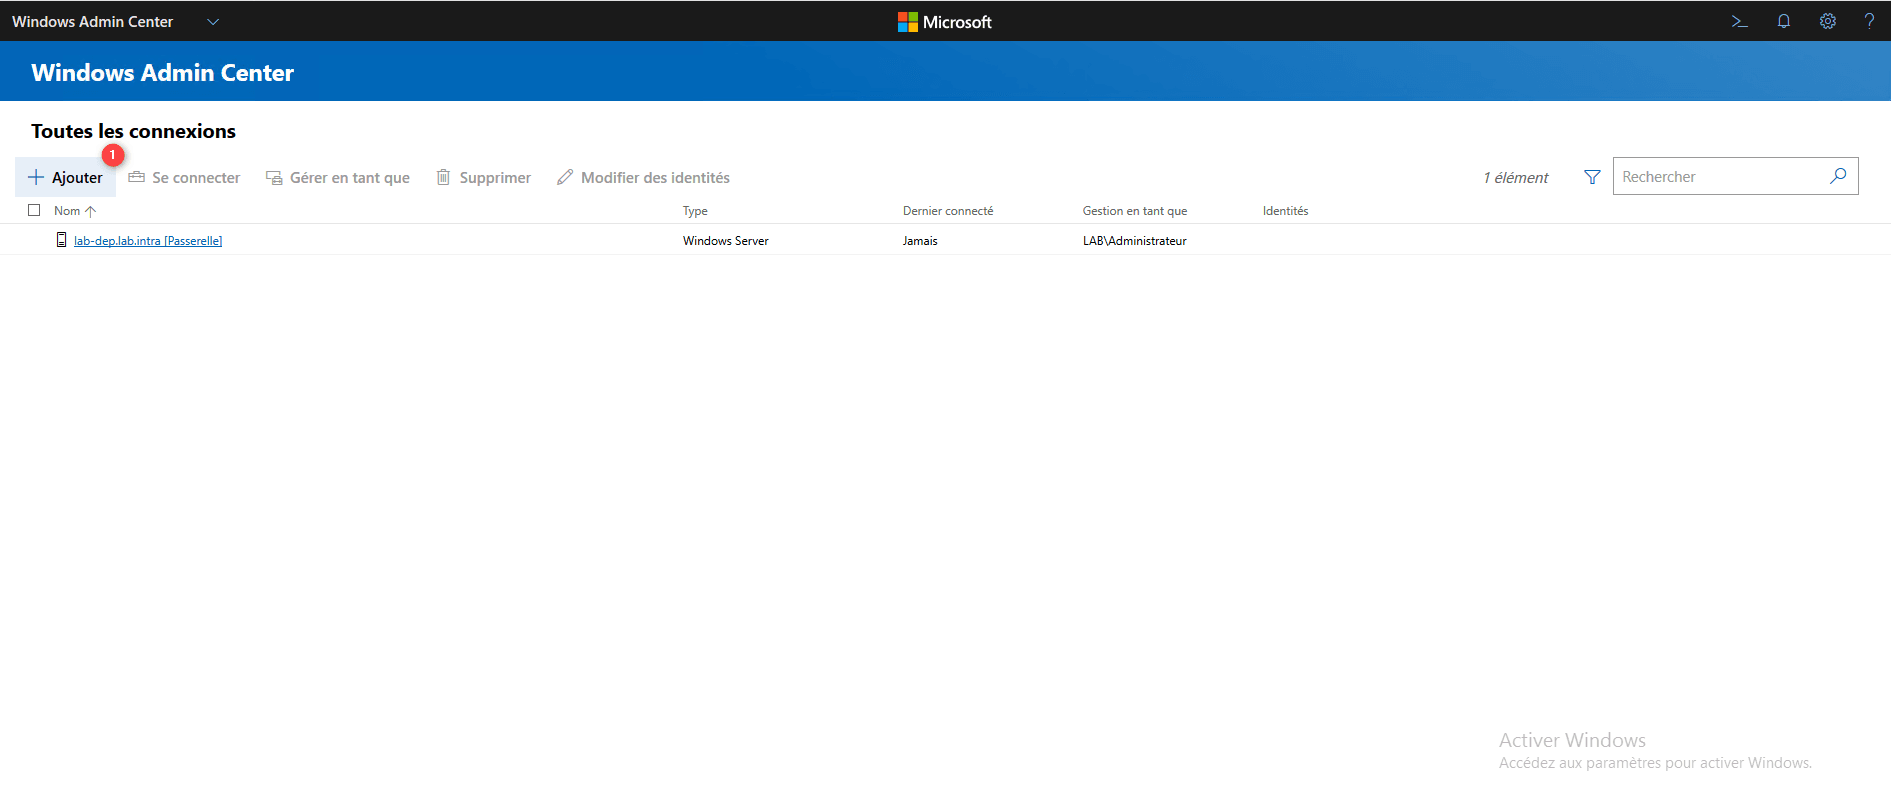
In the server list, click on Add 1.
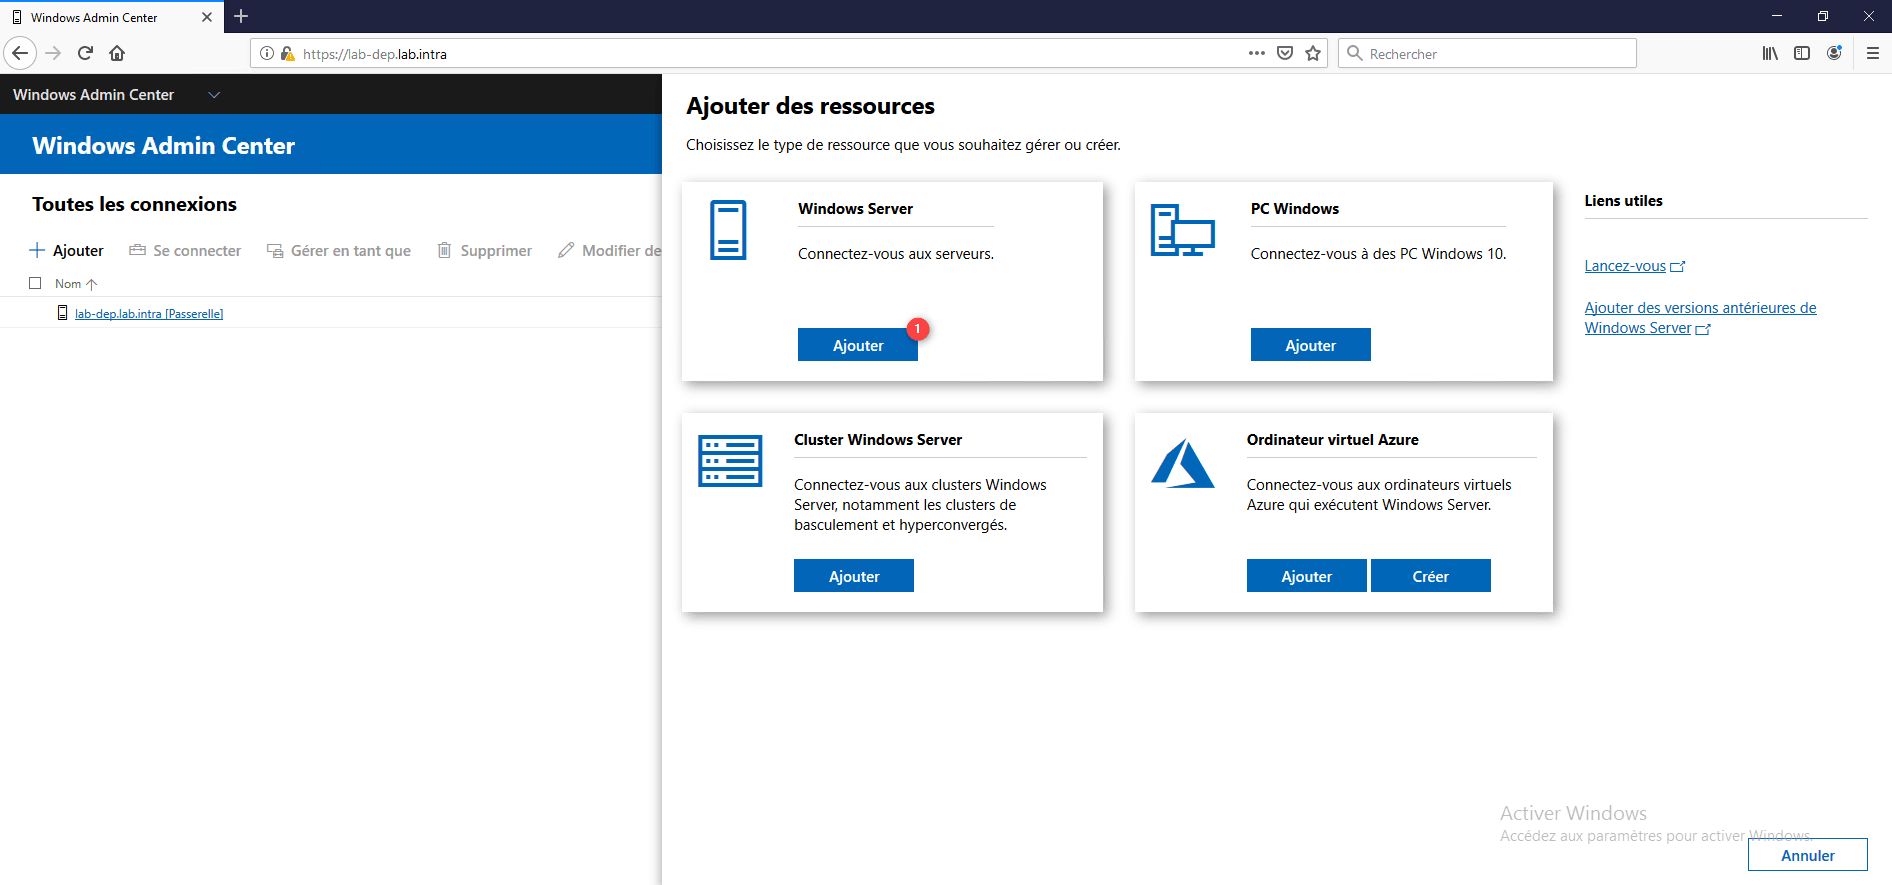
Click on the Add 1 button of the resource type.
Enter the fqdn name of the server 1 then click on Add 2.
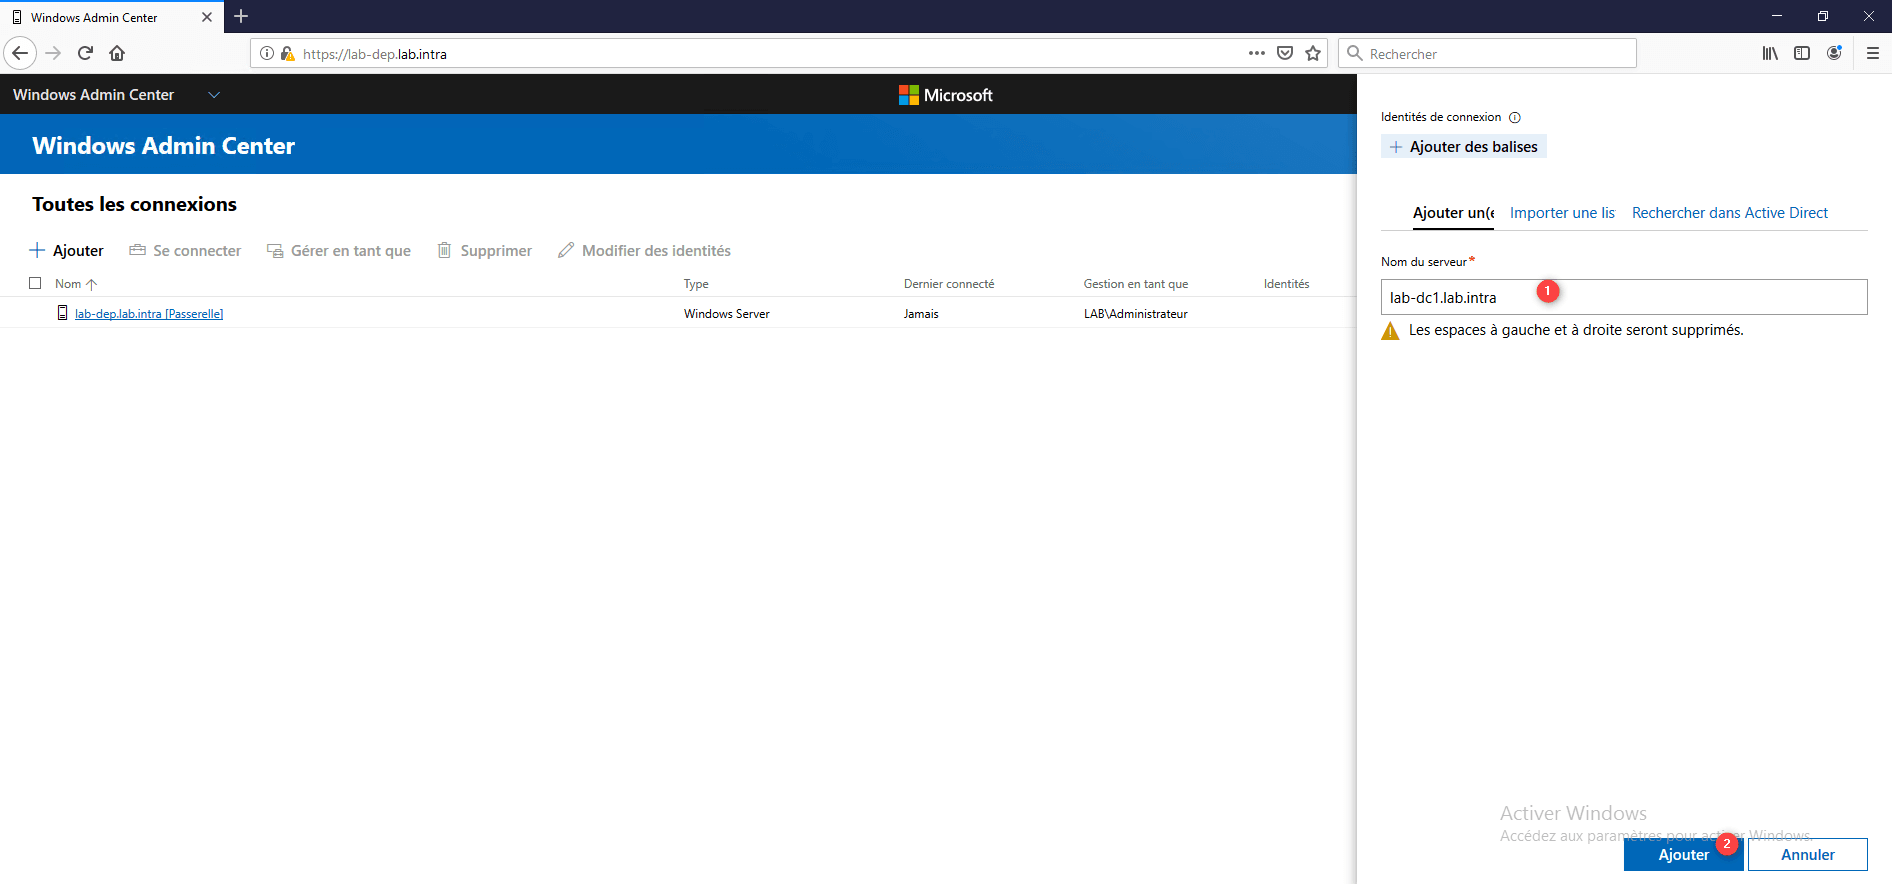
It is possible that the identifiers are requested.
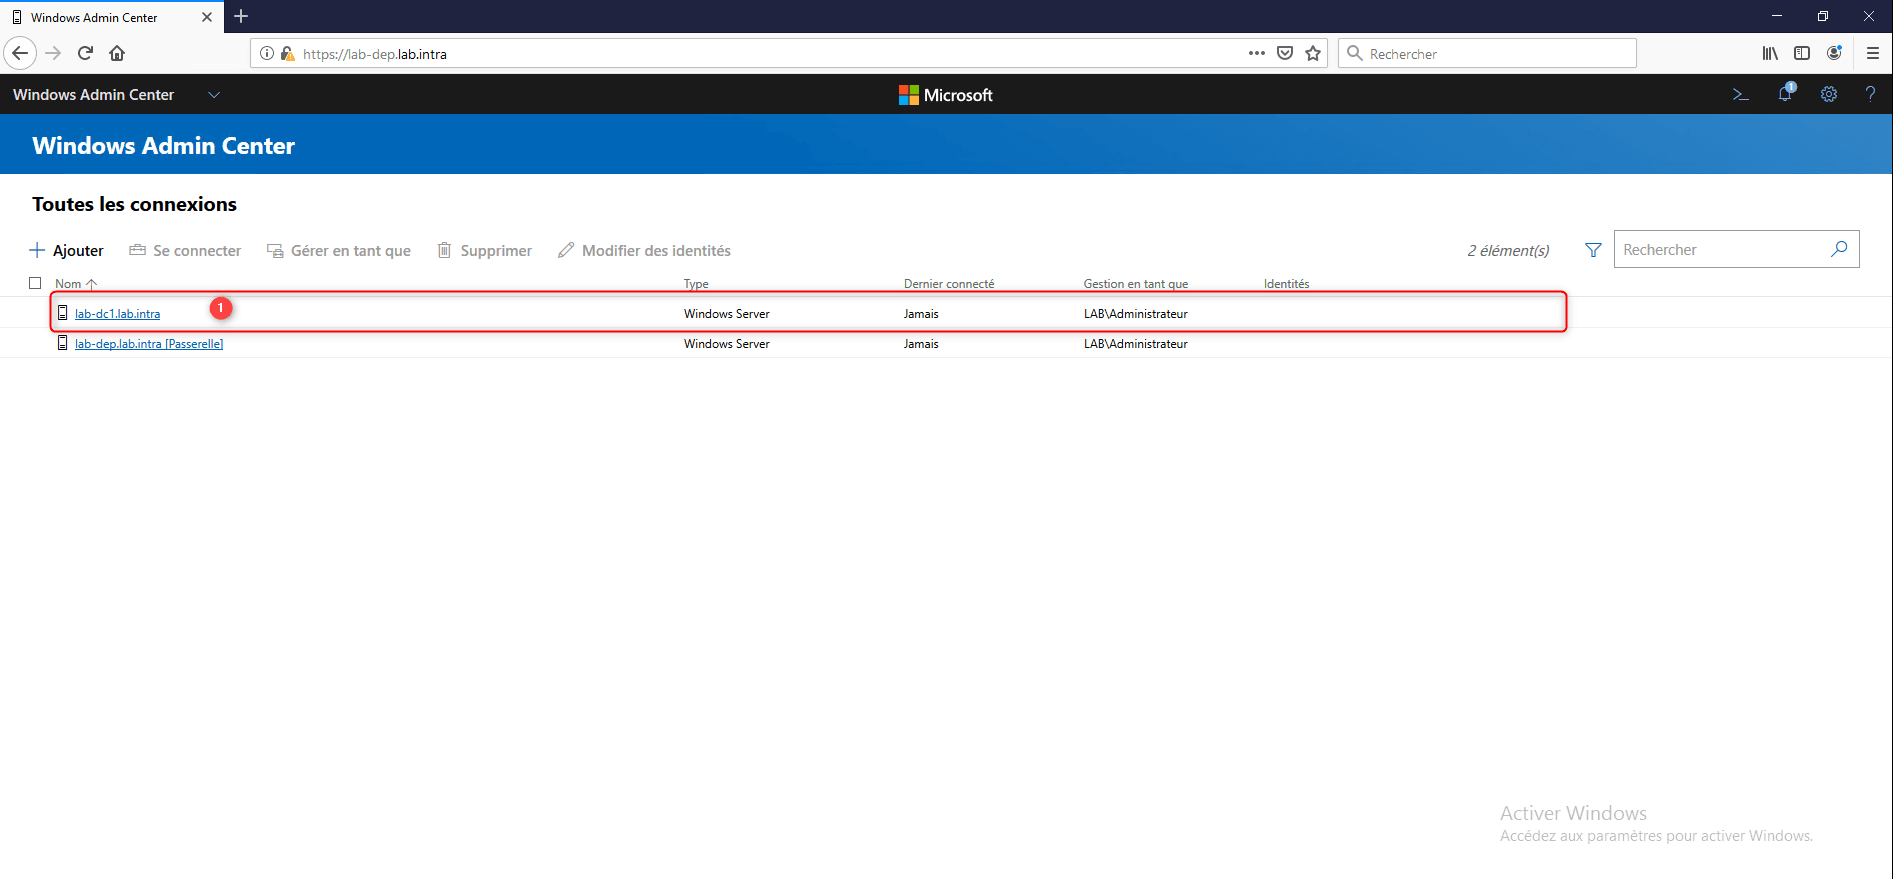
The server is added to the list of connections, click on it 1 to access its administration.
Features overview:


Add an extension
The Admin Center allows you to add extensions to extend the functionality, for example:
- Active Directory to manage users
- DNS to administer the role
- Idrac to manage Dell servers
- …
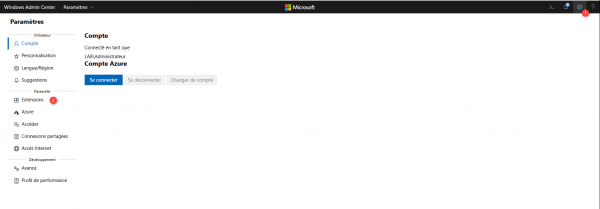
Access the parameters by clicking on the gear 1 and clicking on Extensions 2.

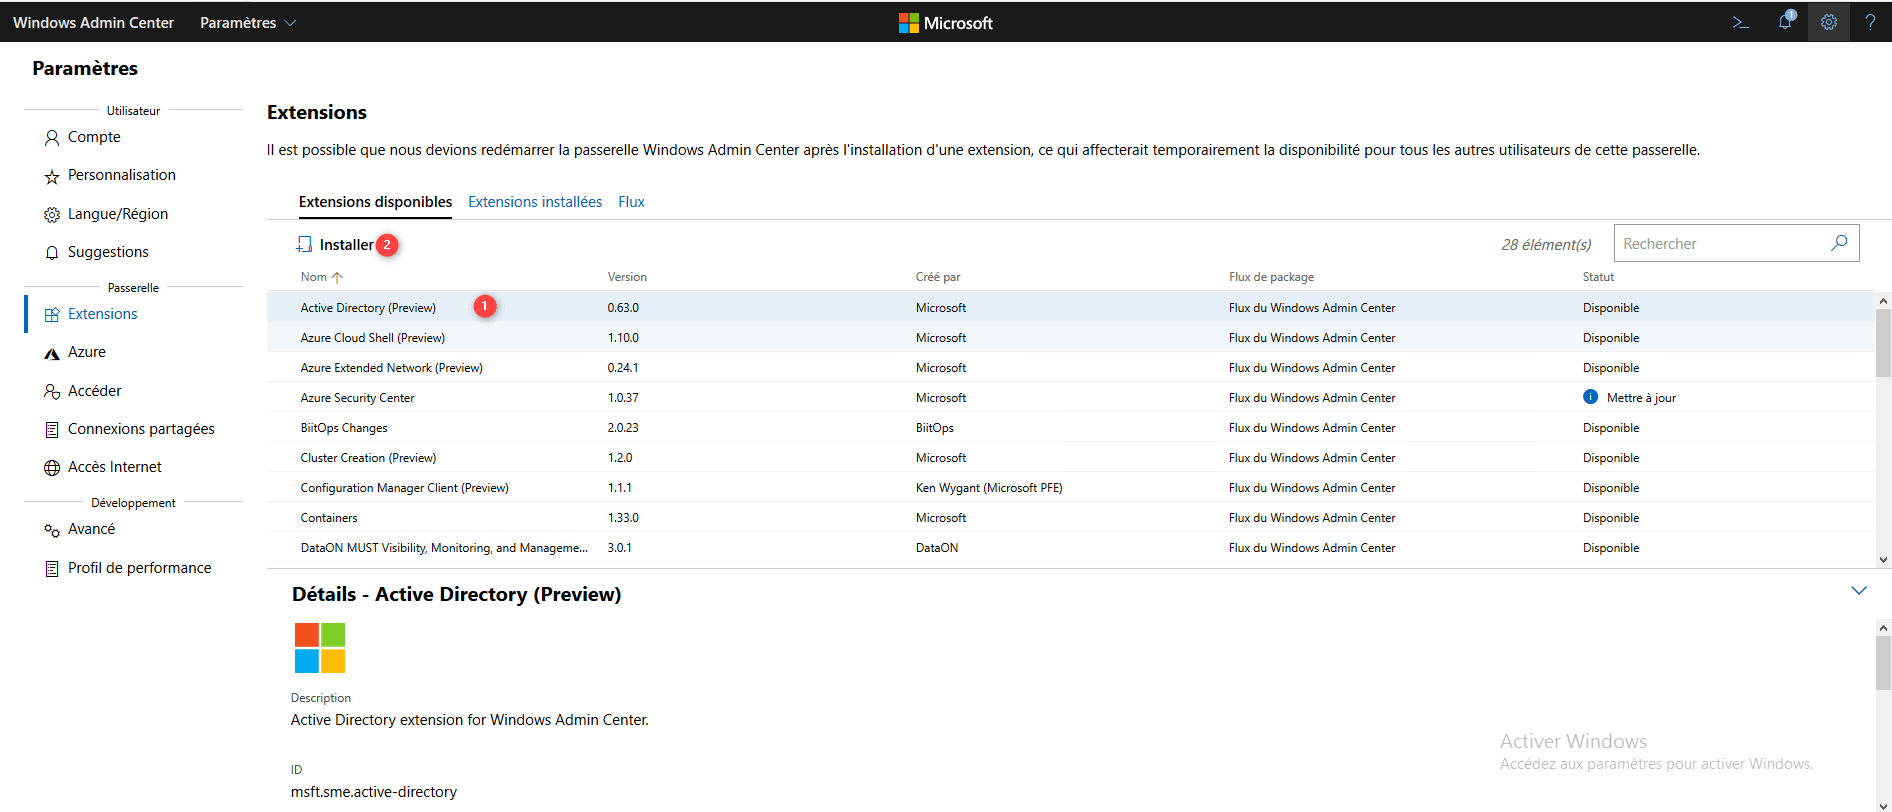
In the list of available extensions, select the desired extension 1 and click on Install 2.
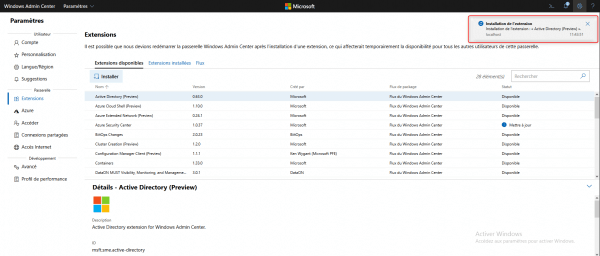
Wait while the extension is downloaded and installed, the Admin Center notification system allows you to follow the progress.

Once the installation is complete, go to the server on which the extension can be used, it will be available in the left menu, click on it 1 to access the functionalities.
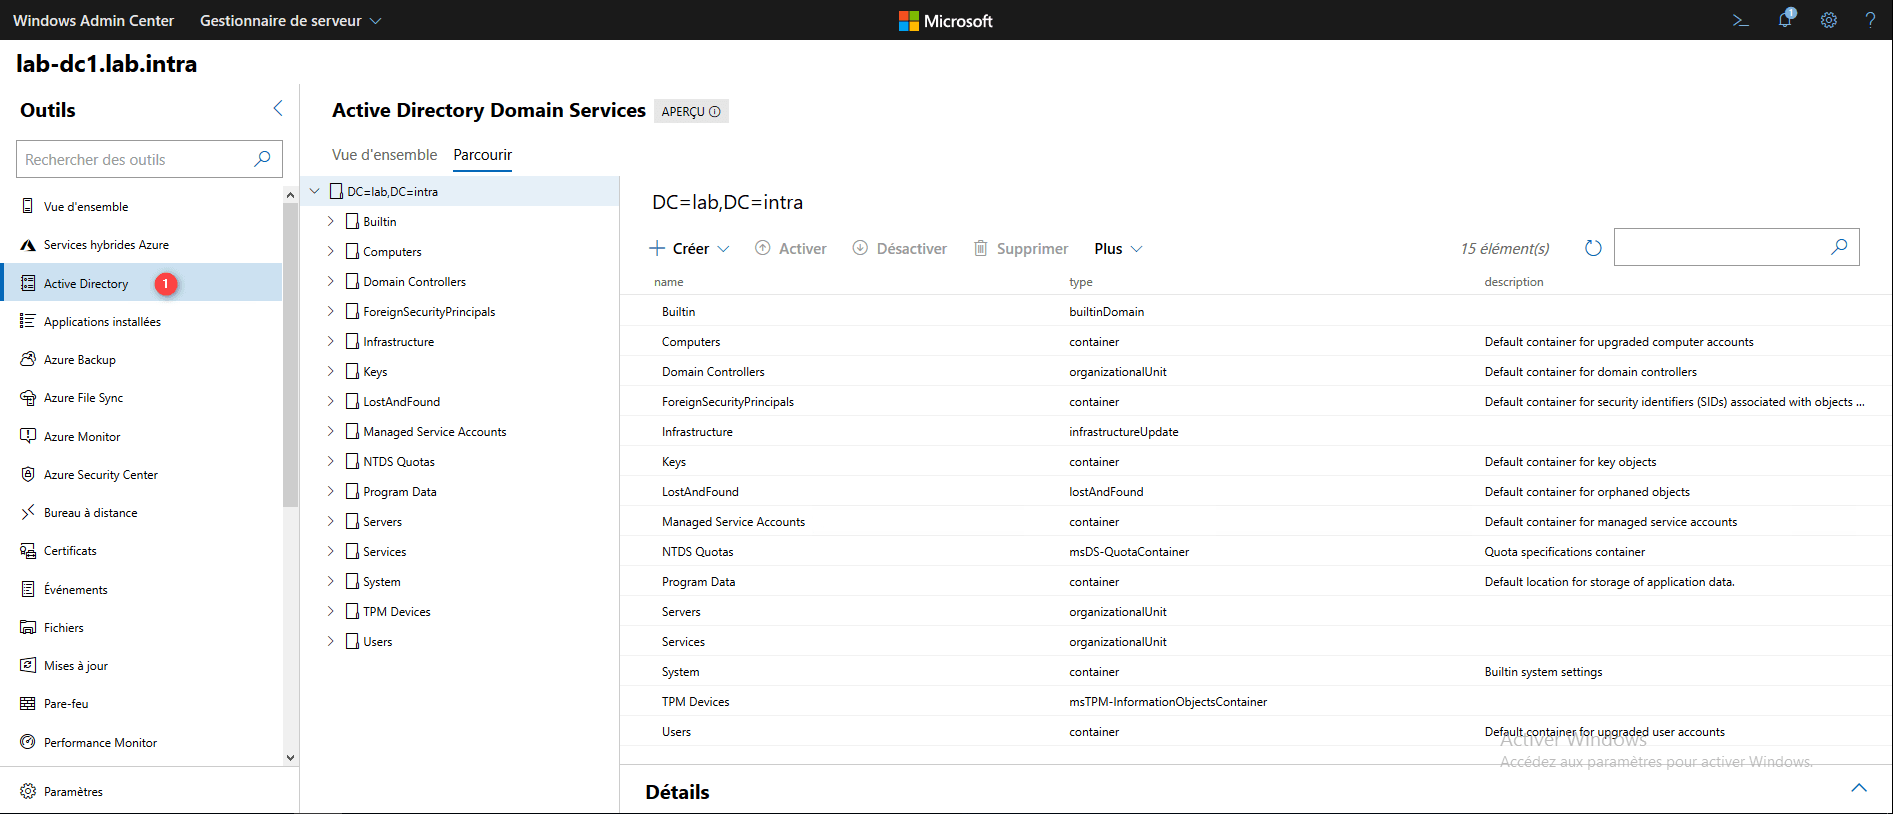
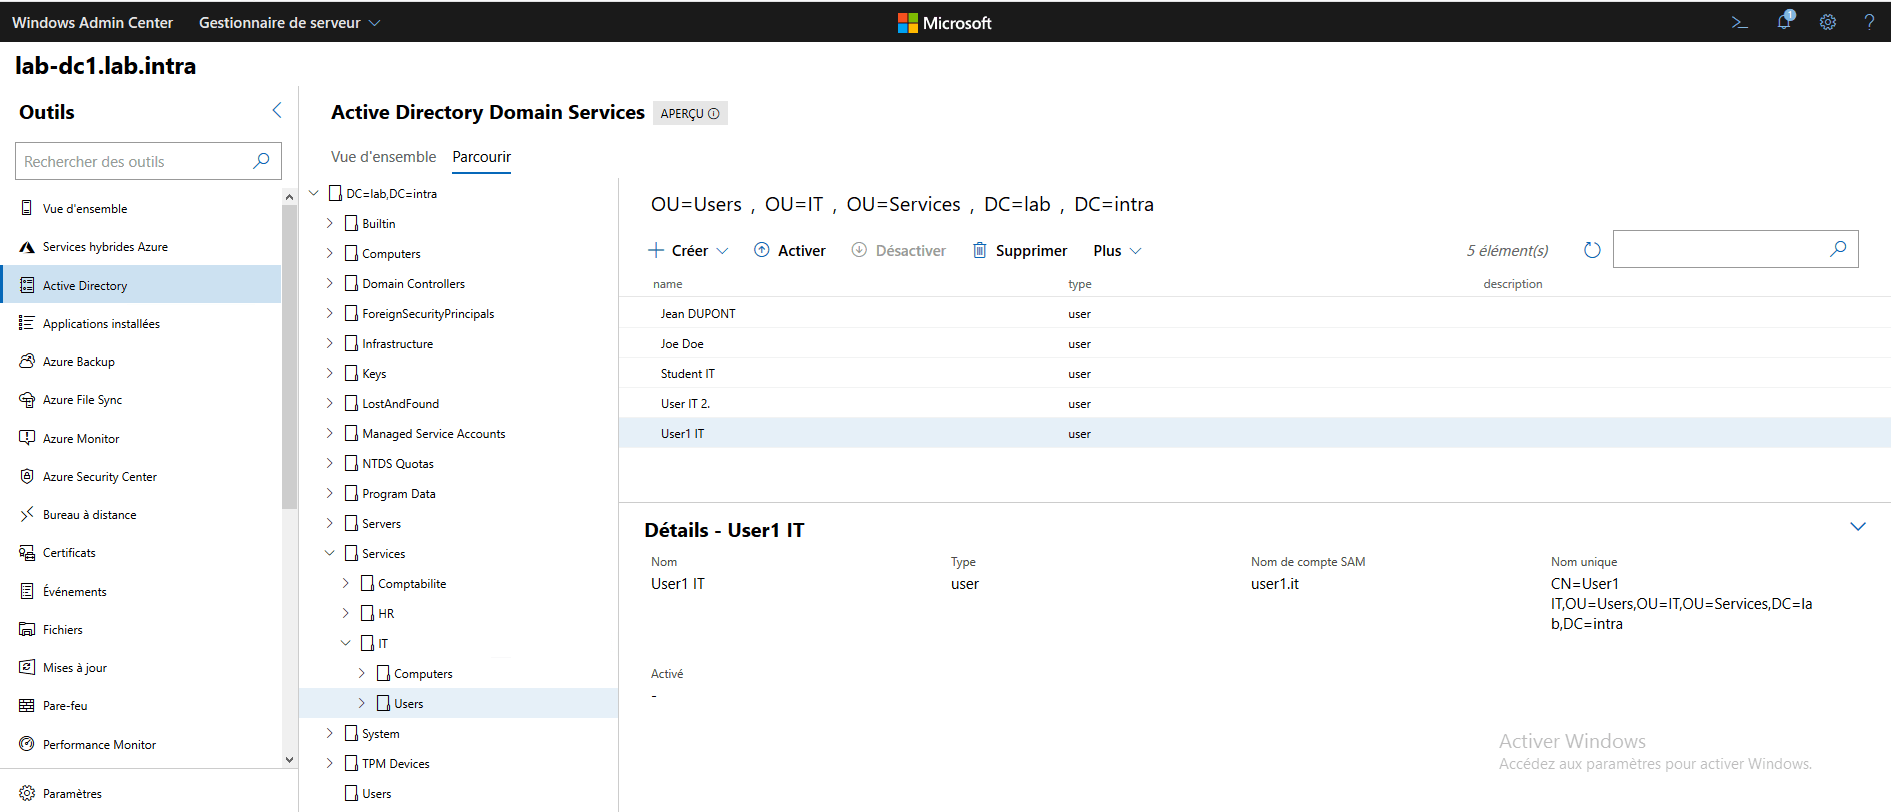
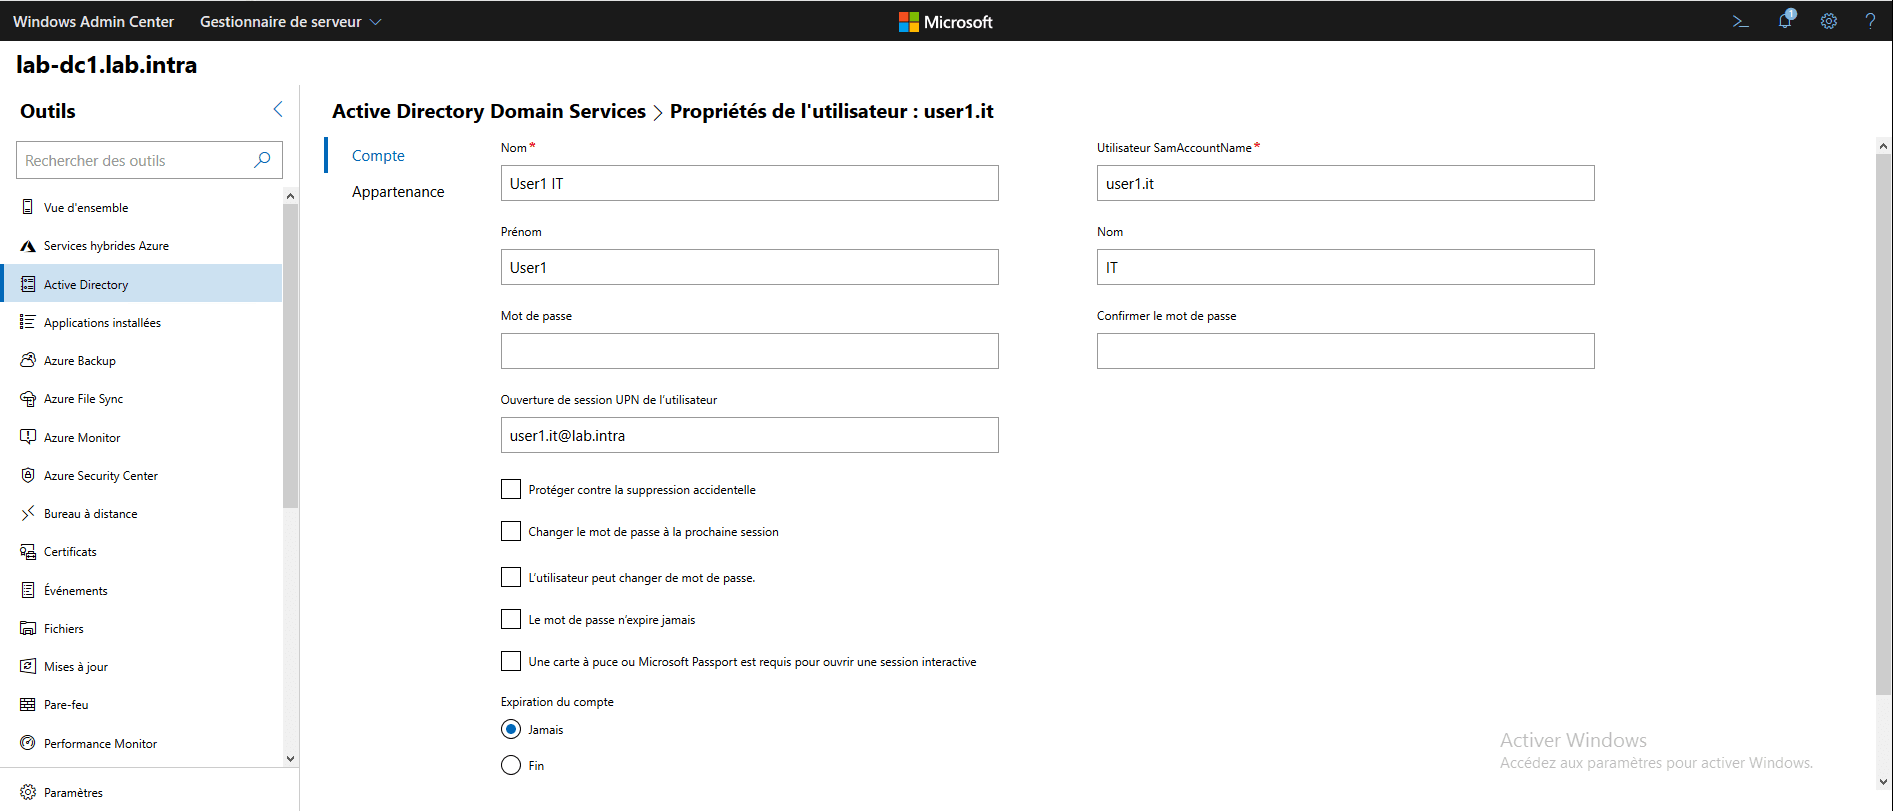
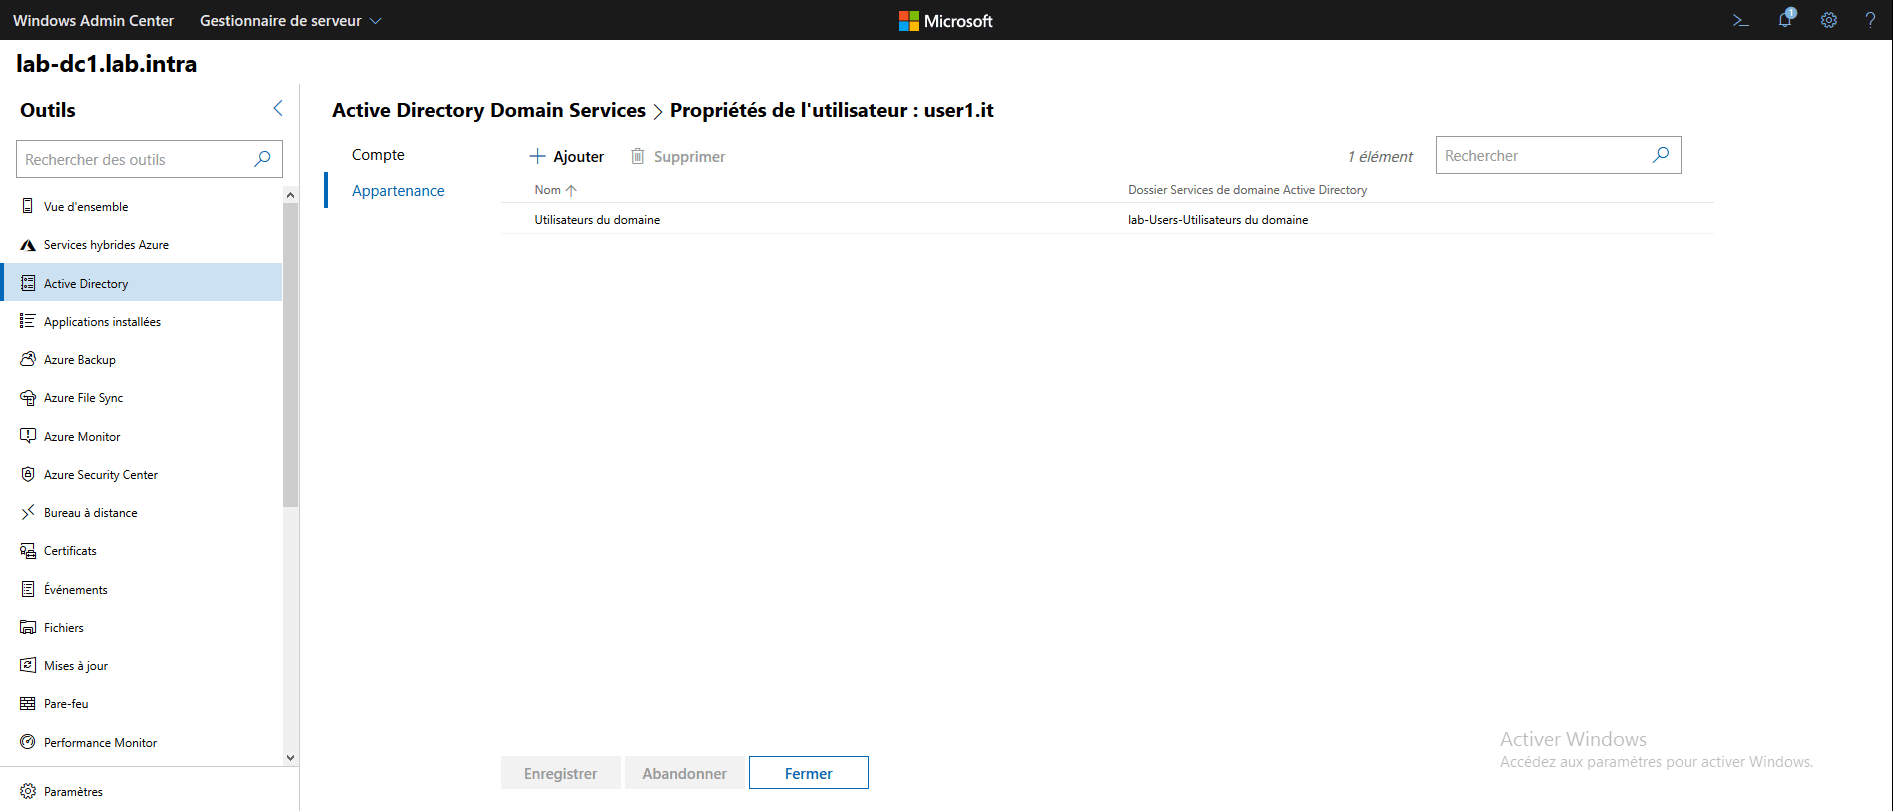
Active Directory extension overview:
Conclusion
The Admin Center is a centralized administration tool for Windows servers that facilitates daily management with a central access point and avoids remote desktop connection to the servers.
Administration of Core servers is made easier.