

Introduction
In this article, I propose to discover the AD FS and Proxy (WAP) roles. As part of the preparation for the 70-742 certification, I embarked on the mock-up of an infra.
What’s this ?
ADFS and the proxy that accompanies it can put several things in place:
- An SSO system (for compatible applications) that allows single sign-on
- Security by managing authentication before application
- Cross-domain trust through ADFS proxy communication (different from domain trust within the active directory).
Prerequisites
For the realization of this tutorial here are the machines used:
- LAB-AD1 : AD / DHCP / DNS / IIS
- LAB-ADFS : ADFS
- LAB-ADFS-PROXY : Proxy WAP (normally to be placed in DMZ)
- A client
- Generate a certificate for HTTPS binding with ADFS services (fs.lab.intra) and install it on the ADFS server in the personal store.
- Generate a certificate for the HTTPS link for the test site (* .lab.intra) and install it on the IIS server in the personal store.
To avoid an SSL error, install the certificate as a trusted root certification authority on the servers.
I used the AD1 server to have a test web page. On the client to run the federation url must point to the proxy.
To generate the certificates, I used itisscg. I put it to you because the publisher’s website is no longer available.
ADFS : installation
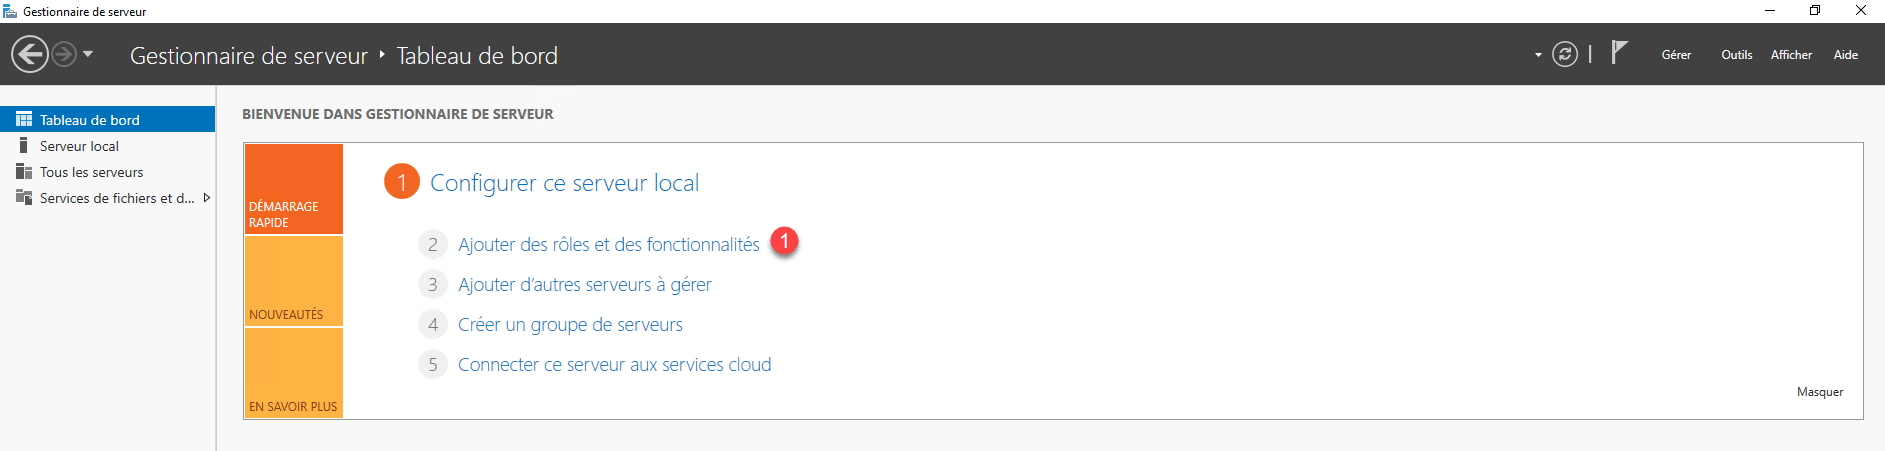
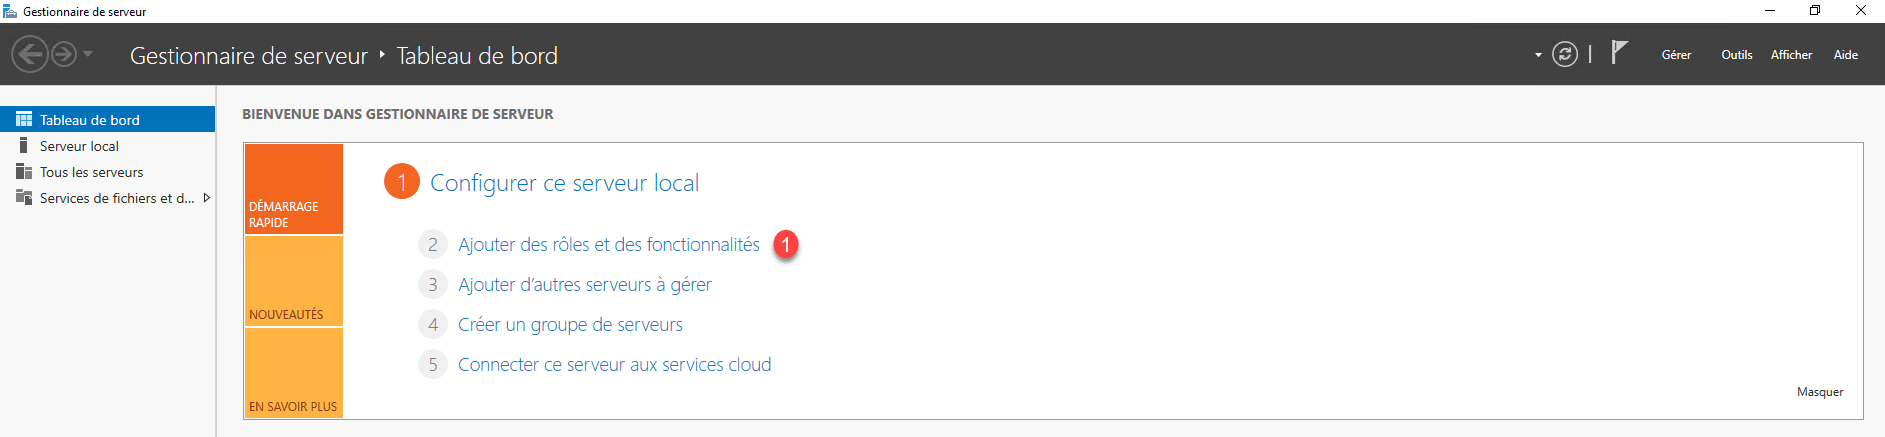
From Server Manager, click Add Roles and Features 1 to open the wizard.
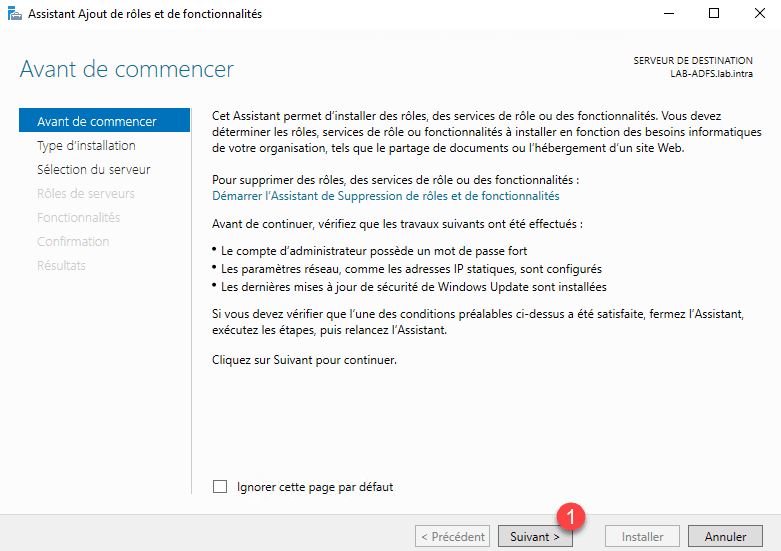
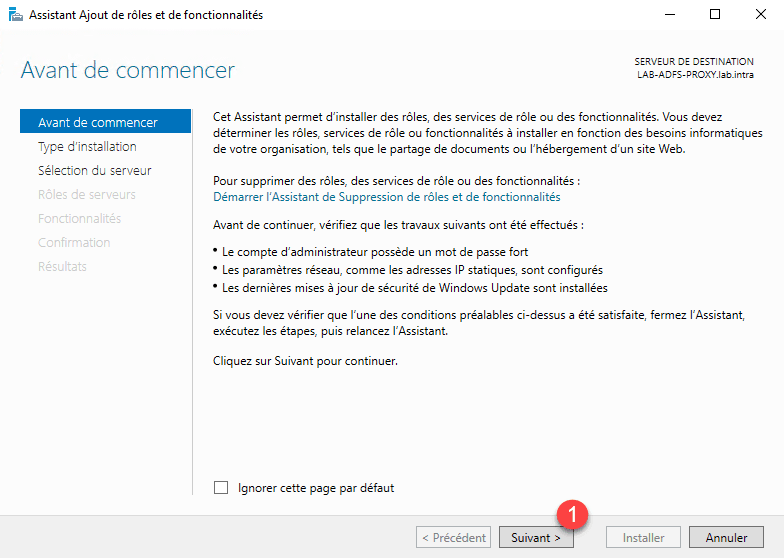
When launching the wizard, click Next 1 .
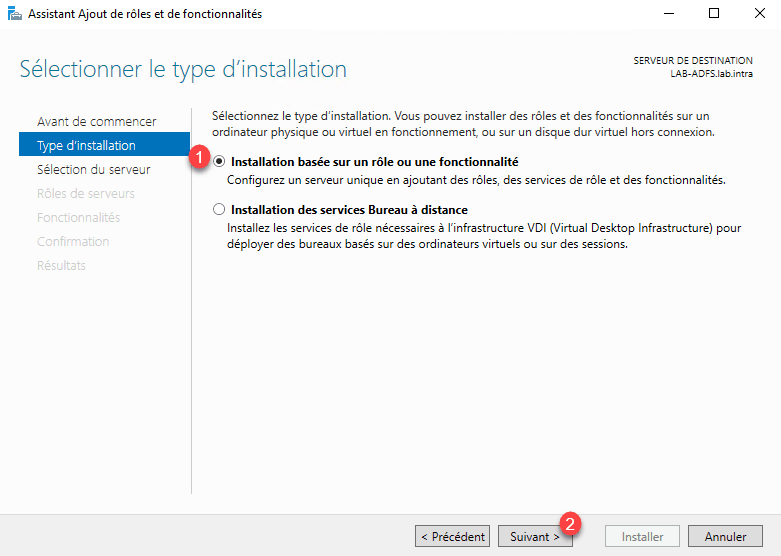
Select the Role Based Installation or 1 feature and click Next 2 .
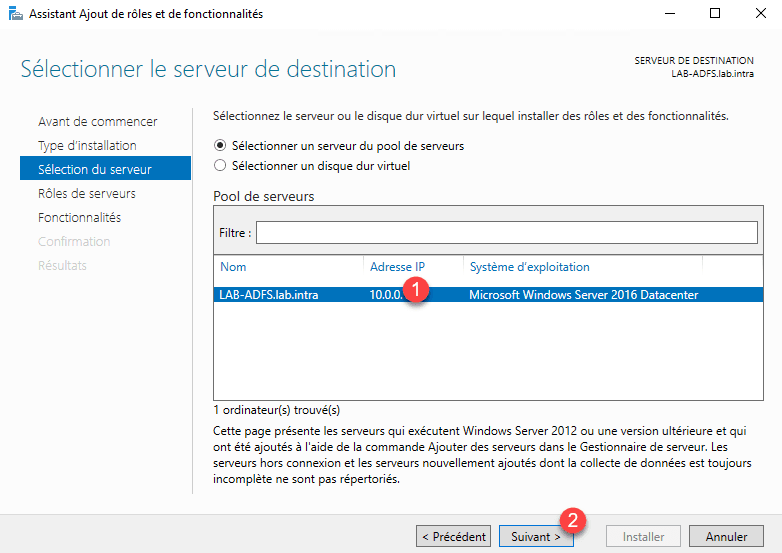
Select server 1 and click Next 2 .
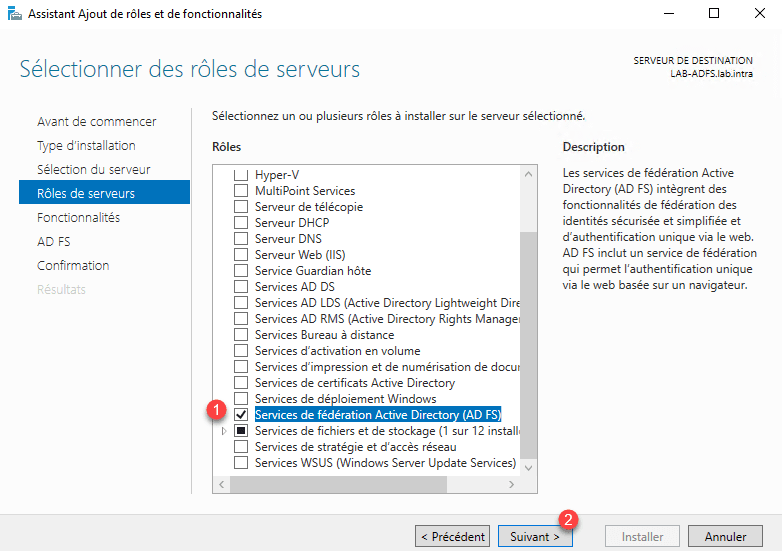
Check the Active Directory Federation Services (AD FS) 1 role and click Next 2 .
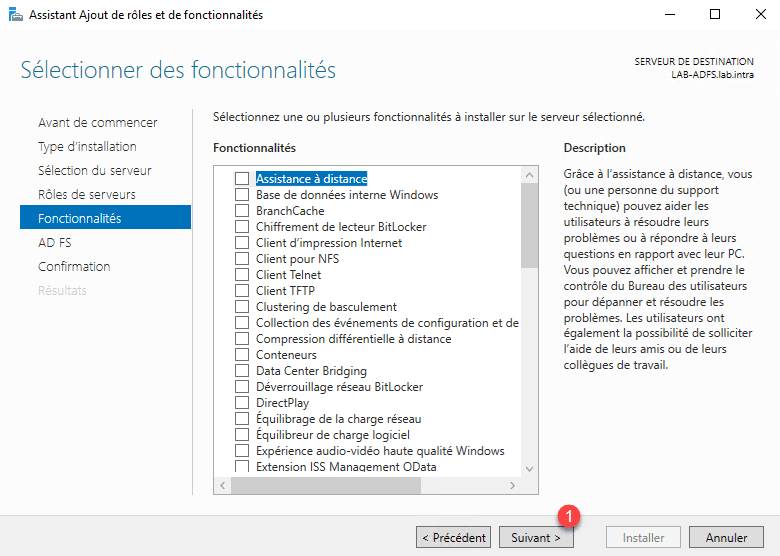
Skip the list of features by clicking Next 1 .
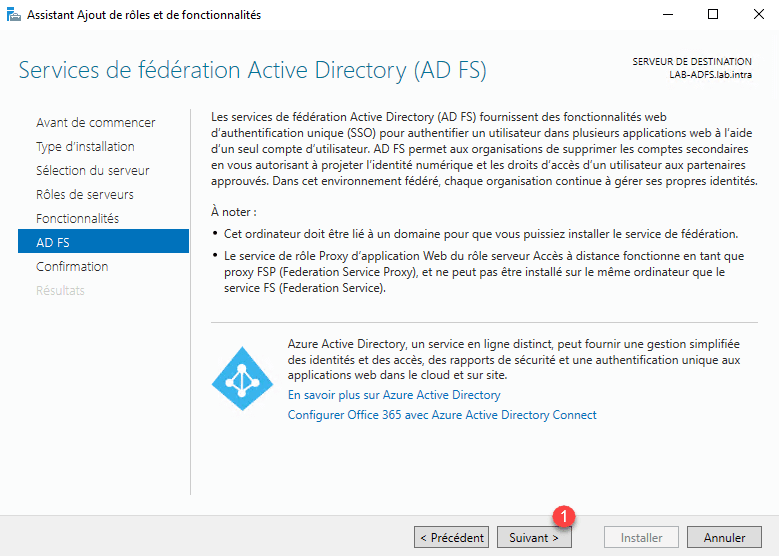
A summary of the AD FS role is displayed, click Next 1 .
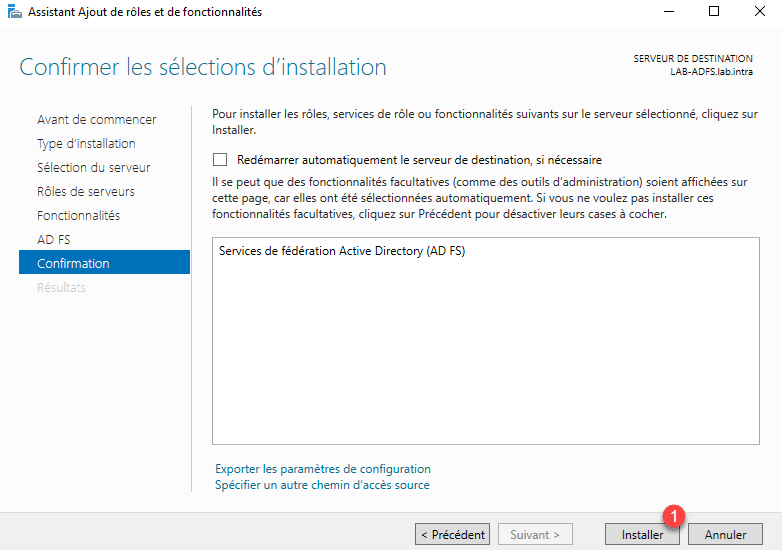
Click on Install 1 .
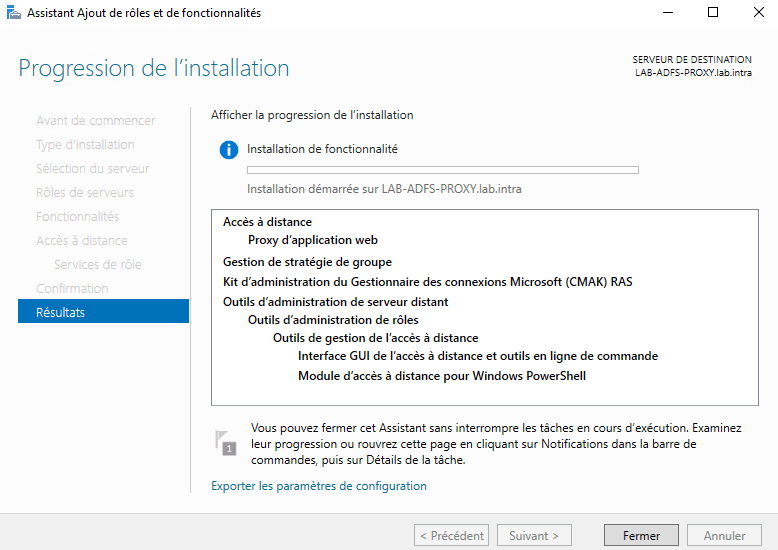
Wait during the installation …
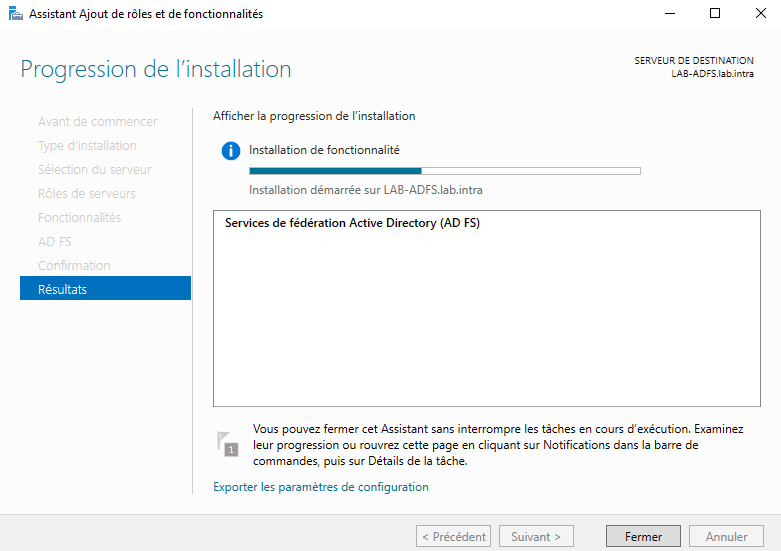
When the installation is complete, close the wizard by clicking Finish 1 .
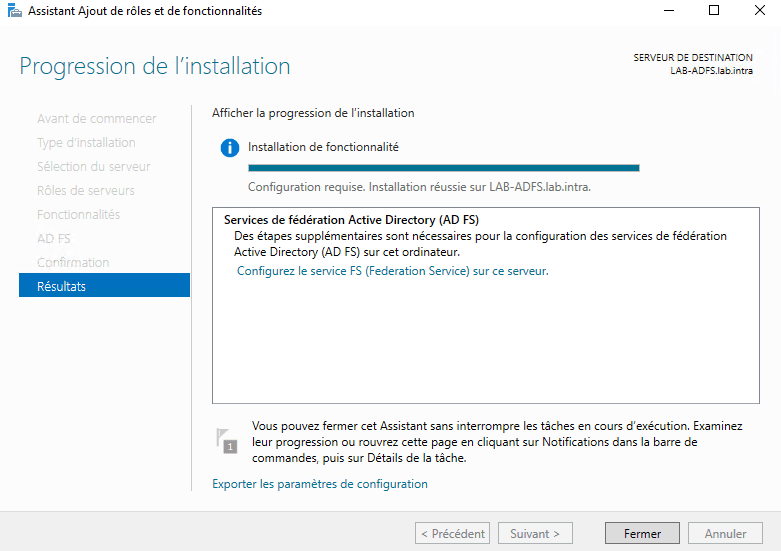
Now that AD FS is installed, we will proceed to the post-installation configuration.
AD FS: post-installation configuration
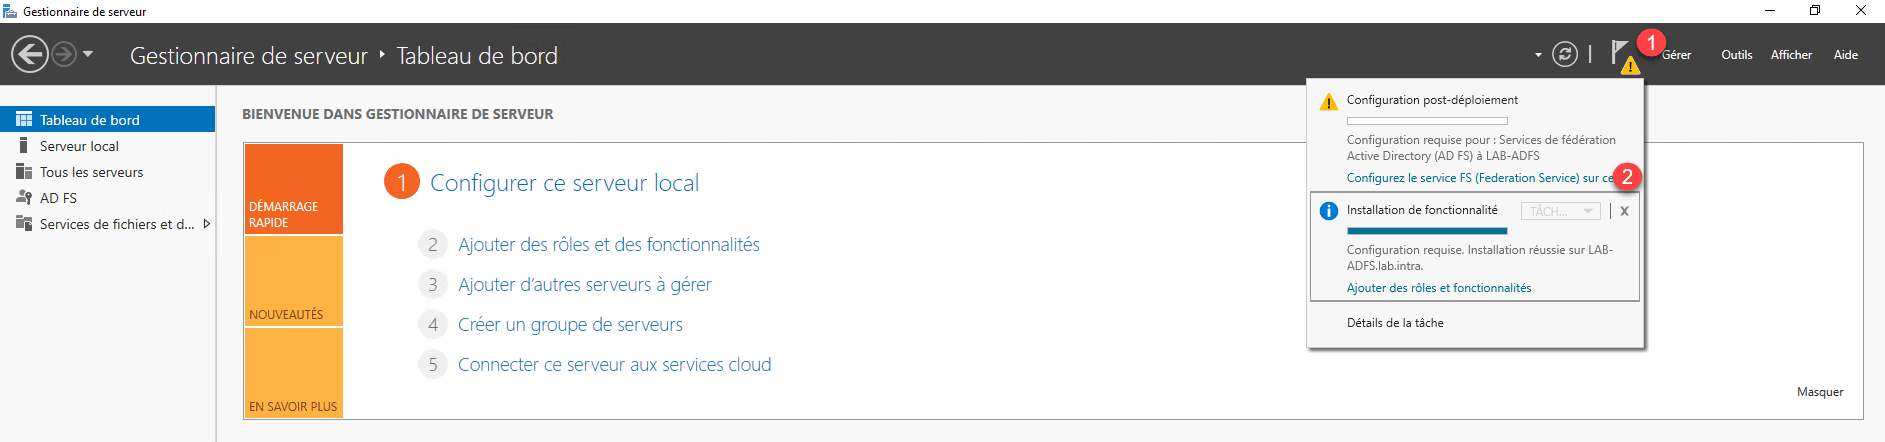
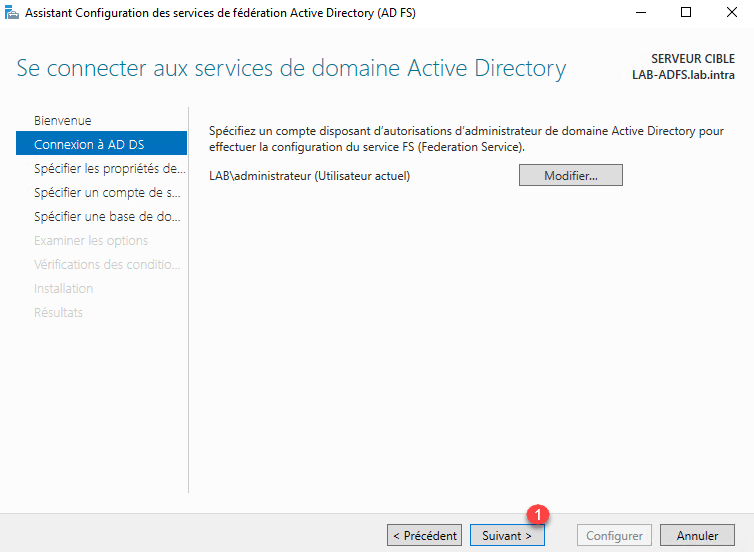
On the Server Manager, click the notification icon 1 and then Configure FS Service 2 to launch the wizard.
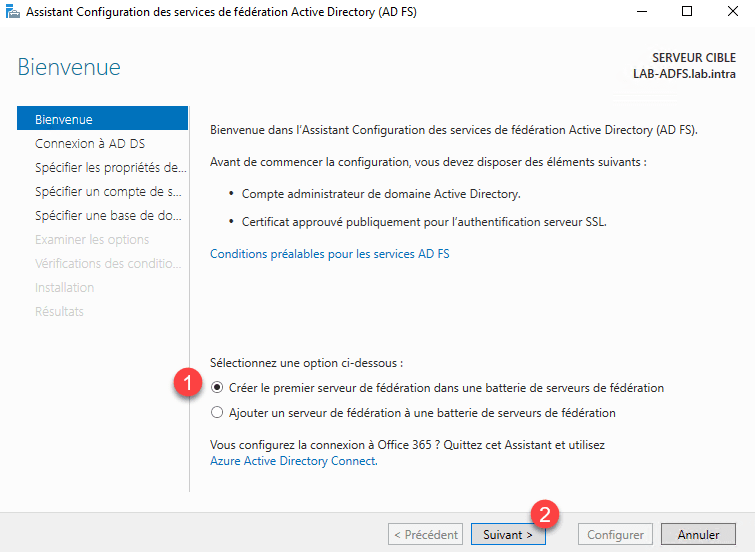
As this is the first AD FS server, select the option Create the first federation server in a federation server farm 1 and click Next 2 .
Set up an account to complete the setup, I used the Administrator account and click Next 1 .
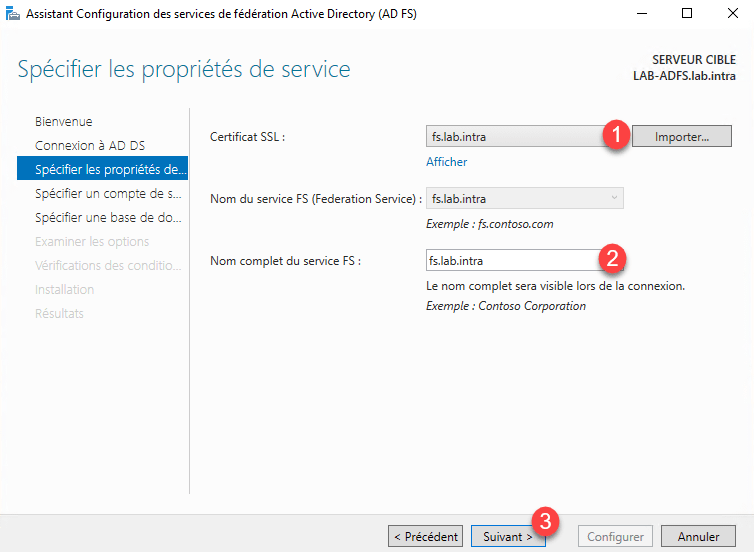
Choose the generated certificate for the federation service 1 , set the name 2 (you can put what you want) and click Next 3 .
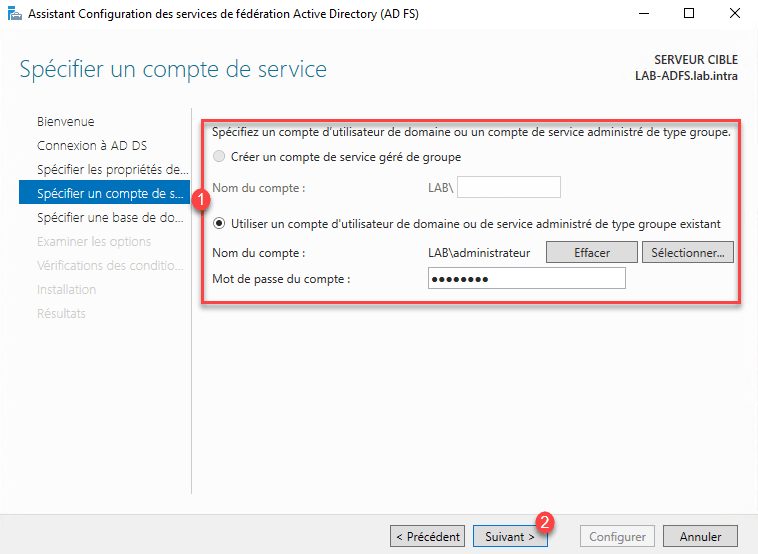
To run the AD FS service that requires a service account, in the test environment, I used the Administrator account. Enter a service account 1 and click Next 2 .
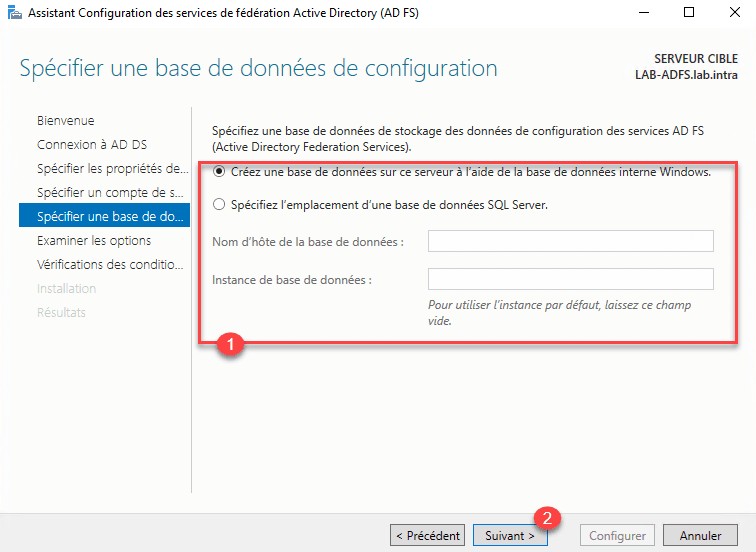
Enter the database 1 and click Next 2 . Being in a LAB environment, I used the Internal database in Windows, in a production environment with a battery of several, it is advisable to use a SQL Server database on another server.
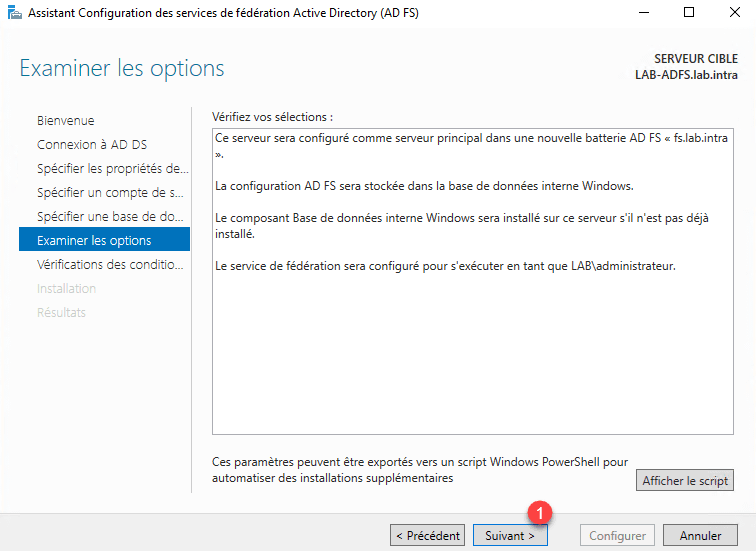
A summary of the configuration is displayed, click Next 1 .
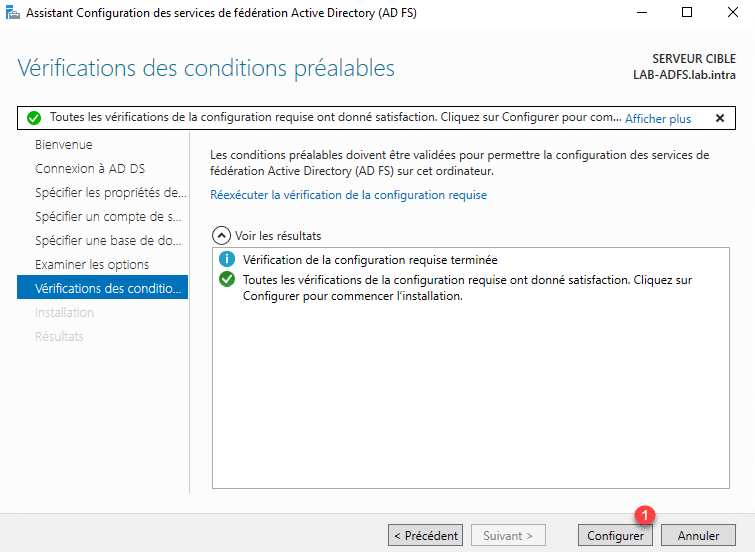
Once the verification tests have been completed, click on Configure 1 .
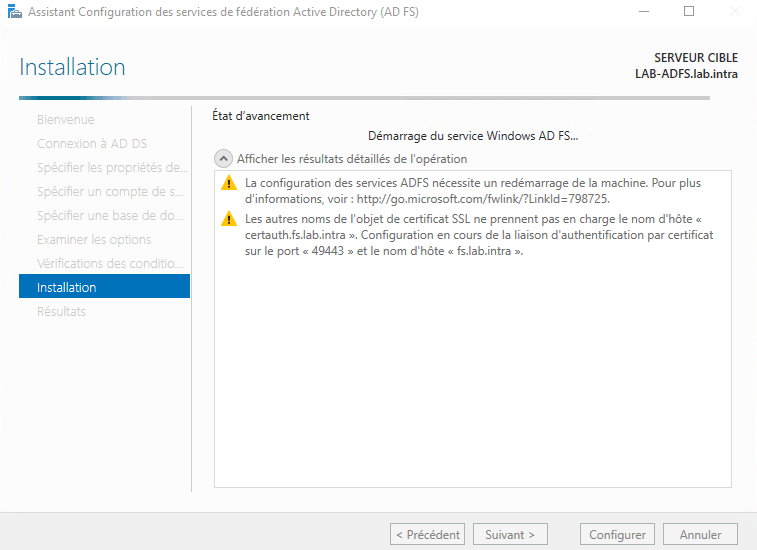
Wait while applying the configuration …
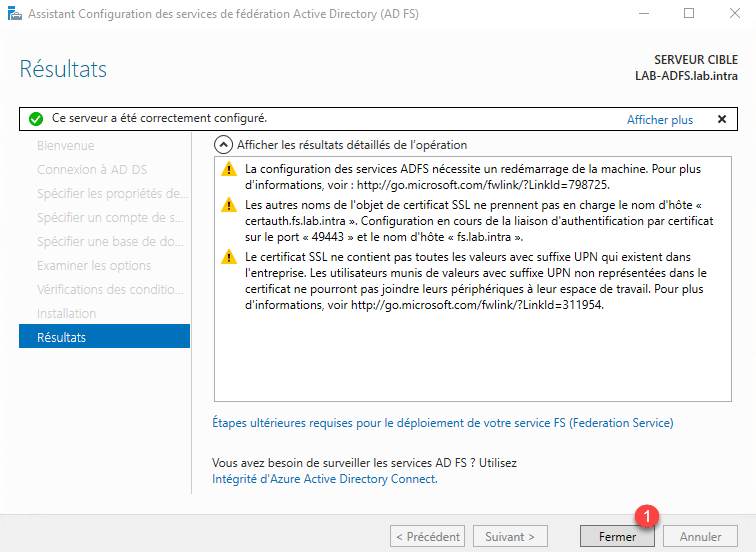
The configuration applied, exit the wizard by clicking Close 1 .
Get started with AD FS
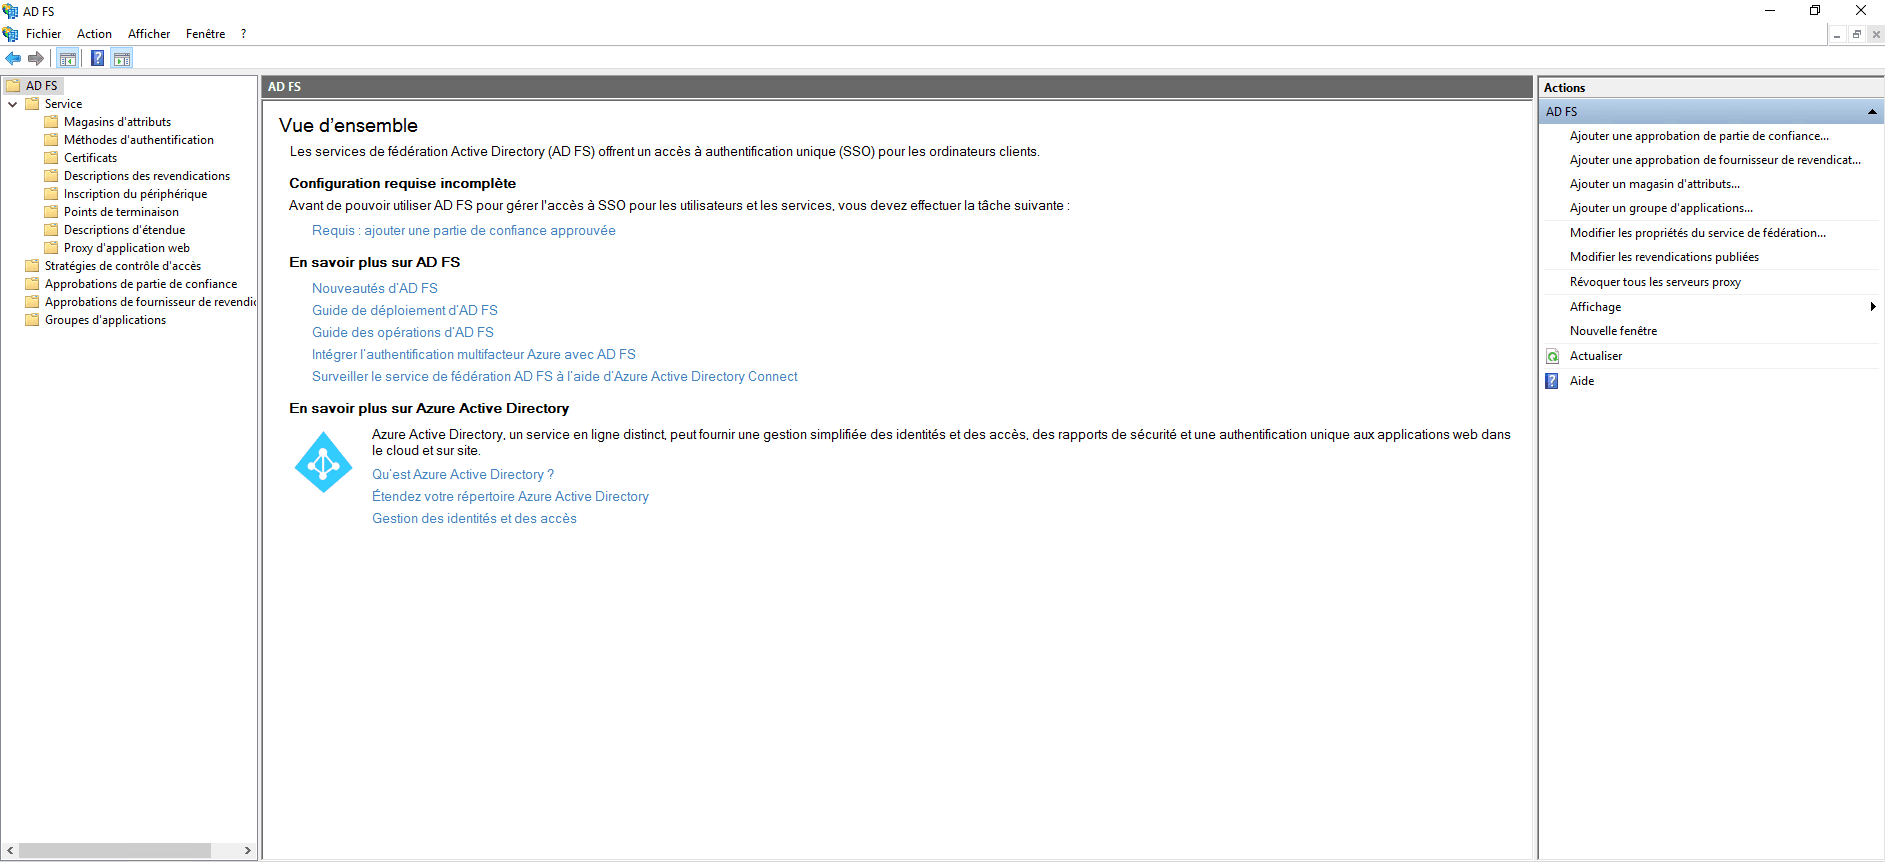
Admin console
On the server launch the AD FS Administration Console.

It is from this console that the different authentication and claim options as well as the federations are configured.
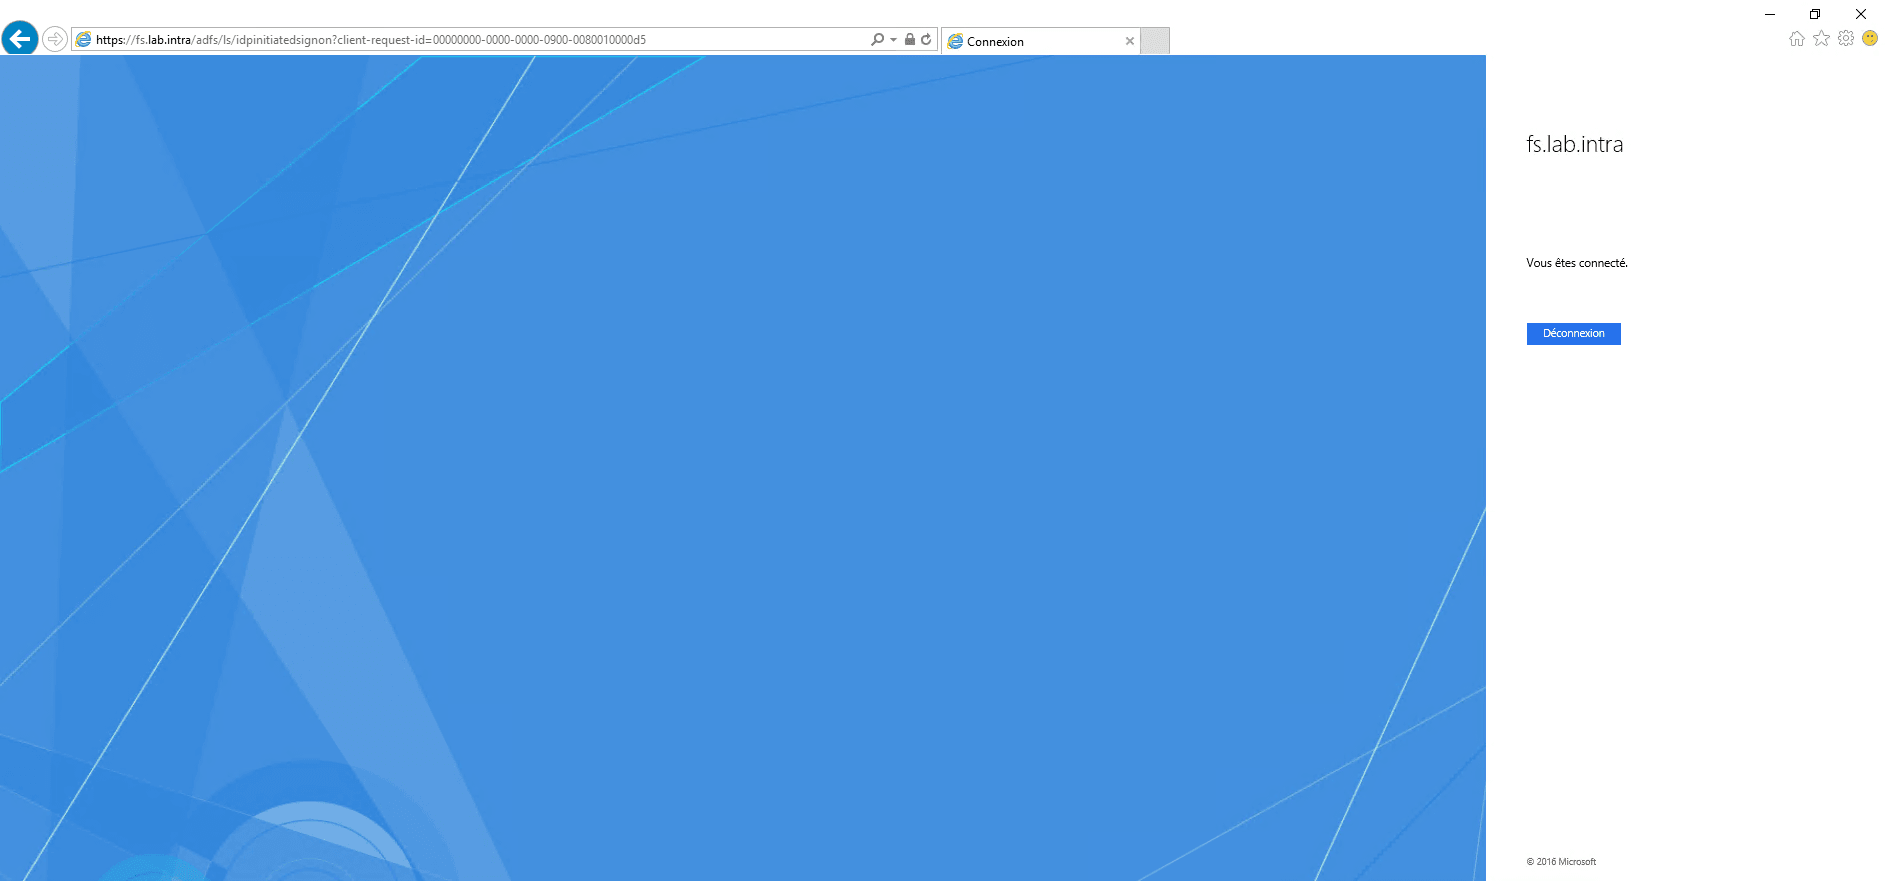
Test the authentication portal
Add a DNS record that matches the fqdn name of the certificate and point it to the AD FS server.

To do if you are on Windows 2016 or +:
Open a powershell window and enter the following command:
Get-AdfsProperties | Select-Object EnableIdpInitiatedSignonpageIf the return of the order is False, enter the following command:
Set-AdfsProperties –EnableIdpInitiatedSignonPage $TrueLaunch an internet browser enter the following address: https:///adfs/ls/idpinitiatedsignon.htm

Click on the Login button to login.
Install and configure AD FS – WAP proxy
AD FS Proxy Installation – WAP
Now that the AD FS service is installed and configured, we will install the AD FS proxy that relies on the Web Application Filtering (WAP) feature to set up pre-authentication.
It is possible to use WAP without authentication as you would with ARR.
On the LAB-ADFS-PROXY server, launch the server manager and click Add 1 roles and features.
At the launch of the wizard click Next 1 .
Select Role Based Installation or 1 Functionality and click Next 2 .
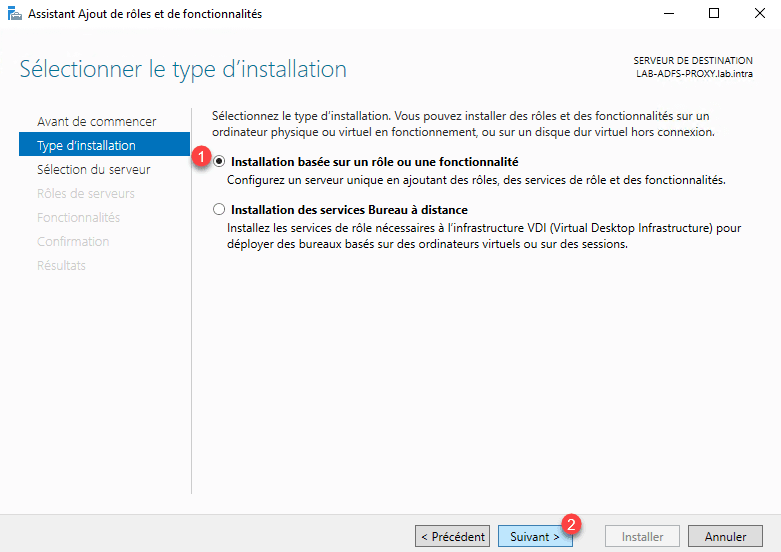
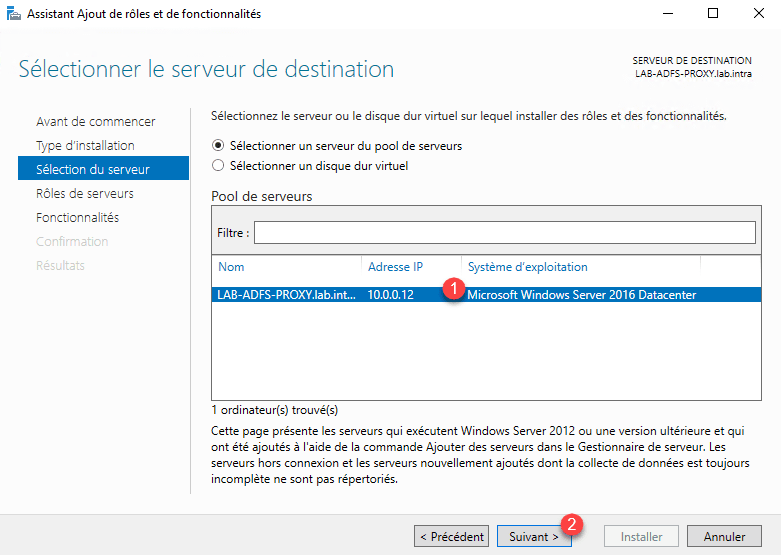
Select server 1 and click Next 2 .
In the list of roles check the box Remote access 1 and click Next 2 .

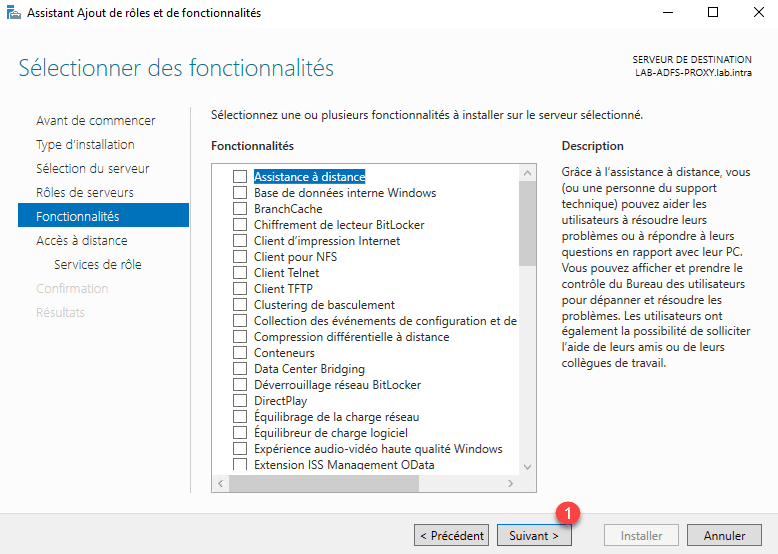
Skip the features by clicking Next 1 .
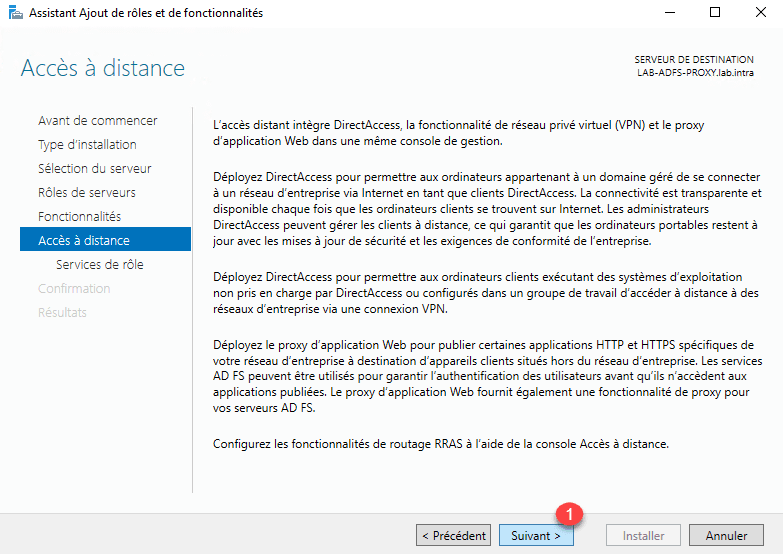
A summary of the Remote Access role is displayed, click Next 1 .
The remote access role offers 3 services, check web application proxy 1 .
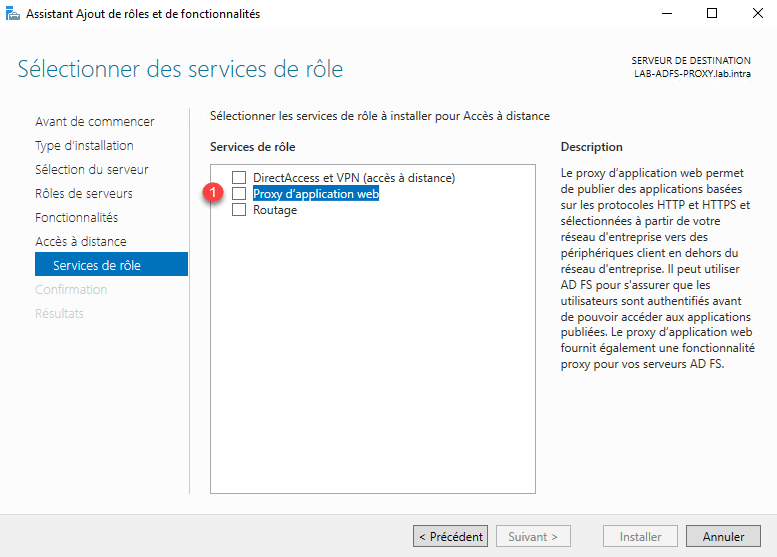
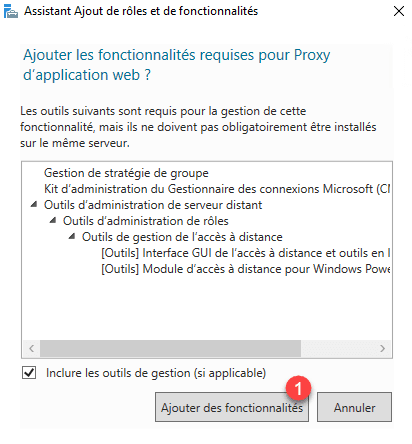
Confirm the addition of the dependencies by clicking on the Add Features 1 button.
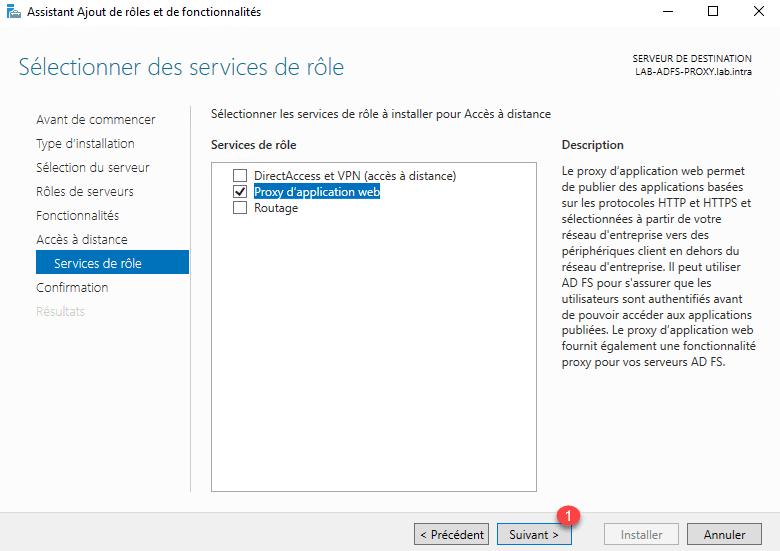
Once the service is selected, click Next 1 .
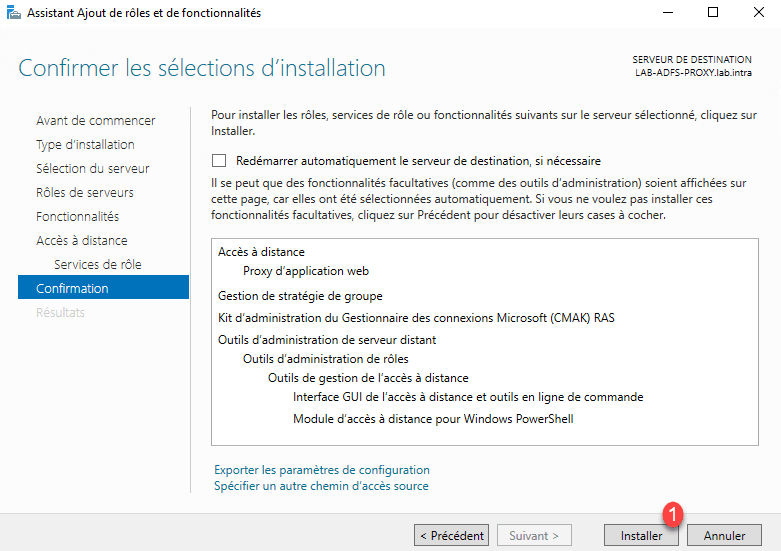
Click on Install 1 .
Wait while installing the Remote Access role and WAP service …
The installation completed, exit the wizard by clicking Close 1 .
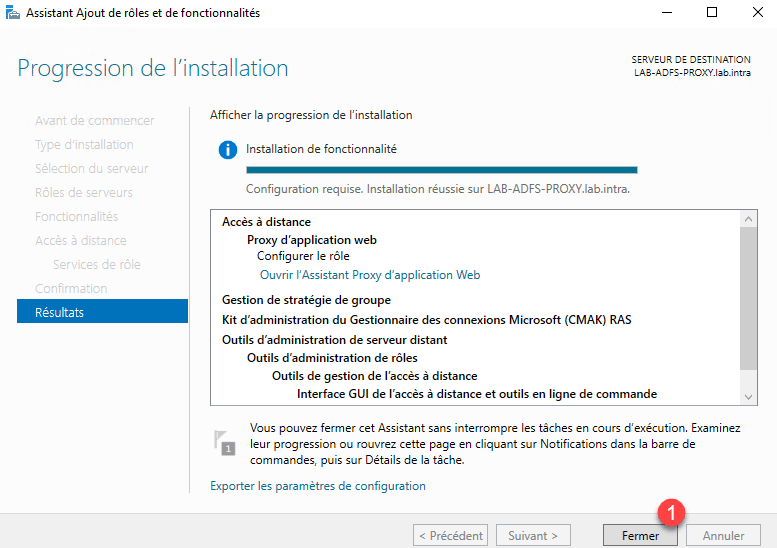
WAP: post installation configuration
How for the AD FS role, the proxy (WAP) feature requires post-installation configuration.
If this is not done, install the certificate used by the Federation Service in the personal store and in the Trusted Root Certification Authority store on the server.
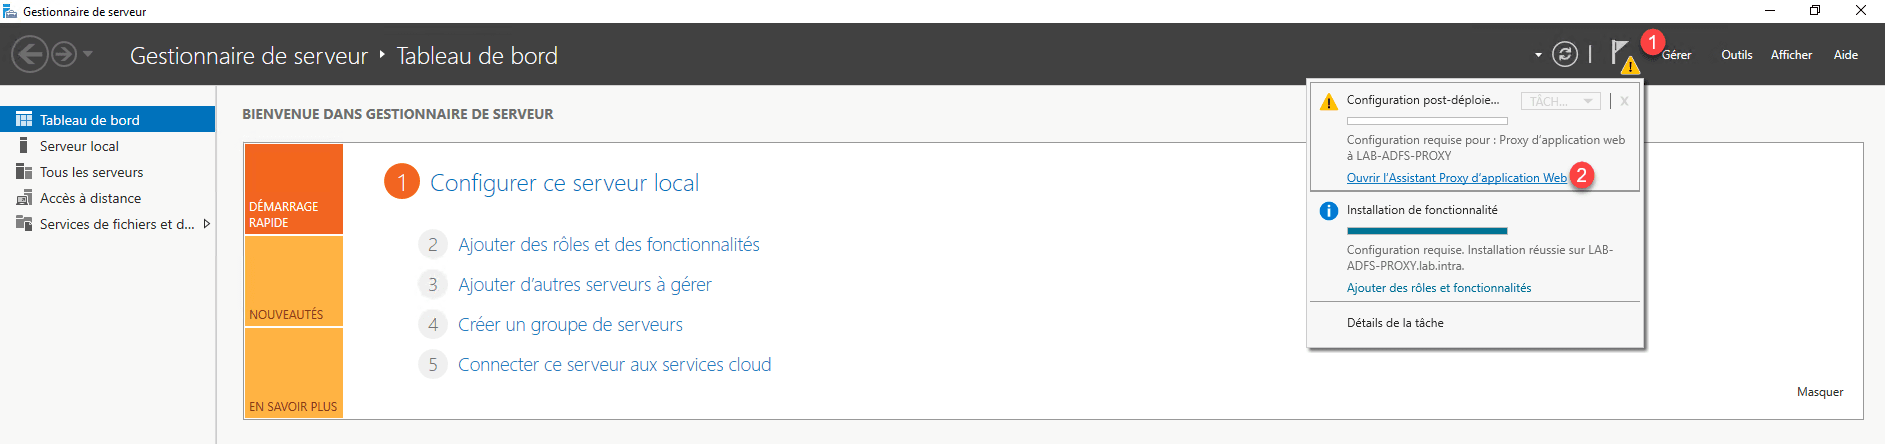
From the server manager, click on the notification icon 1 and then click Open the Web application proxy wizard 2 .
When launching the wizard, click Next 1 .
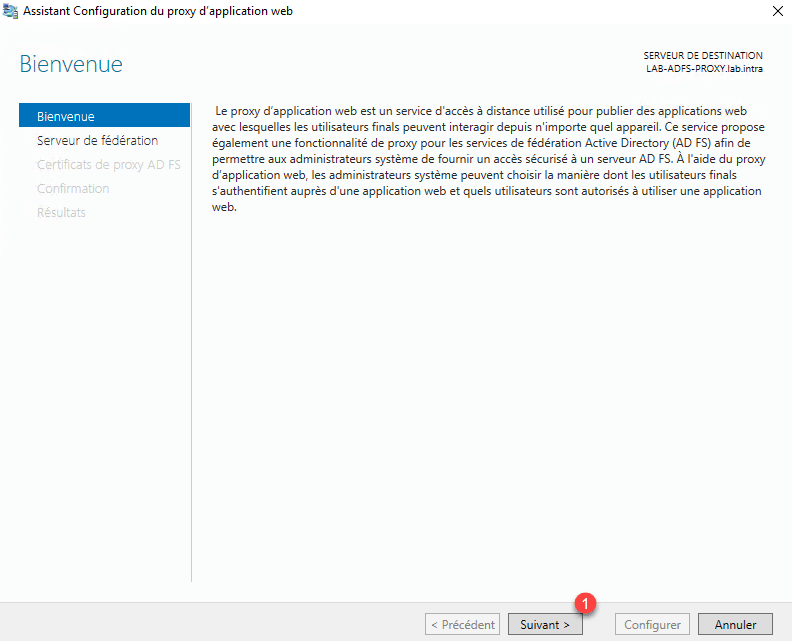
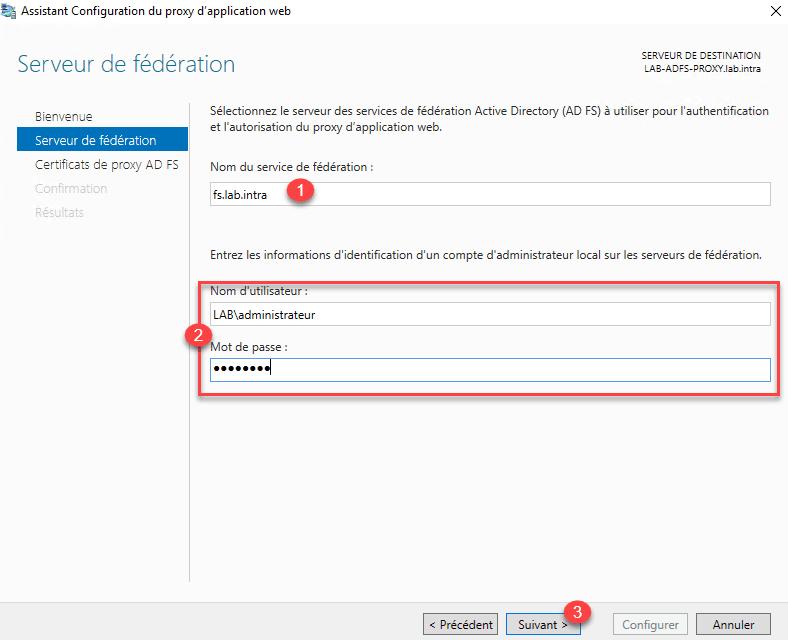
Enter the federation service name 1 and specify an account with Administrator rights 2 and click Next 3 .
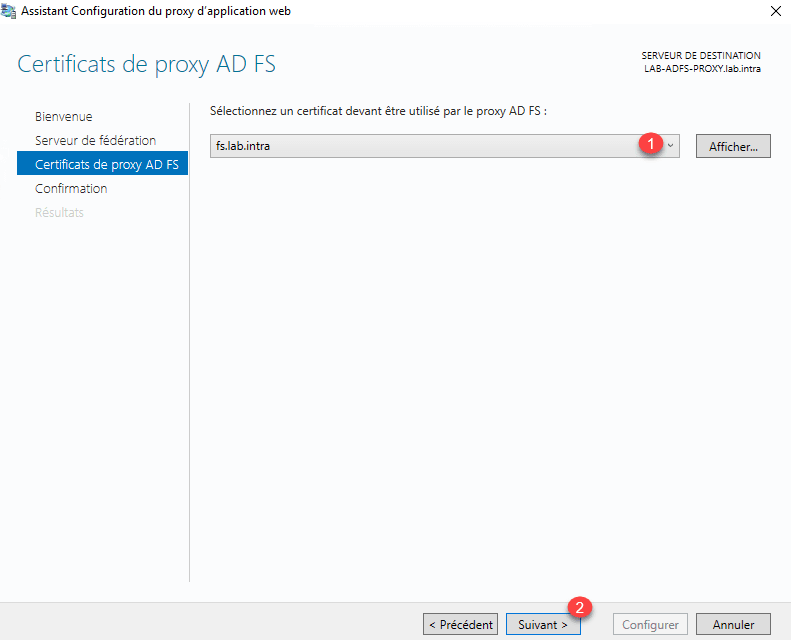
Choose certificate 1 and click Next 2 .
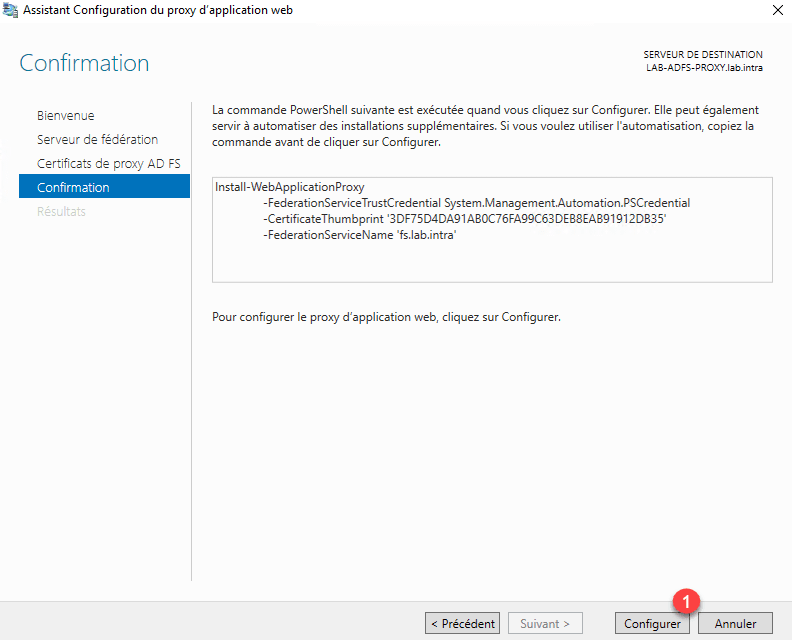
Confirm the configuration by clicking the Configure 1 button.
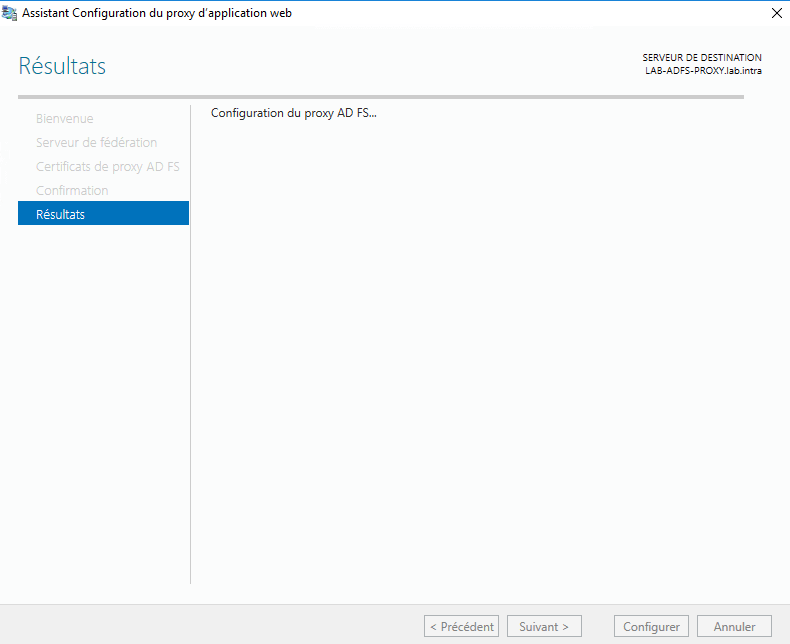
Wait while configuring the WAP proxy …
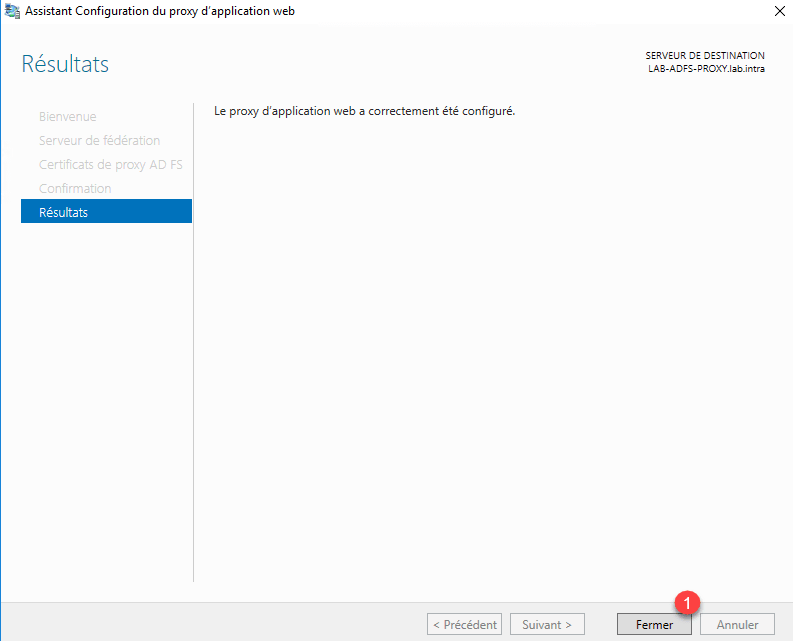
The proxy is now configured, exit the wizard by clicking Close 1 .
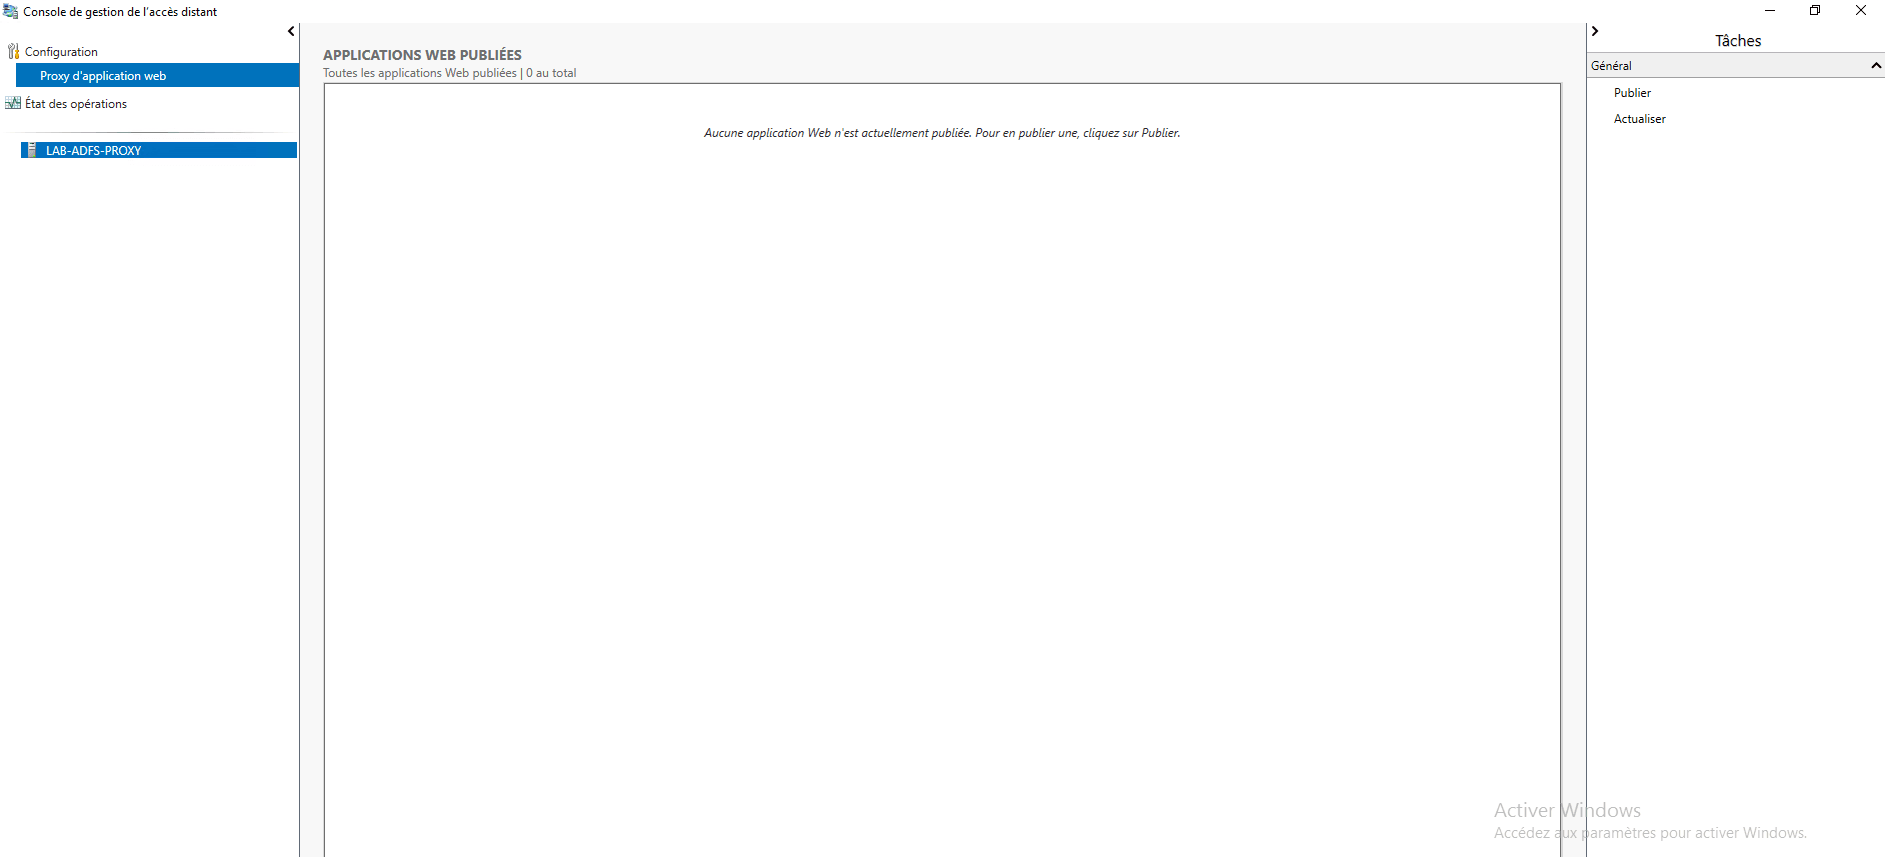
The administration console opens automatically:
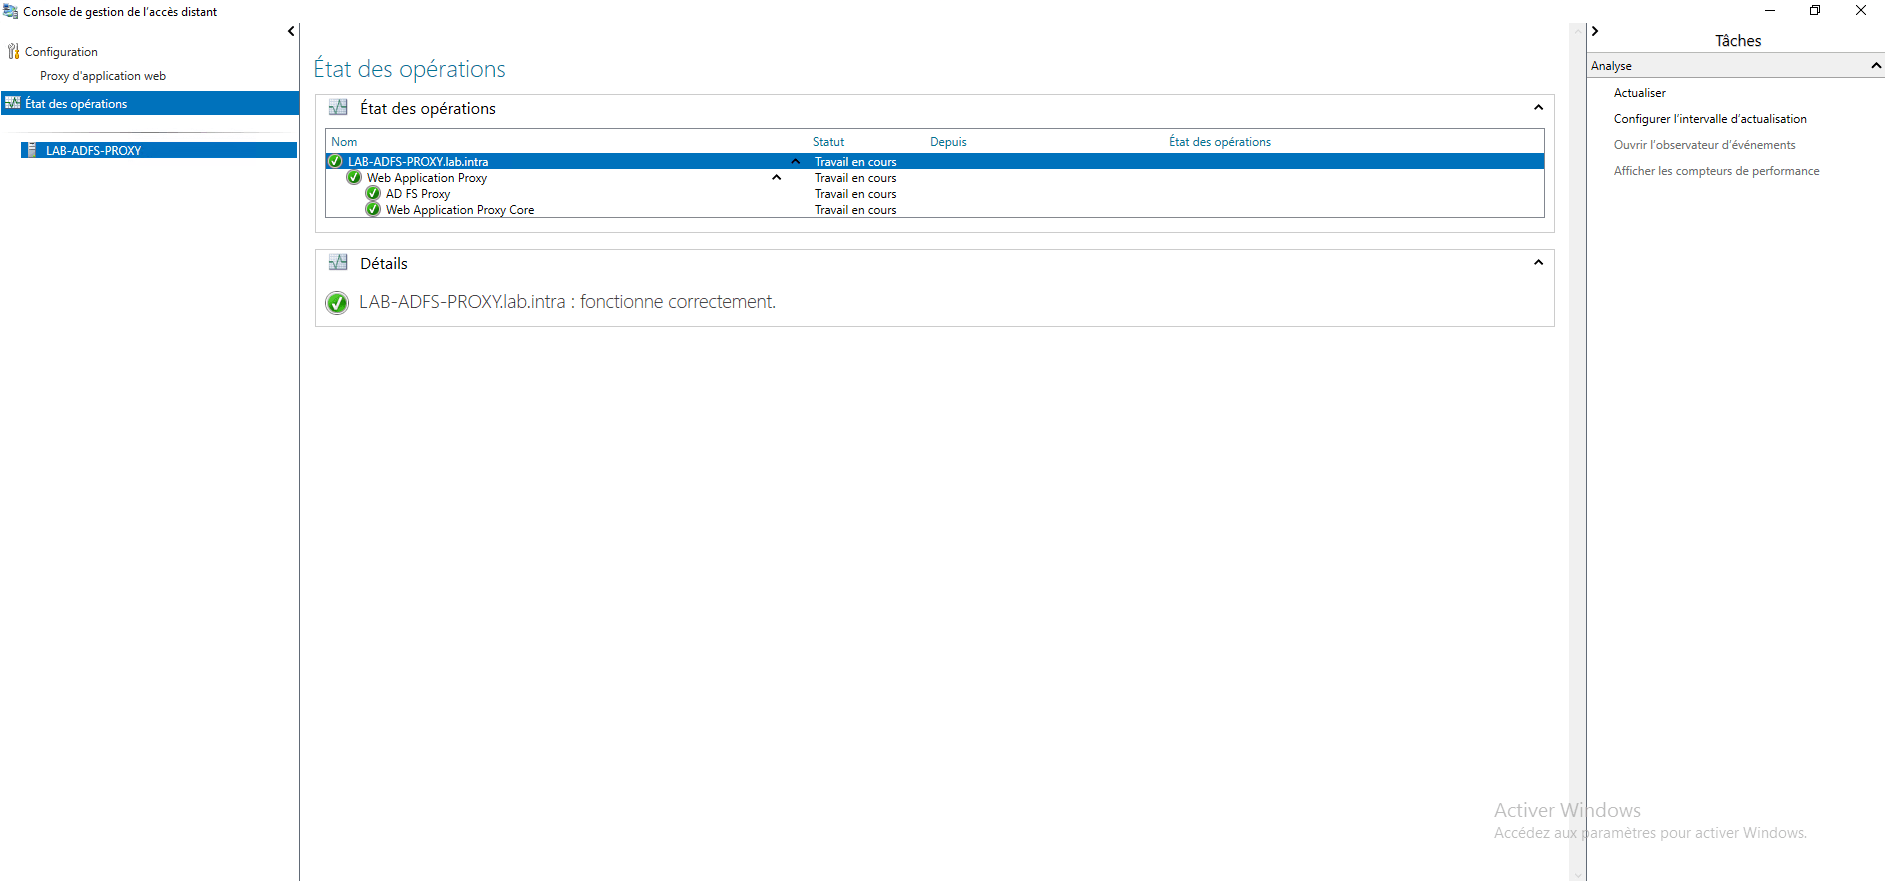
On the AD FS server, open the administration console and verify that the proxy status is enabled 1 .

Use WAP proxy
Using WAP without authentication
In this part, we will set up a WAP rule without authentication to go to the IIS site on the LAB-AD1 server.
Before that, you have to create a DNS record that will point to the proxy server, in the example, the record iis-test.lab.intra will point to the IP of the WAP server.
Configuration
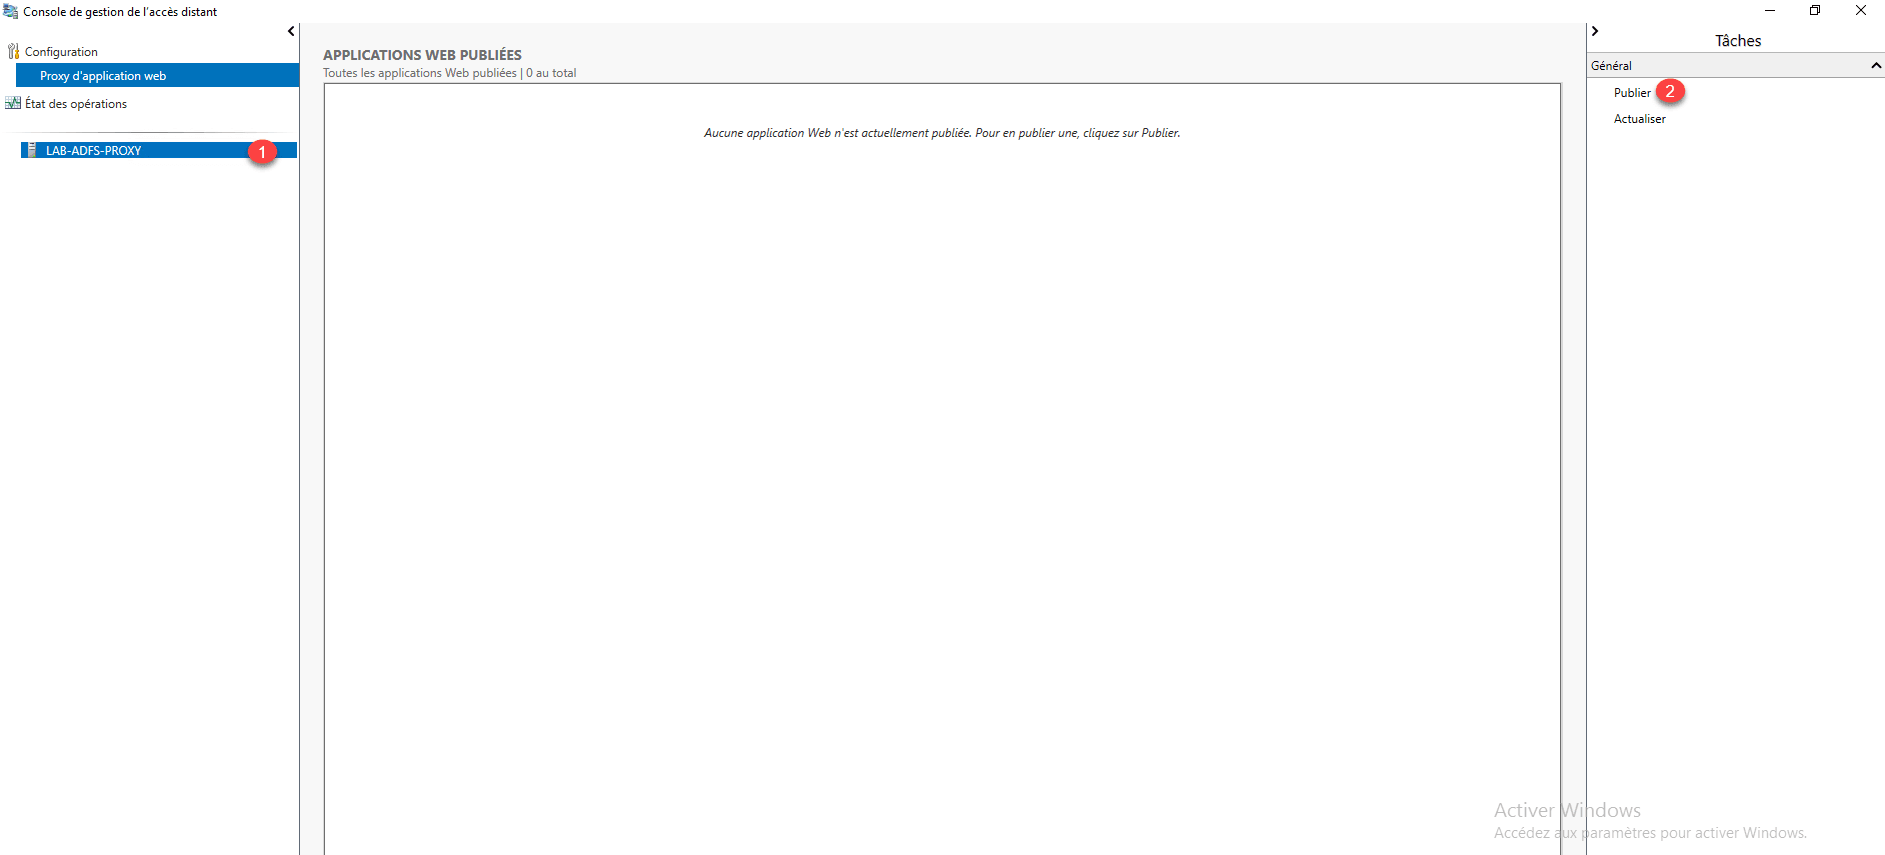
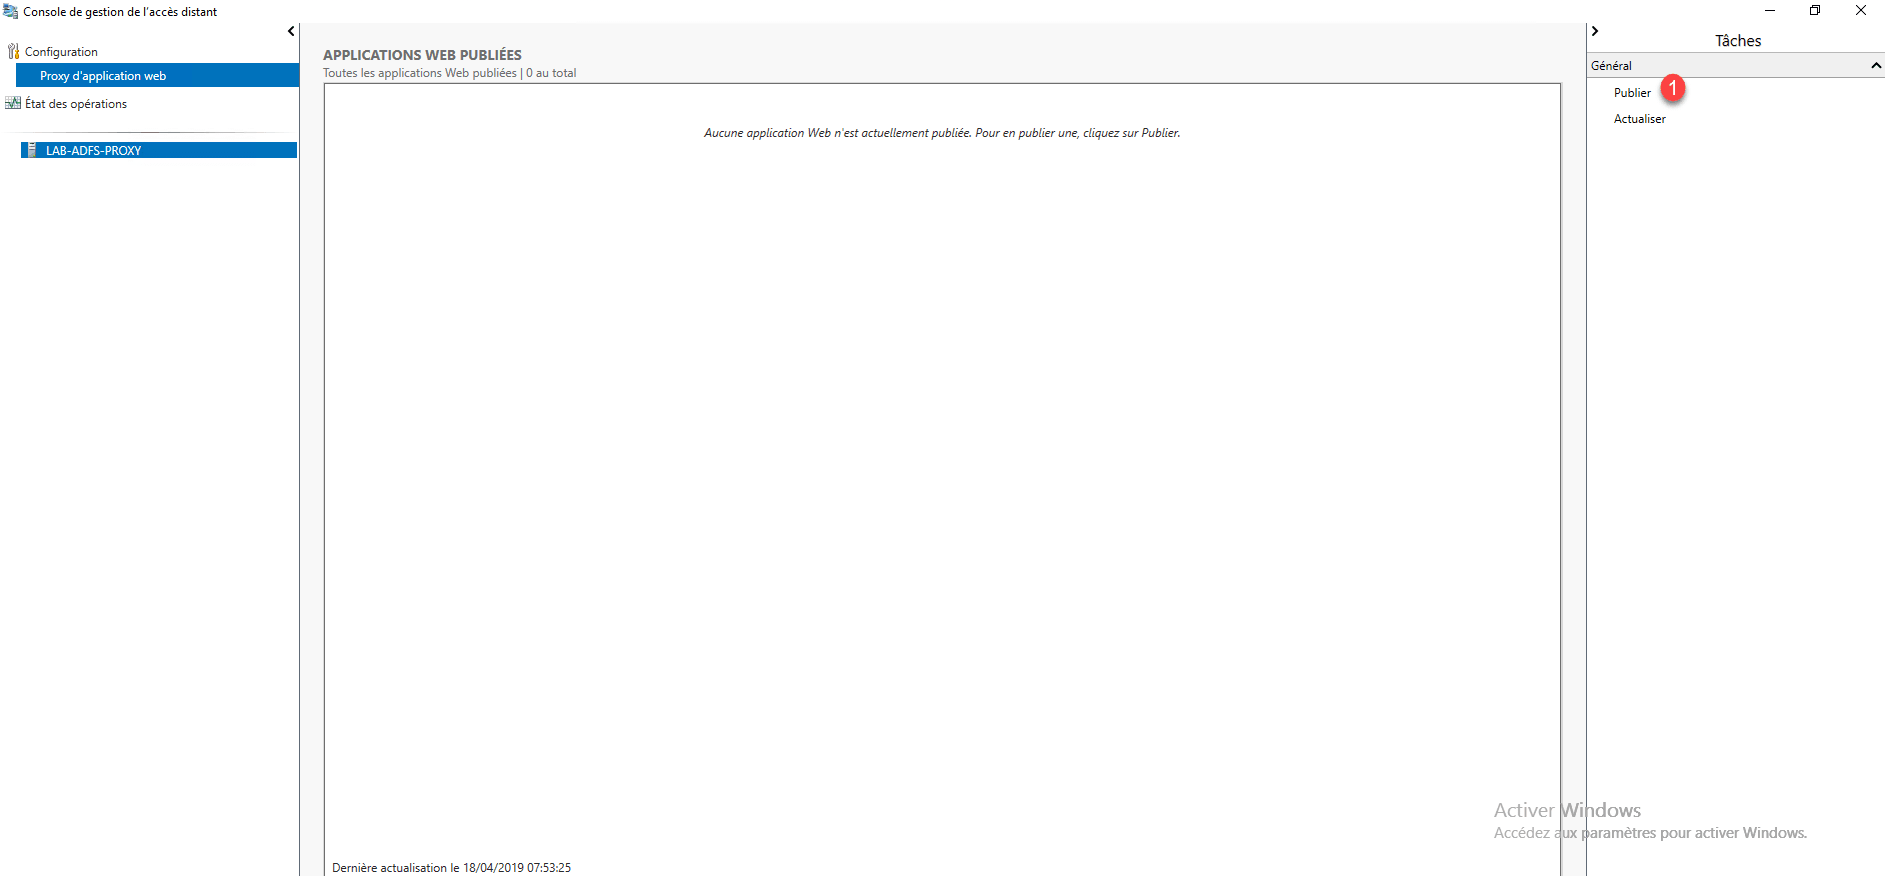
From the remote access management console, select proxy 1 and click on Publish 2 .
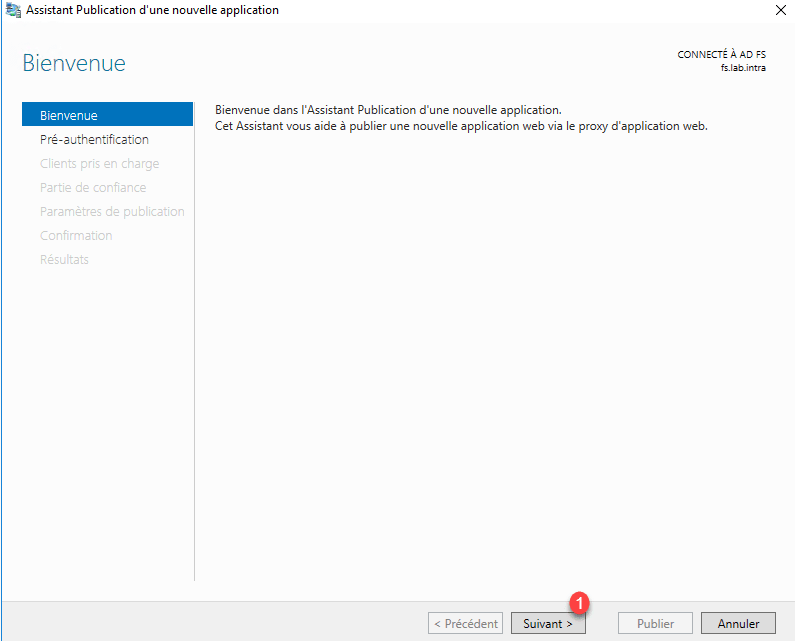
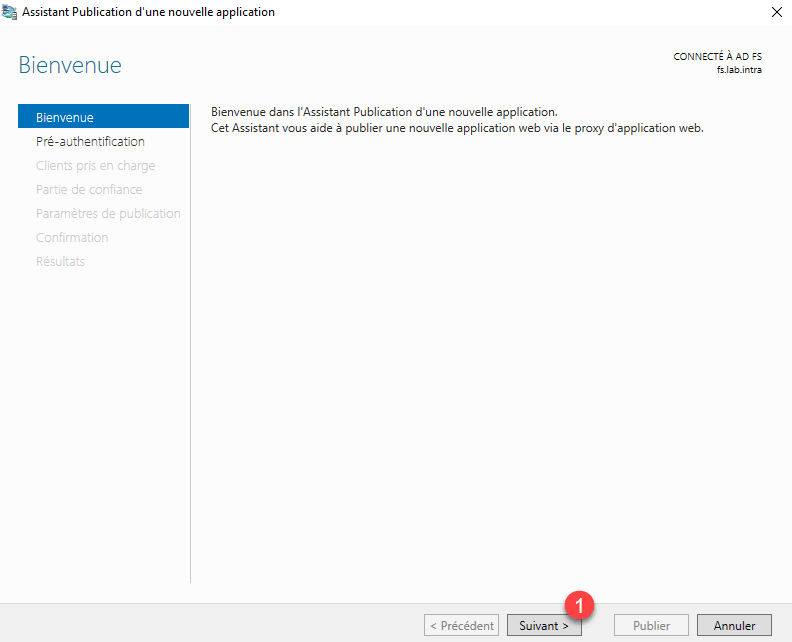
When launching the wizard, click Next 1 .
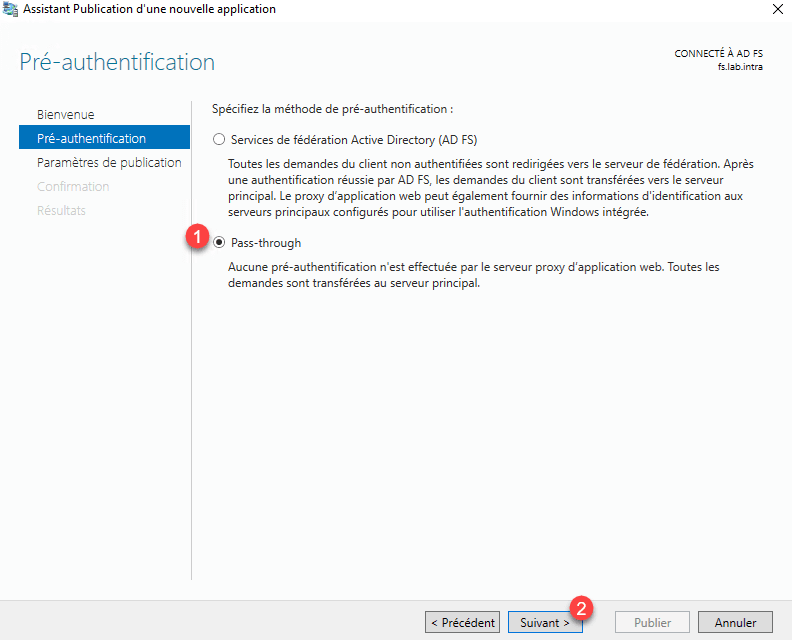
Choose Pass-through option 1 then click Next 2 .
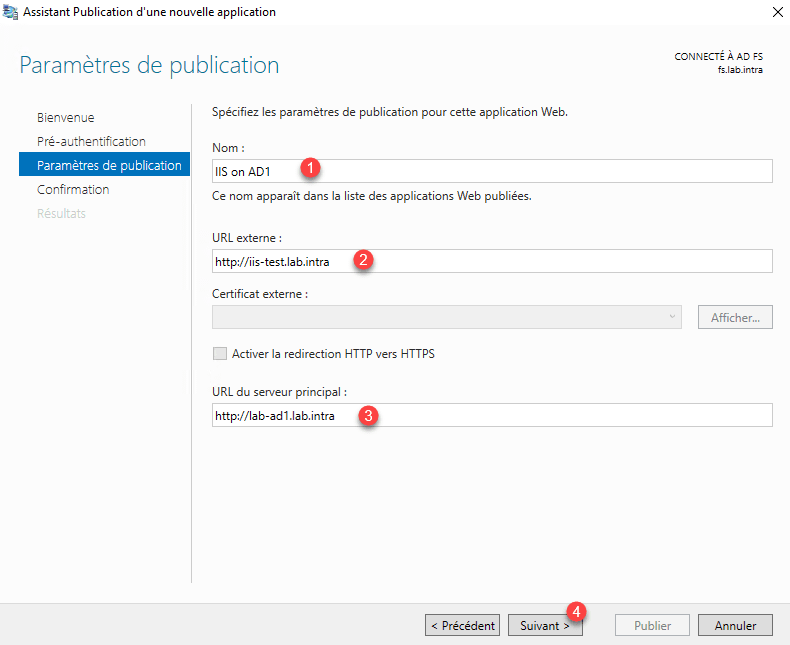
Give a name for the publication 1 , enter the external access URL 2 and the server url internally 3 then click Next 4 .
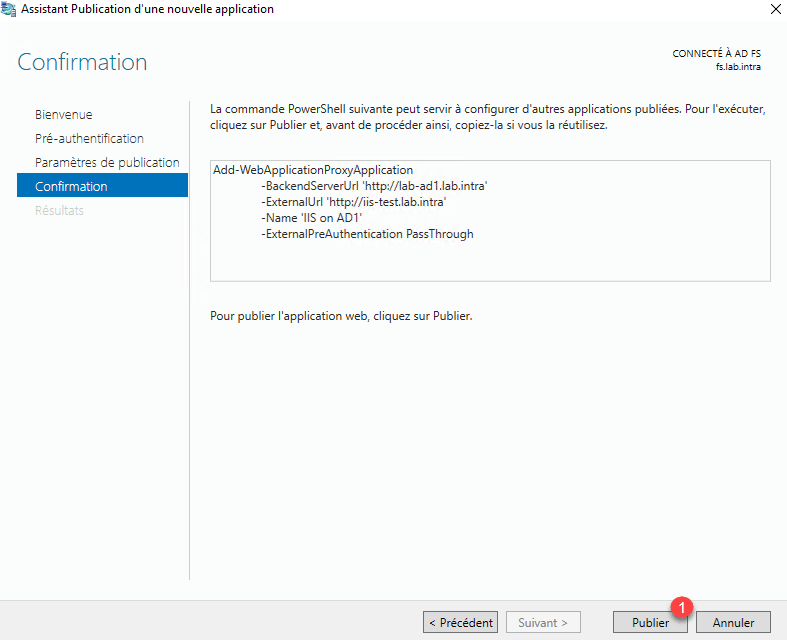
Confirm the publication by clicking Publish 1 .
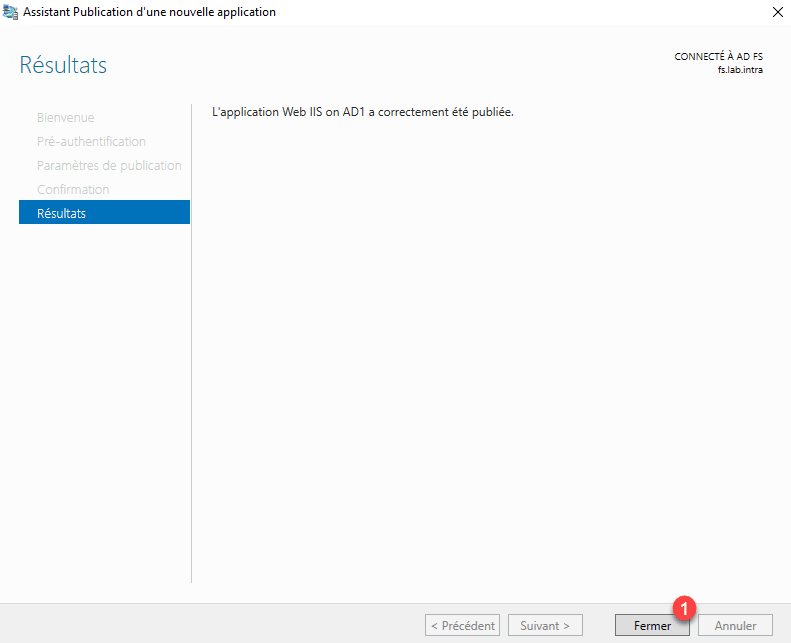
When the configuration is complete, click Close 1 to exit the wizard.
The application is available in the console.
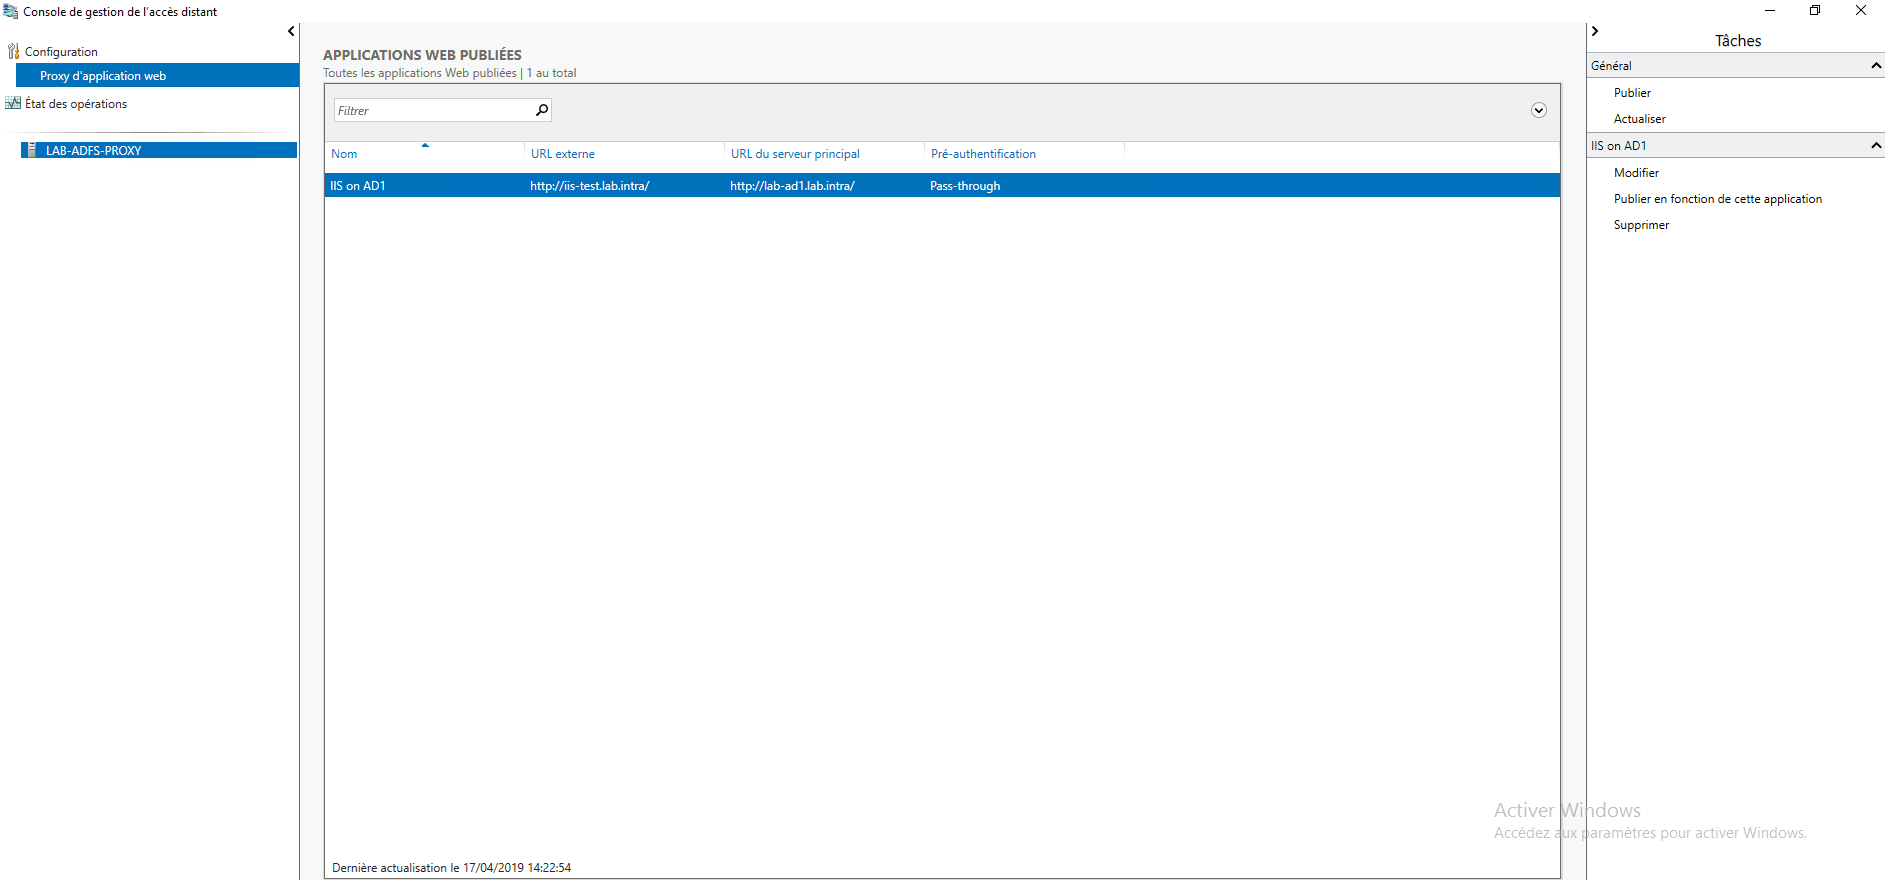
Add a DNS record to resolve the external name internally.

Test
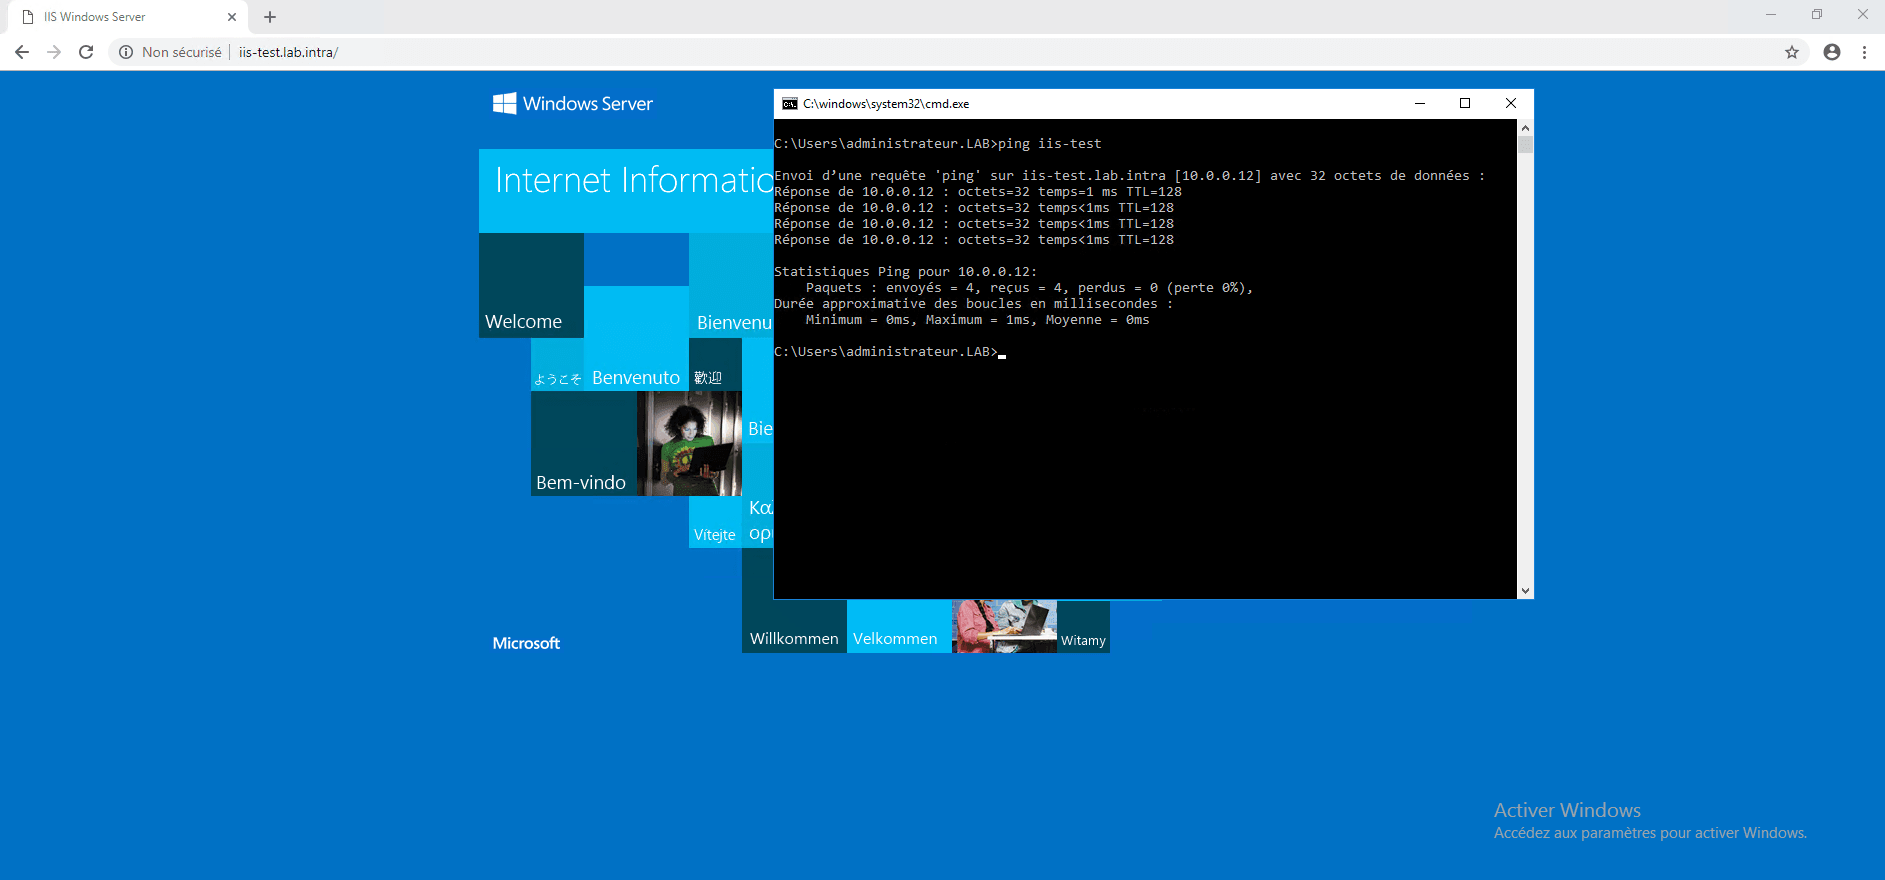
From a client computer, launch an internet browser and enter the external address of the site, the default page of IIS is displayed.
Using WAP with authentication
In this part, we’ll see how to add authentication to access the IIS server page.
In the proxy console deleted the publication. To work, the fs.lab.intra domain must also point to the proxy server, so I added a record to the host file of the test client.
For this part, I also enabled the HTTPS link on the IIS site and install the certificates to ensure proper operation.
Configuration
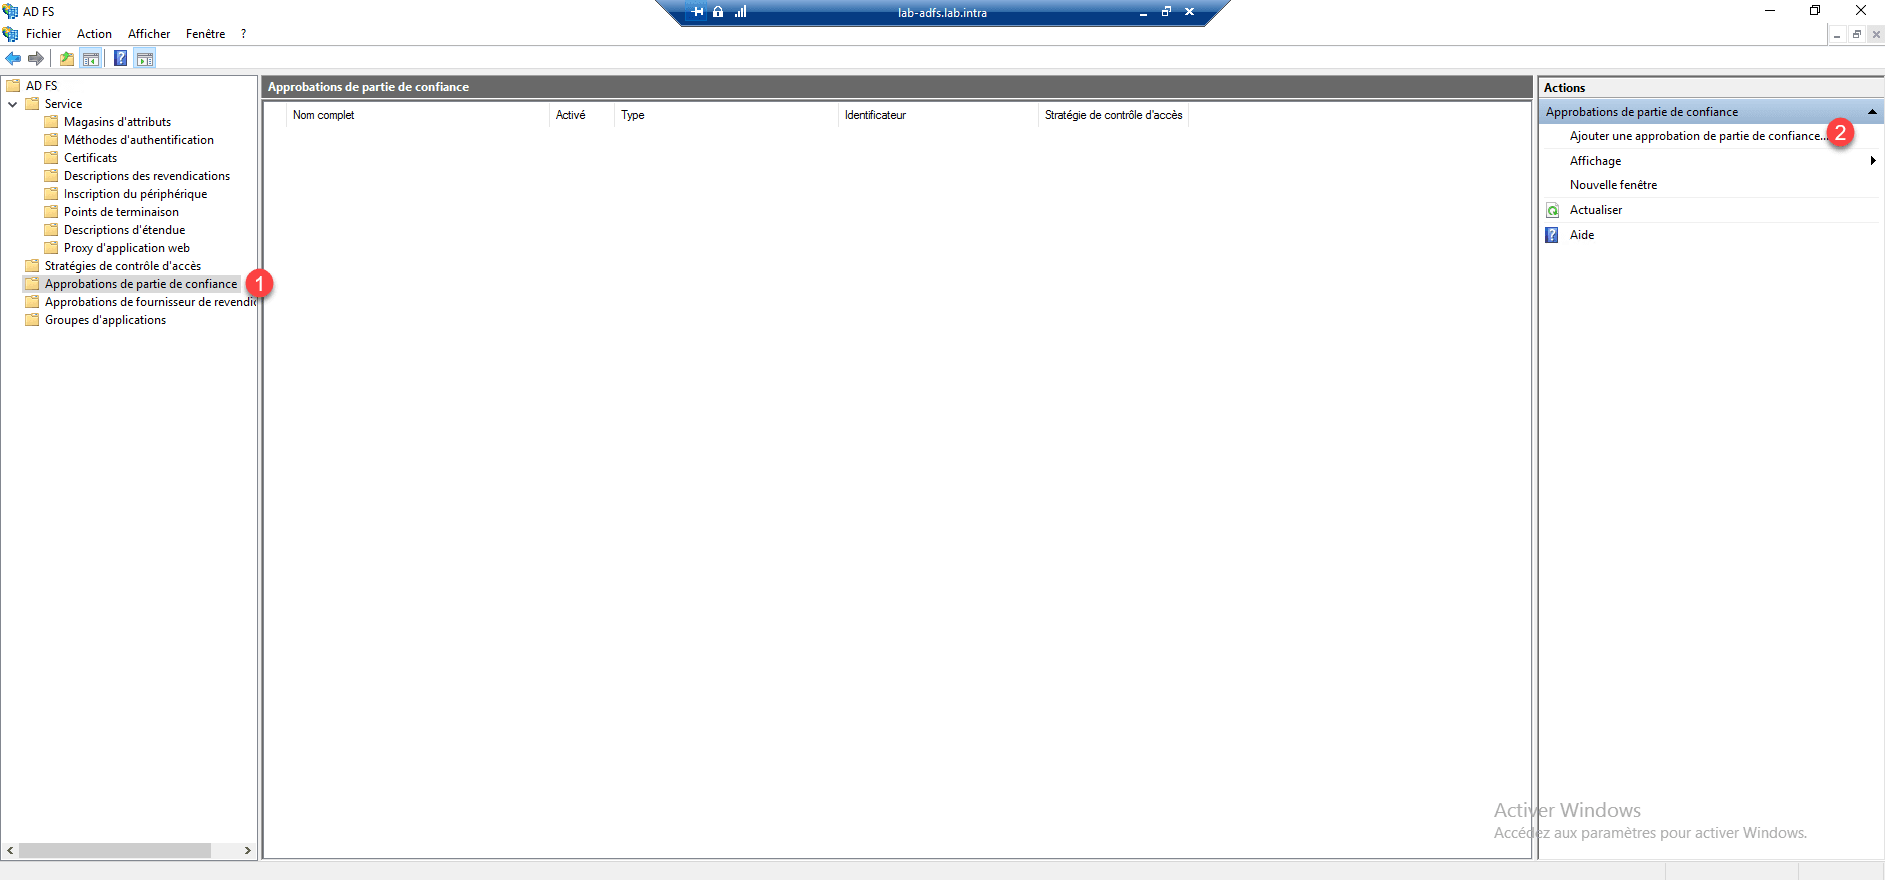
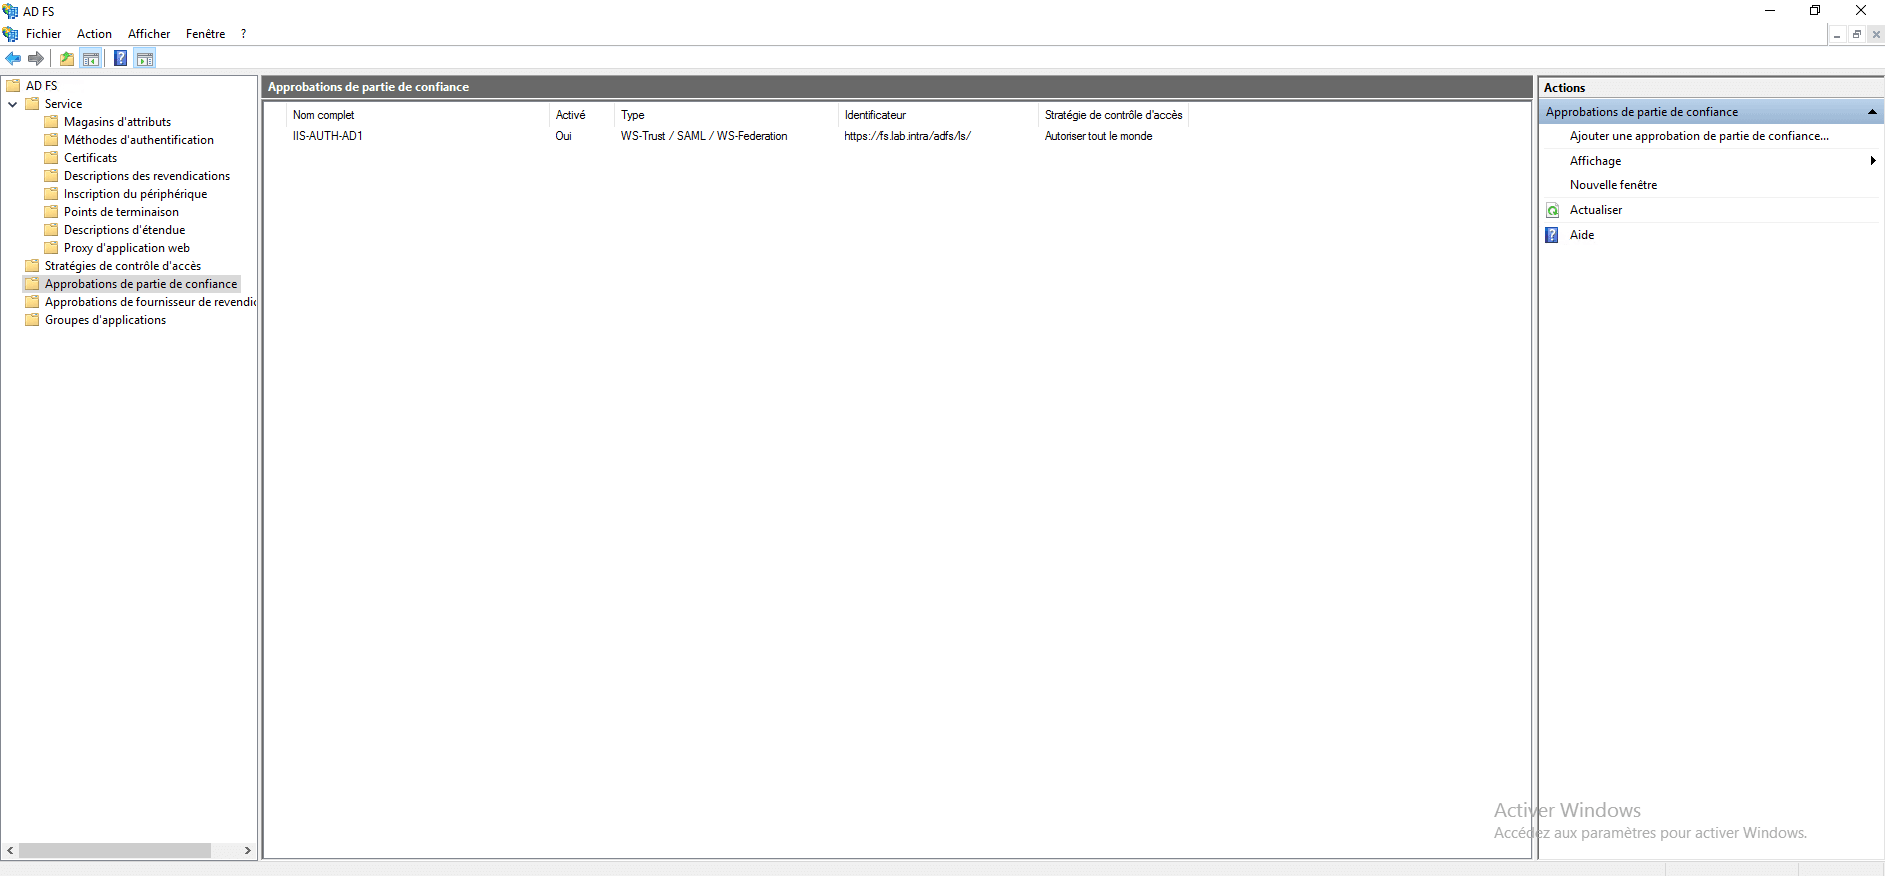
On the AD FS console, go to the Trusted Party Approval File 1 and click Add Trusted Part Approval 2 in the Actions menu.
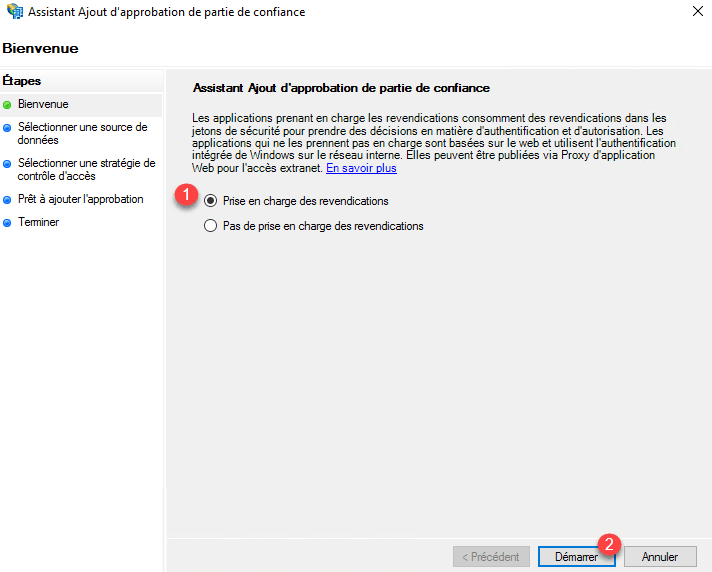
At the opening of the wizard, select the option Support claims 1 and click on Start 2 .
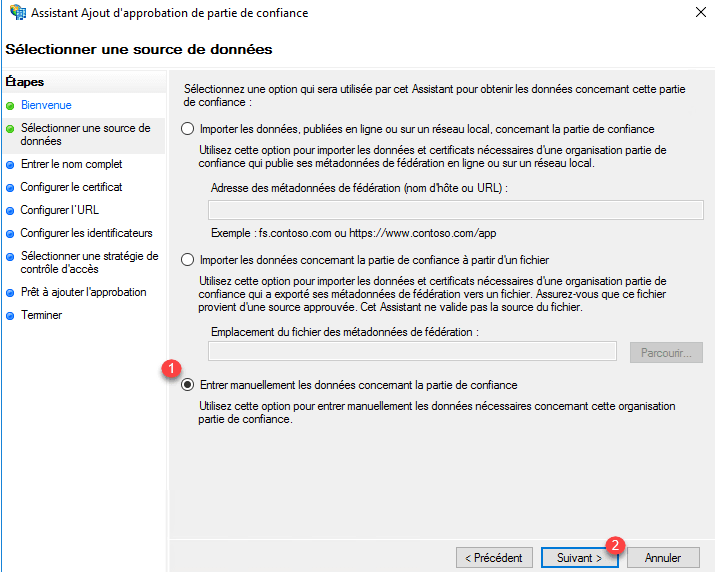
Choose the option Manually enter the data for the trusted part 1 and click Next 2 .
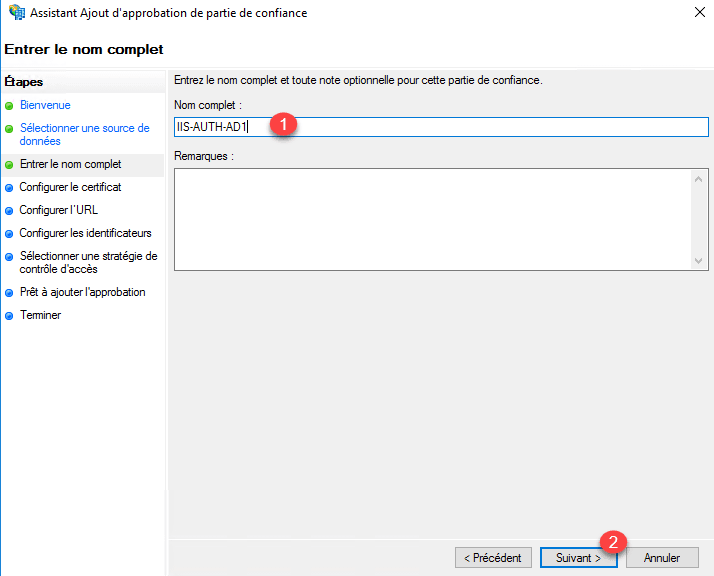
Enter the name 1 for the trusted party and click Next 2 .
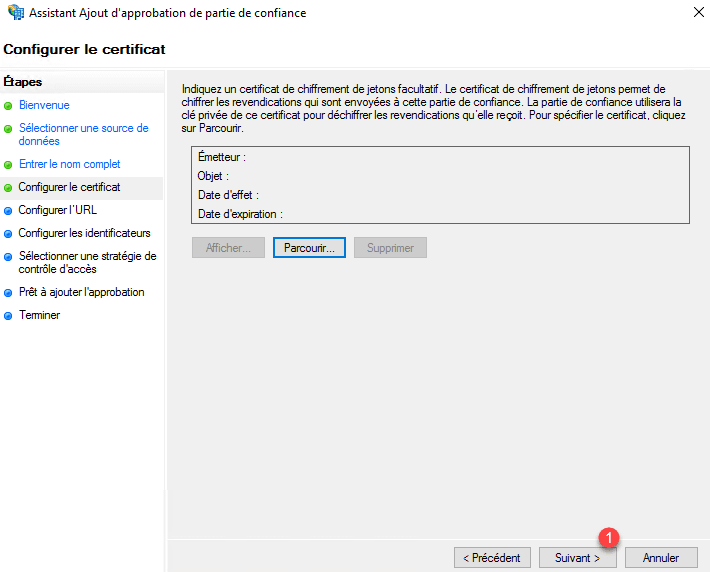
Pass the certificate portion for token encryption by clicking Next 1 .
Configuring url, click Next 1 .
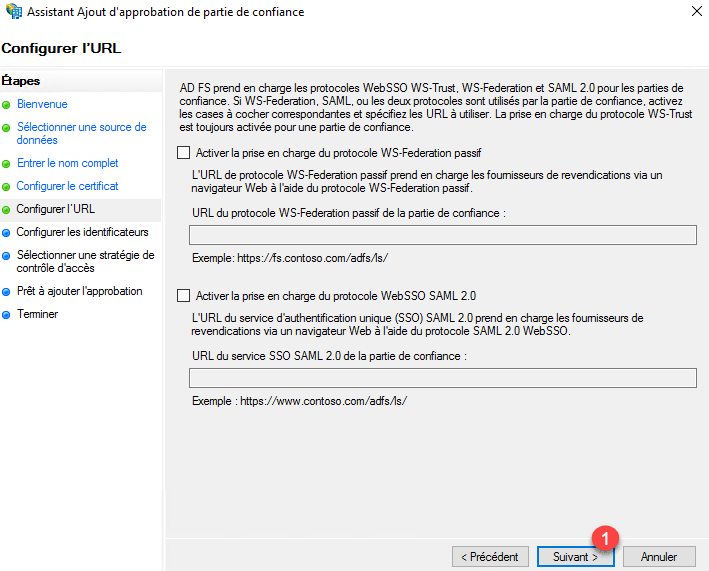
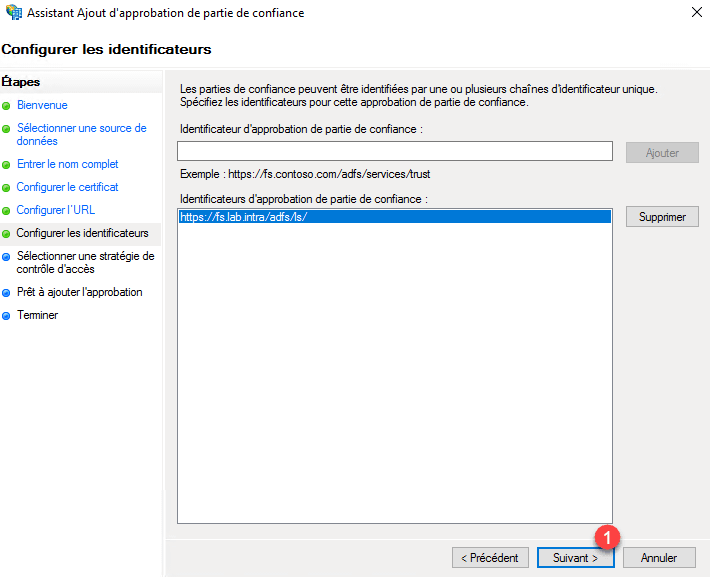
Identifier, configure the portal url https://fs.domain.com/adfs/ls/ 1 and click on Add 2 .
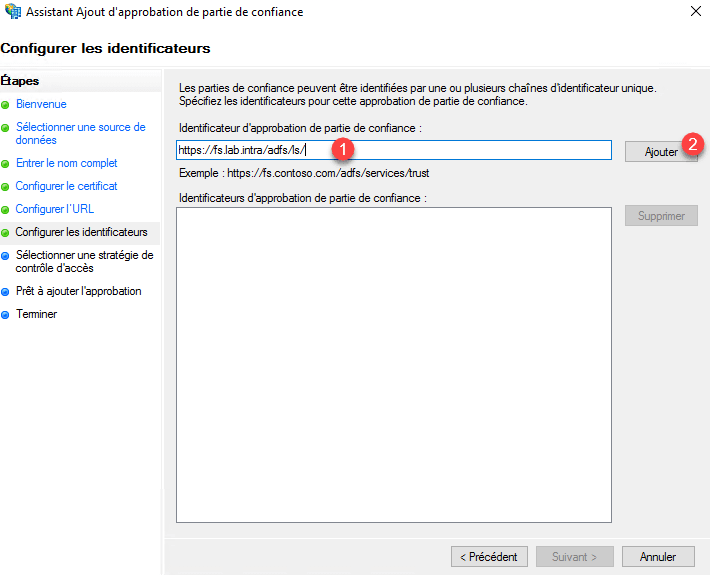
Then click Next 1 .
Select Allow everyone 1 and click Next 2 .
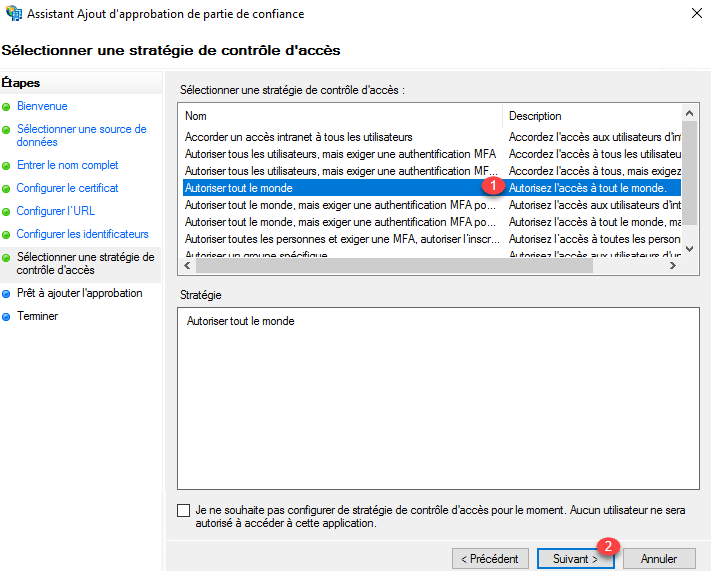
Click Next 1 .

Uncheck Configure a claims policy for this 1 application and click Close 2 .
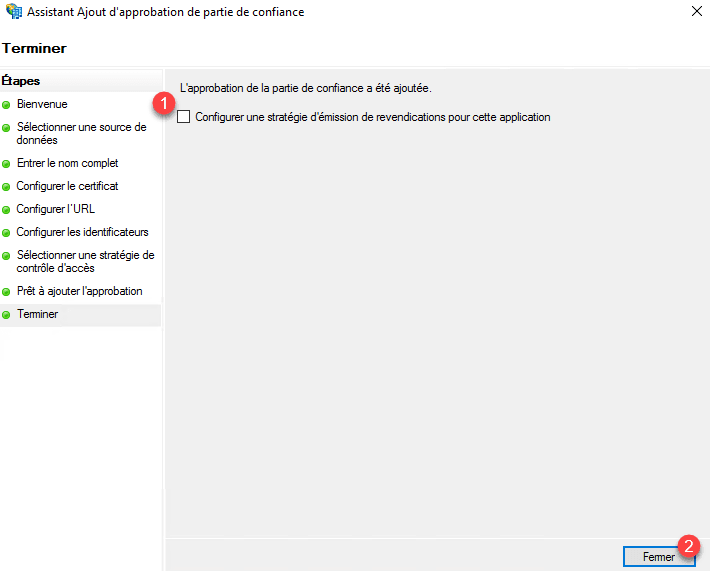
Approval is added in the AD FS console.
Now go to the proxy server, from the admin console, click Publish 1 .
At the launch of the wizard click Next 1 .
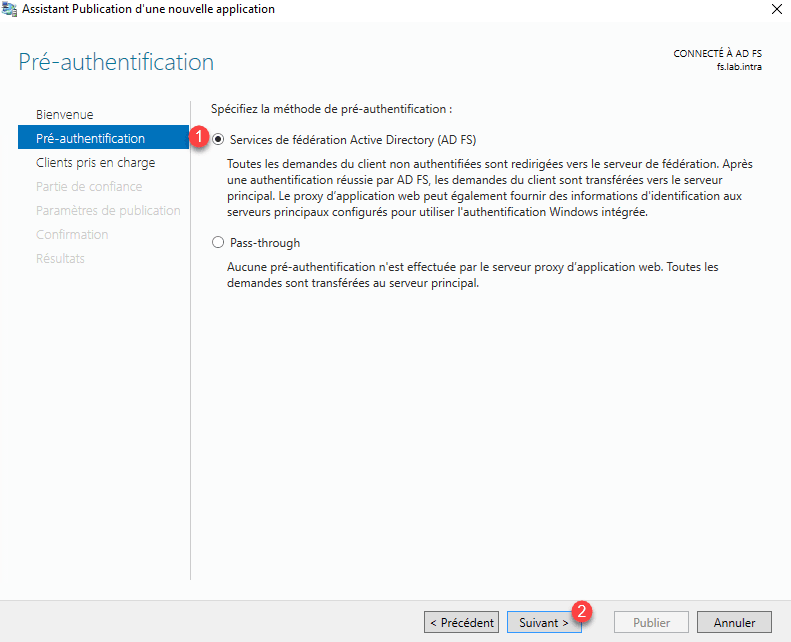
Pre-Authentication select Active Directory Federation Service (AD FS) 1 and click Next 2 .
Choose the option MFSOFBA and Web 1 and click Next 2 .

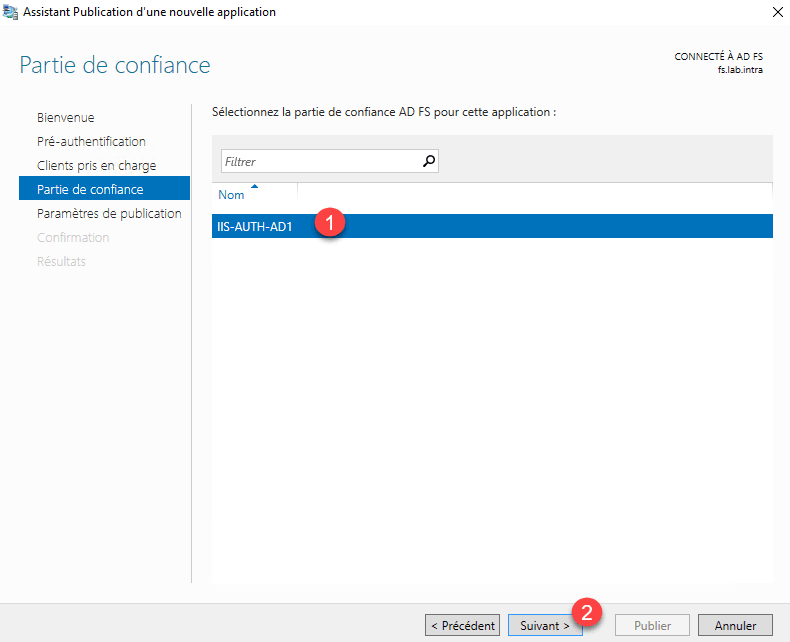
Select the trusted part created on the AD FS server 1 and click Next 2 .
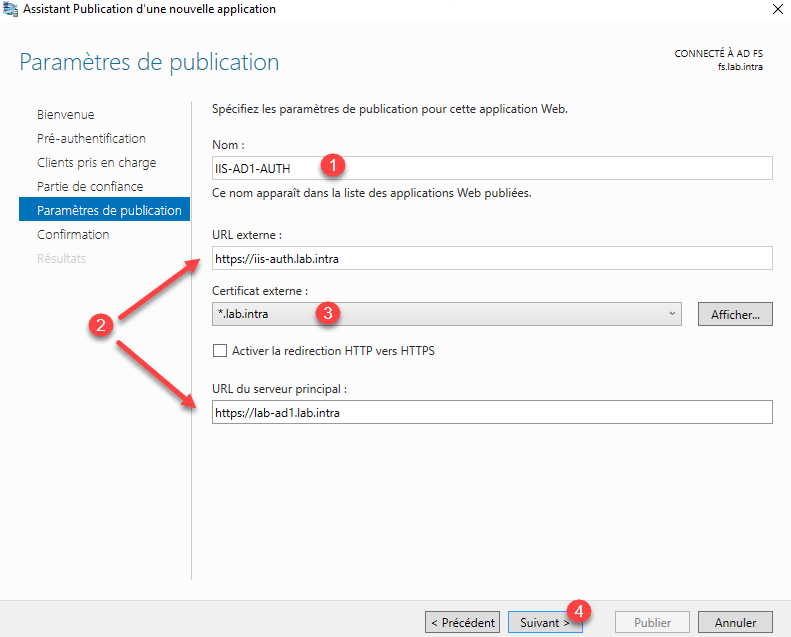
How for the non-authenticated part, name the publication 1 , configure the urls 2 , select the HTTPS certificate 3 and click Next 4 .
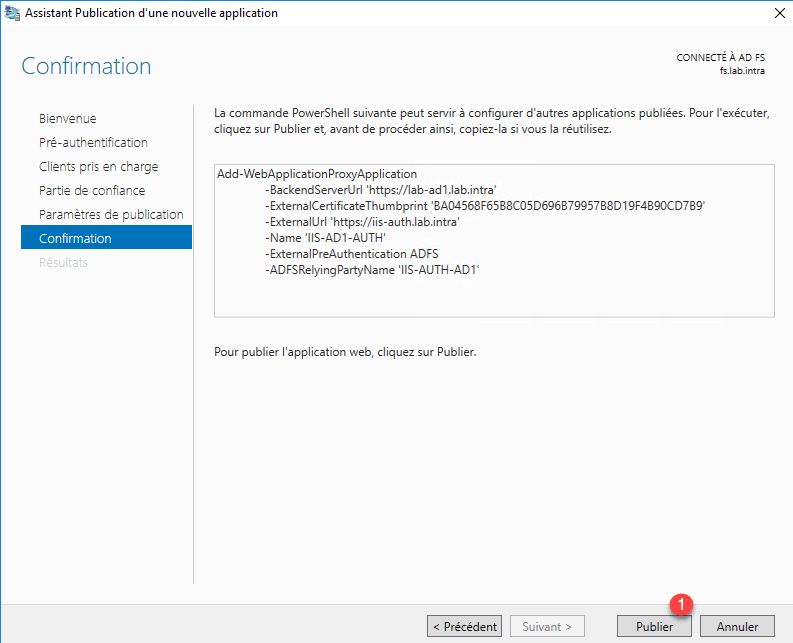
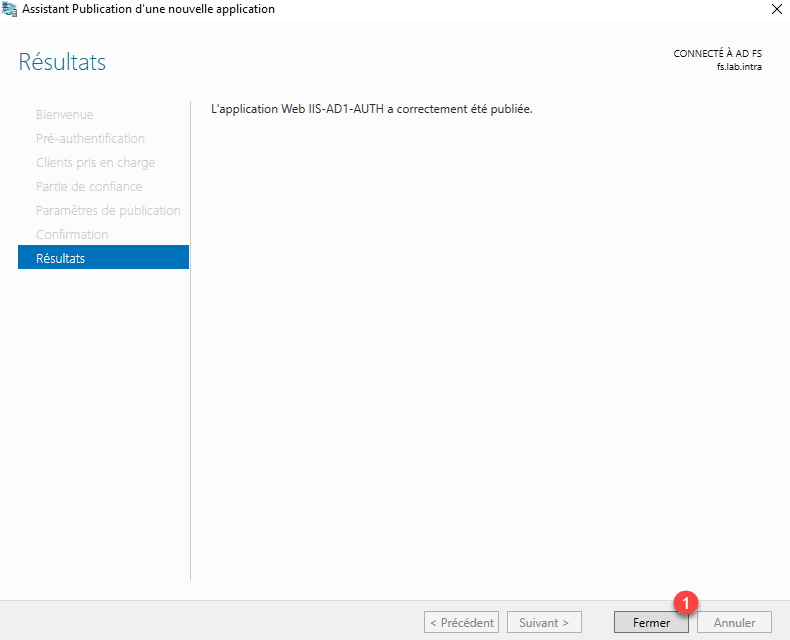
Confirm the creation by clicking Publish 1 .
Click Close 1 to exit the wizard.
Test
The external URL of the publication and Federation Service must point to the Proxy server.
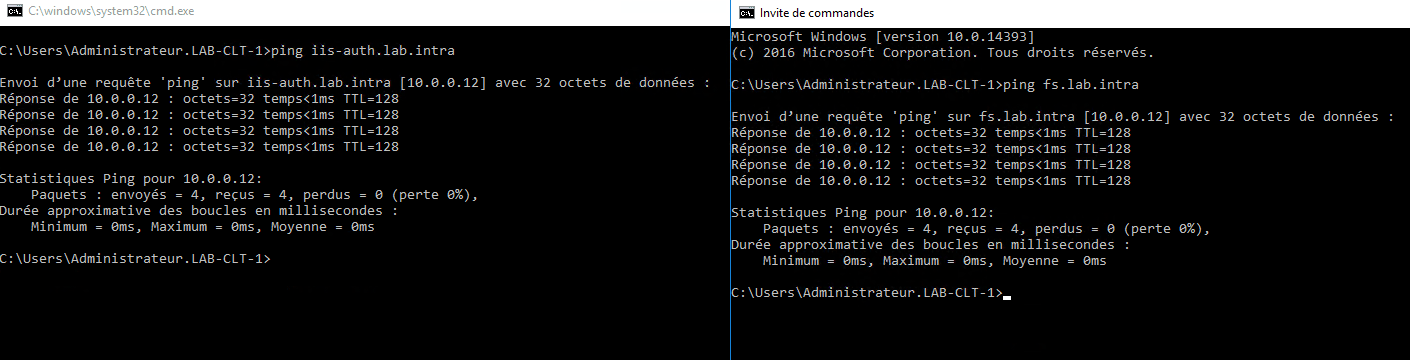
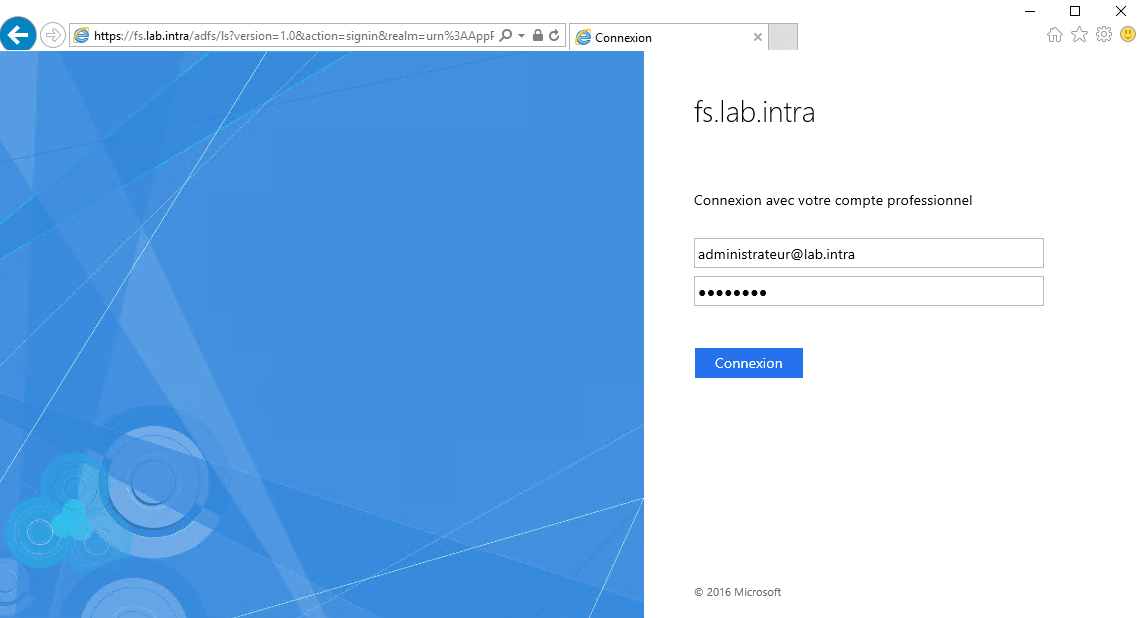
From a client, launch the internet browser and enter the external url configured on the WAP service. You will normally have to be redirected to an authentication form. Enter the information to login and click on Login.
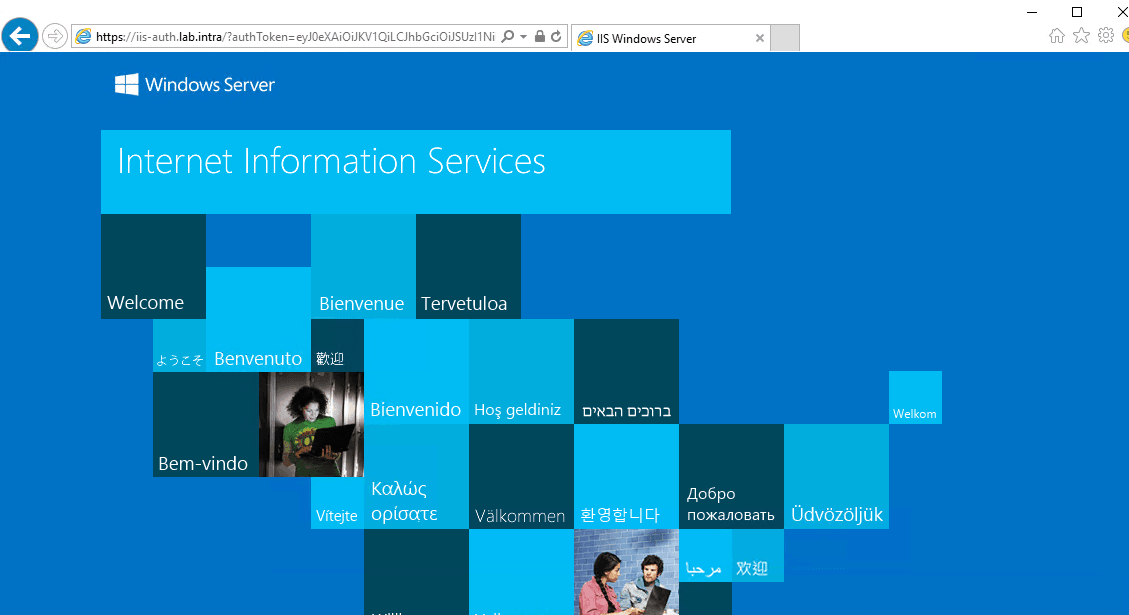
Once identified, the IIS page is displayed and you can see the authToken parameter in the URL.
Conclusion
The implementation of AD FS services makes it possible to secure access to the internet resource from the outside by managing the user authentication before access to the publication.
AD FS also makes it possible to federate the identification between different AD environments as with Office 365.
The implementation of AD FS server side is not complicated, as far as the configuration of publications is something else.
Example of use :
- Fédération avec Office 365 (1)
- Fédération avec Office 365 (2)
- Exchange 2016 (1)
- Exchange 2016 (2)
- Exchange 2016 (3)
- RDWEB
You will also find on the site several tutorials on the use of AD FS services to set up SAML and OpenID authentication on applications in order to benefit from SSO