

Introduction
AD RMS (Active Directory Right Management) is a Windows Server service that provides extended rights management for certain files. The system is similar to the DRM protection that protects intellectual property.
In internal use, AD RMS extends NTFS security rights by limiting actions on a Word file by preventing the printing or saving of a copy. In order to increase security, the file is encrypted which makes it unreadable.
It is possible to open the AD RMS service externally by using the ADFS service.
Principle of operation
In order to understand the AD RMS service, here is an example for the end user.
In order to protect the operating documents drafted by the PLAN for the BUILD teams, the AD RMS service is used internally.
When a document is served, RMS rights are applied to the document so that only those who are learning in the IT_BUILD group can open it without making any changes or printing. This one is then broadcast by email as an attachment.
When opening a copy of the document, it contacts the RMS server to validate the rights applied to the document to find out if the person can open it and interact with it.
Schematic overview of how AD RMS works
Here is a schematic representation of how the AD RMS service works.
Prerequisites and preparation for deploying AD RMS
Prerequisites for AD RMS
The deployment of AD RMS requires several prerequisites at the infrastructure level.
The most important point is the training of users in the use of this service. As we will see following this tutorial, RMS rights are applied by the creator of the document, which makes the user autonomous, unlike a traditional sharing where NTFS security is provided by the IT department.
Prerequisites for deploying AD RMS:
- An Active Directory environment.
- For the AD RMS cluster one or more servers that are members of the Active Directory domain, preferably dedicated to this role.
- In the case of a multiple AD RMS deployment, provide a minimum SQL Server 2008 database. If only one server, it is possible to use the Windows internal database (WID).
- The server (s) for AD RMS must be a member of the domain.
- Active Directory users and groups must have an email address in their attribute so that they can be used with AD RMS.
- Provide a DNS name for the AD RMS cluster:
- A recording
- An SSL certificate (Enterprise Certification Authority).
- Users must with a compatible client to be able to apply and read protected files.
- Office Pro or Adobe Pro to apply RMS rights.
- Office or Acrobat Reader to open the file (s).
Preparation of the environment
Before we start installing the AD RMS role, we will prepare the environment.
Creating a group for super users
To overcome a user error on the application of rights, it is possible to configure in AD RMS a super-admin group that has the ability to edit all files.
From the Active Directory Users and Computers console, create a group by specifying a 1 email address.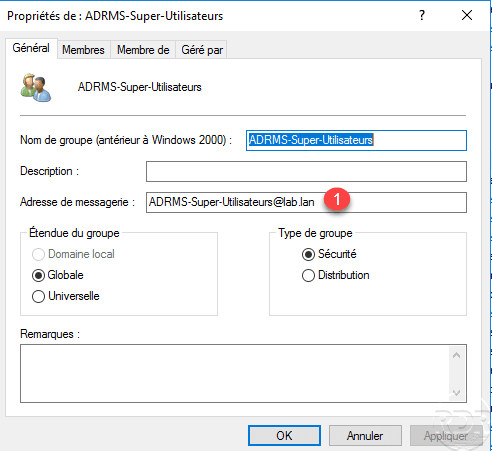
Then add the person (s) who will be able to access all the documents.
Service account for the AD RMS cluster
During post-installation configuration and the creation of the AD RMS cluster, a service account must be configured. Always using the Active Directory Users and Computers console, create a standard user account whose password never expires.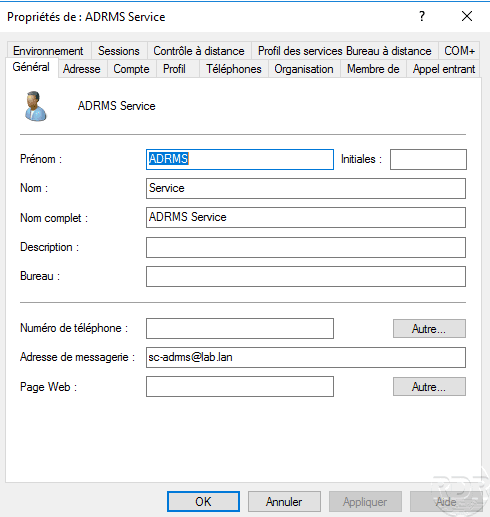
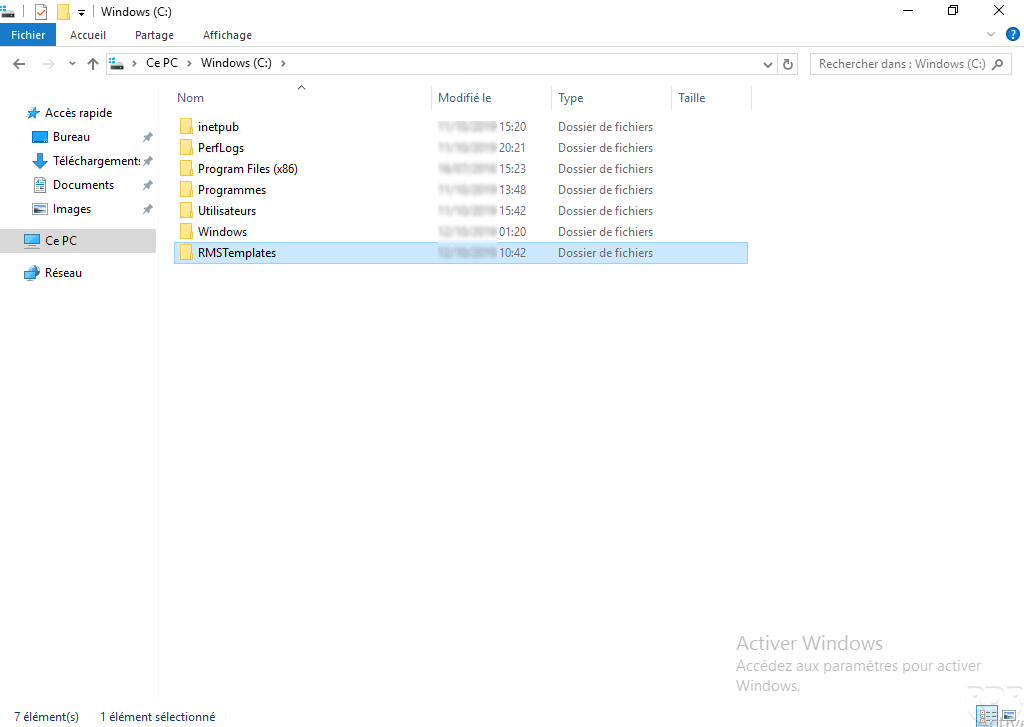
A network share
Create a network share that is readable by everyone and in total control by the service account. This sharing goes XML export service of rights strategy templates.
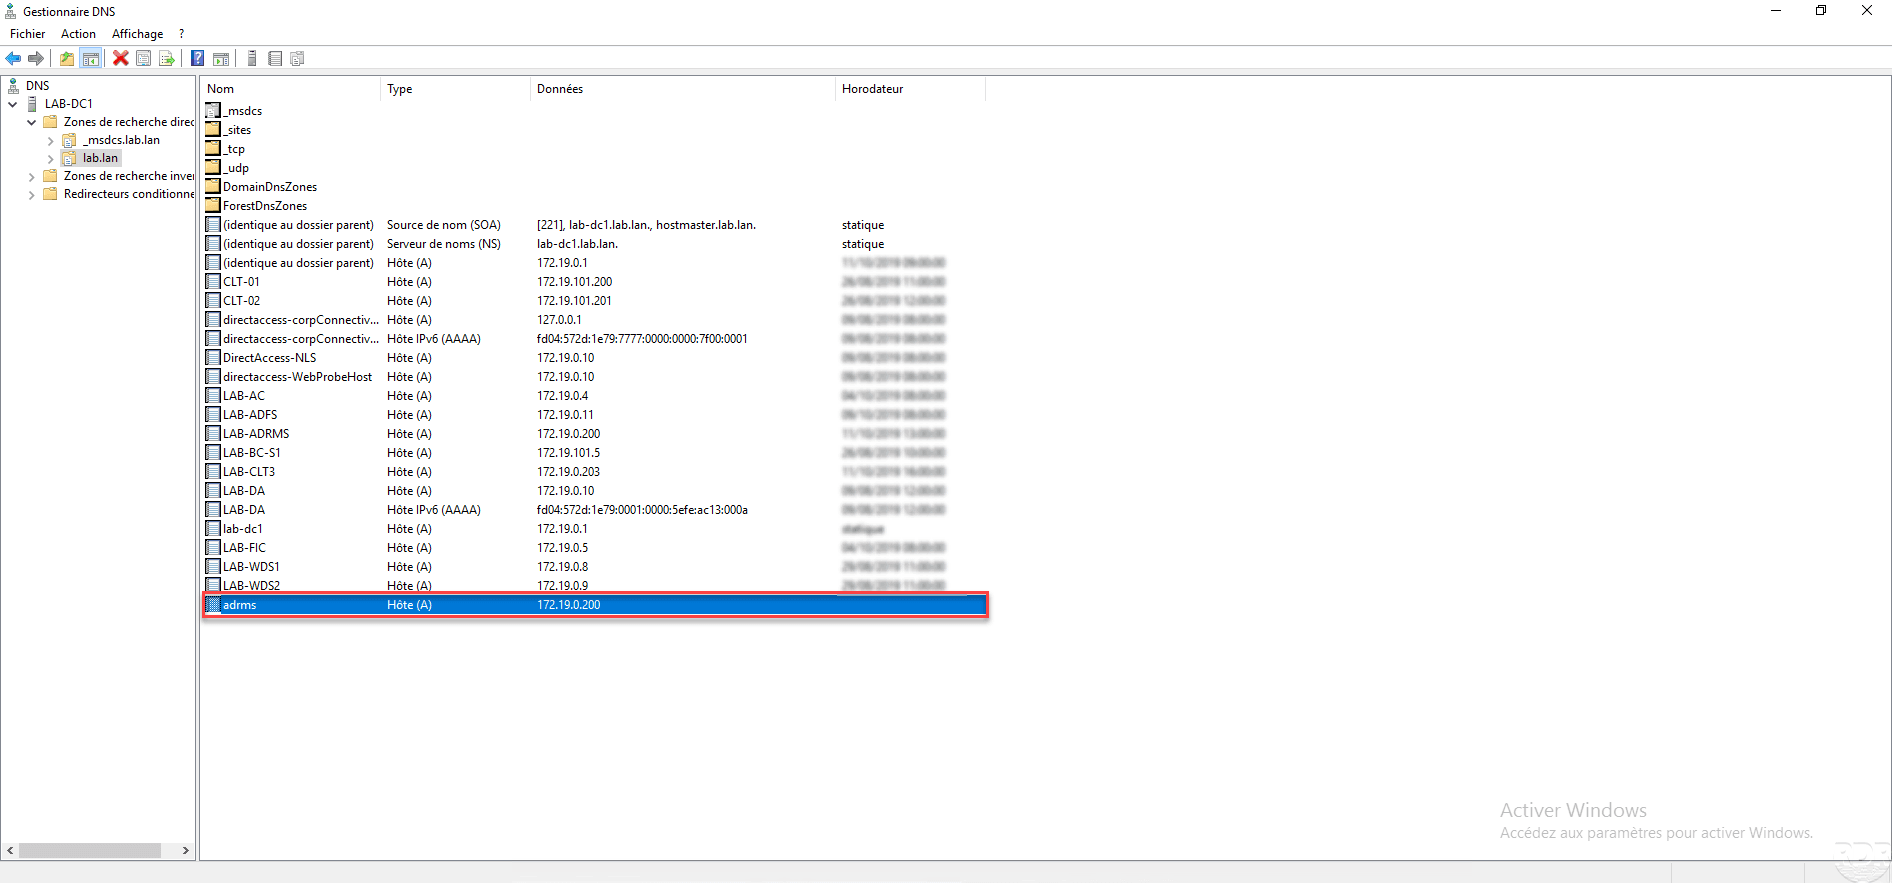
DNS registration
Create a DNS record for the cluster name that points to the expected server’s IP role.
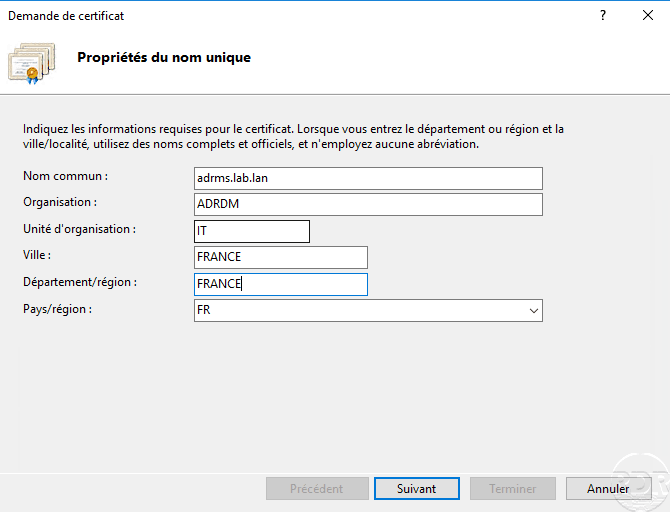
Certificate for the cluster
If you have a certification authority, provide a certificate on behalf of the AD RMS cluster.
If you do not have an IIS server to generate the certificate, you can do it from the AD RMS server after you install the roles.
SQL Server
If you want to add multiple AD RMS servers in the cluster, you need to provide a SQL Server instance
Deploying AD RMS roles
Installing Roles for AD RMS
From the server manager, click Add Roles and Features 1 .
When launching the wizard, click Next 1 .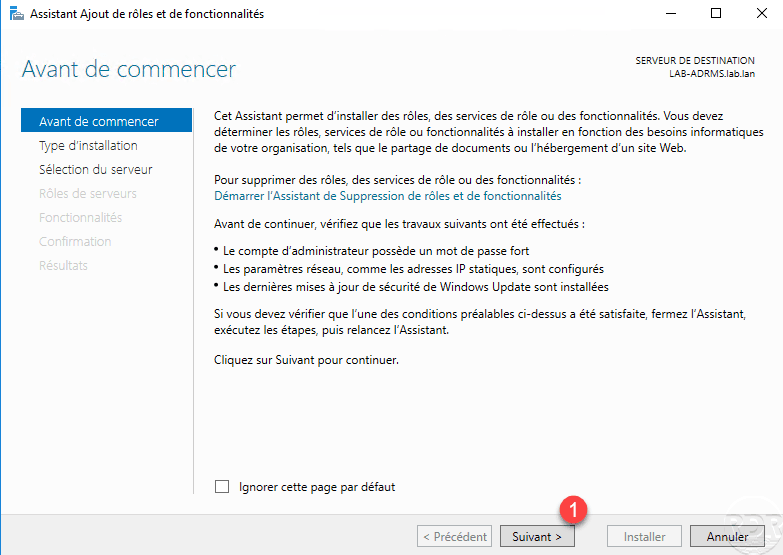
Type of installation, choose Role Based Installation or 1 Functionality and then click Next 2 .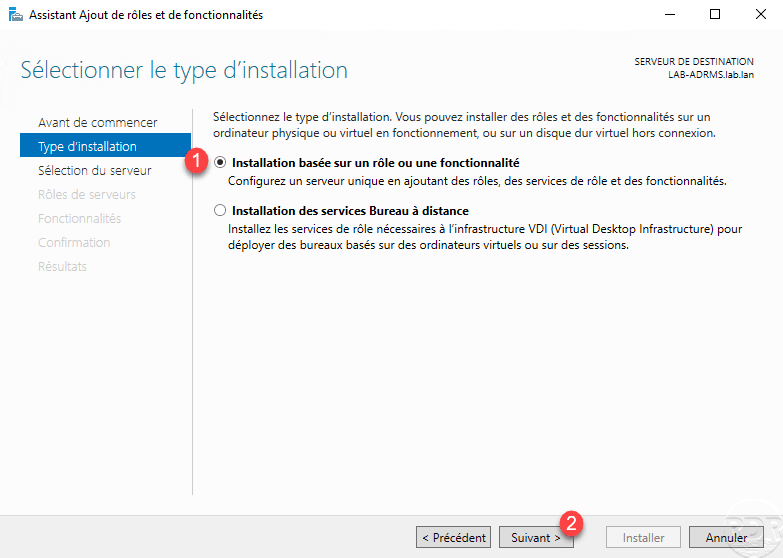
Select server 1 and click Next 2 .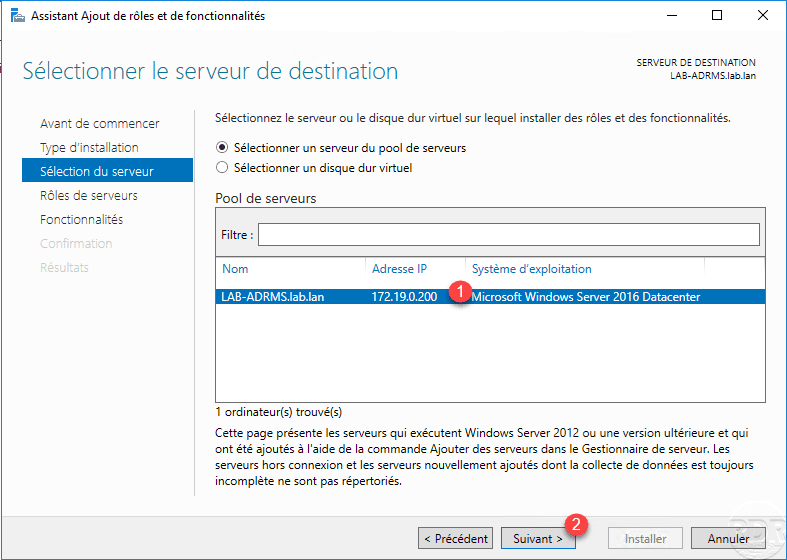
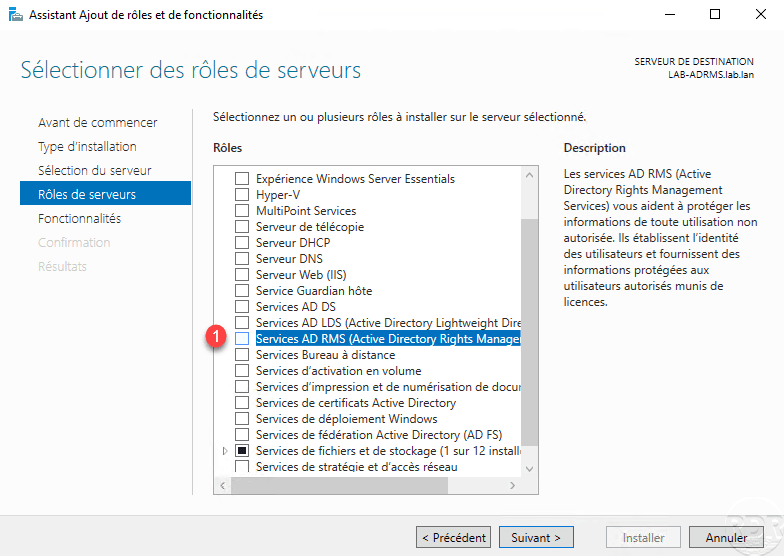
In the list of roles, select the AD RMS (Active Directory Right Management) 1 Services check box.
Confirm adding dependencies to the role by clicking Add 1 features.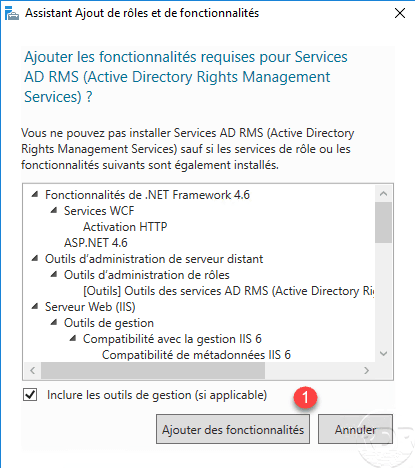
The AD RMS role is now ticked 1 , click Next 2 .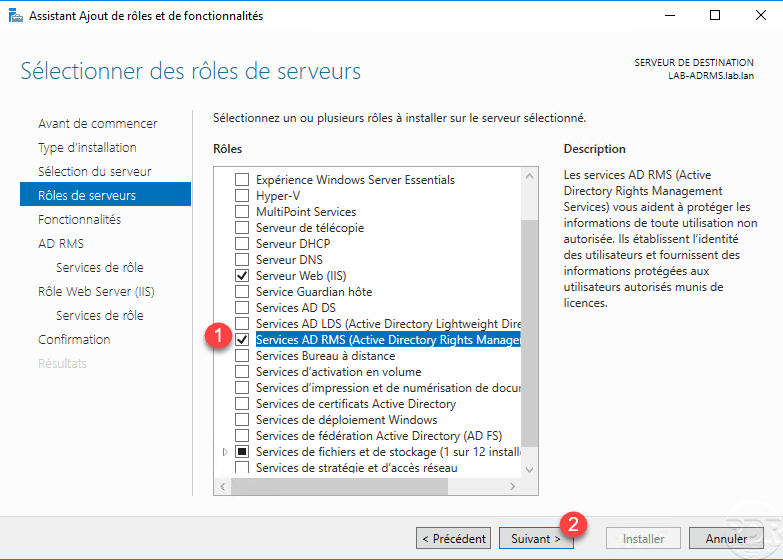
Skip the list of features by clicking Next 1 .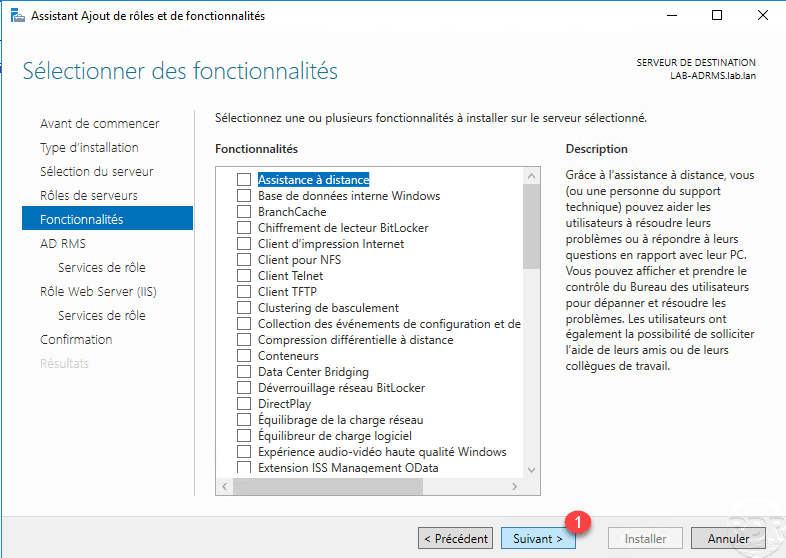
A summary of the AD RMS role is displayed, click Next 1 .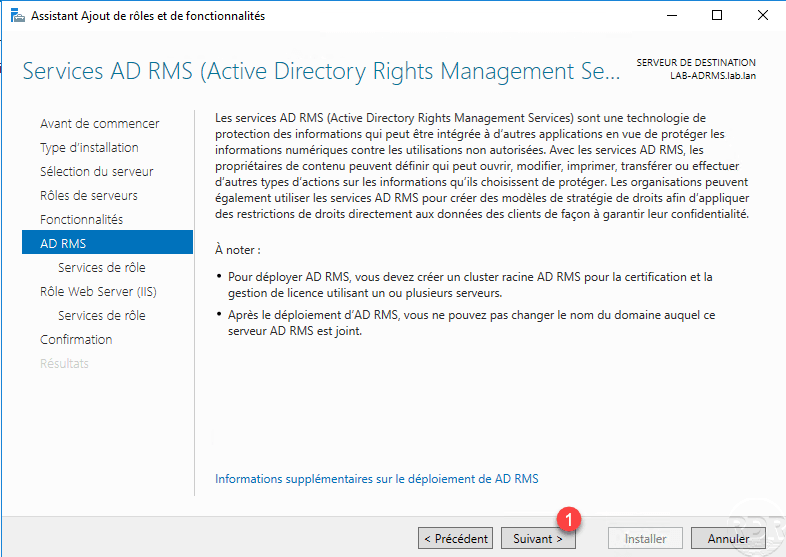
Select the Rights Management Server 1 Active Directory service and click Next 2 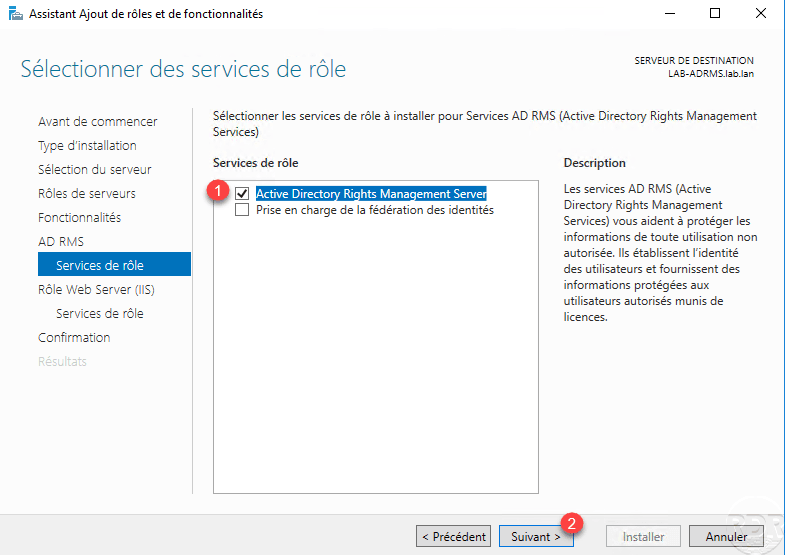
Pass the IIS role summary by clicking Next 1 .
Click Next 1 to validate IIS role services.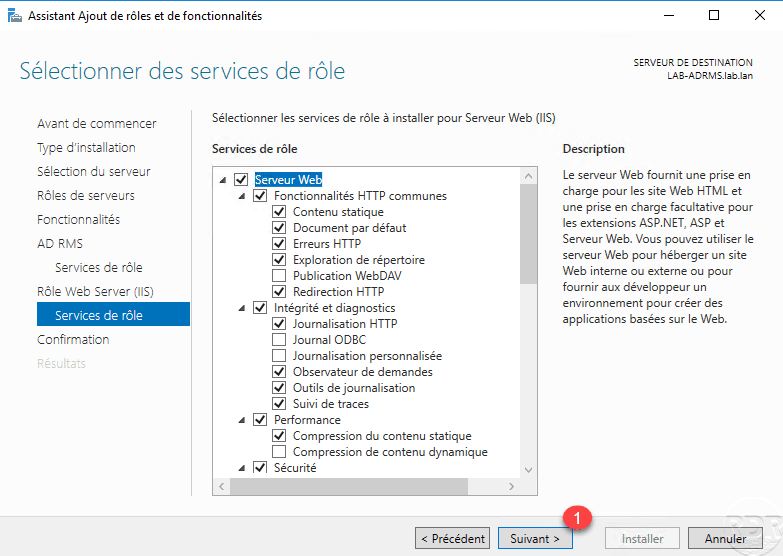
Confirm the installation by clicking the Install 1 button.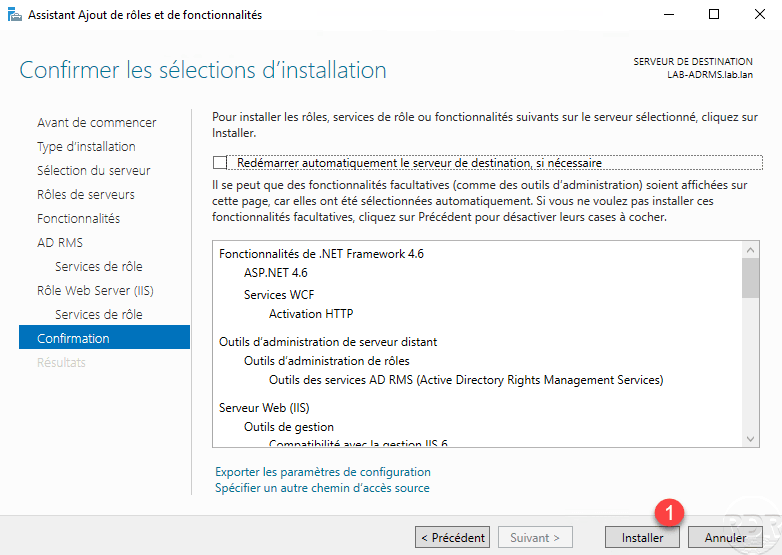
Wait during the installation …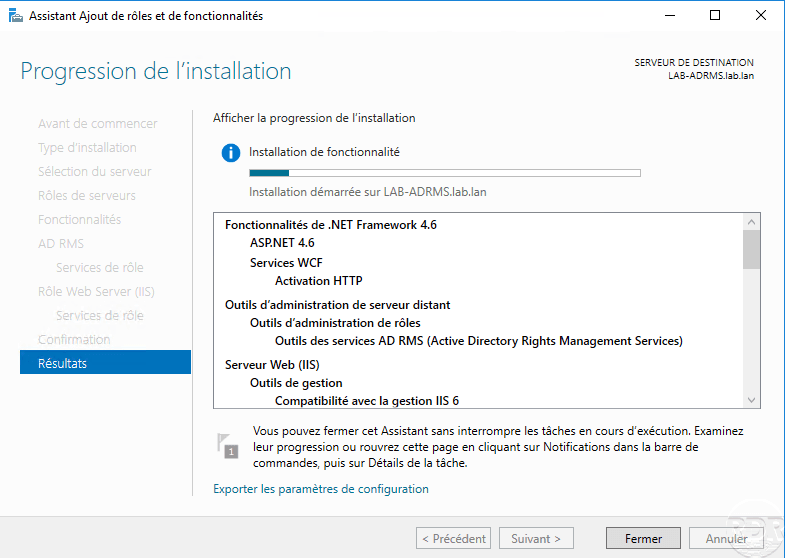
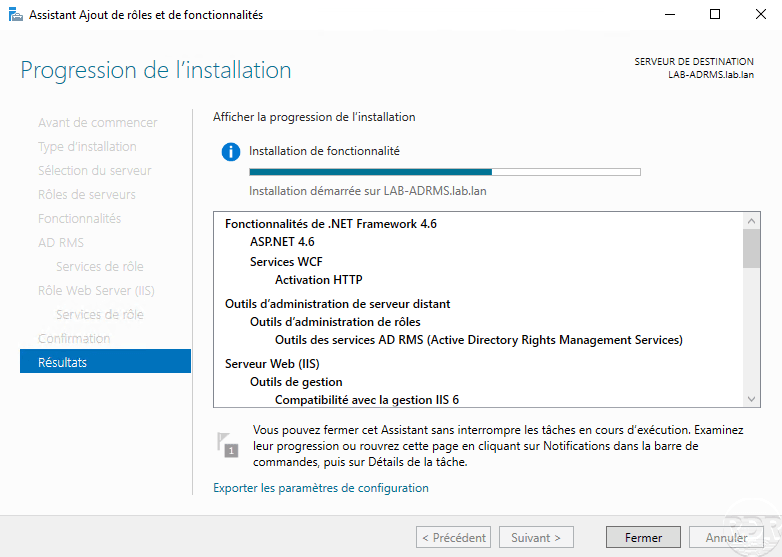
The installation completed, exit the wizard by clicking Close 1 .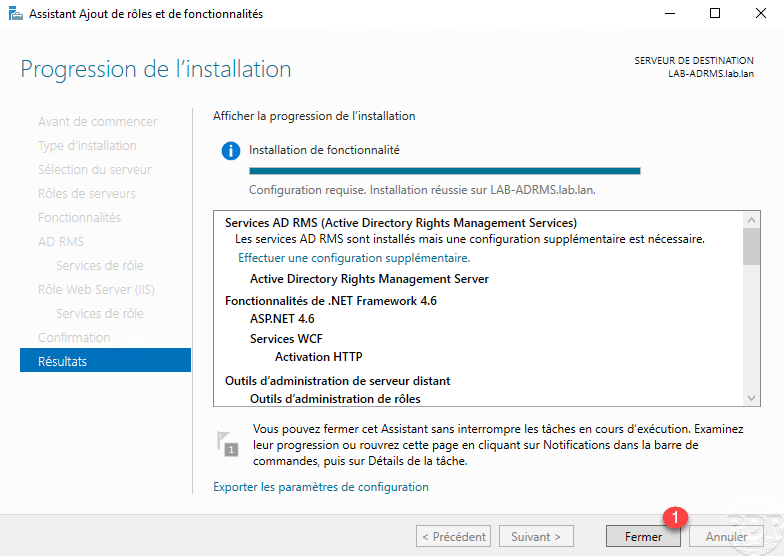
AD RMS post-deployment configuration
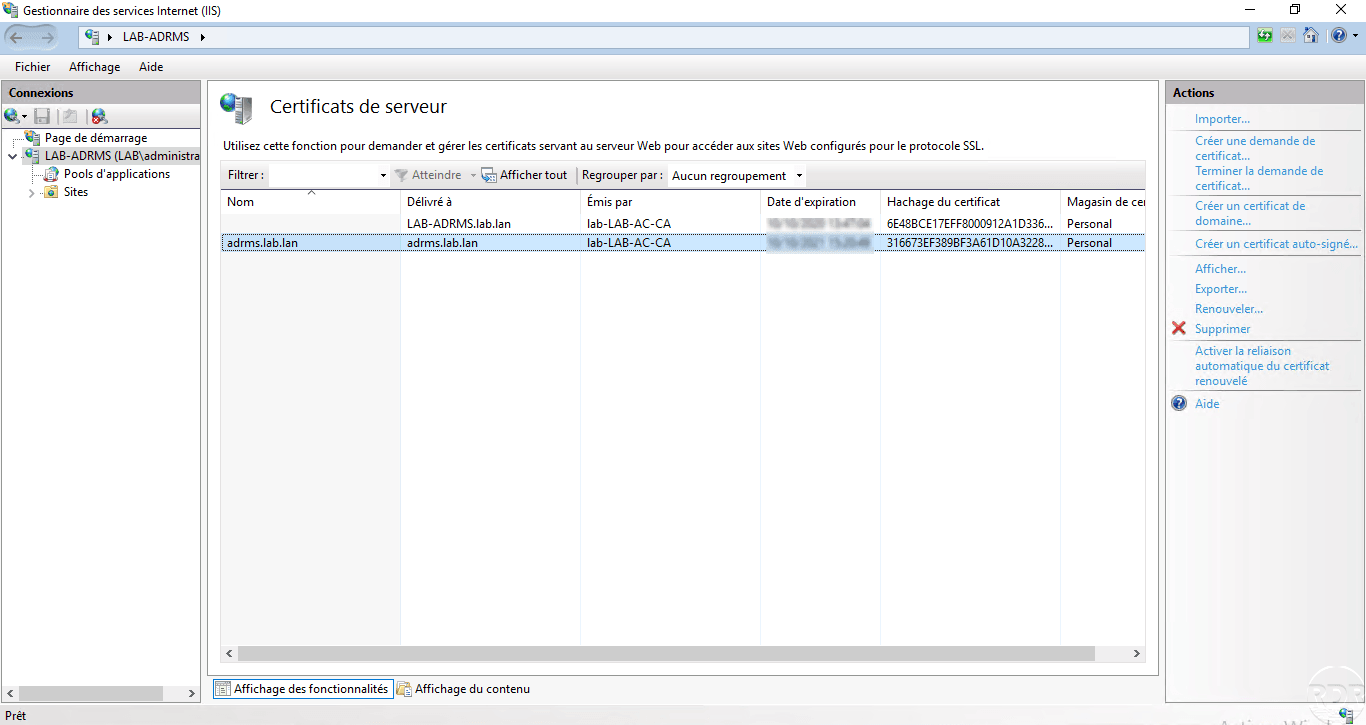
Before running the Post Deployment Configuration Wizard, install the certificate in IIS.
Once the certificate is installed, return to the Server Manager, click on the notification icon 1 and click on Perform additional configuration 2 .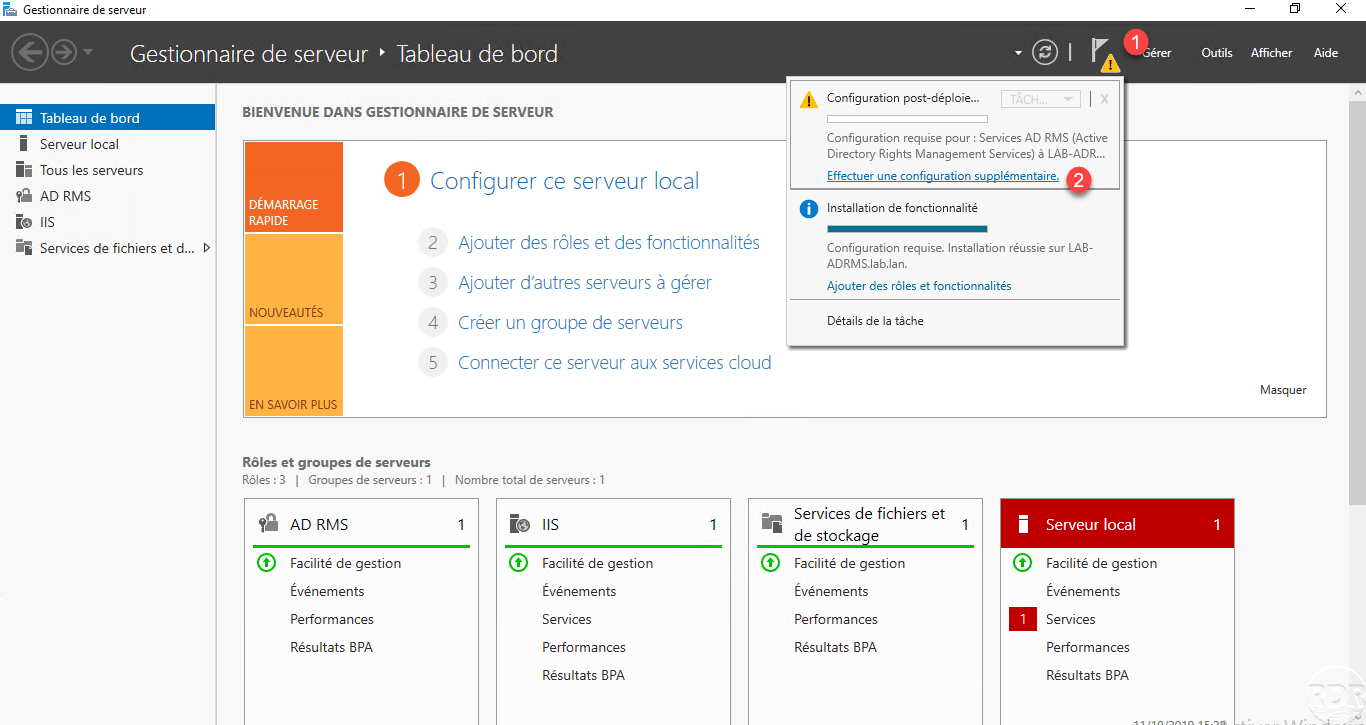
When the wizard launches, the summary of AD RMS services is displayed again, click Next 1 .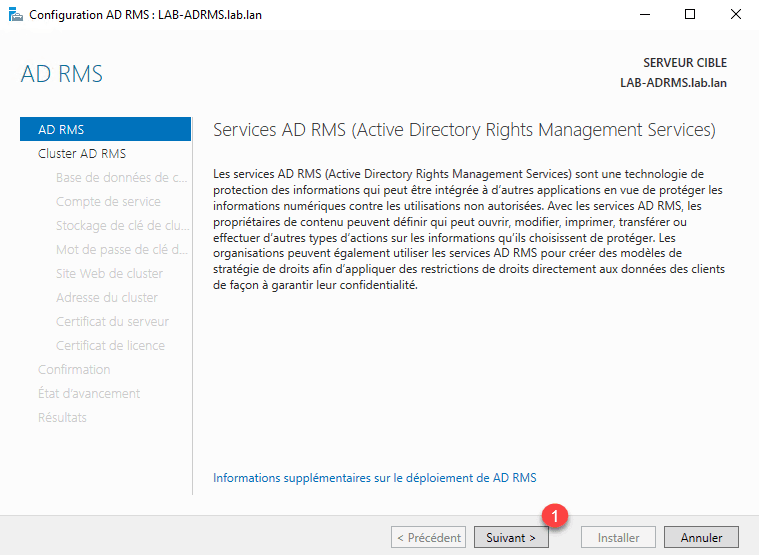
Choose the Create a new AD RMS root cluster 1 option and click Next 2 .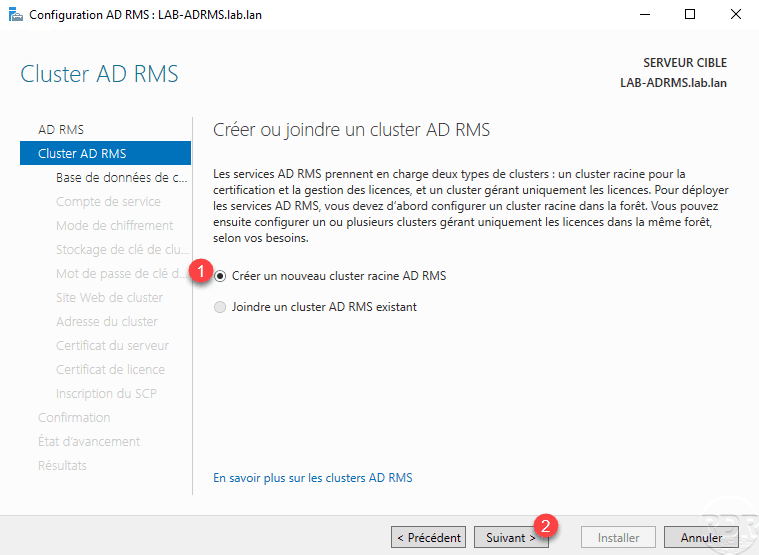
Choose User Windows Internal Database on this server 1 and click Next 2 .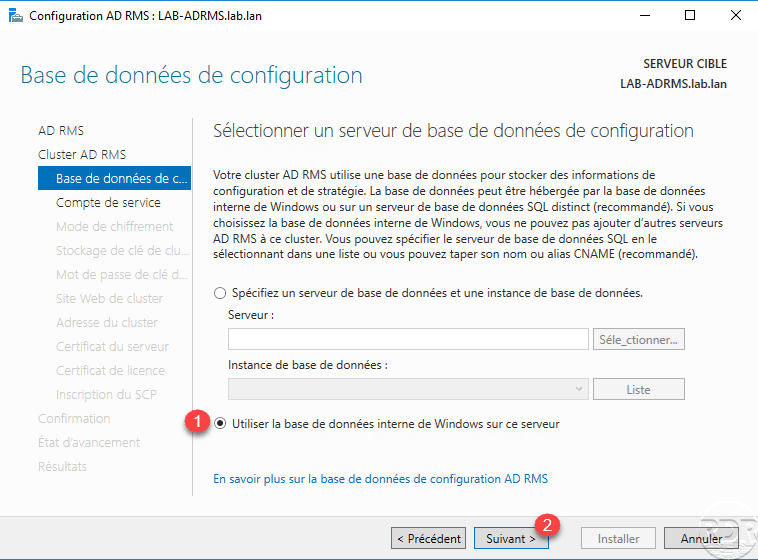
Using the Windows internal database does not allow you to add another server to the cluster.
Indicate the service account created at the beginning 1 and click Next 2 .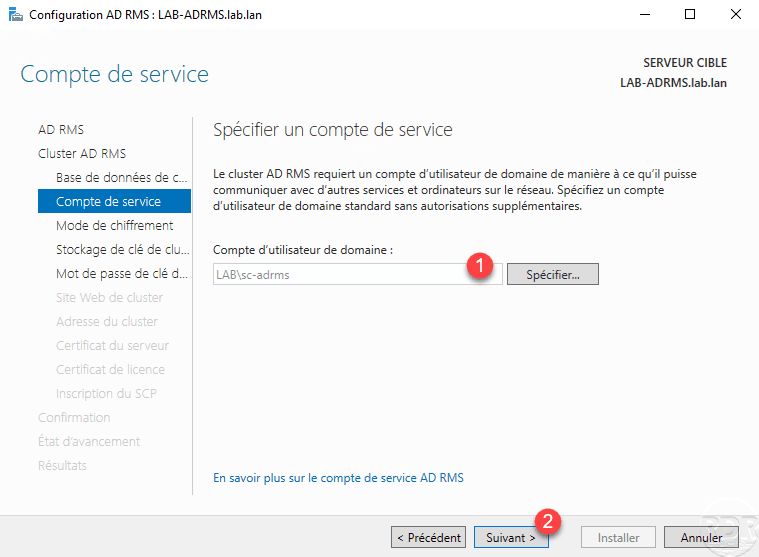
Choose the encryption mode 2 1 then click Next 2 .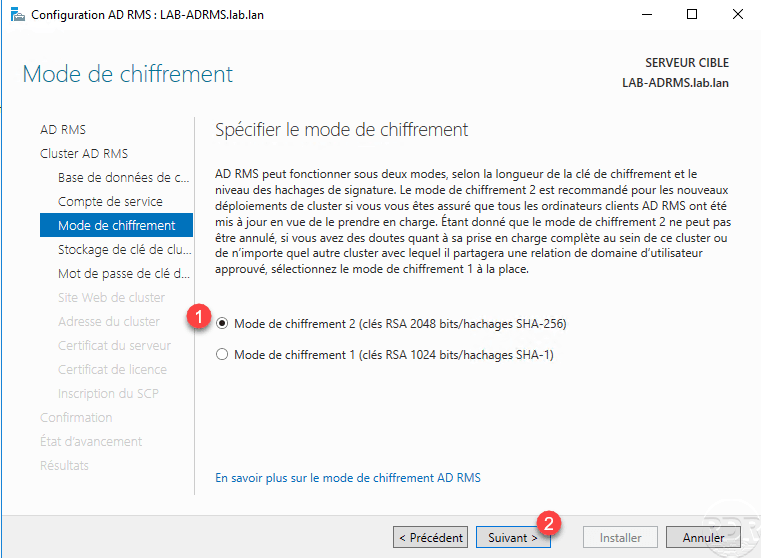
Configure key storage by selecting User Centrally Managed AD RMS Key Storage 1 and clicking Next 2 .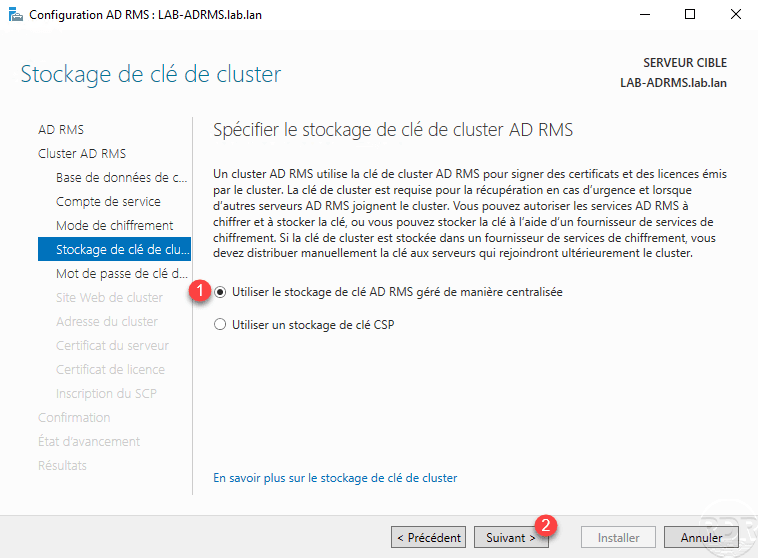
Enter the password for cluster 1 and click Next 2 .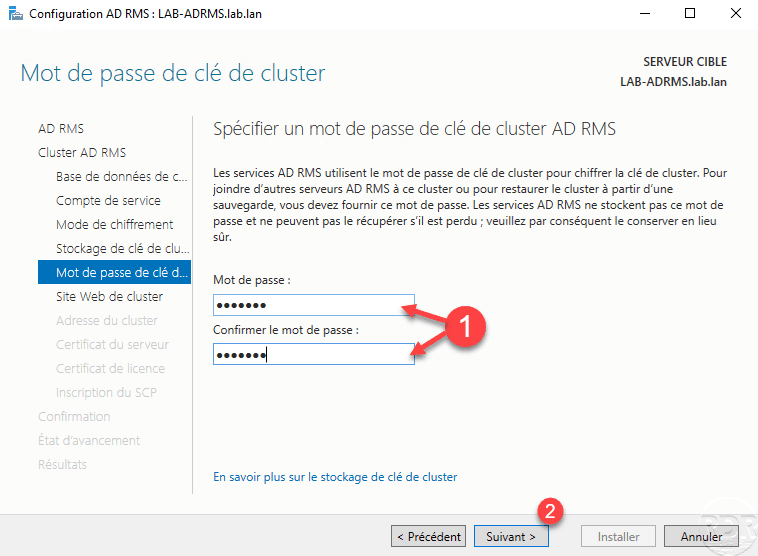
This password will be required to join from another server to the AD RMS cluster.
Choose the site used IIS for AD RMS 1 then click Next 2 .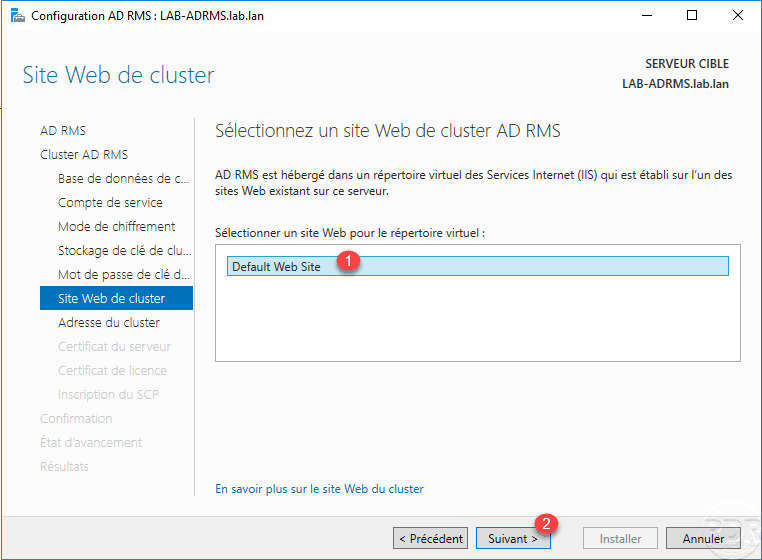
Choose the type of SSL connection 1 , enter the domain name of the cluster 2 (URL) and click Next 3 .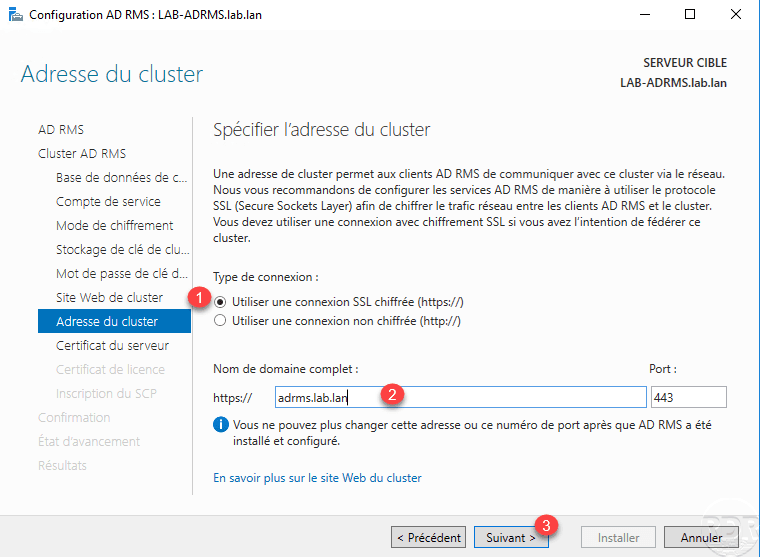
Choose the certificate that corresponds to the DNS name of cluster 1 then click Next 2 .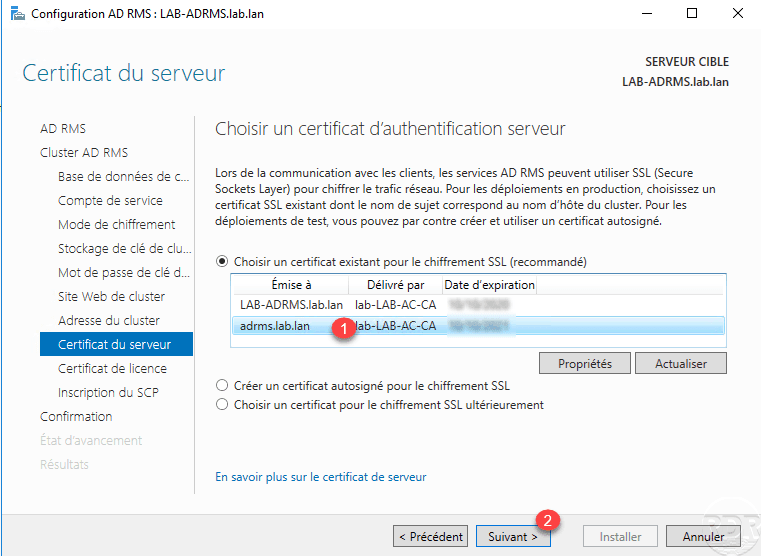
If necessary, change the name of the server license certificate 1 and click Next 2 .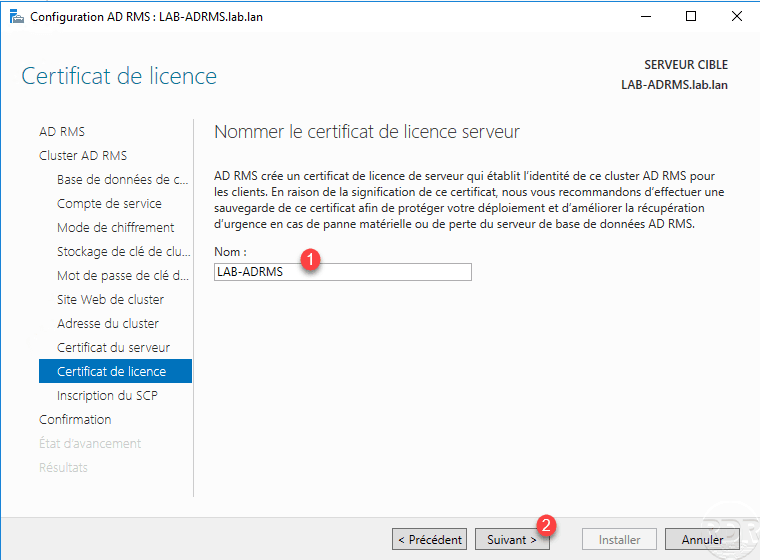
Choose the option Save service connection bridge now 1 and click Next 2 .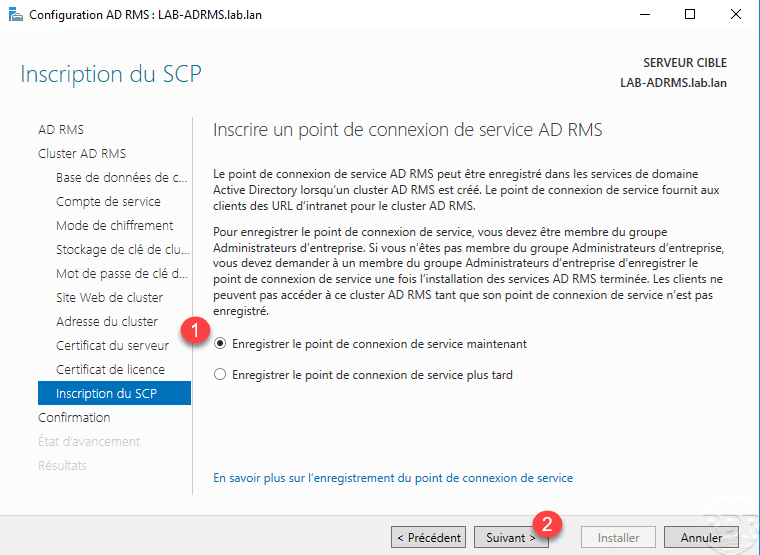
A summary of the configuration is displayed, click on Install 1 .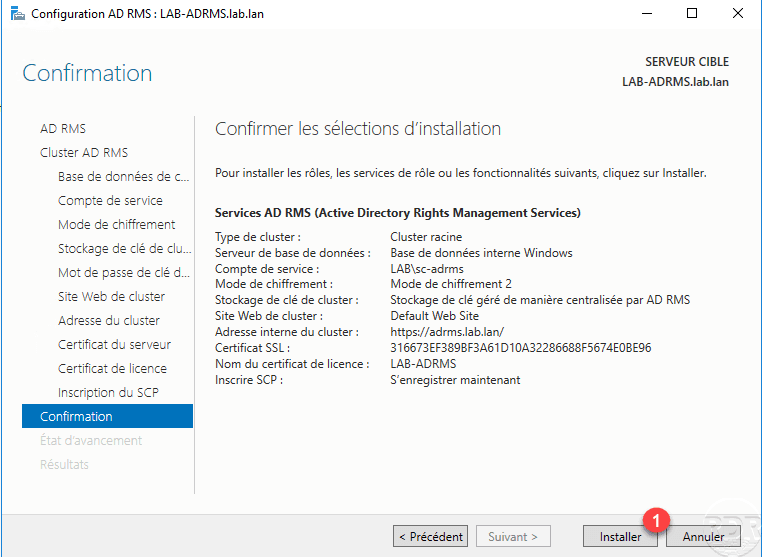
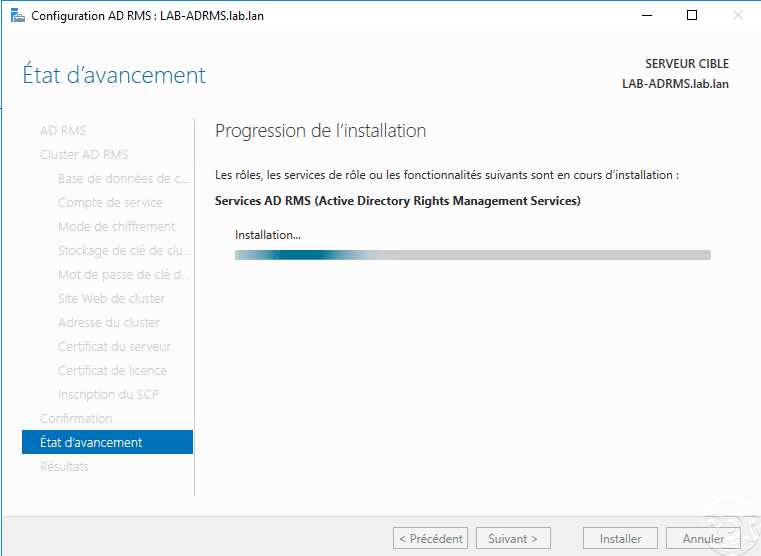
Wait during the configuration ….
Once the configuration is applied, exit the wizard by clicking Close 1 .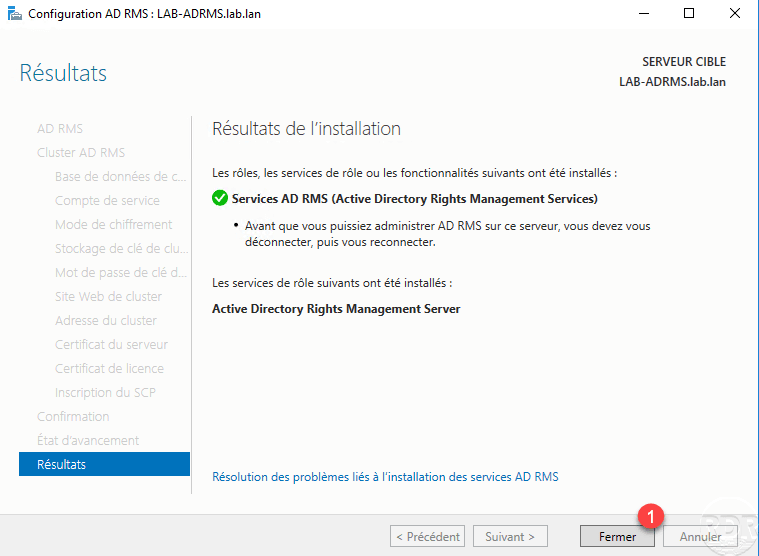
The installation and configuration of the AD RMS service is complete, the service can now be used by users with a compatible version of Office.
AD RMS: Configuring Super Users
The configuration of super users will allow to define a group that has access to all documents regardless of the rights applied to it.
In this part, we will configure the group created in the section Preparation of the environment.
Open the administration console accessible through the Start menu.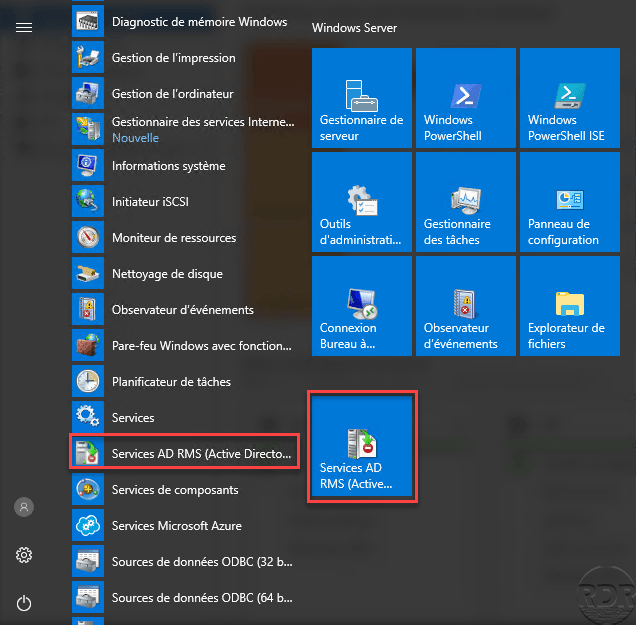
From the Admin Console go to Security Policies 1 .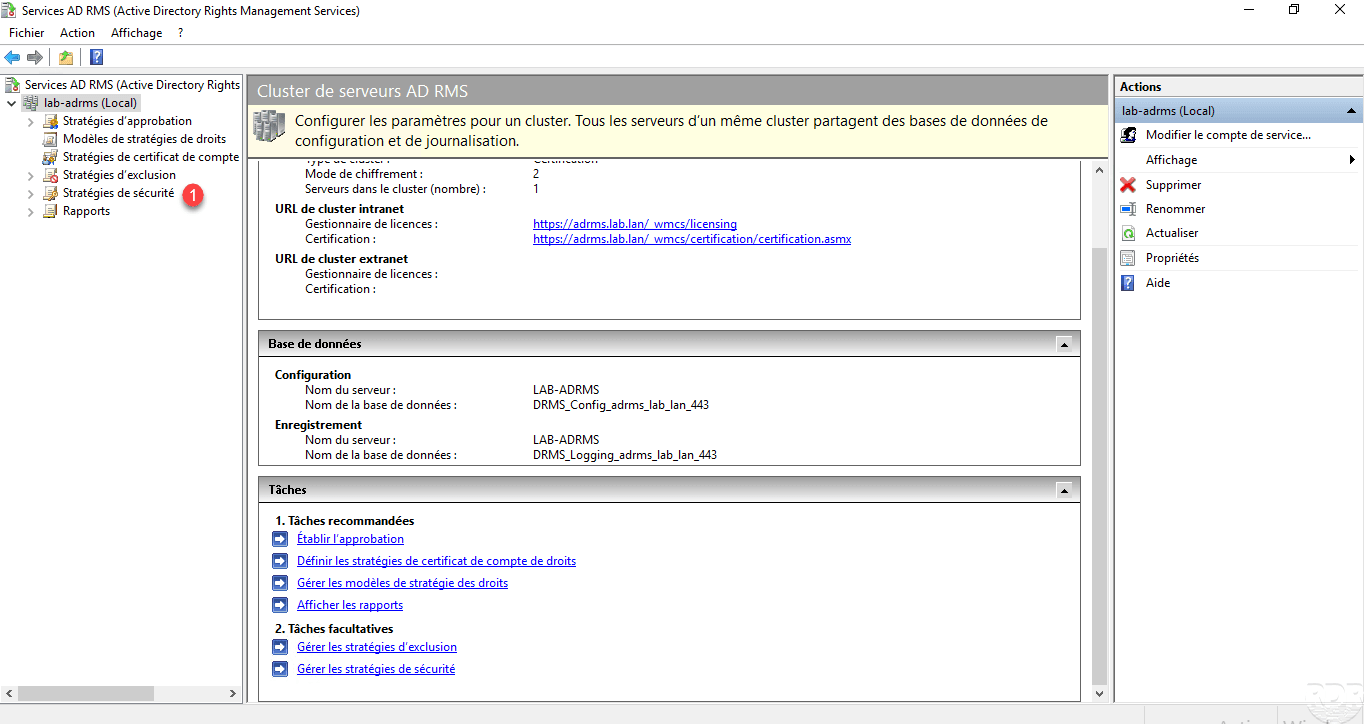
Click Edit Super User Settings 1 .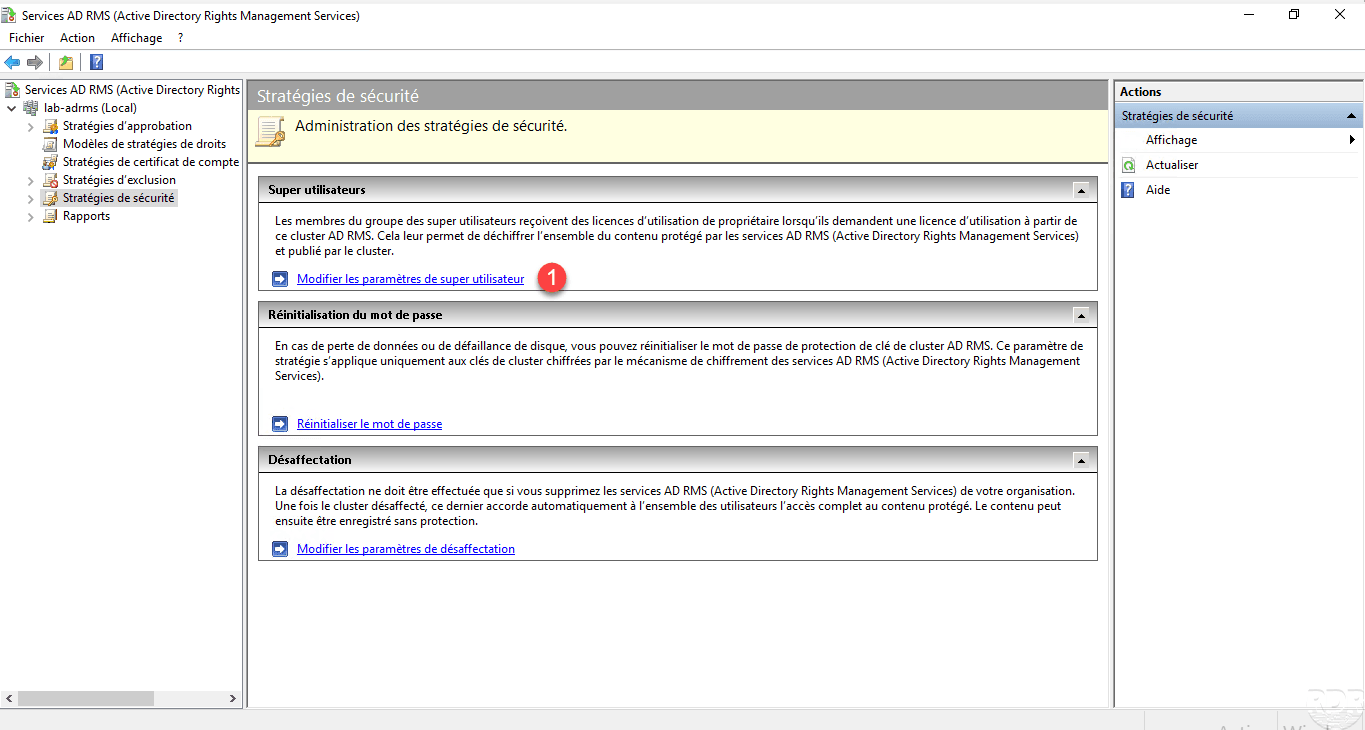
Without the Actions part of the console, click Enable super users 1 .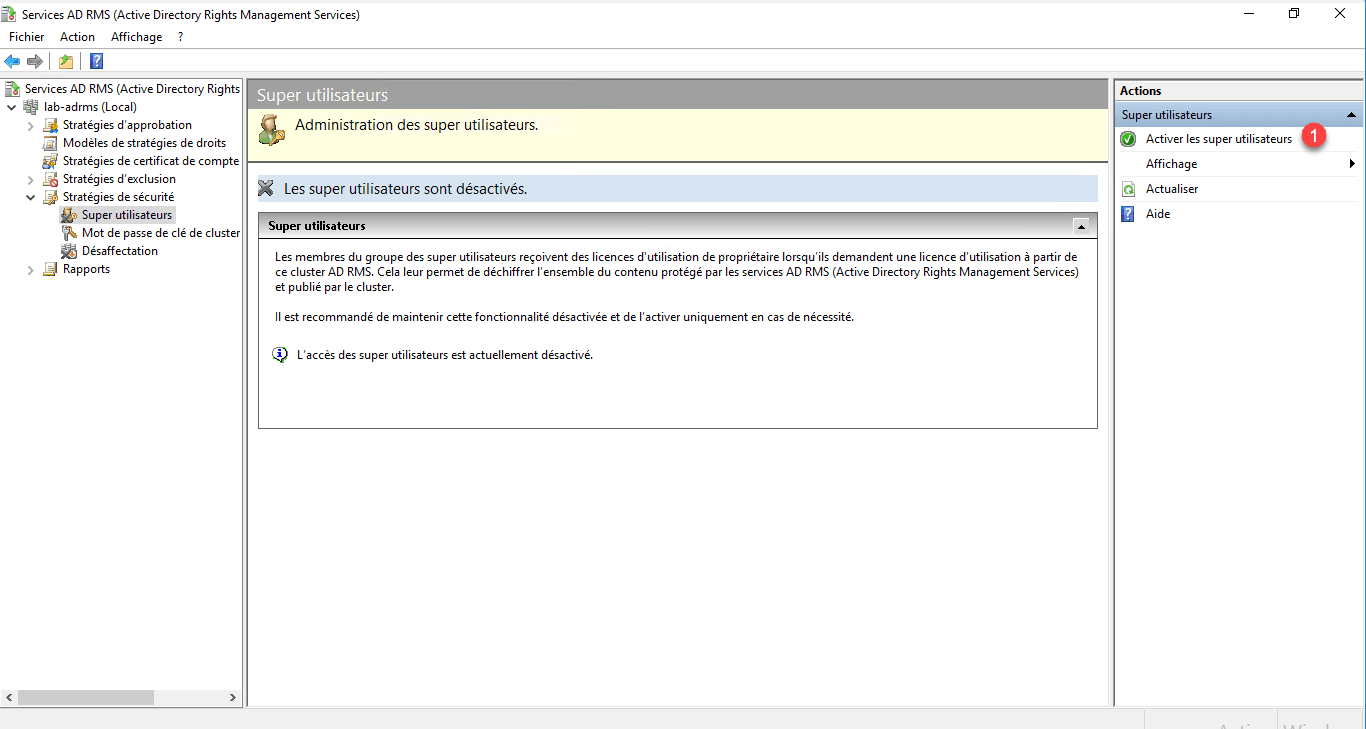
Now click on Edit Super User Group 1 .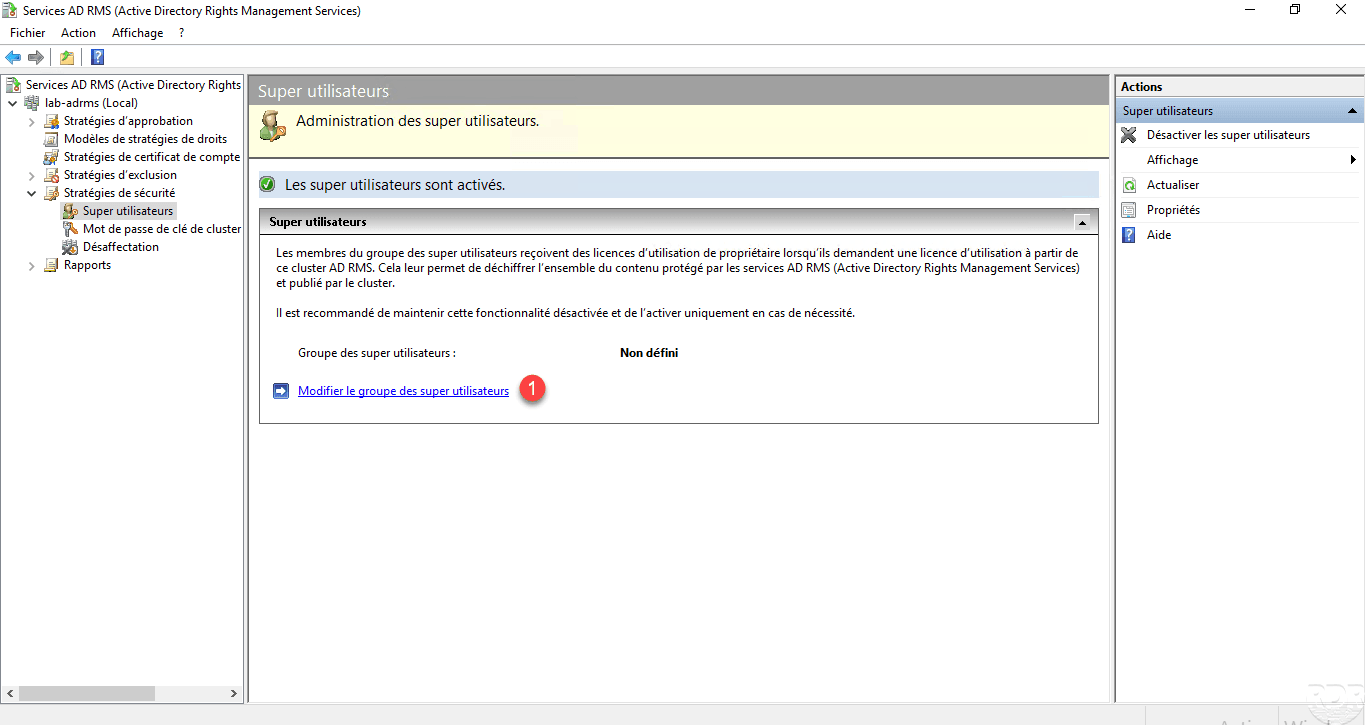
Enter the group’s email address 1 then click on Apply 2 and OK 3 .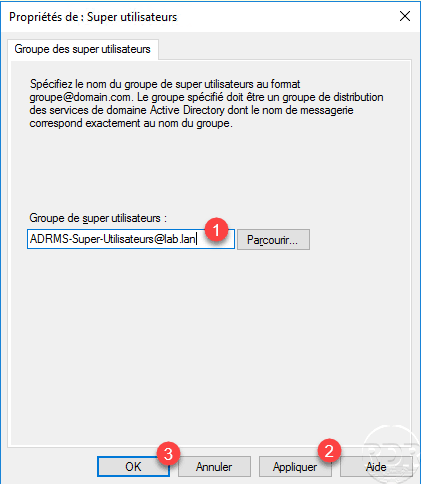
We can now see the super user group configured 1 .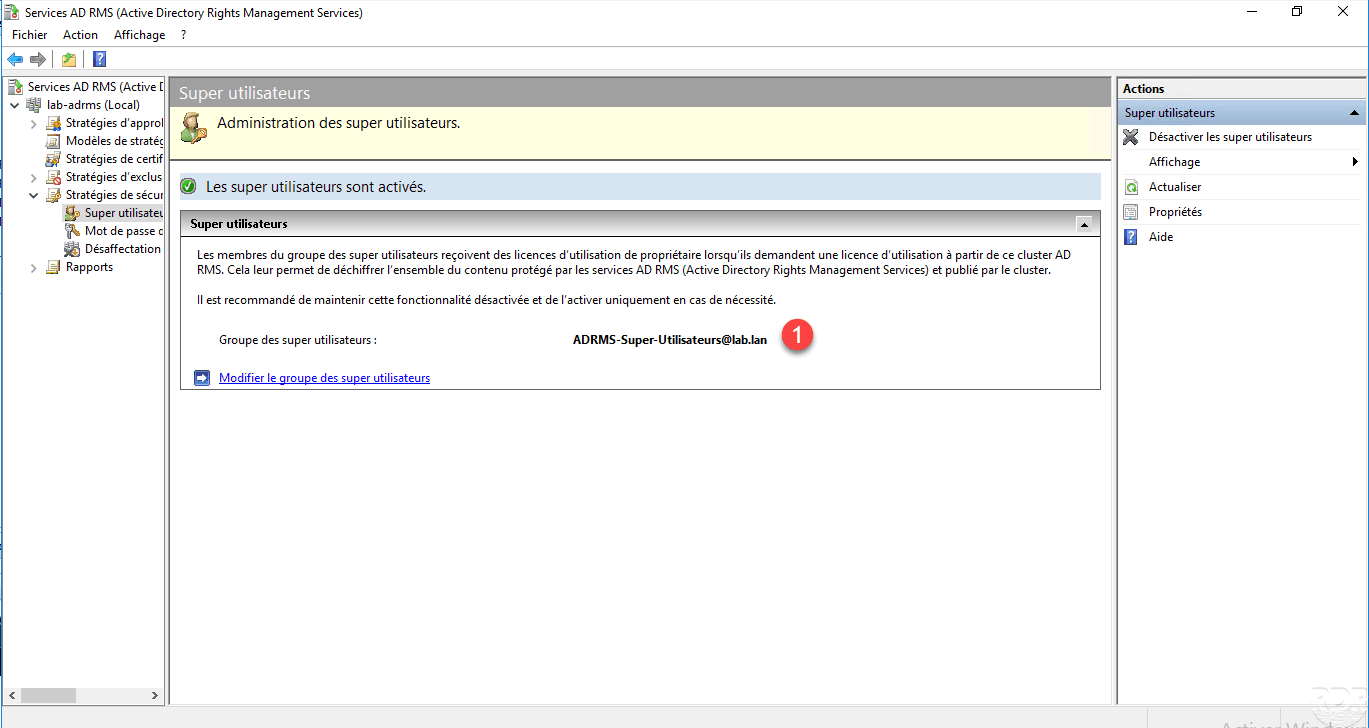
Restrict access to a Word document with AD RMS
In this part, we will see how restricted access to a Word document using AD RMS.
Pour rappel il faut :
- an email address configured to users
- Office Pro (201X) to apply restrictions.
Pour fonctionner, il peut être nécessaire de mettre l’url du cluster en site de confiance dans les options Internet.
In Word, create a document, save it, and then click FILE 1 .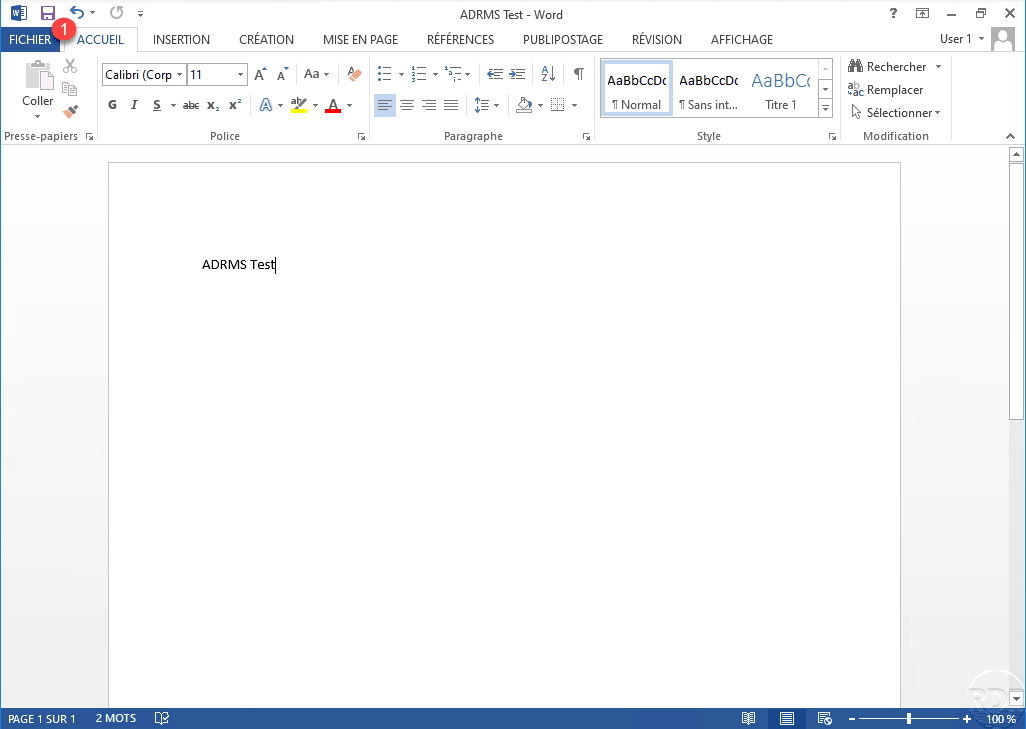
Click on Protect document 1 , go to Restrict access 2 and click on Restricted access 3 .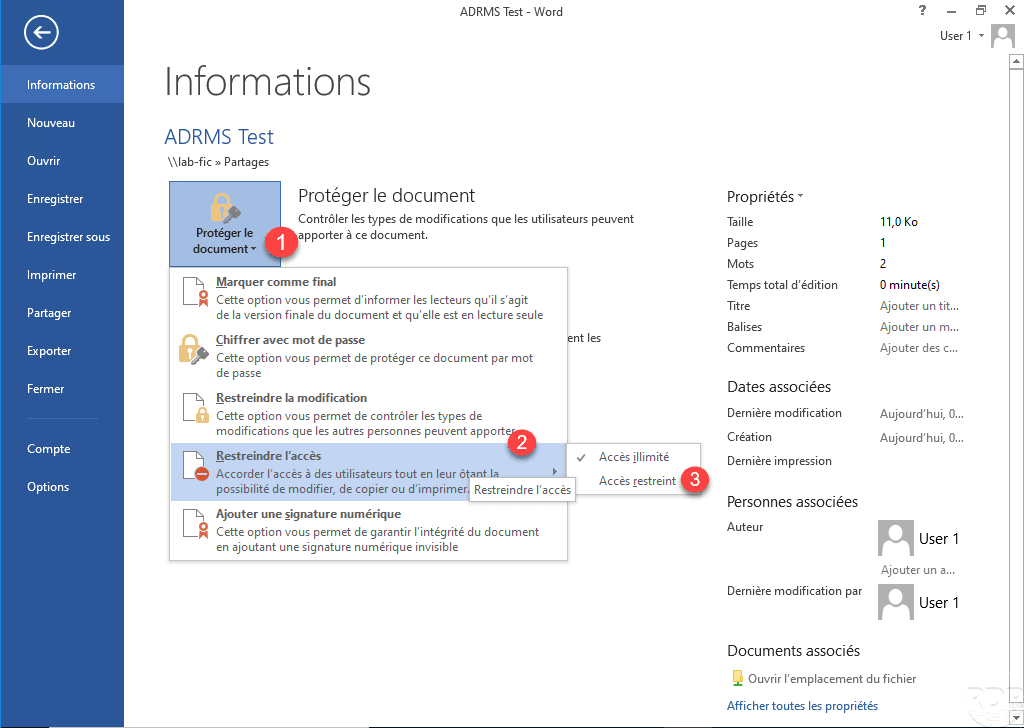
The window that opens allows you to configure read and edit accesses, check the Restrict access to 1 box and click on the “group” icon in the Read 2 section.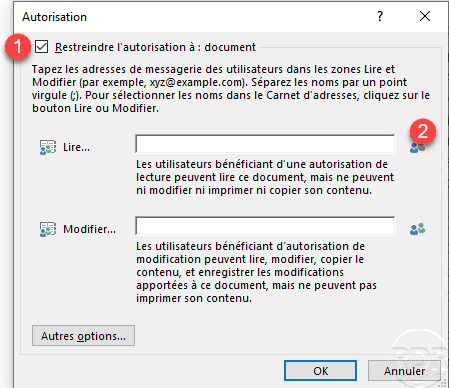
Search for a user or group with a configured email address 1 and click OK 2 .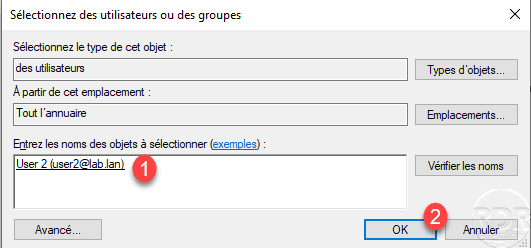
On the screenshot below, we can see that only the user user2@lab.lan can read the document. Click on Other options 1 .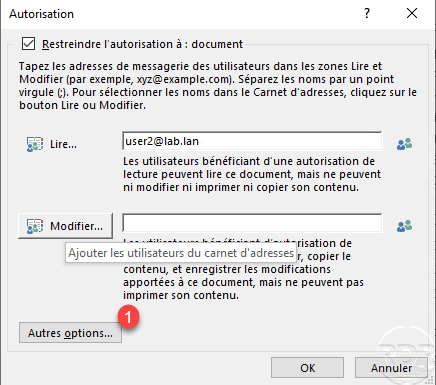
From this rights view, you can add other users or groups, add an expiration date …, click OK 1 to configure permissions on the Word document.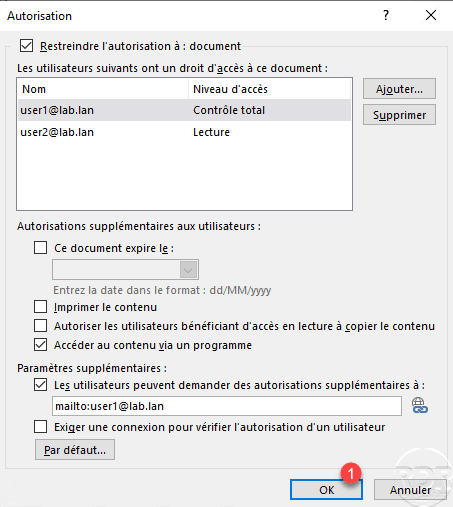
In the document information, we can see that it is protected.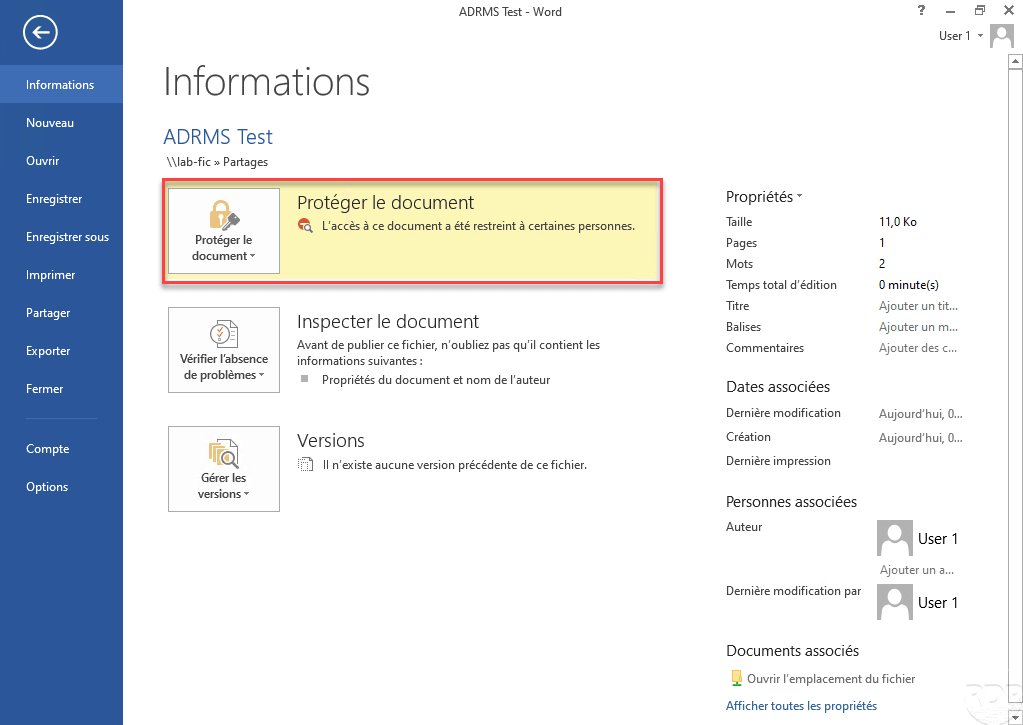
From editing mode, a banner is also displayed to indicate that the document is in Restricted Access.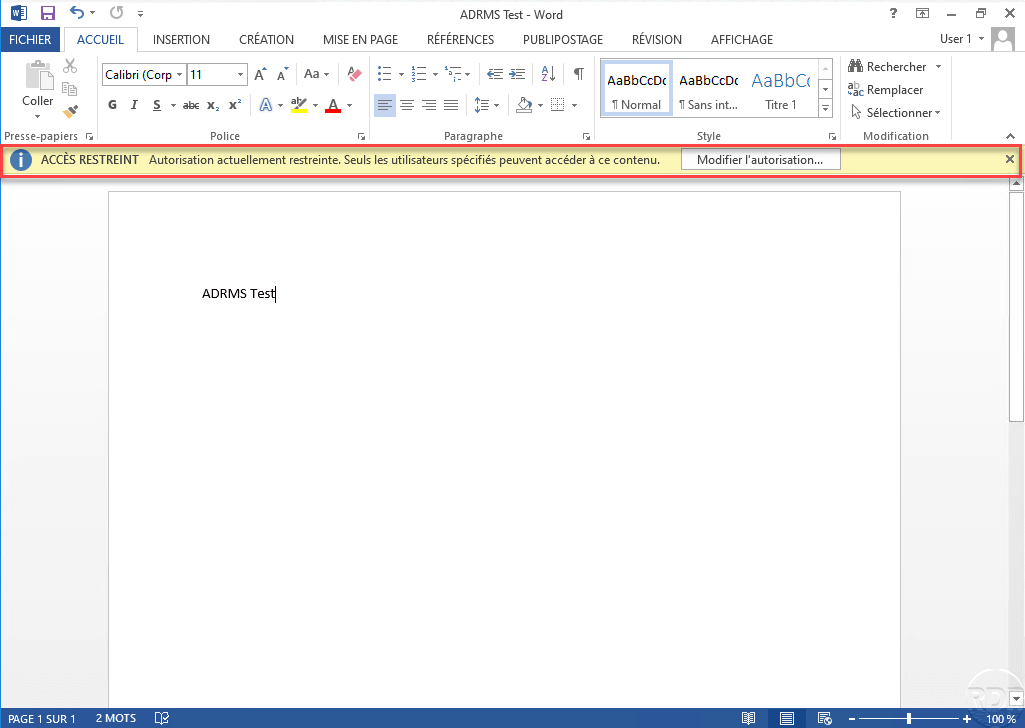
Now try to open the same document with a user who does not have the right to access the document, at the opening of it an error message indicating to contact the owner of the content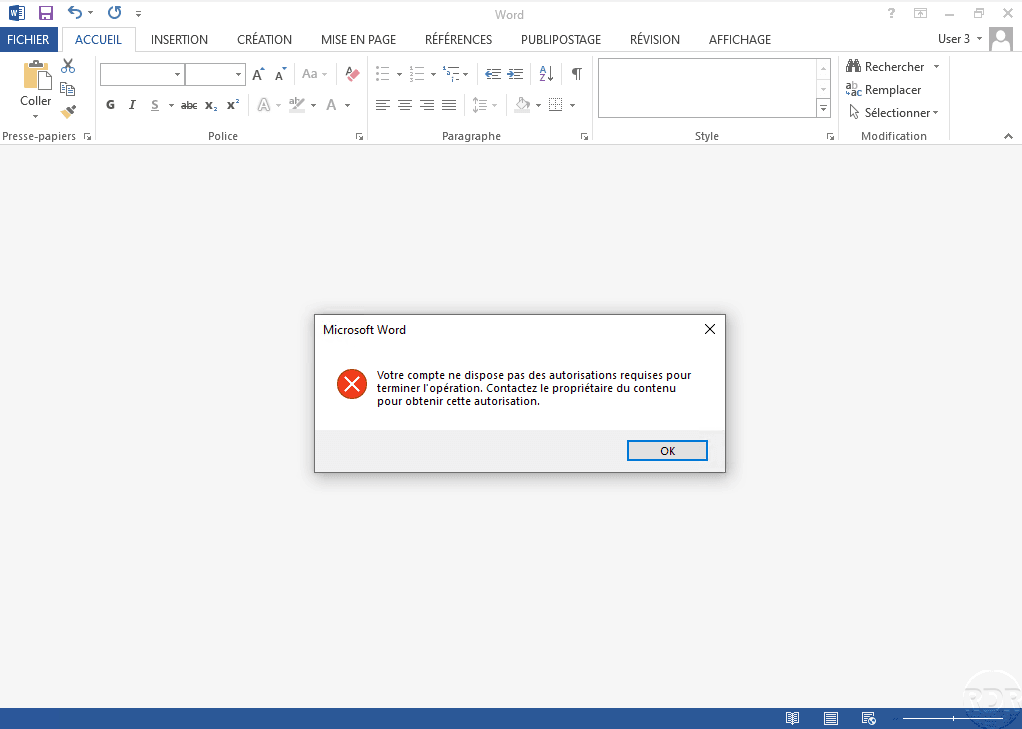
If a user who does not have a configure e-mail address tries to open the document, you receive the following error message: The application received an unexpected response from the Rights Management server due to an incorrect configuration or a server error. Please contact Microsoft for additional assistance.
The message below can be confusing by returning an RMS server error.
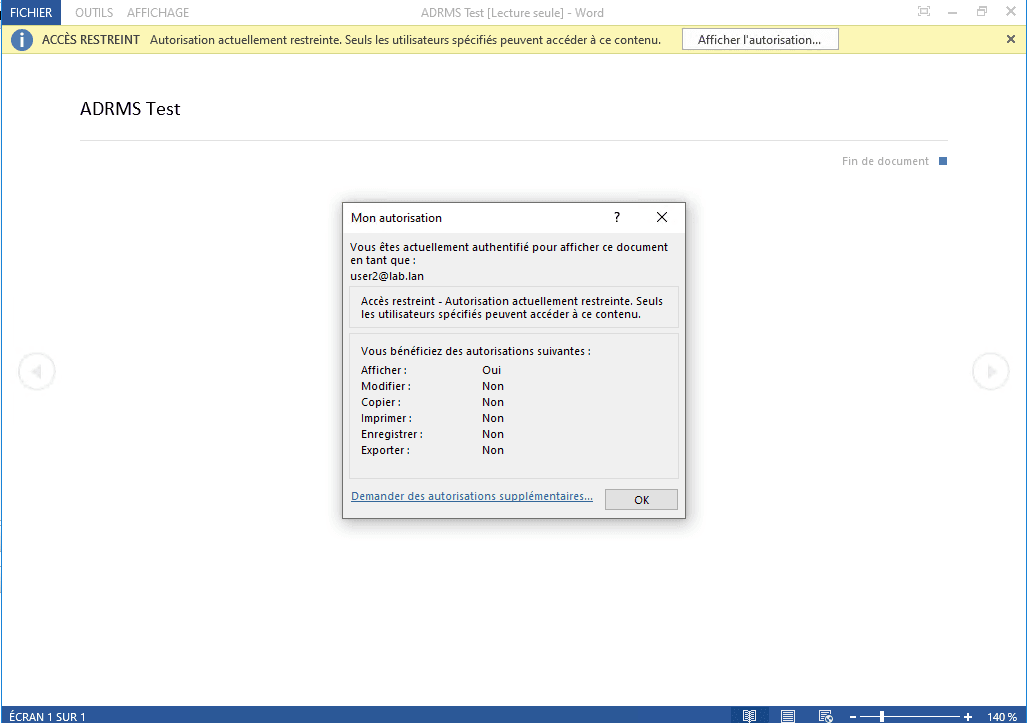
If you open the document with user2, it is read-only.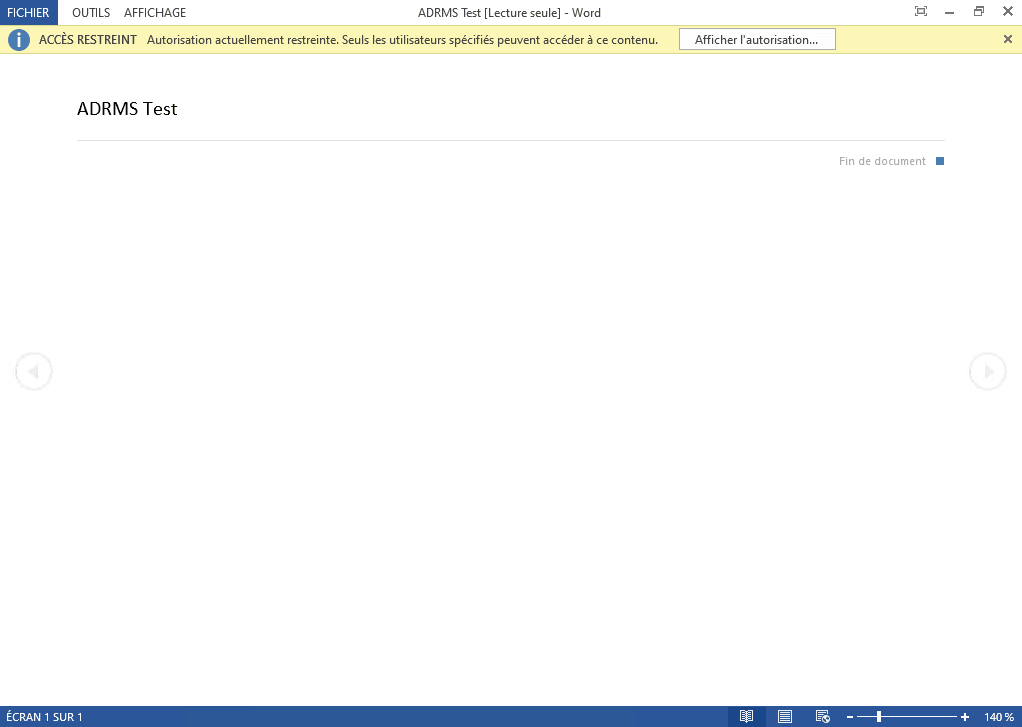
Rights Strategy Templates
In this part, we will see how to create rights policy templates in the AD RMS Administration Console.
A template contains a set of rights that allows users to quickly apply permissions.
To illustrate the use of a template, we will give the read permission to an Active Directory user group.
Once the template is applied to the document, only group members will be able to view the document for reading.
Creating a template
Create a group in the Active Directory with an e-mail address and add members.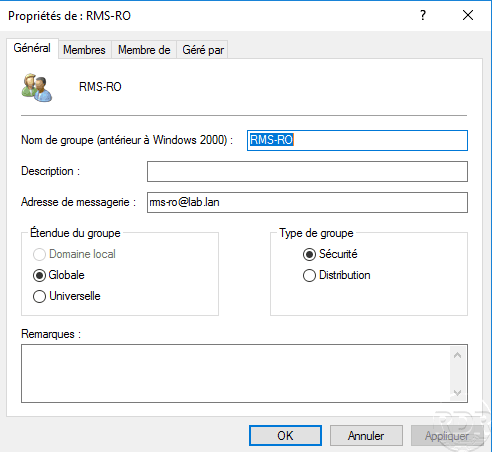
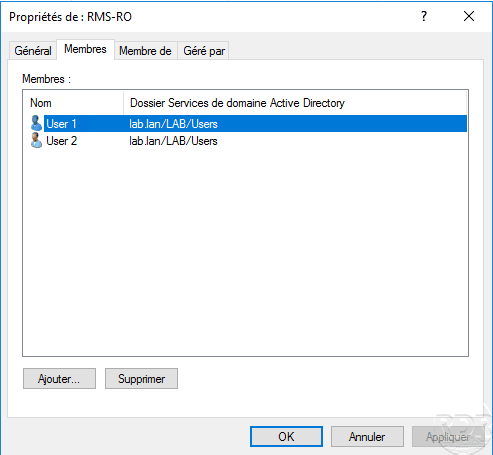
From the AD RMS Services Administration Console, go to Distributed Rights Policy Models 1 and click Create Distributed Rights Policy Template 2 .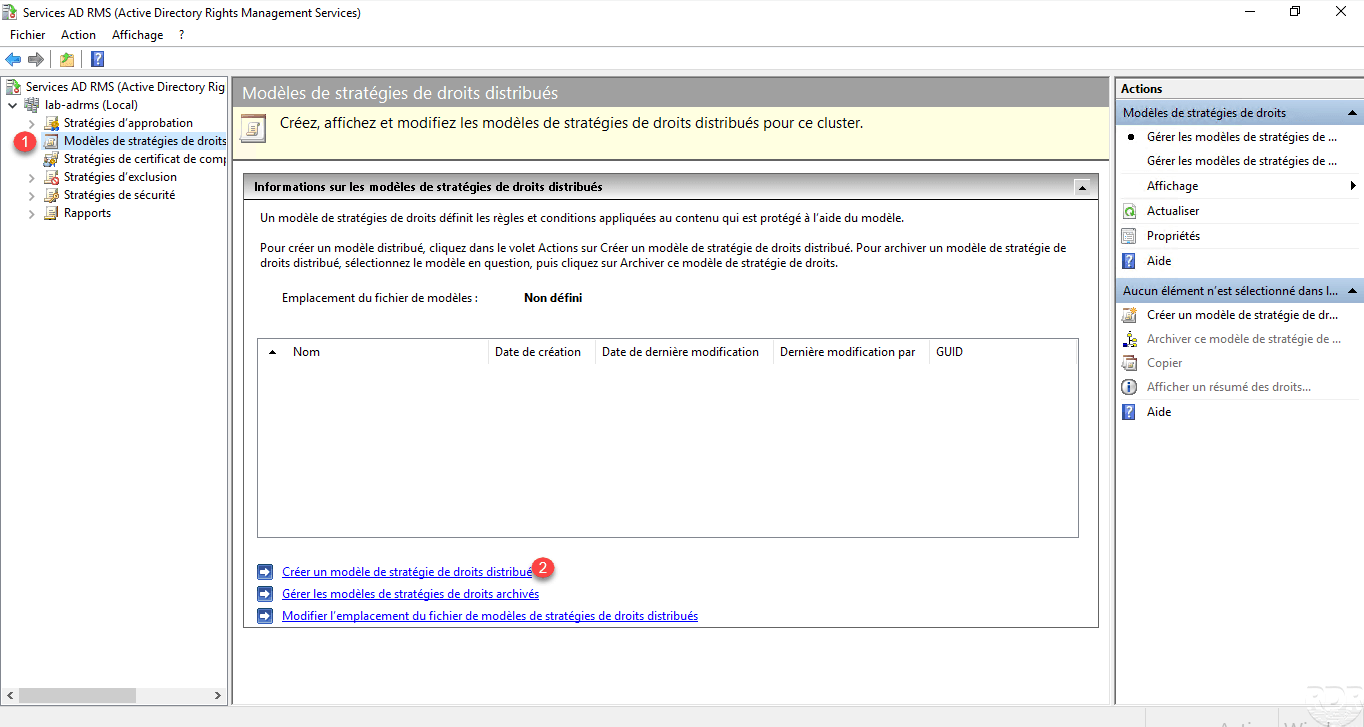
When launching the wizard, click Add 1 to configure one or more languages.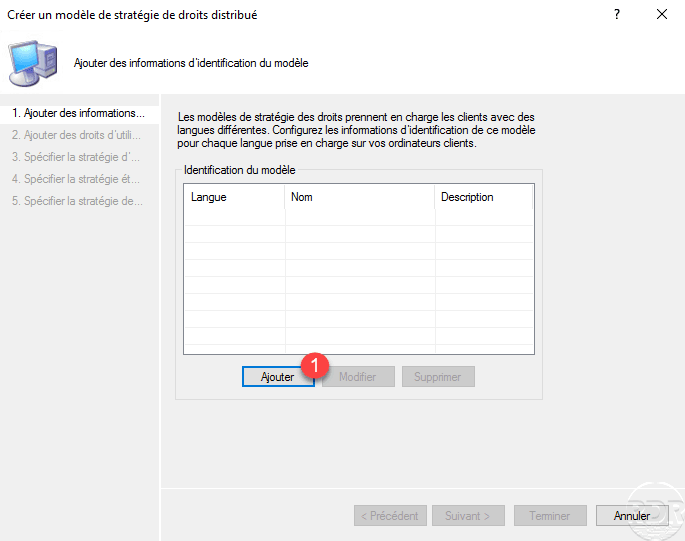
Select and configure language 1 and click on Add 2 .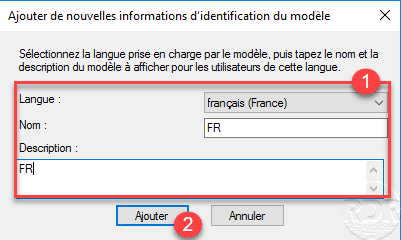
Now that the language is set, click Next 1 .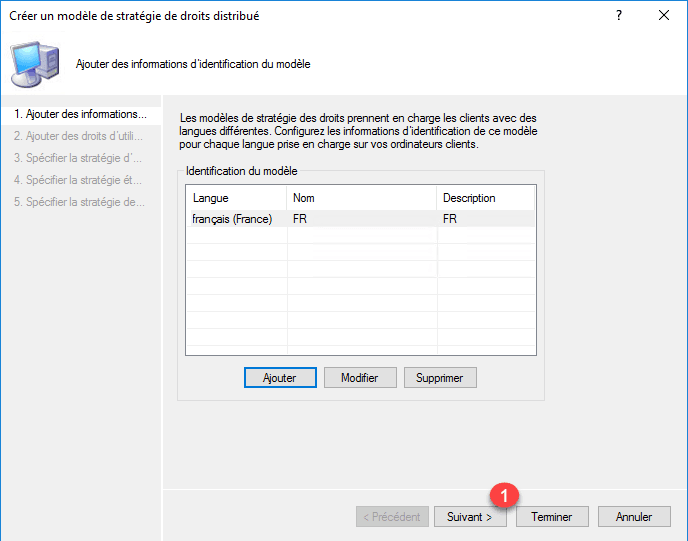
This page allows you to configure the permissions, click on the button Add 1 .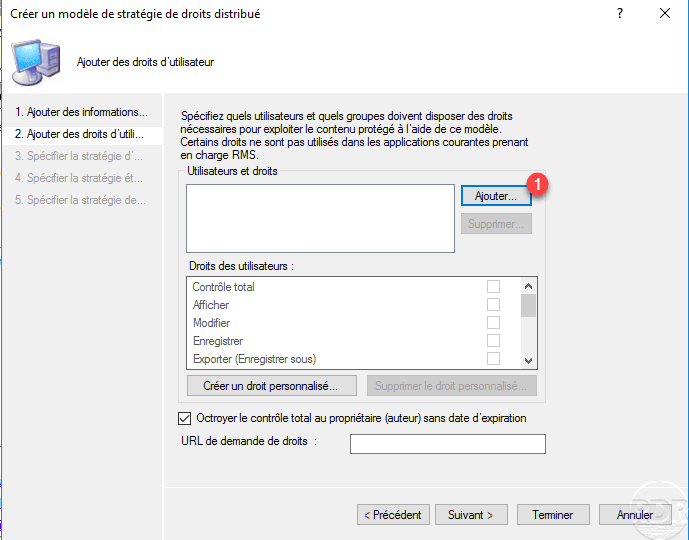
Enter the e-mail address of the user or group to whom the rights will apply 1 and click OK 2 .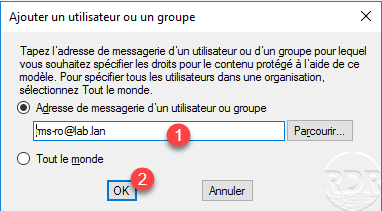
It is possible to create a generic template by checking Everyone.
Configure the 1 permissions then click Next 2 .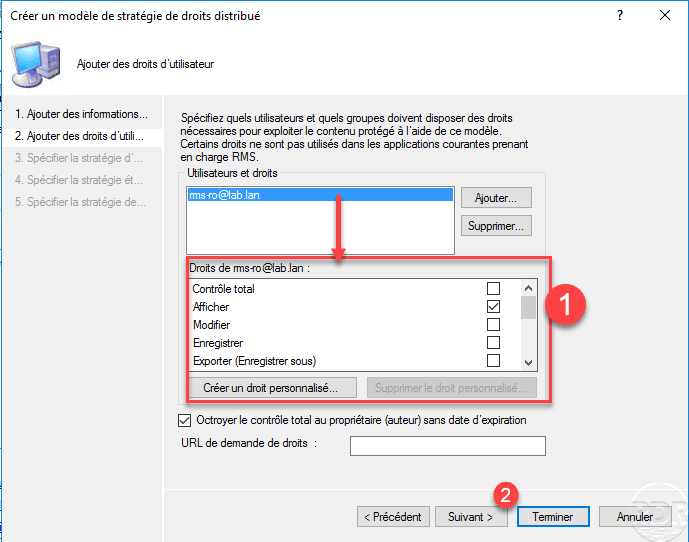
Leave check the box Grant the total control to the owner (author) without expiry date, if this one is not checked and that the creator is mistaken in applying the authorizations, it will be impossible to modify its file .
Configure the content expiration if necessary 1 as well as the license 2 and click Next 3 .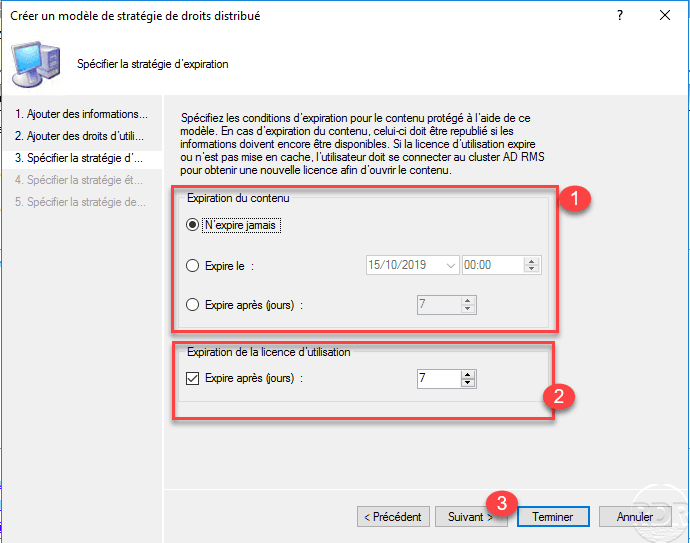
The license of use is the authorization given by the server to a user to exploit the document.
If necessary, modify the advanced options of the strategy, click Next 1 .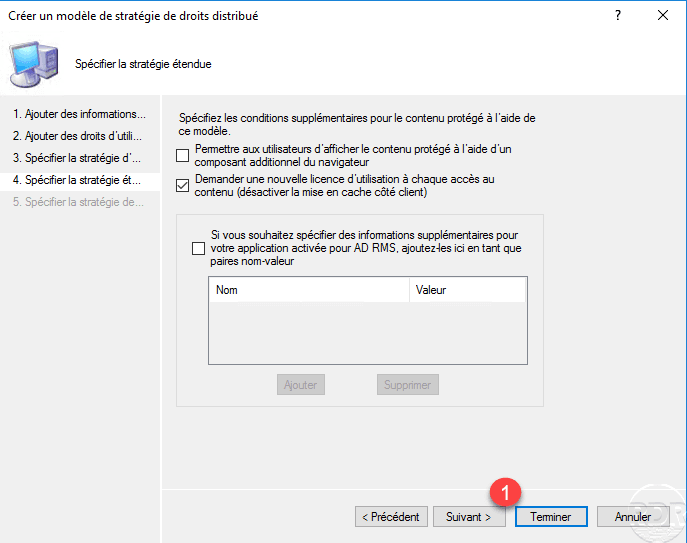
Click on Finish 1 to create for the strategy.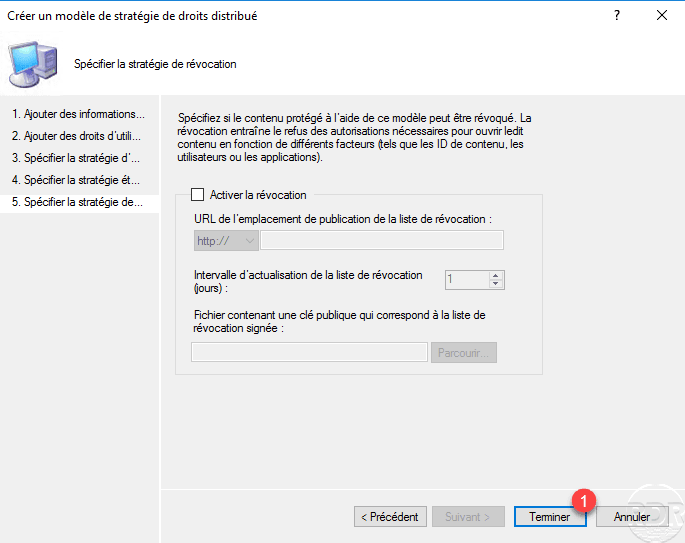
Revocation invalidates a user license before it expires.
The model is now available 1 .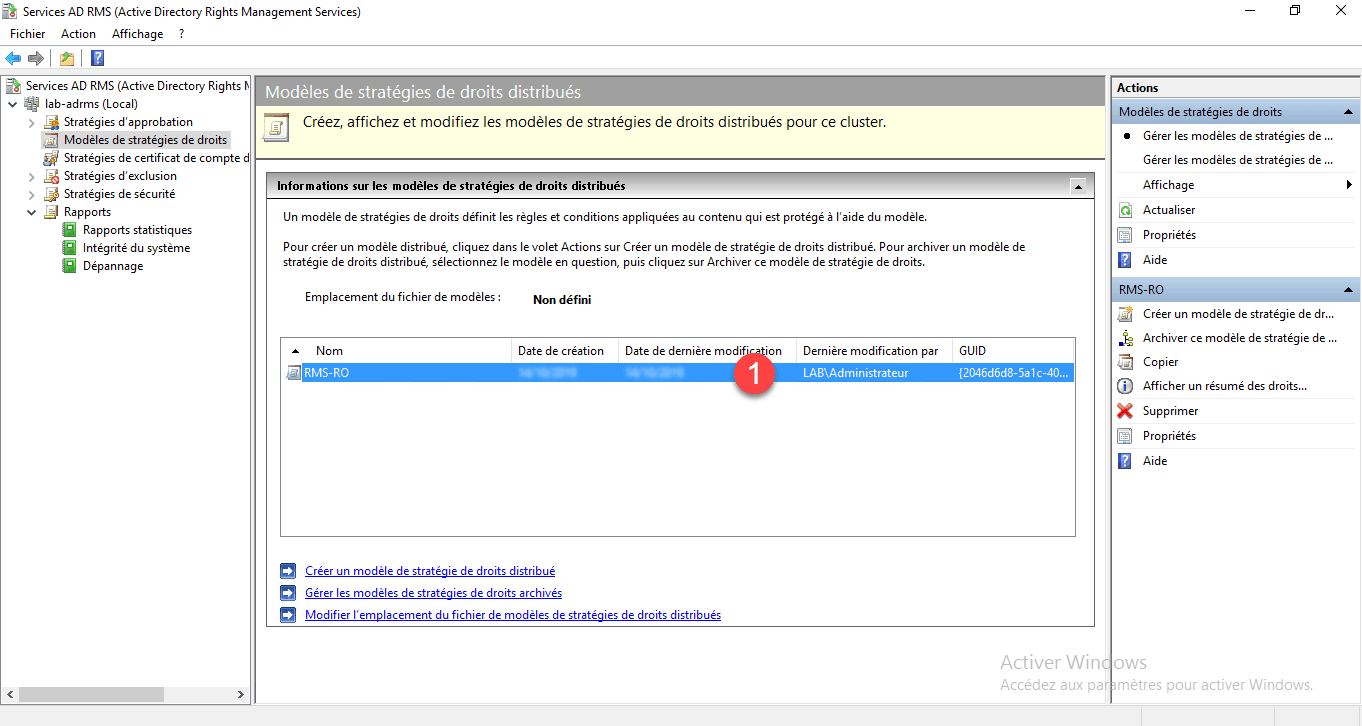
Configuring the location of files
From the template view, click Change the location of the Distributed Rights Policy Template file 1 .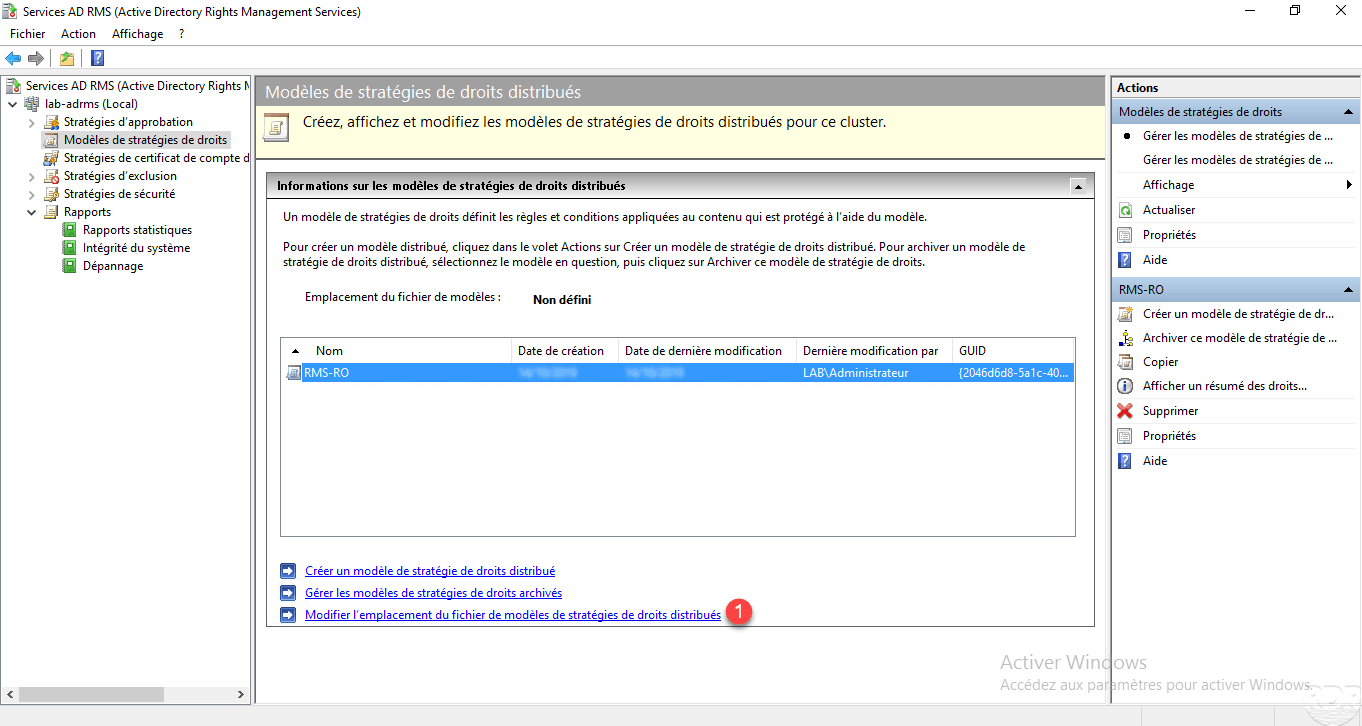
Check the Enable export 1 box, enter the UNC 2 path of the configured share and click Apply 3 .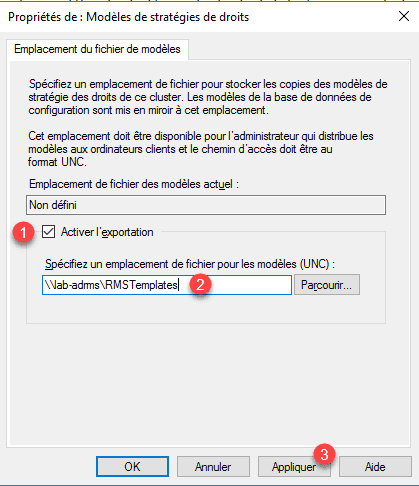
Once the location is defined 1 click on OK 2 .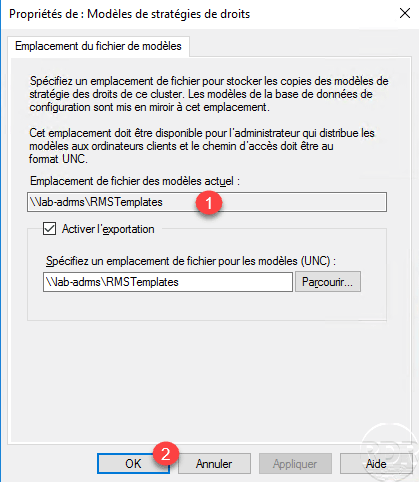
We now see that the location is set 1 .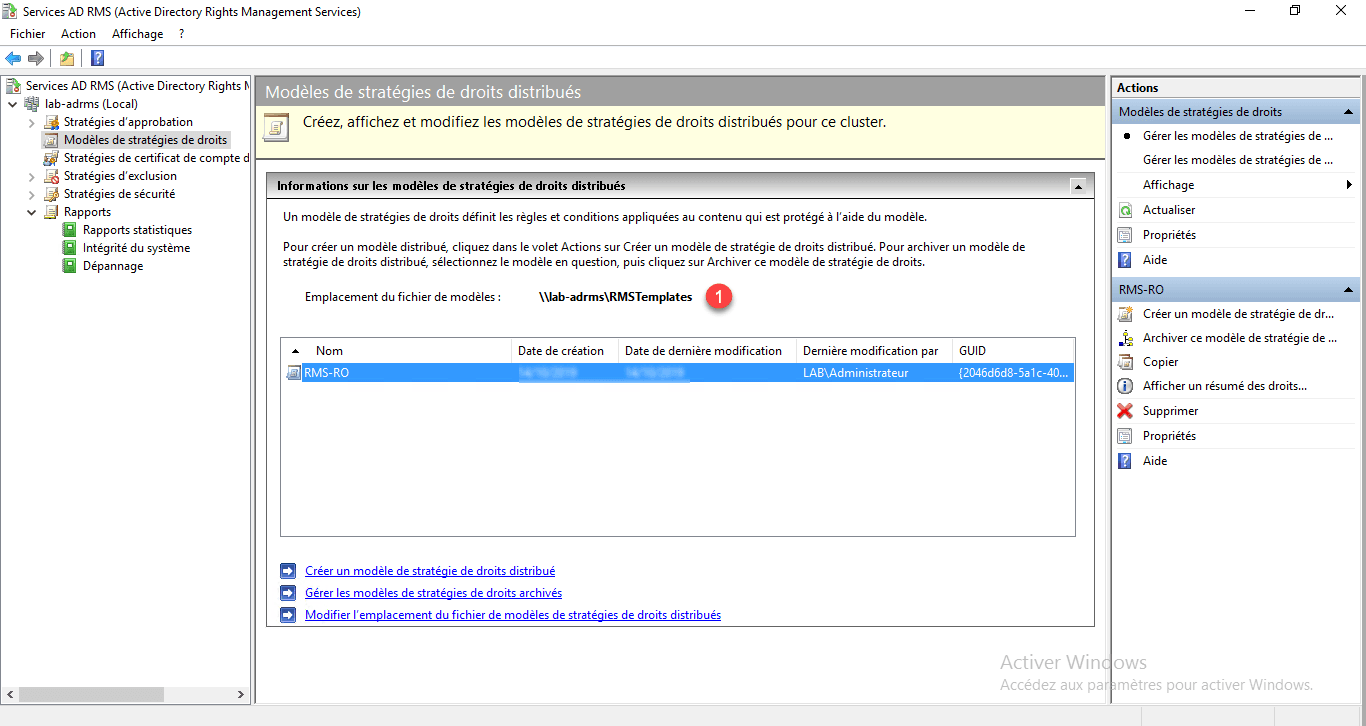
We can see the folder contains the model configured in XML format.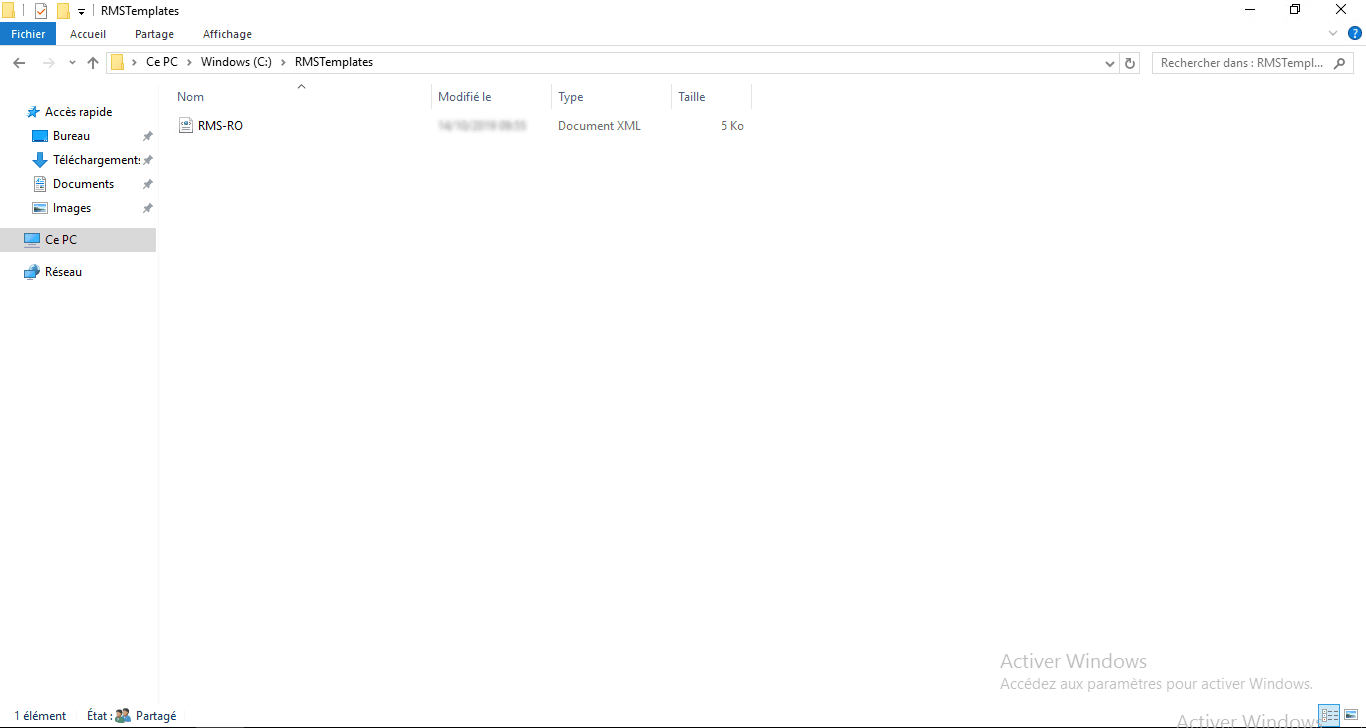
Use of templates
The operation is the same as a Restricted Access, just select the template to apply it to the document.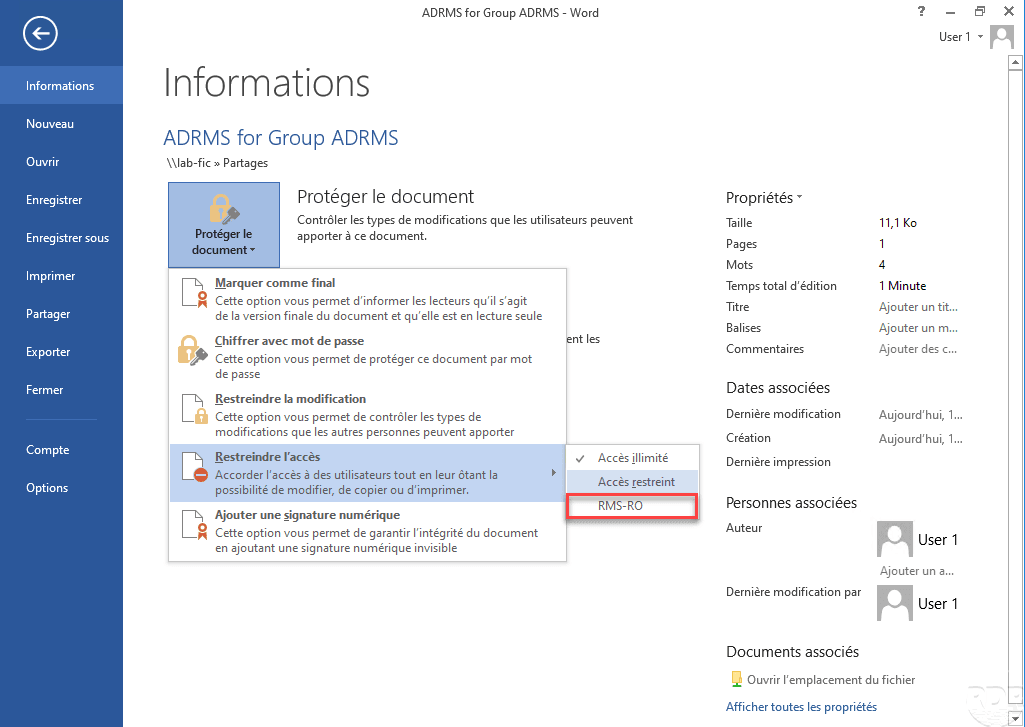

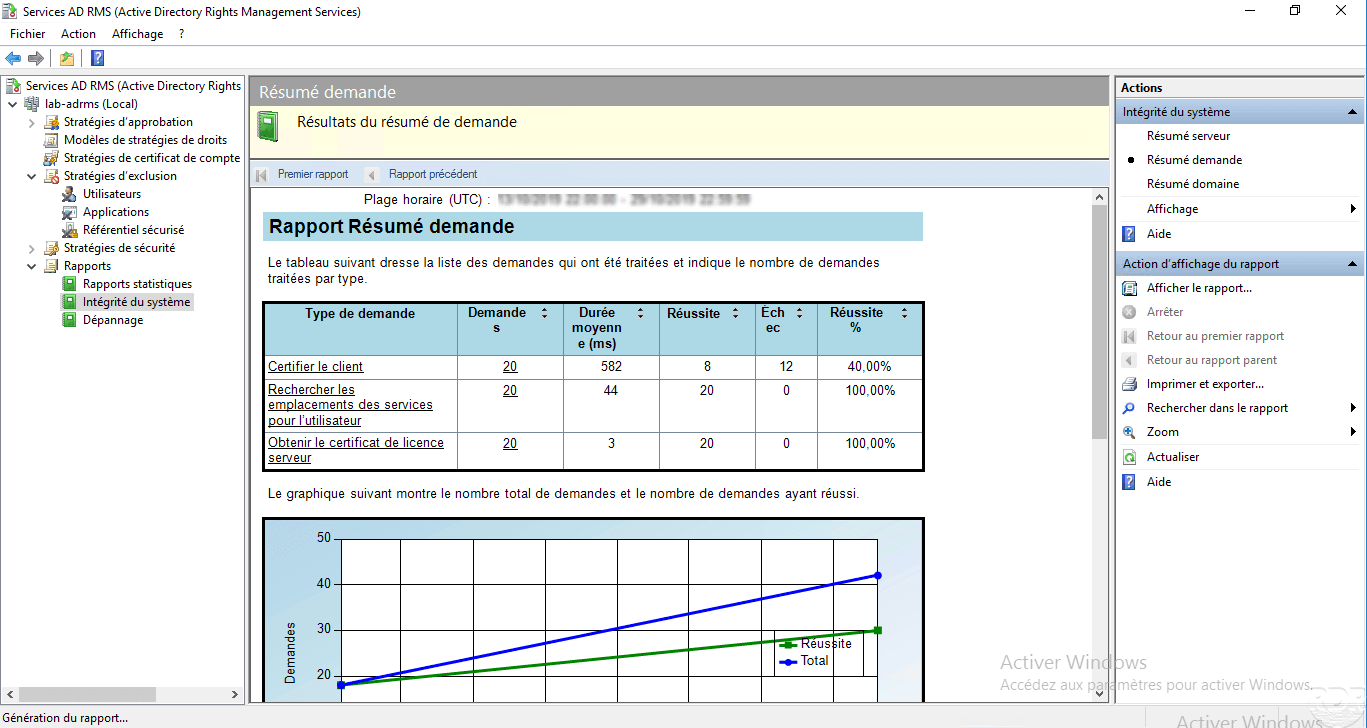
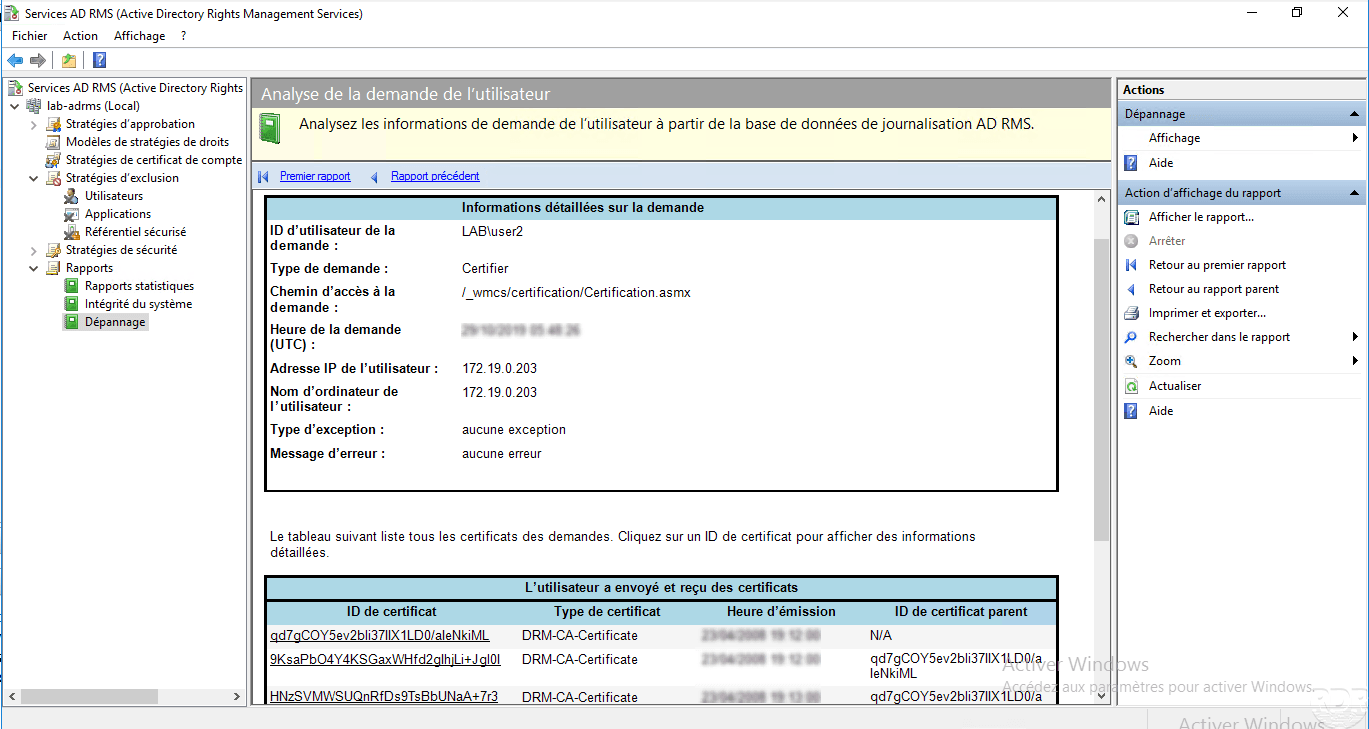
AD RMS reports
From the console, it is possible to generate reports on the use of AD RMS services.
Three types of reports are available and configurable:
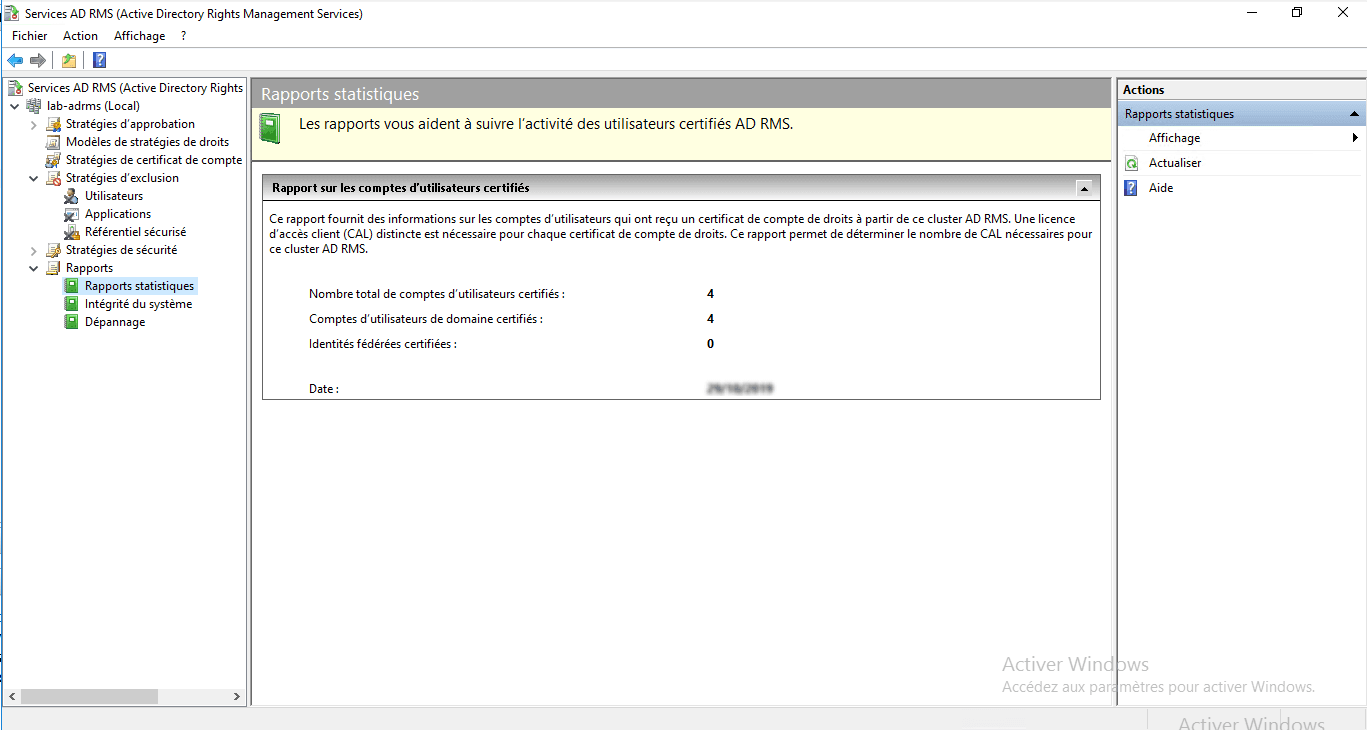
- Statistical reports
- Integrity reports
- Troubleshooting reports
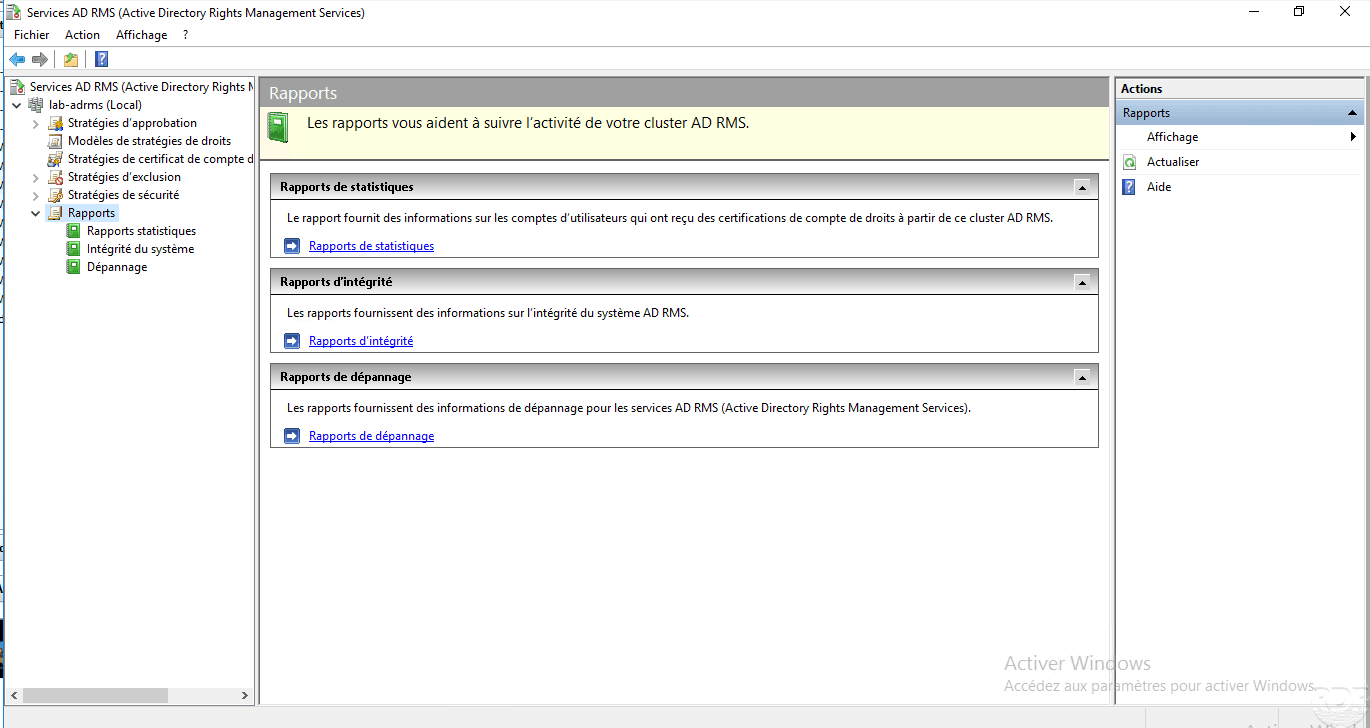
Below are some examples of reports:
Conclusion
To sum up AD RMS allows to set up a solution to secure the distribution of documents in addition to NTFS rights
The main difficulty for the establishment of service is the training of users who are fall on the application of authorizations.