Presentation of authentication policies
With Windows Server 2012R2 and the new ADAC (Active Directory Administration Center) administration console, Microsoft has added authentication policies that provide an additional layer of security.
In the summary of authentication policies will allow or not to allow a user logs on to a desktop or server, or vice versa control who can log on to a computer.
They also make it possible to force the use of a more secure protocol for authentication.
In this tutorial, we will discuss the first point, configure policies to allow connection to a defined user on a computer and a second strategy that prohibits the connection of a user on a defined workstation.
Prerequisites for using authentication policies
- Have a minimum Windows 2012R2 domain controller.
Policies that limit user connections to computers require the implementation of a group policy that activates the claims of the Kerberos client.
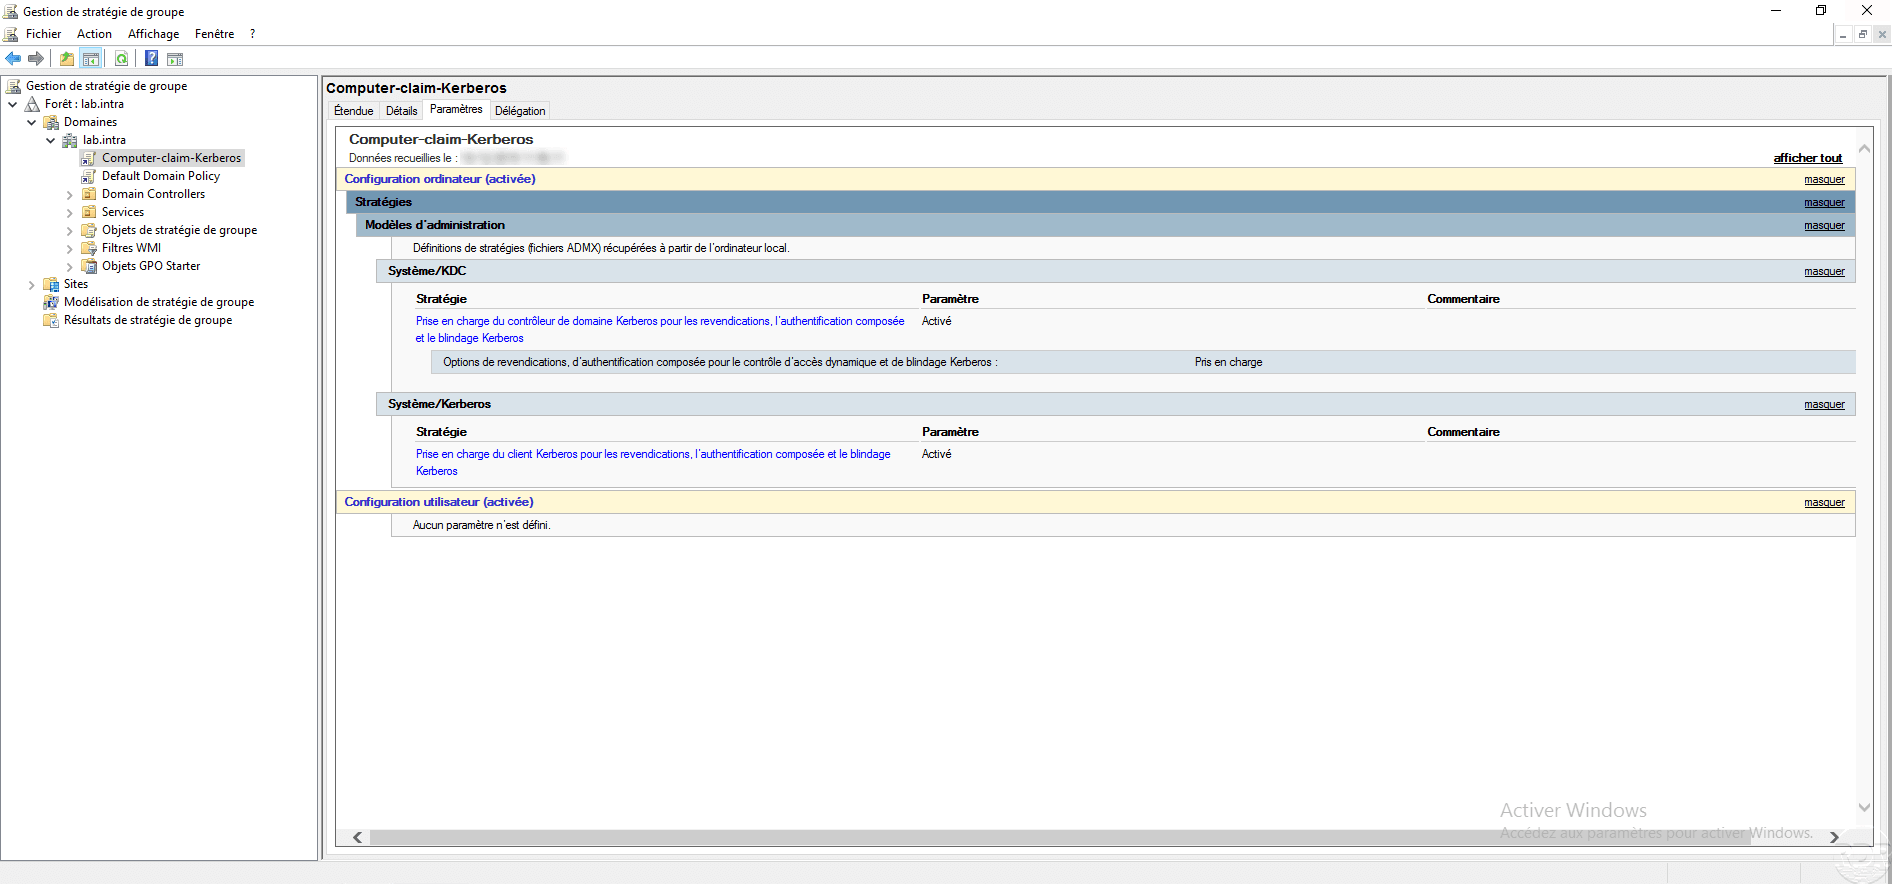
For this it is necessary to configure the following parameters:
- Computer Configuration / Policies / Administrative Templates / System / KDC / Kerberos Domain Controller Support for Claims, Compound Authentication and Kerberos Shielding: Enabled with the Support option.
- Computer Configuration / Policies / Administrative Templates / System / Kerberos / Kerberos Client Support for Claims, Compound Authentication and Keberos Shielding: Enabled.
Management of authentication policies
The management and administration of authentication policies is done using the Active Directory Administratrive Center console (ADAC).
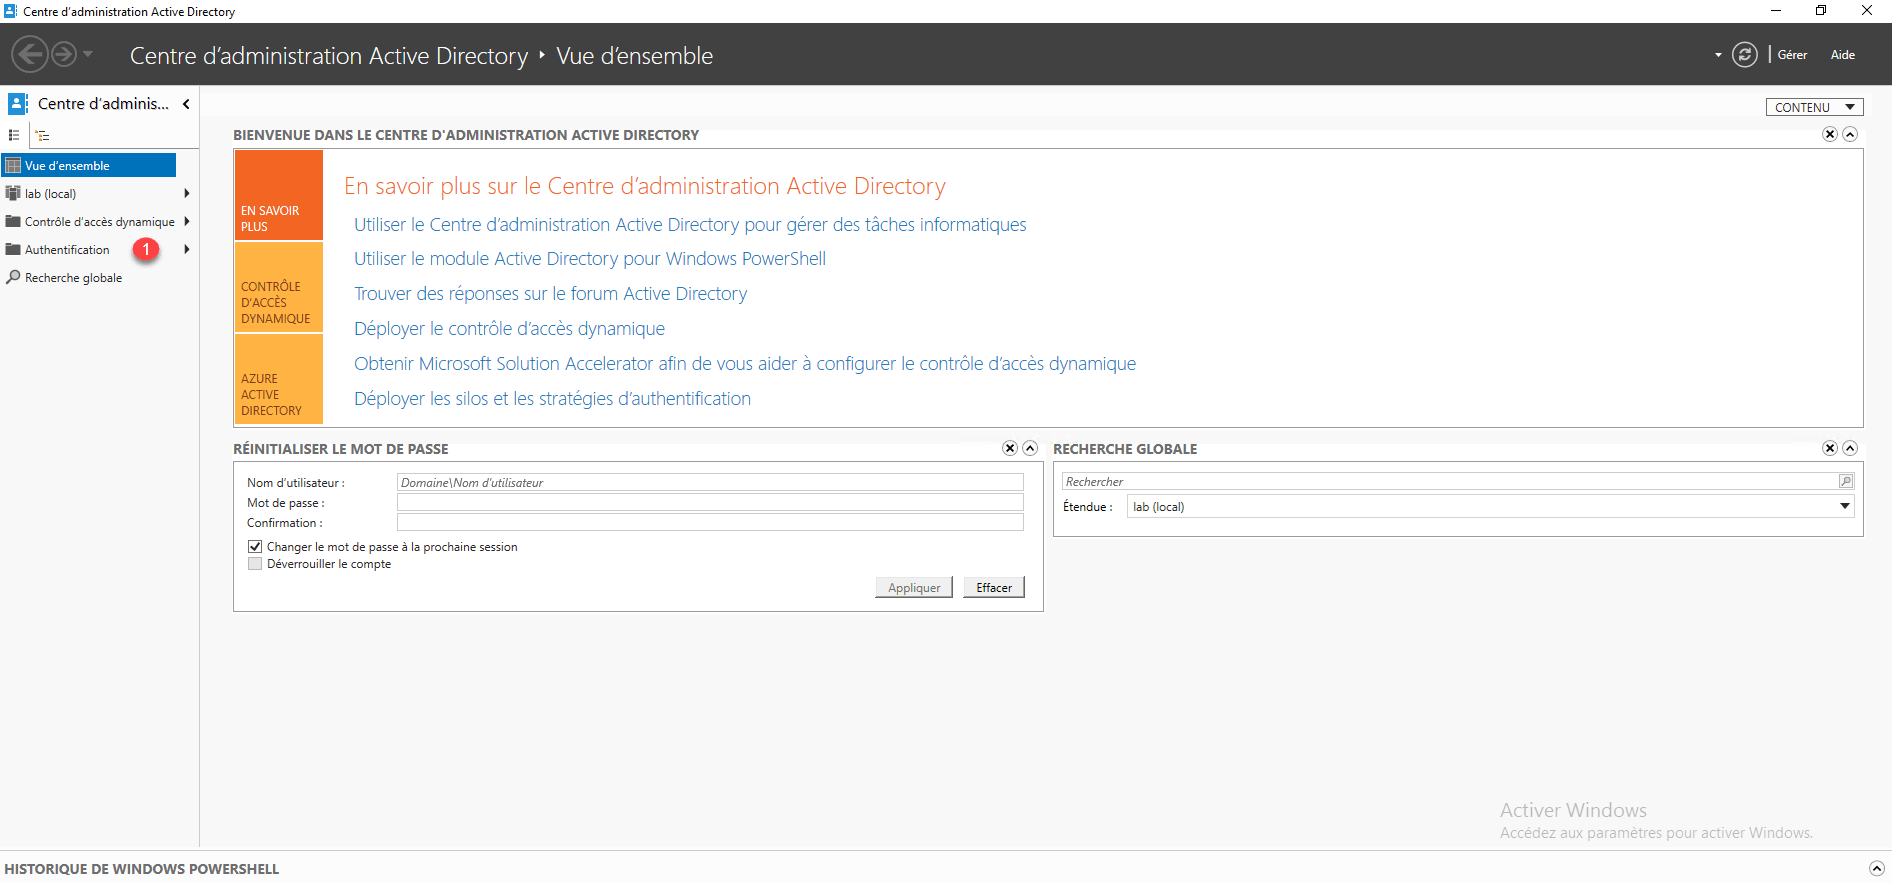
From a domain controller, launch the console.

Once the console is loaded, using the navigation menu on the left, click on Authentication 1.
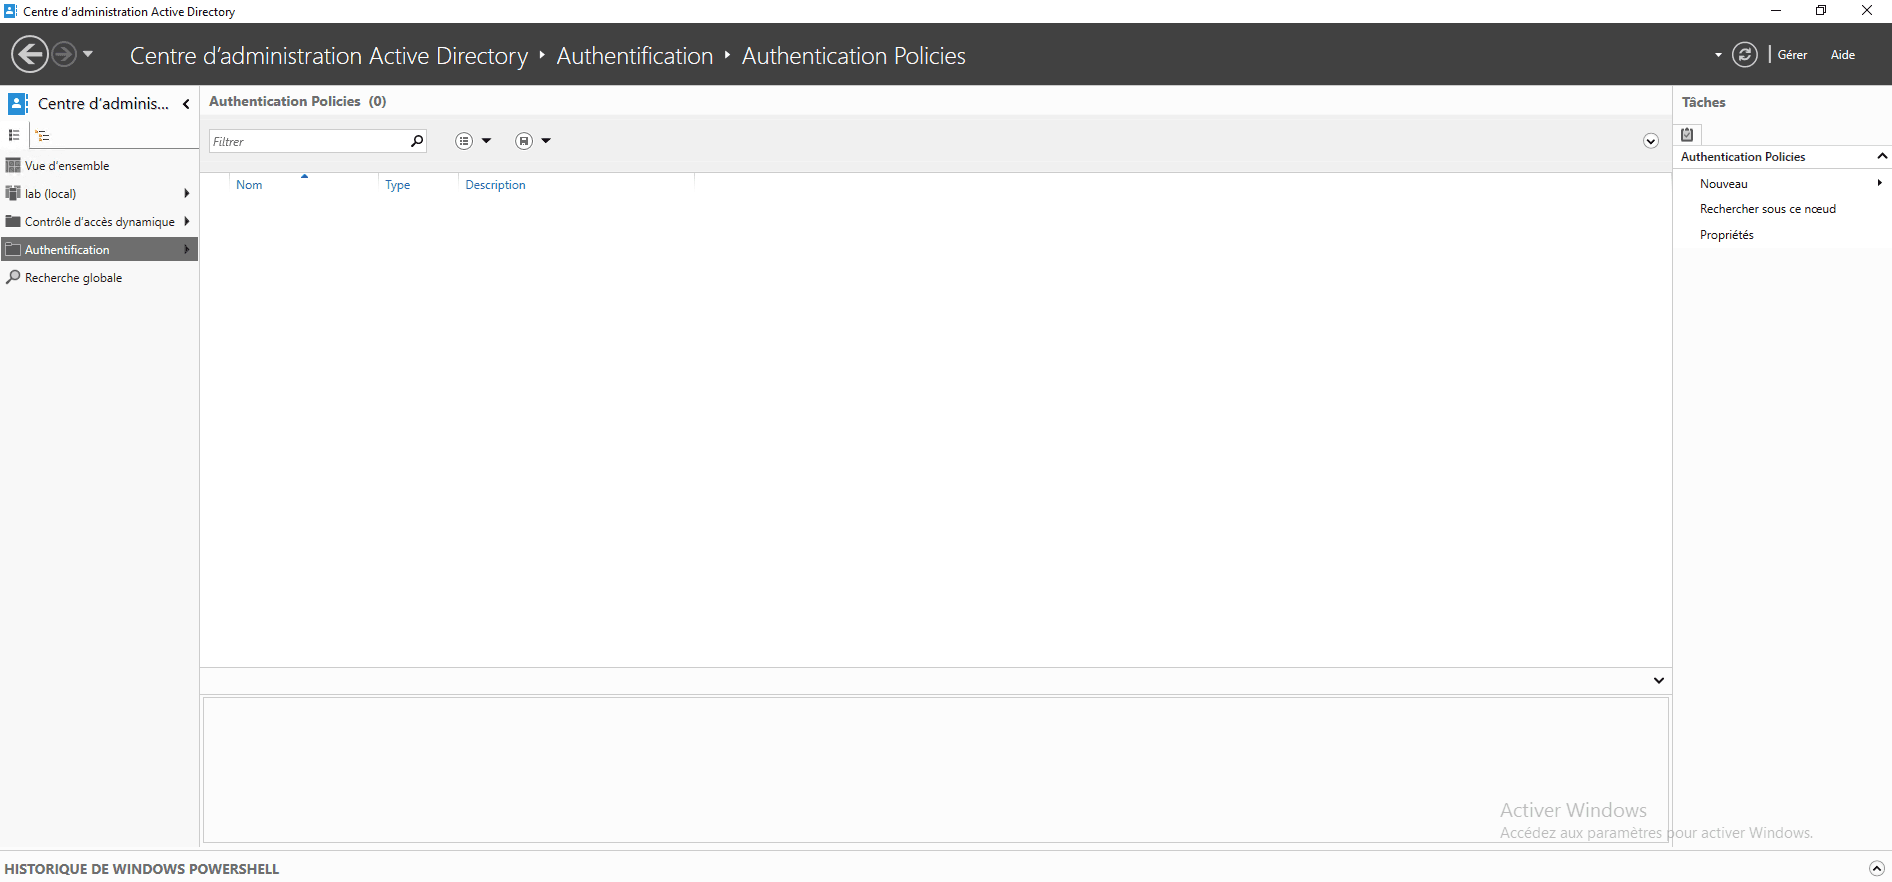
In the Authentication container, click on Authentication Policies 1.

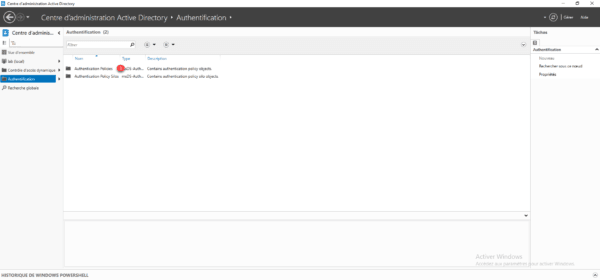
In this container, we find the list of strategies which is empty for the moment. It is also from this location that we can create new strategies.
Now that we have seen where we manage the strategies, we will see how to create them.
Authentication strategy: limit the connection on computer / server to a specific user
In this part of the tutorial, we will create a strategy, which will allow the connection on a computer to a user that we will define.
This type of policy can be implemented for VIP computers to prevent other people from logging on or for sensitive servers to limit connections on it.
In the following example, we will configure a user account, we can also use an Active Directory group.
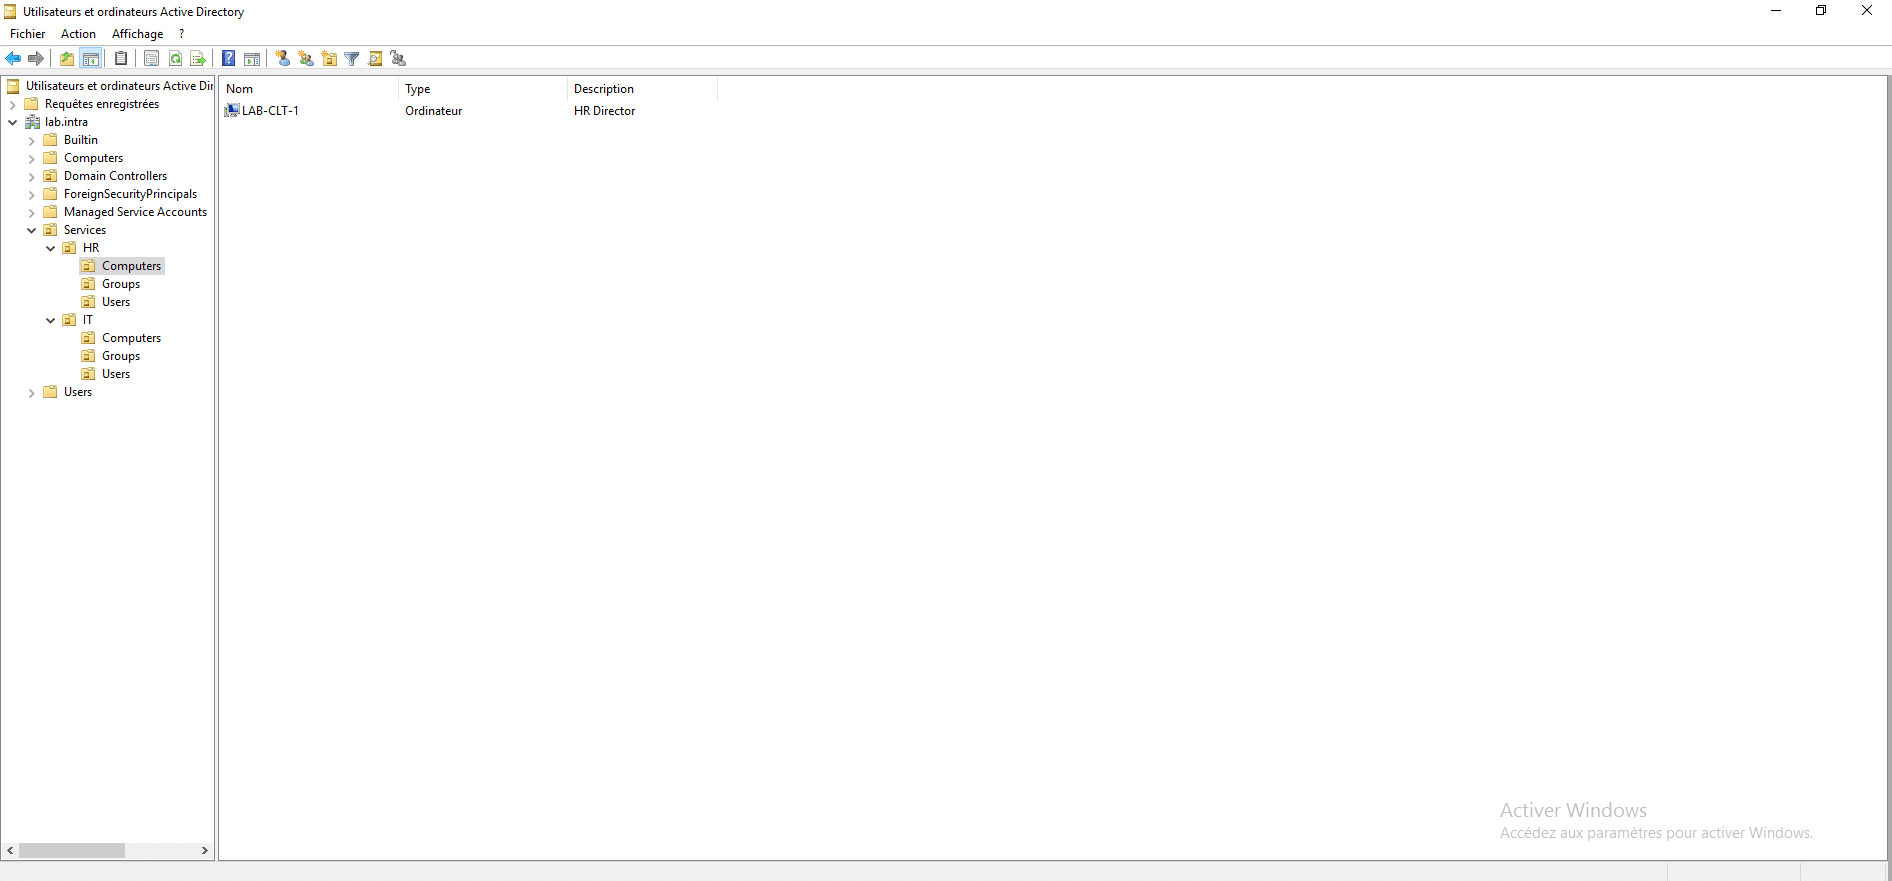
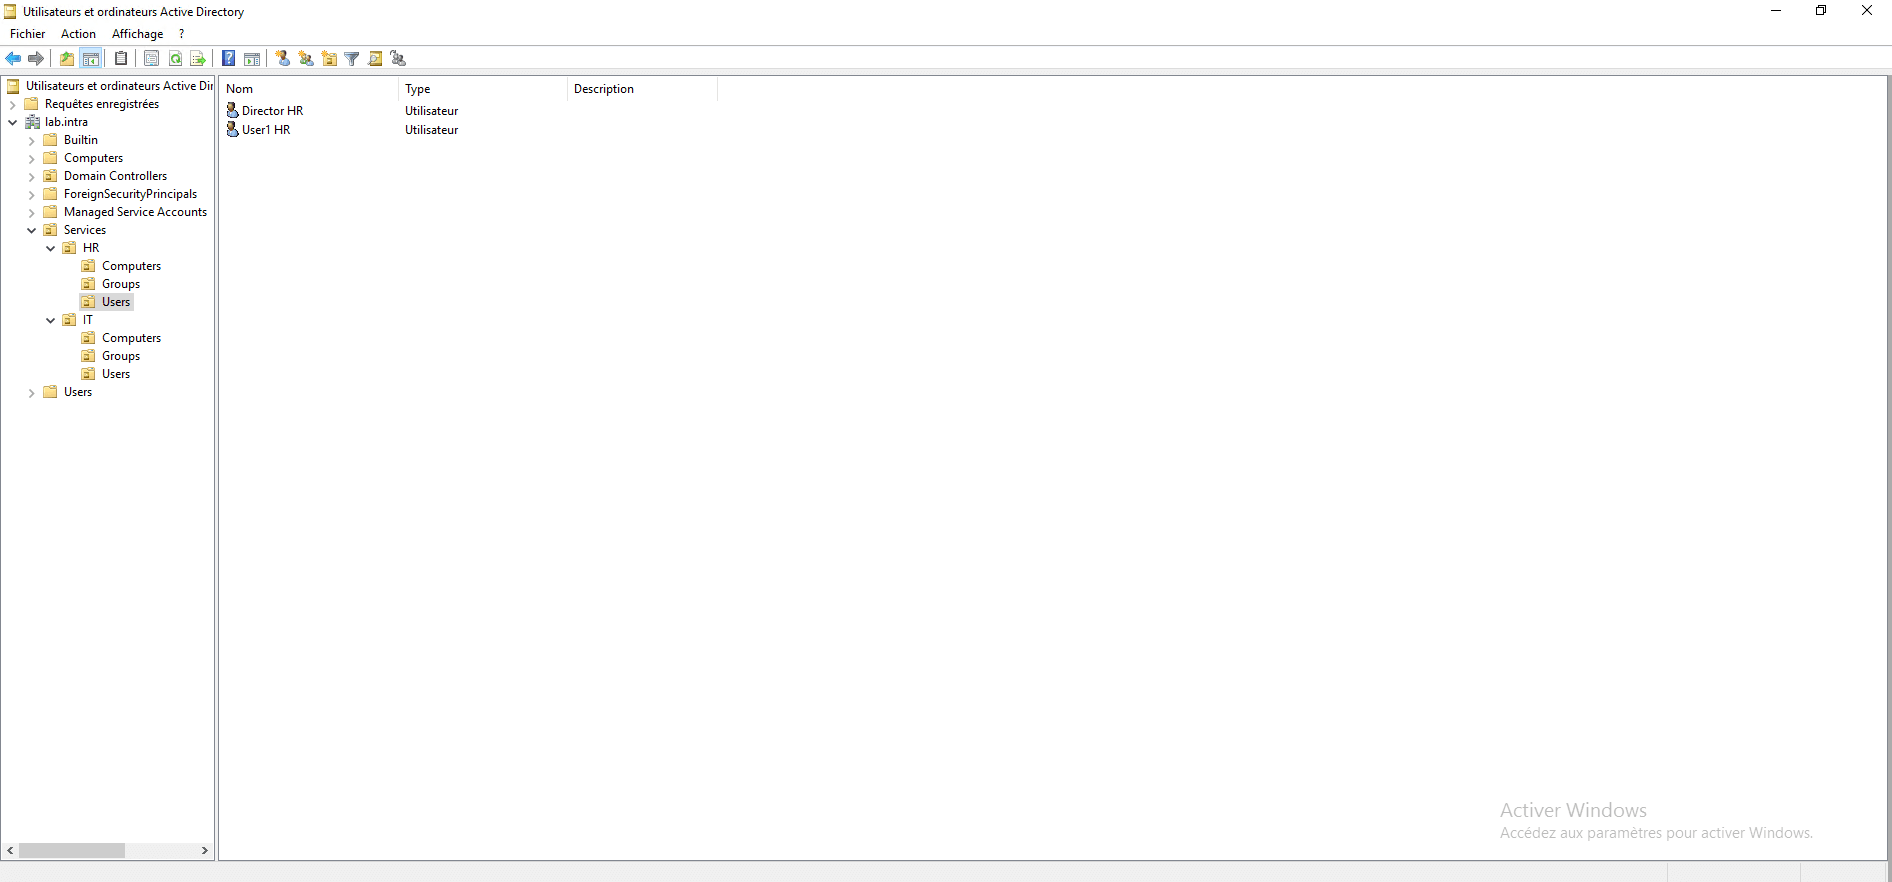
To illustrate the example, the LAB-CLT-1 computer is dedicated to the human resources director who uses the Active Directory account (Director HR). Once the strategy has been created, we will try to open a session with the User1 HR account.
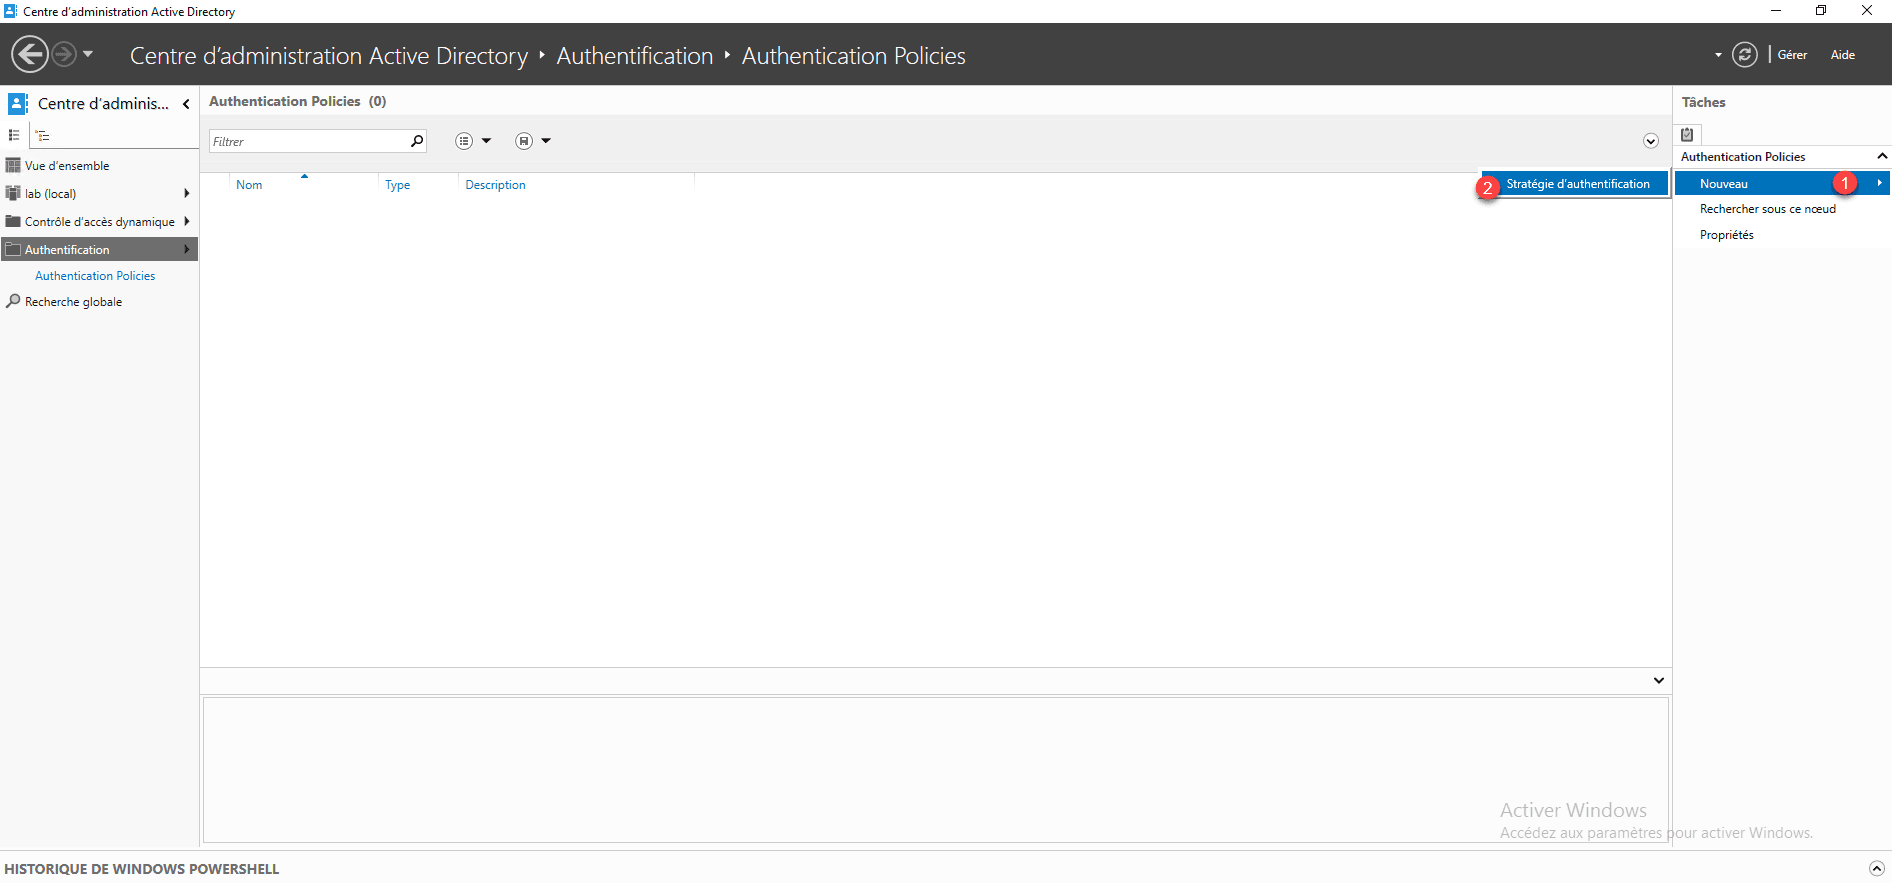
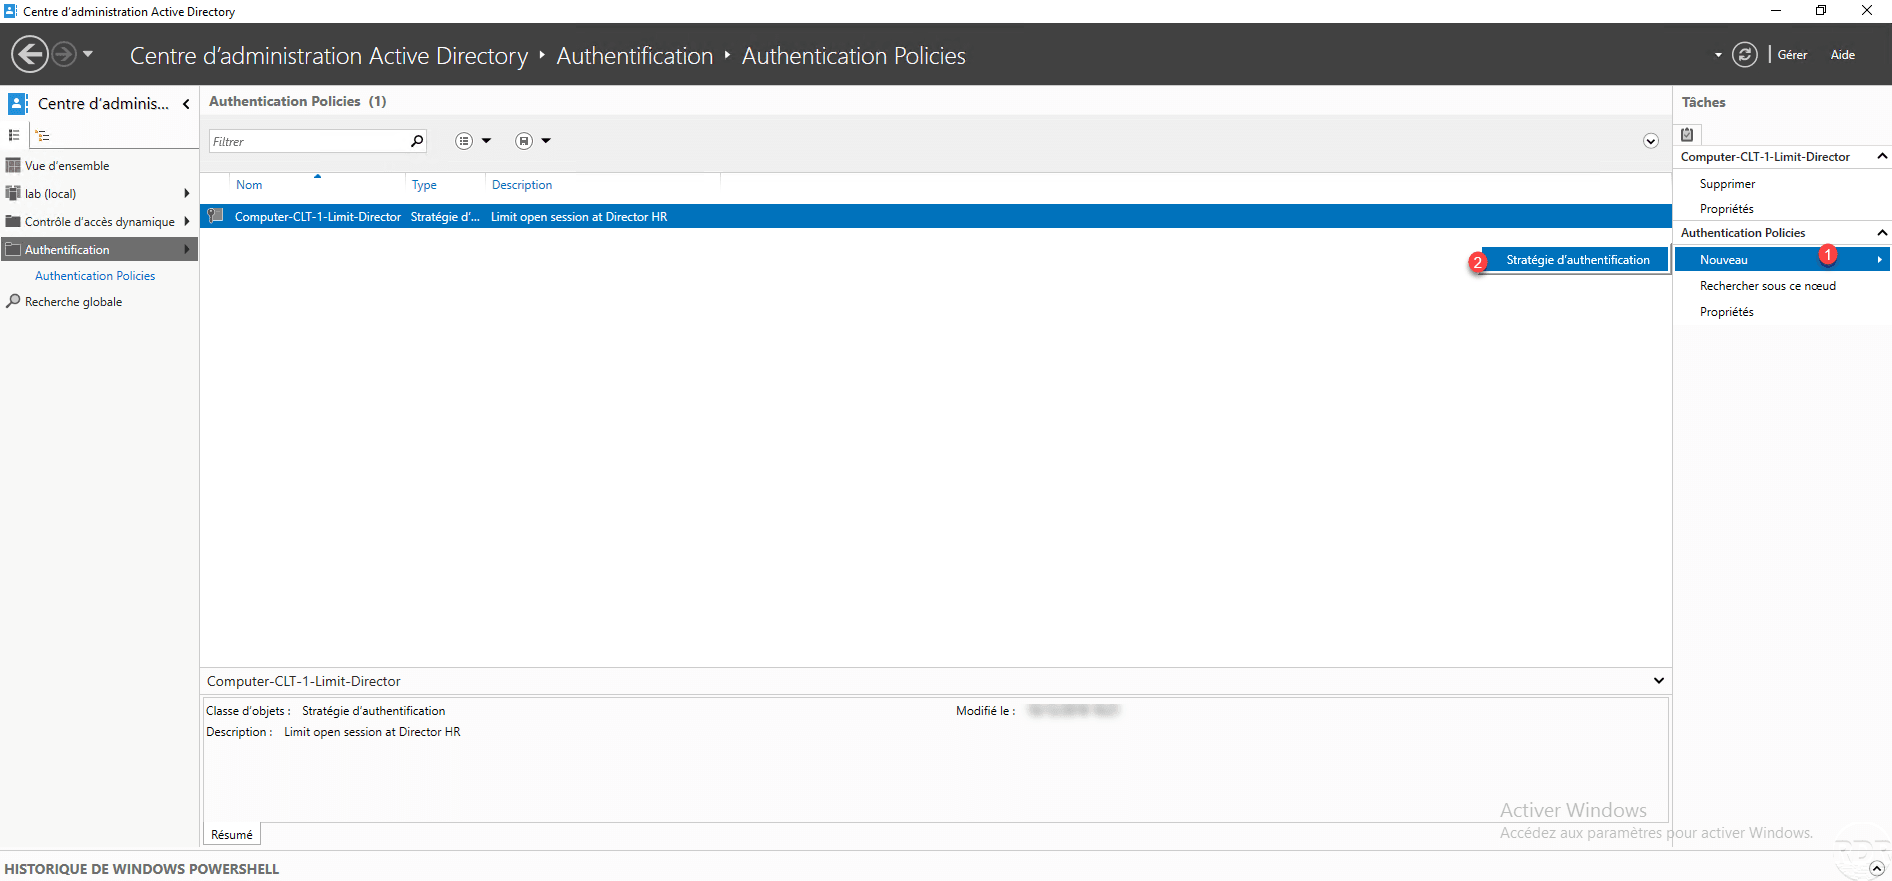
From the ADAC console on the Authentication Policies container, click on New 1 then on Authentication policy 2.
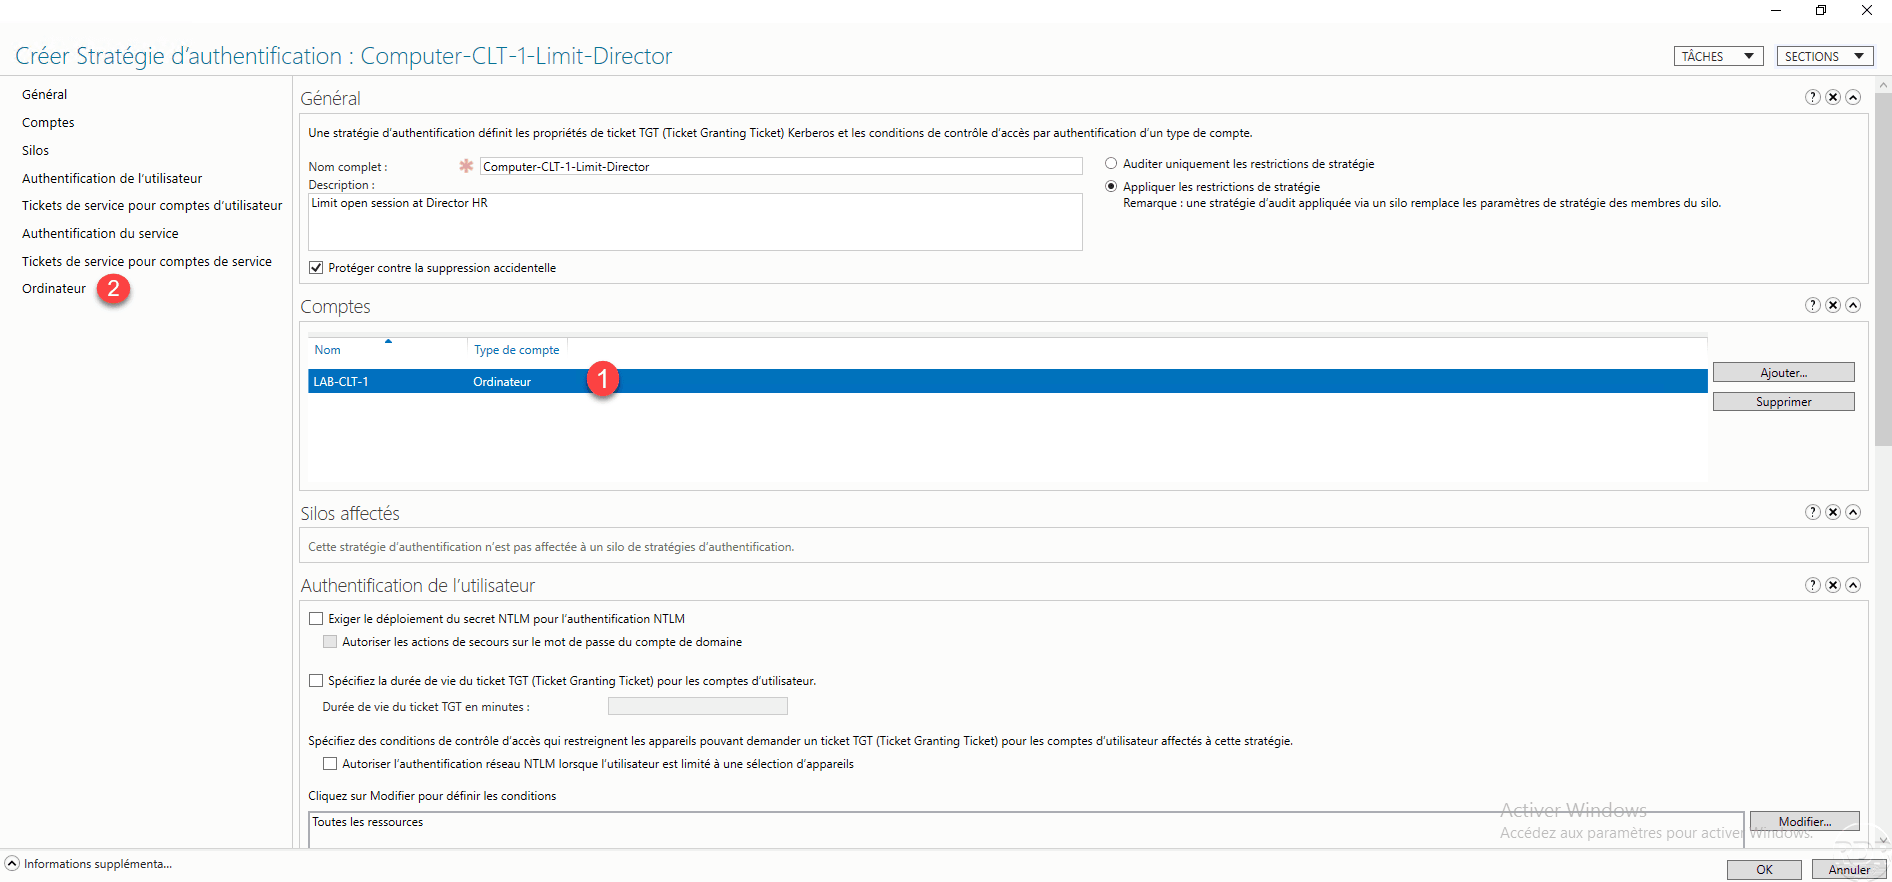
In the General section, enter the name of the strategy 1, a description if necessary 2 then click on the Add 3 button in the Accounts section.

It is possible to configure a strategy in Audit mode, by selecting this option no blocking would be carried out.
Select the computer account 1, once it has been added, go to the Computer 2 section.
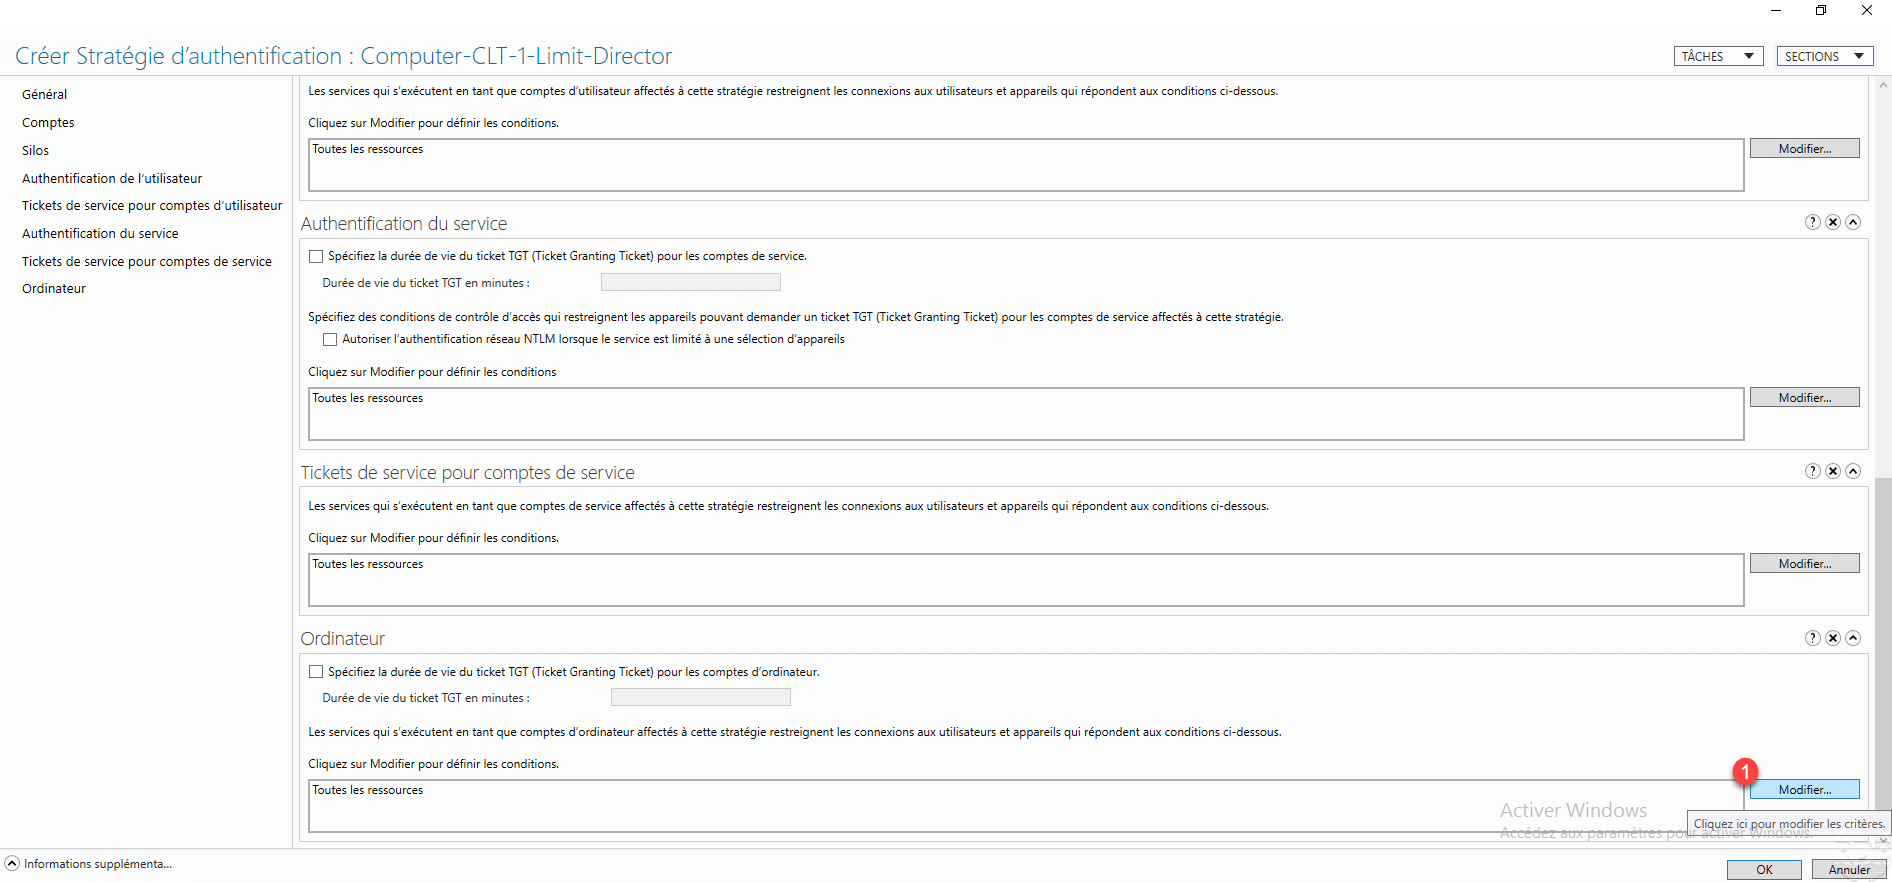
We must now configure, which can connect to the computer, by default we can see that All the resources are configured., Click on the Modify button 1.
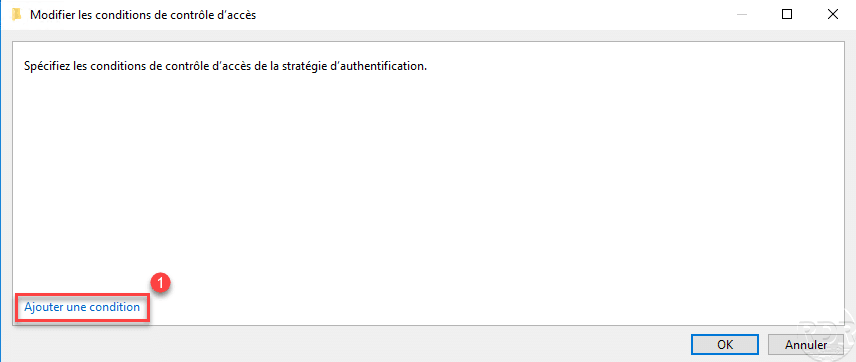
Click on Add a condition 1.
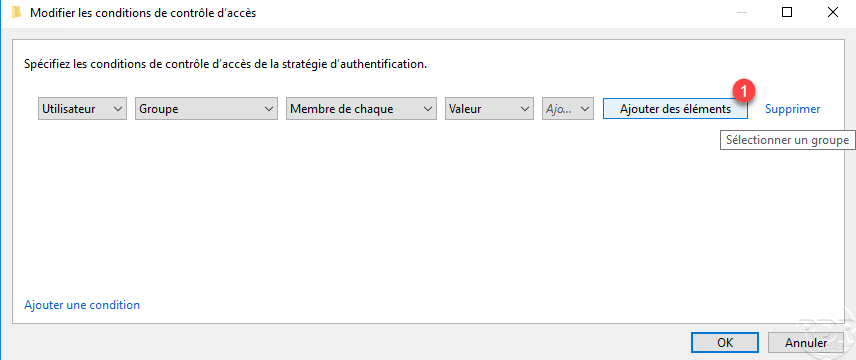
In the condition line, click on Add elements 1.
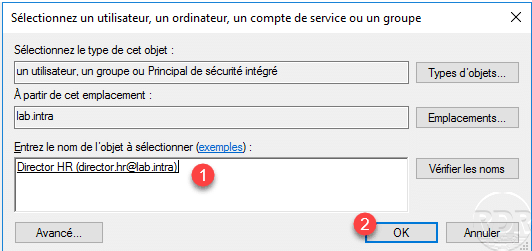
Select the user 1 and click on OK 2.
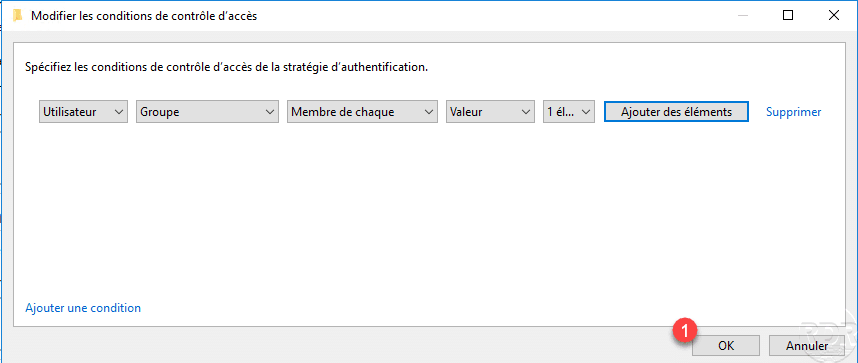
Click OK 1 to save the condition and close the window.
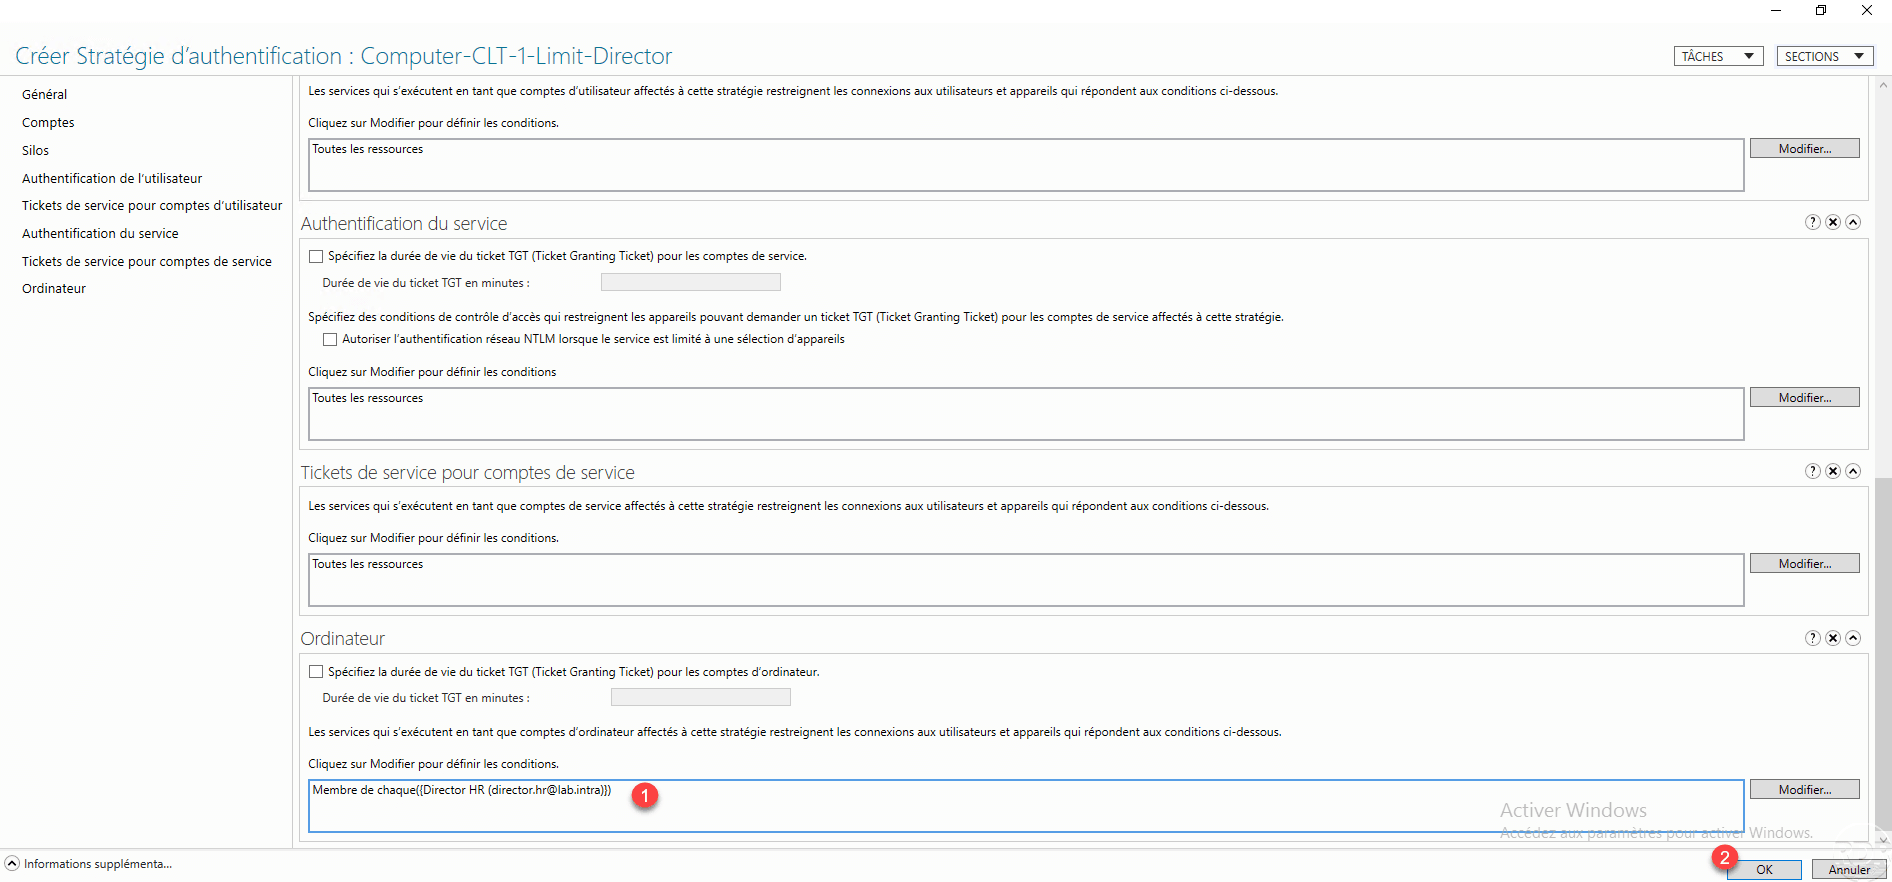
In the definition of the conditions, we see the user 1, click on OK 2 to save the strategy 2.
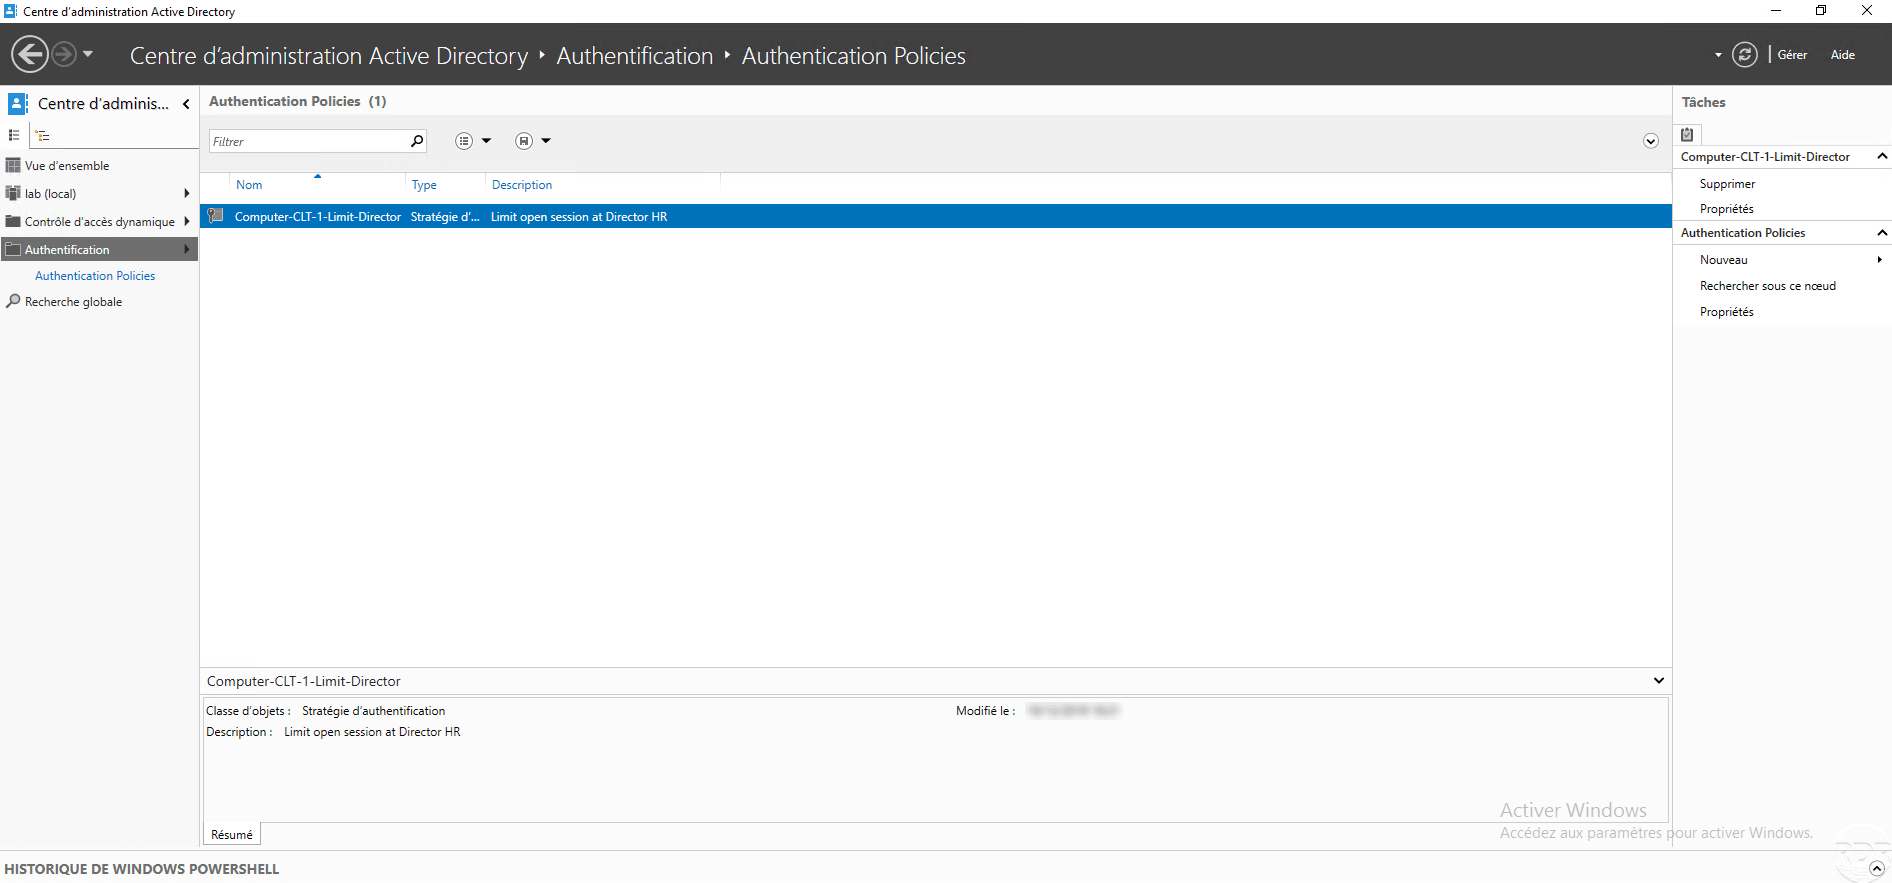
In the ADAC console, we find the authentication strategy that has just been created.
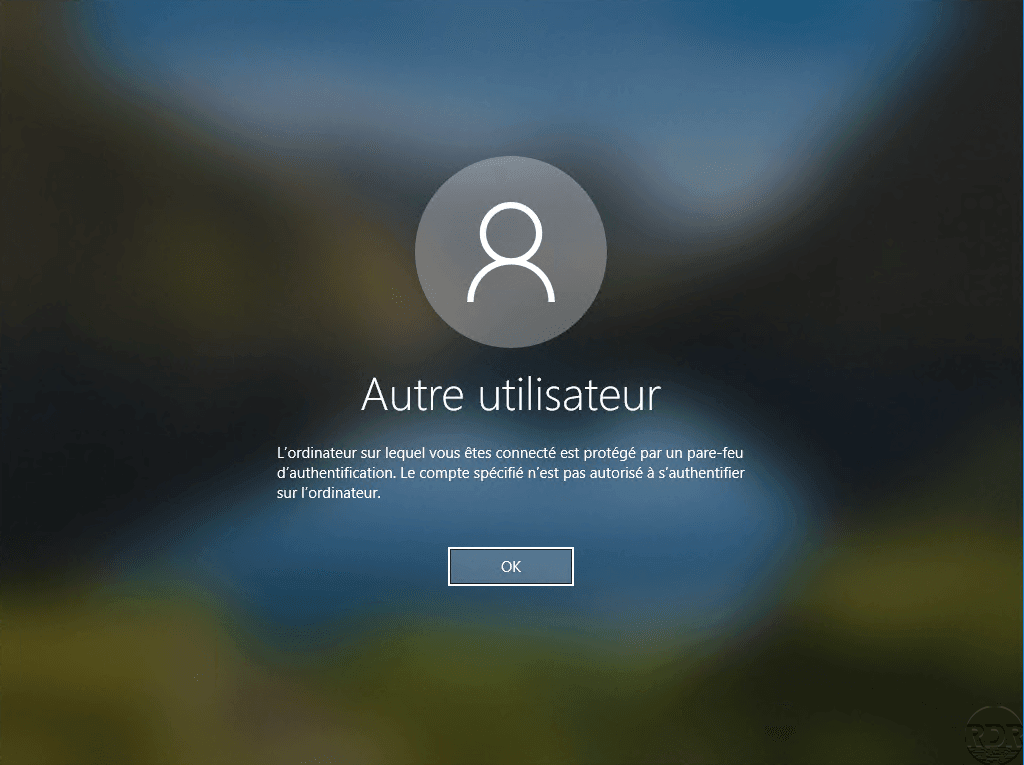
If a user wants to log on to the computer, here is the error message: The computer to which you are connected is protected by an authentication firewall. The specified account is not authorized to authenticate on the computer.
Authentication policy: limit a user’s connection to a computer
In this part, we will see how to set up an authentication strategy, which limits the connection of a user to a group of defined computers.
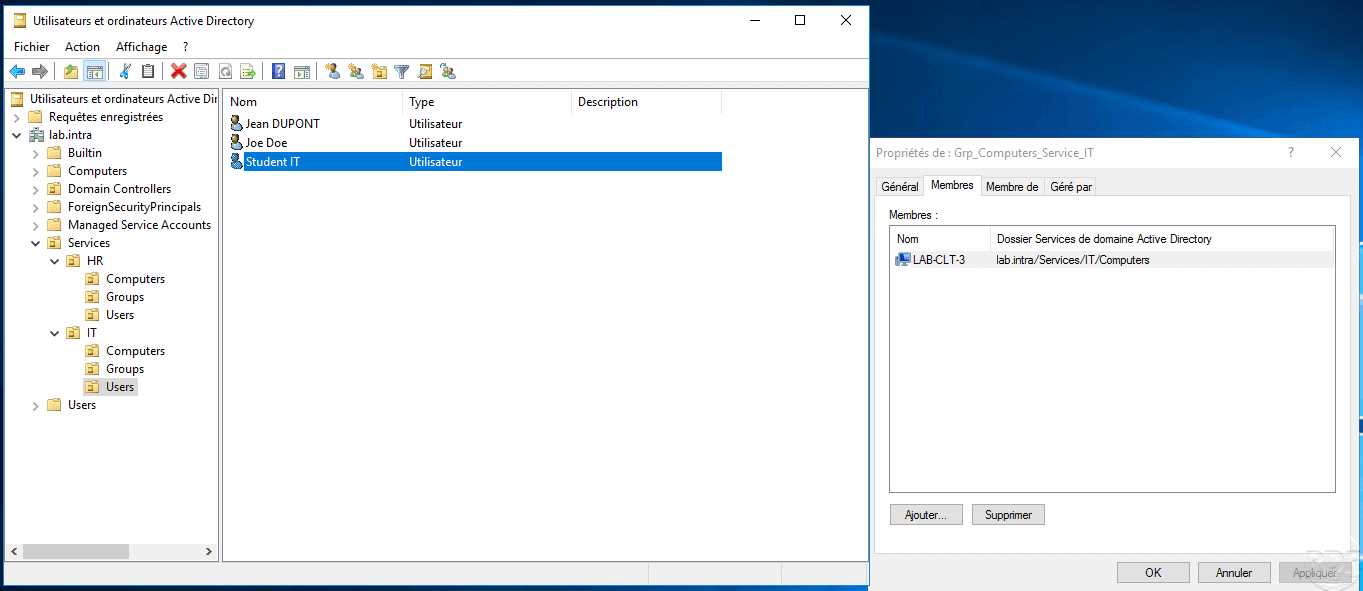
To illustrate this tutorial, the student IT user will be allowed to connect only on computers belonging to the Grp_Computers_Service_IT group.
On the ADAC console, create a new policy, New 1 / Authentication policy 2.
Name the strategy 1 then indicate a description 2 and click on the Add button 3

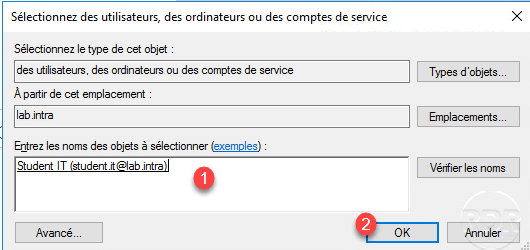
Select the Active Directory object (s) to which the authentication policy will be applied 1 then click OK 2.
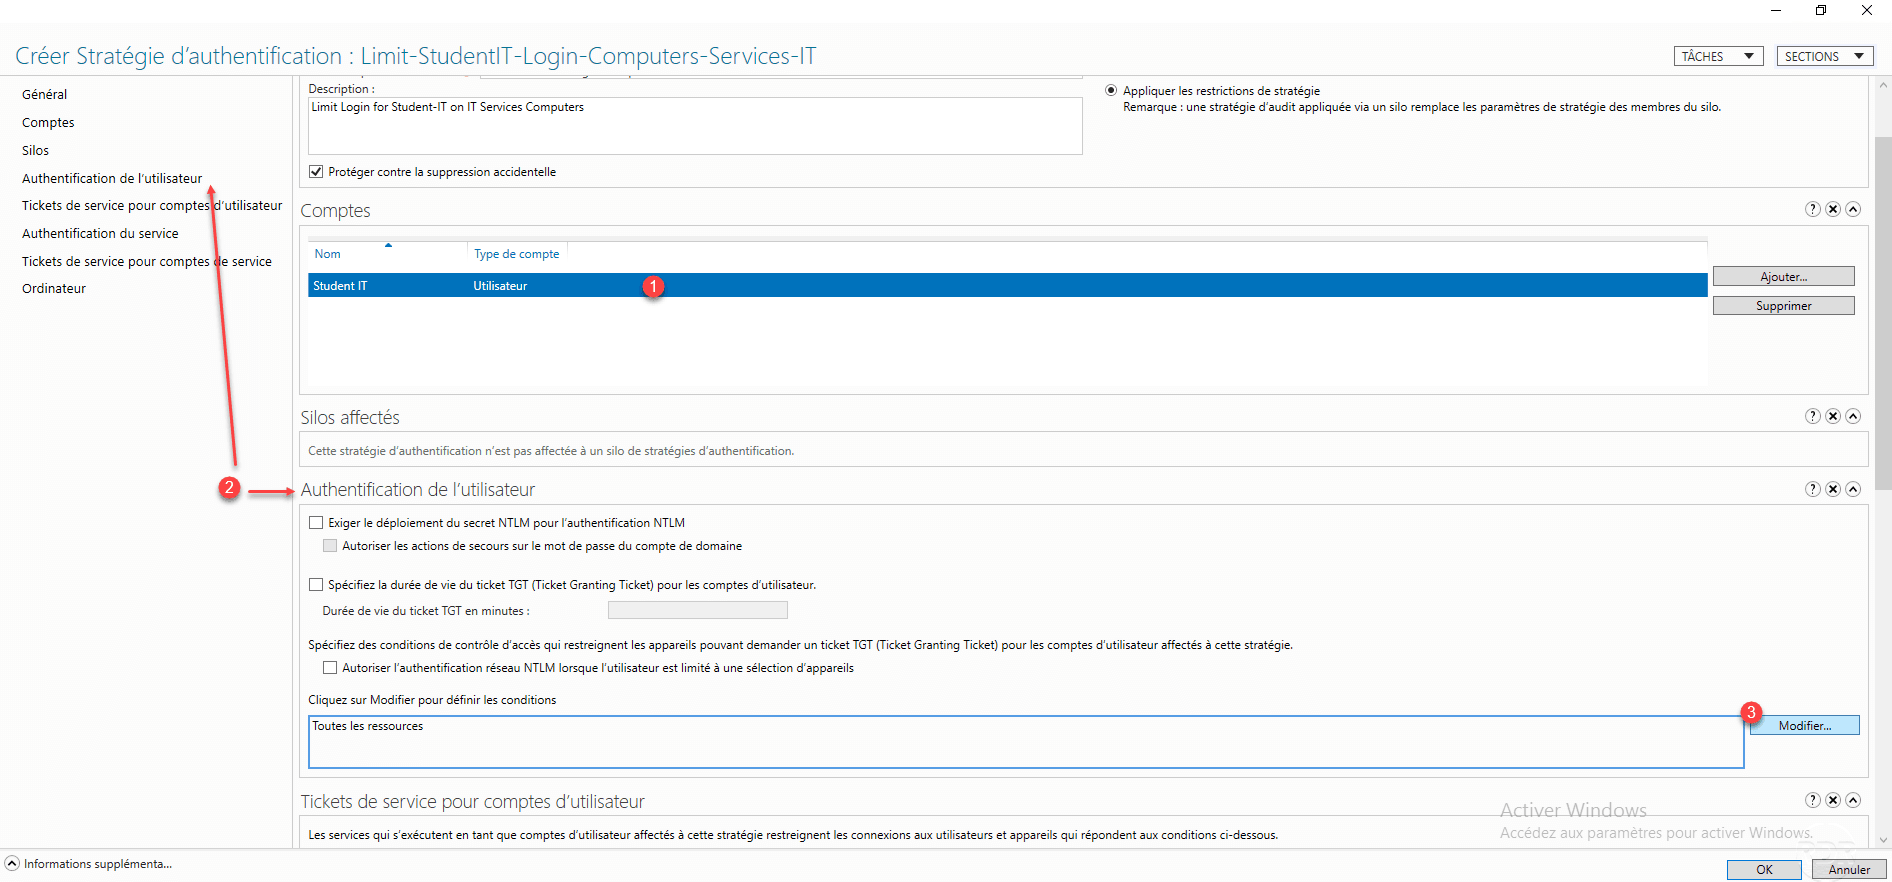
With the user account added 1 to the authentication policy, go to the User authentication section 2 and click on Modify 3 in terms of conditions.
Click on Add a condition 1.
Click the Add elements 1 button.
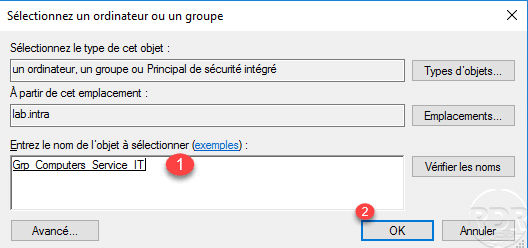
Select the Active Directory group 1 which contains the computers where the user is authorized to connect by the authentication policy then click on OK 2.
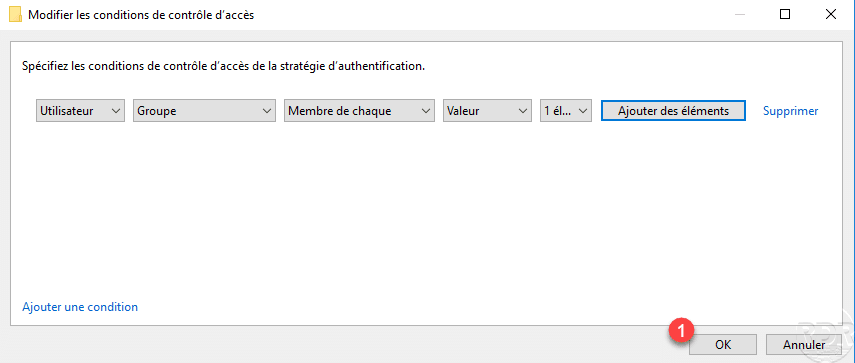
Once the condition has been configured, click on OK 1 to return to the authentication policy.
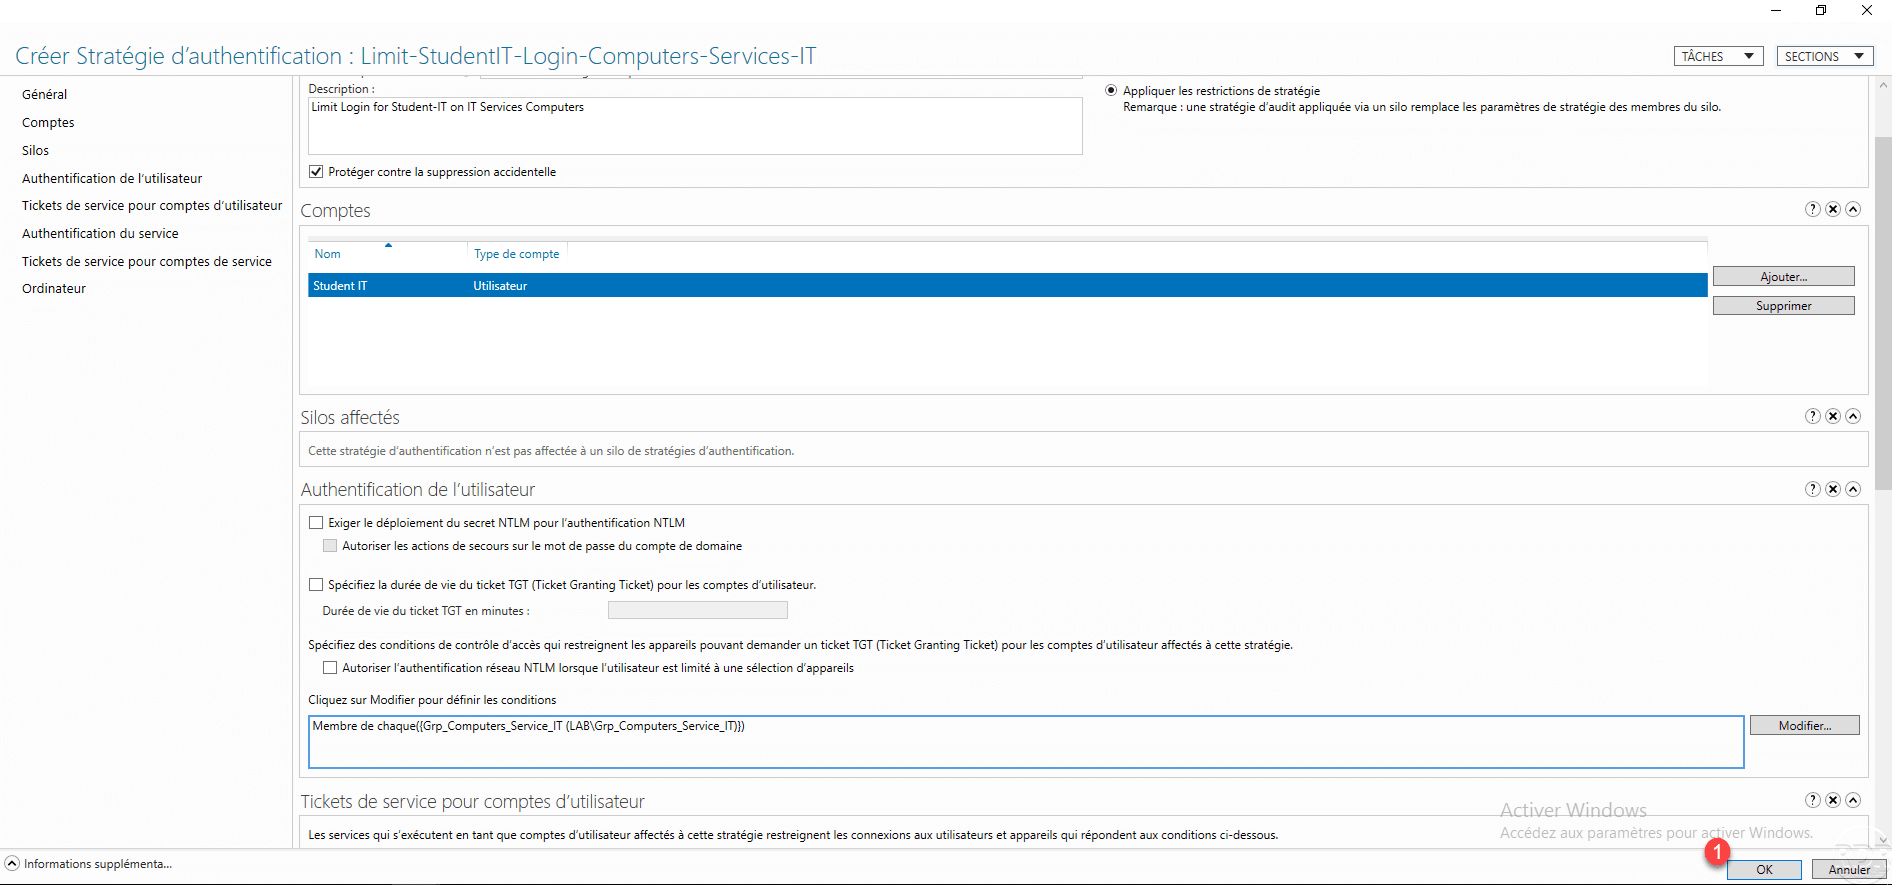
The group was added 1 in the conditions of the User authentication section. Click OK 2 to save the authentication policy.
The policy is available in the Active Directory Administration Center.
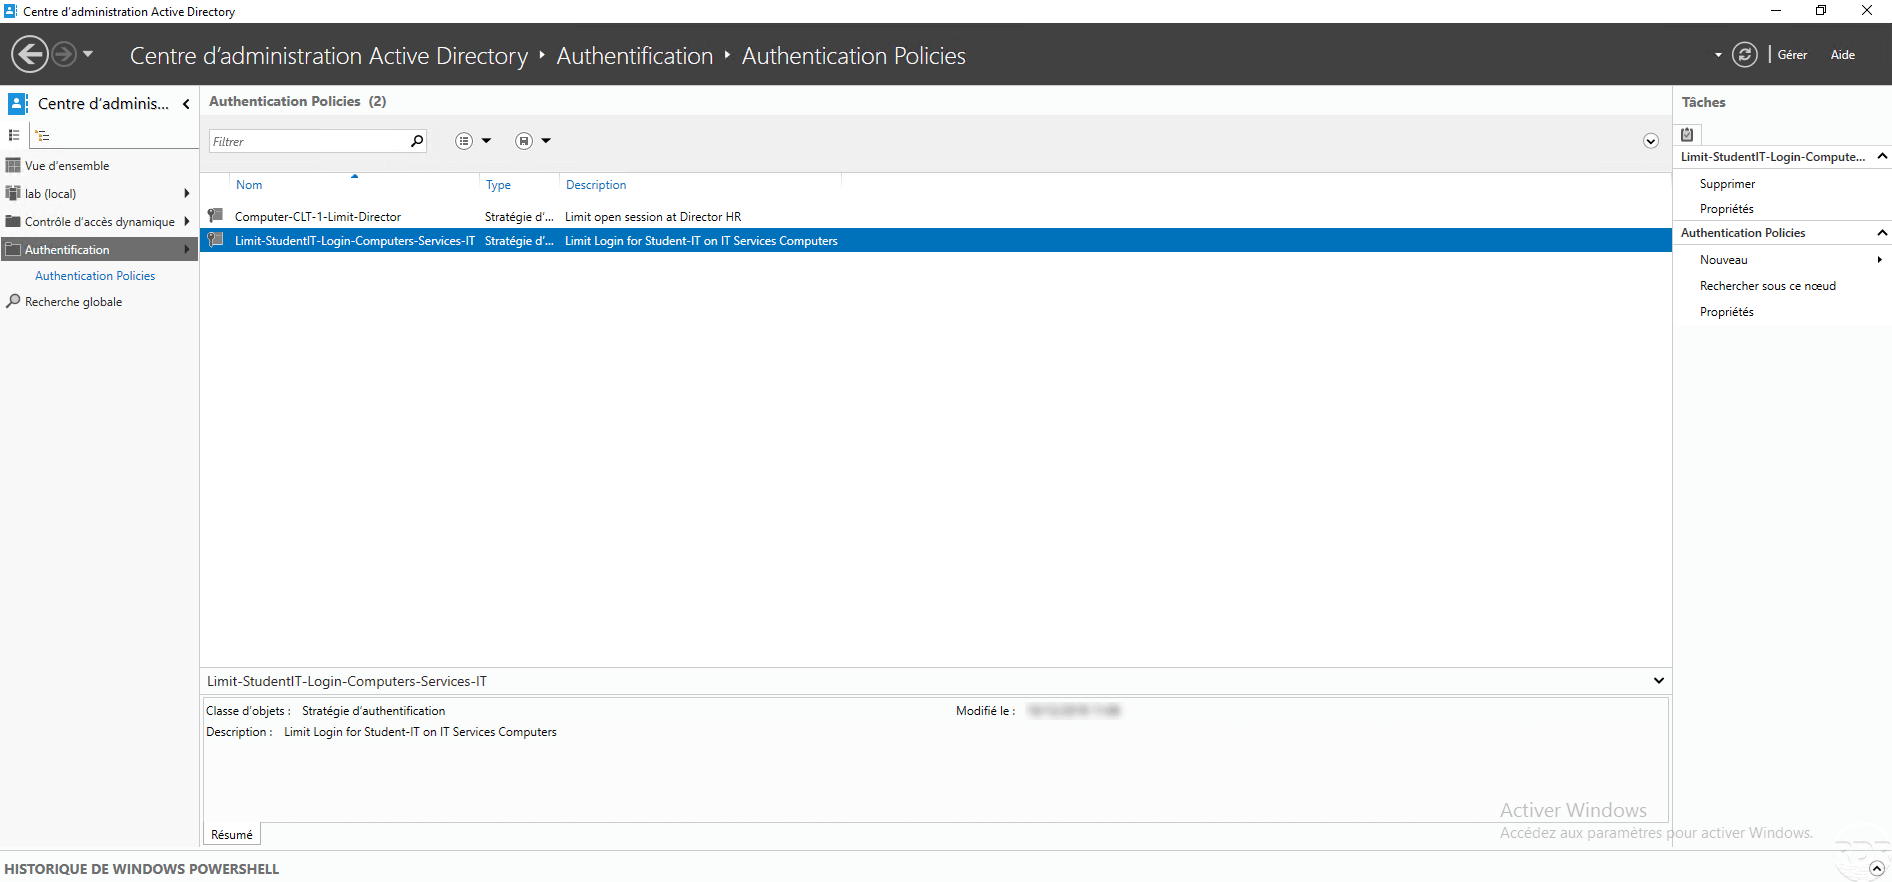
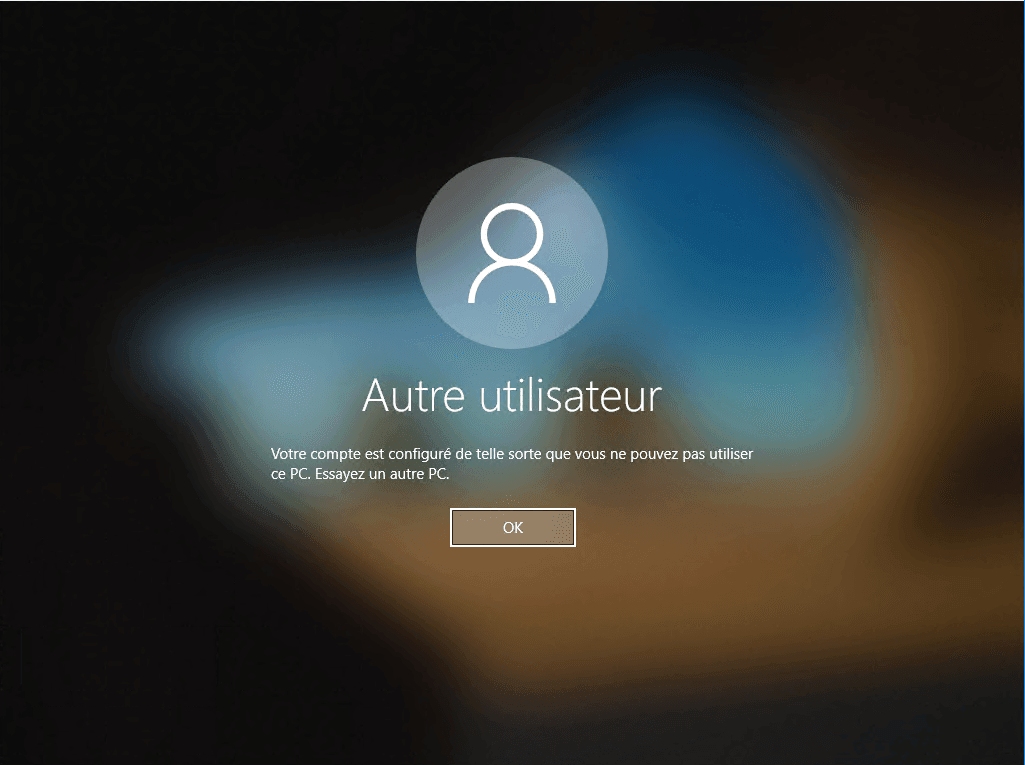
If the Student IT user tries to log on to a computer that is not part of the configure group in the authentication policy, the error message appears: Your account is configured so that you cannot use this PC. Try another PC.
Enable logging
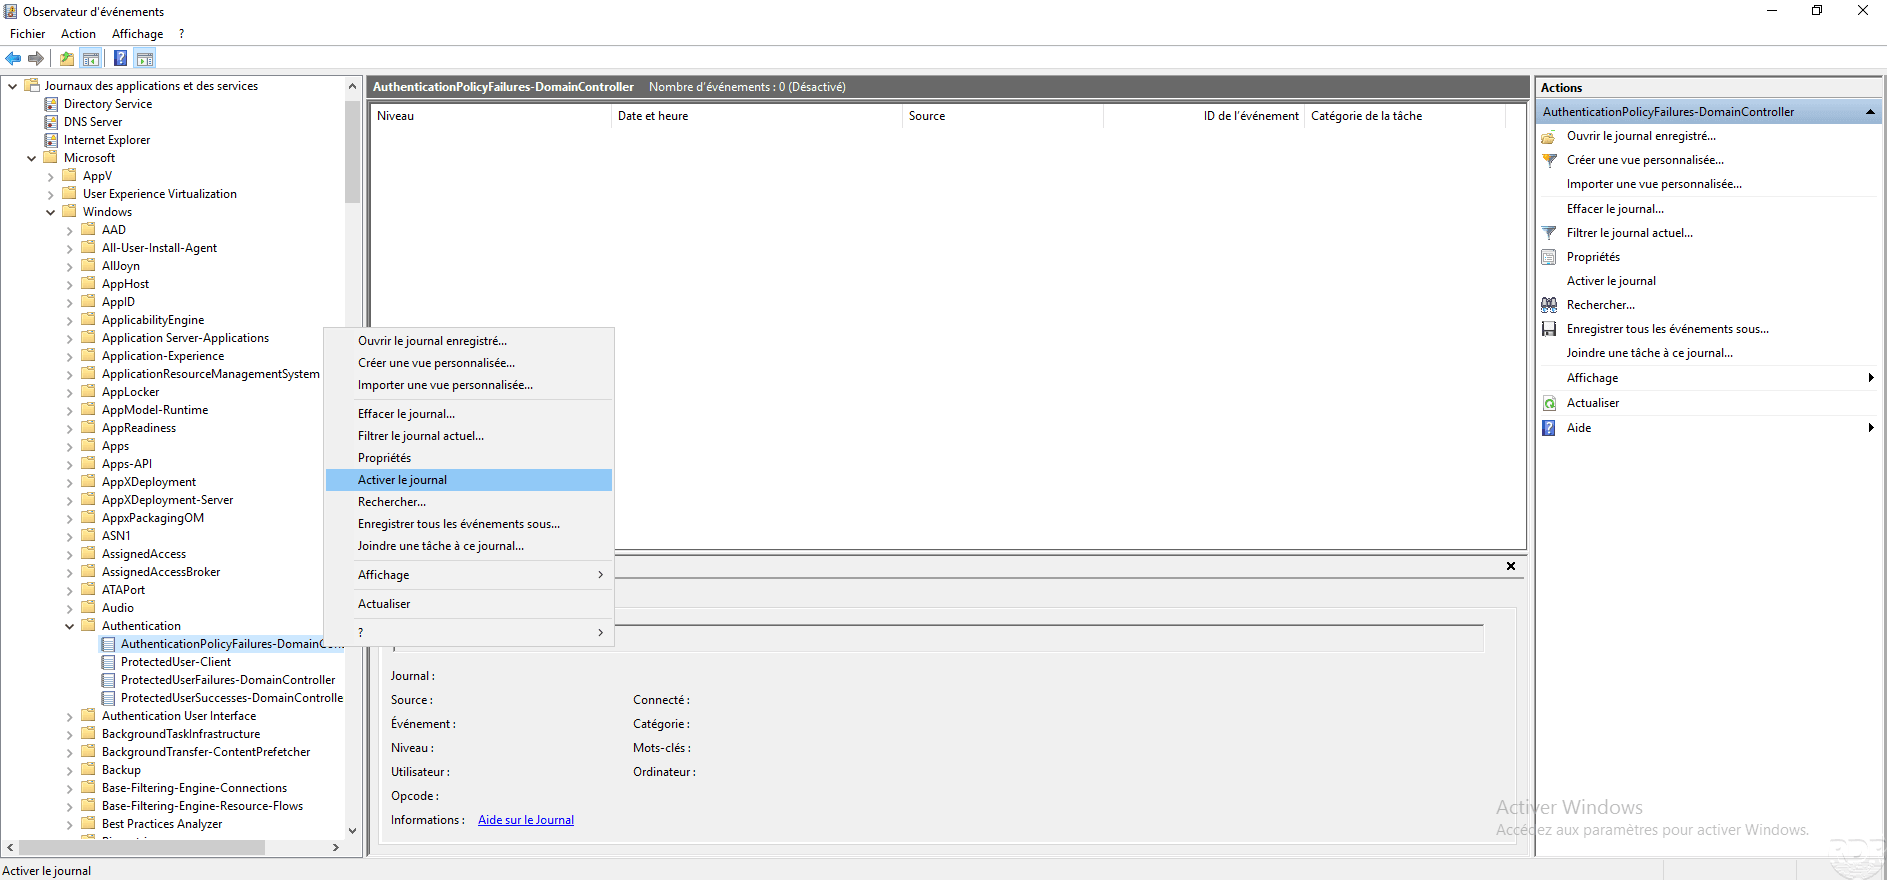
It is possible to access the log so on the domain controllers, it is necessary to activate the log. The manipulation is to be done on each DC.
From the event viewer, right click on AuthentificationPolicyFailures-DomainController and click on Activate log. This can be found in Application and Service Logs / Microsoft / Windows / Authentication.
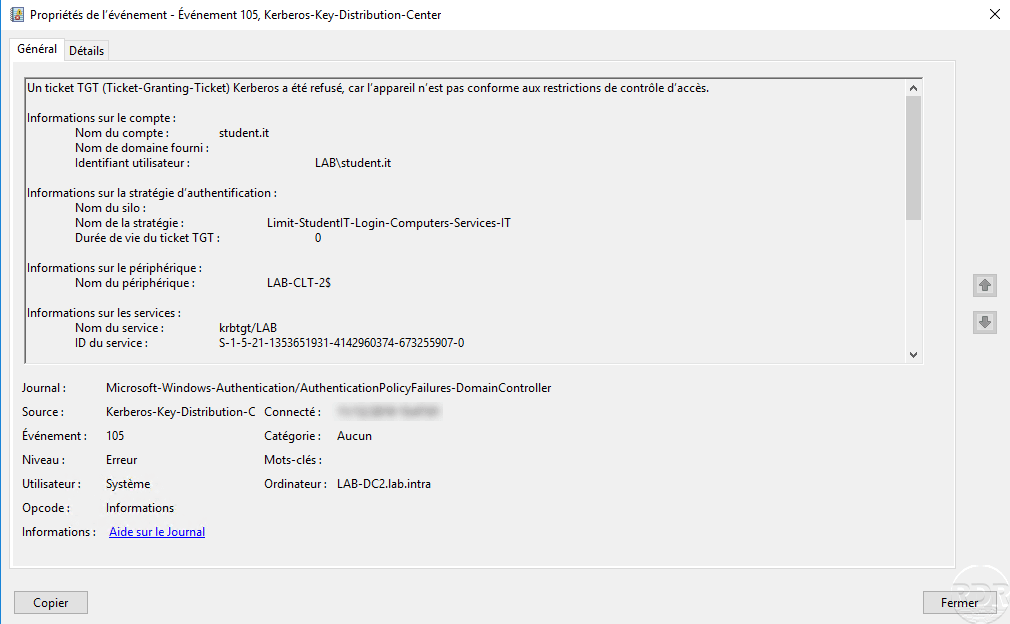
Here is the record that was generated when the Student IT user tried to log on to a computer that is not the group configured in the authentication policy.