When provisioning a NAS, the first step is to create one or more volumes with the disks installed in it.
NAS QNAP offers two types of volumes:
- Volume based on a pool of disks.
- Volume on raid disk group (static).
Both types of volumes each have their advantage and disadvantage.
Pooled volumes allow the use of snapshot, creating multiple volumes in a pool.
Volumes says static offers better performance.
Once pool or static volume created, it is not possible to go back without losing data.
Volume on a disk pool
Pool creation
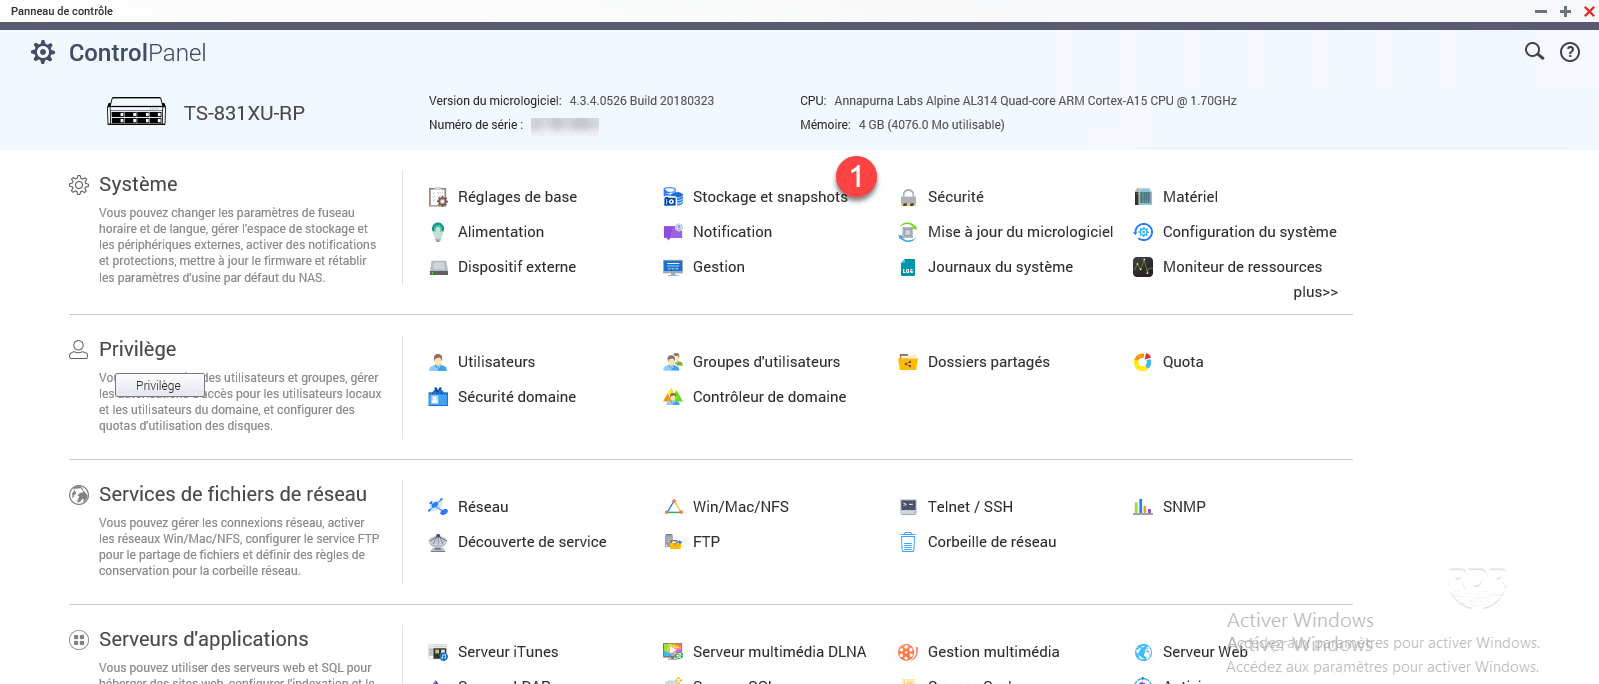
1. Open the control panel and click on Storage and snapshots 1 .
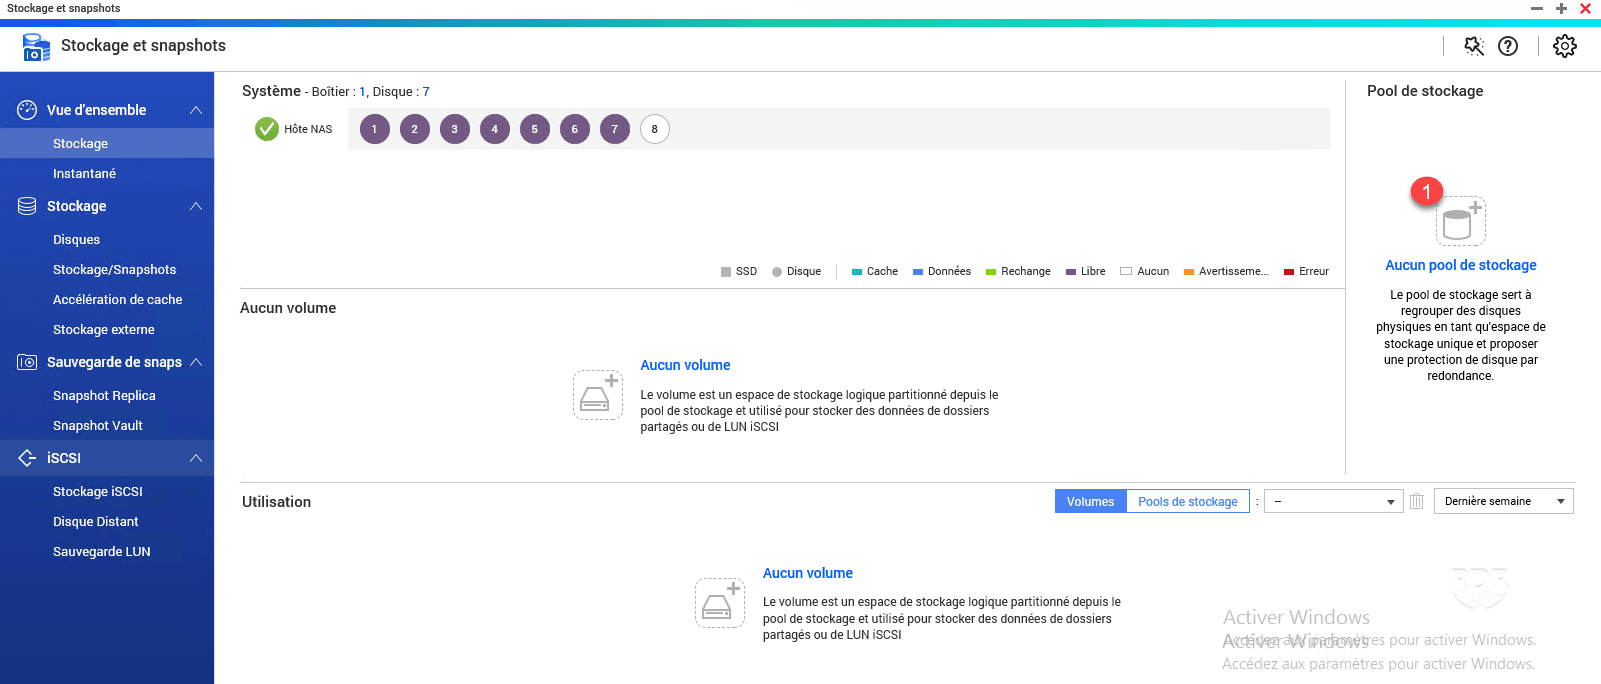
2. Click on the icon 1 to add a storage pool.
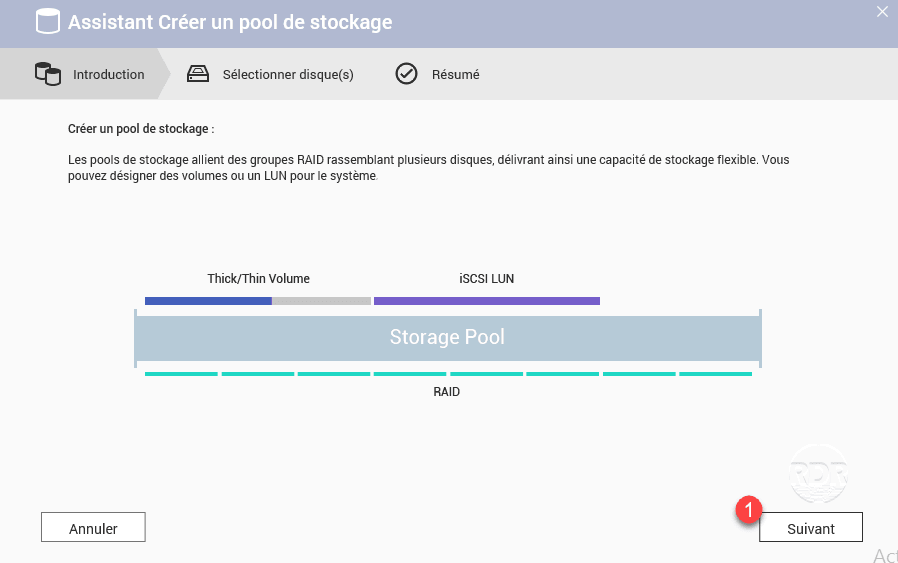
3. When launching the wizard, click Next 1 .
4. Select the disks to put in the pool 1 , choose the type of RAID 2 then click Next 3 .
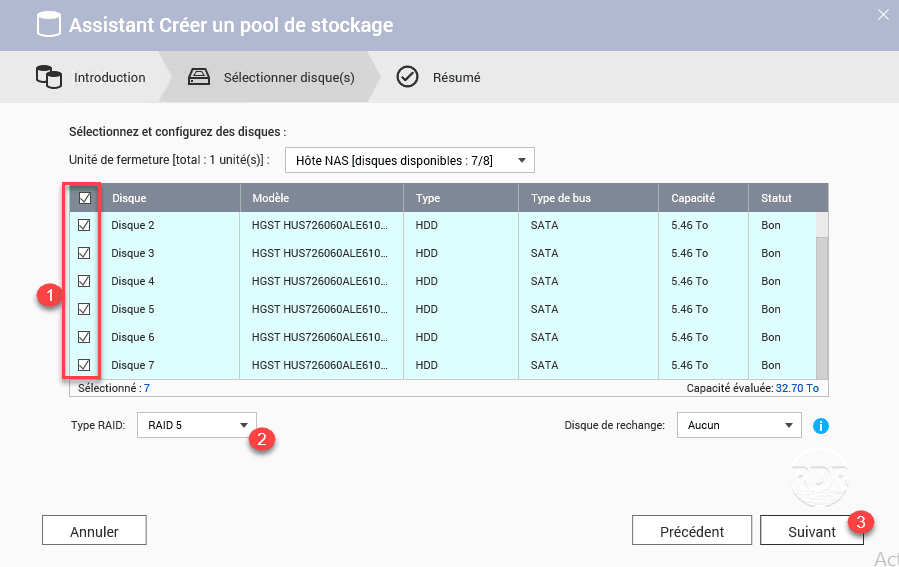
It is possible to configure a spare disk at this stage of pool creation.
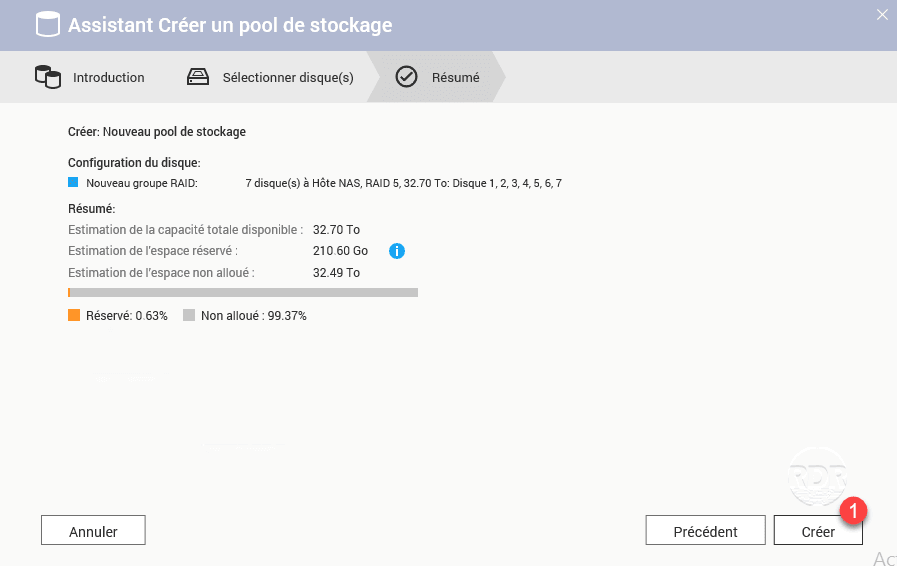
5. The configuration summary is displayed. Click on Create 1 .
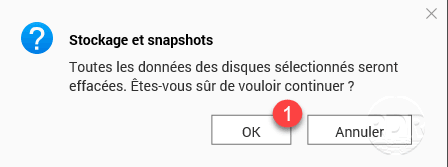
6. Confirm the action by clicking OK 1
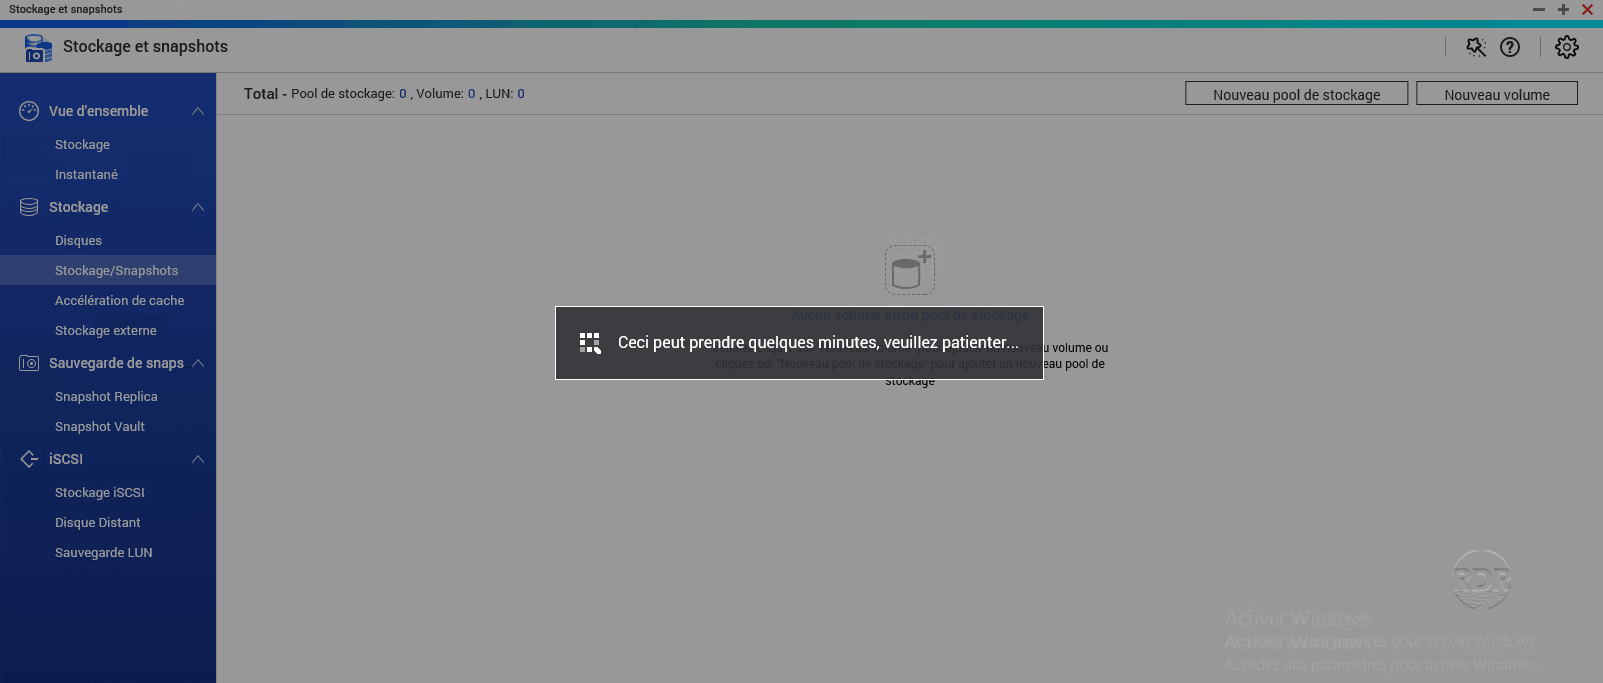
7. Wait during creation.
8. The pool is created.

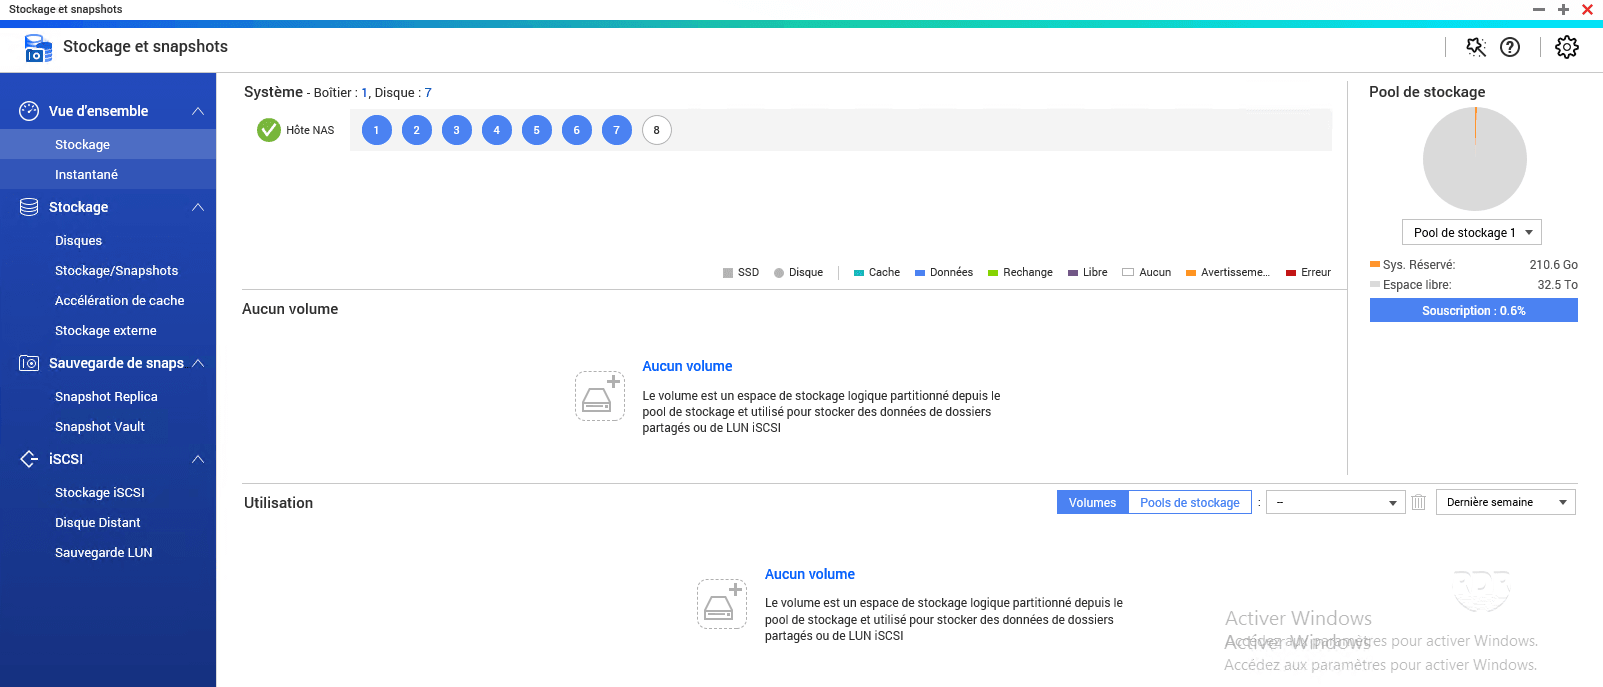
The disk pool is created, you must now add the volumes on it that will store the data.
It is possible to create a volume during pool synchronization.
Creating the volume
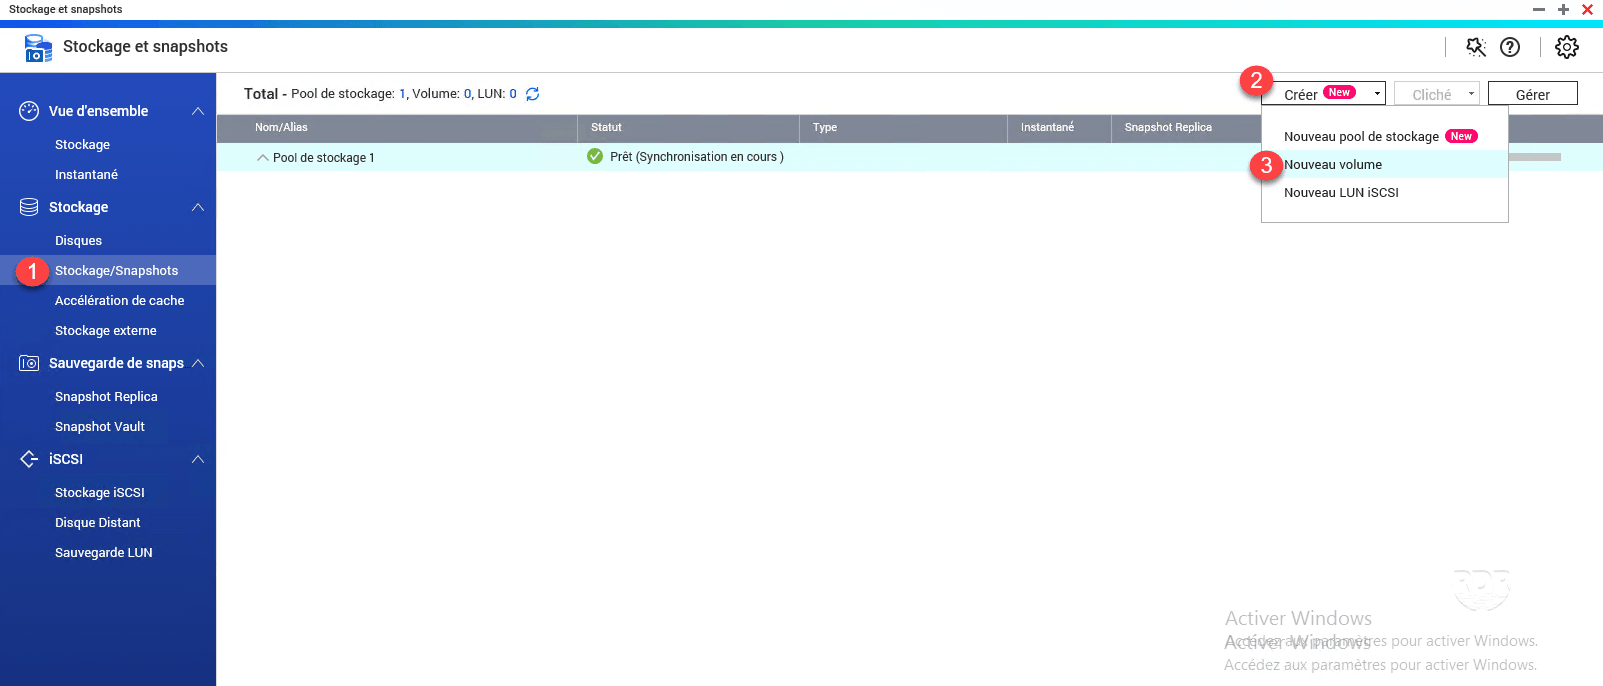
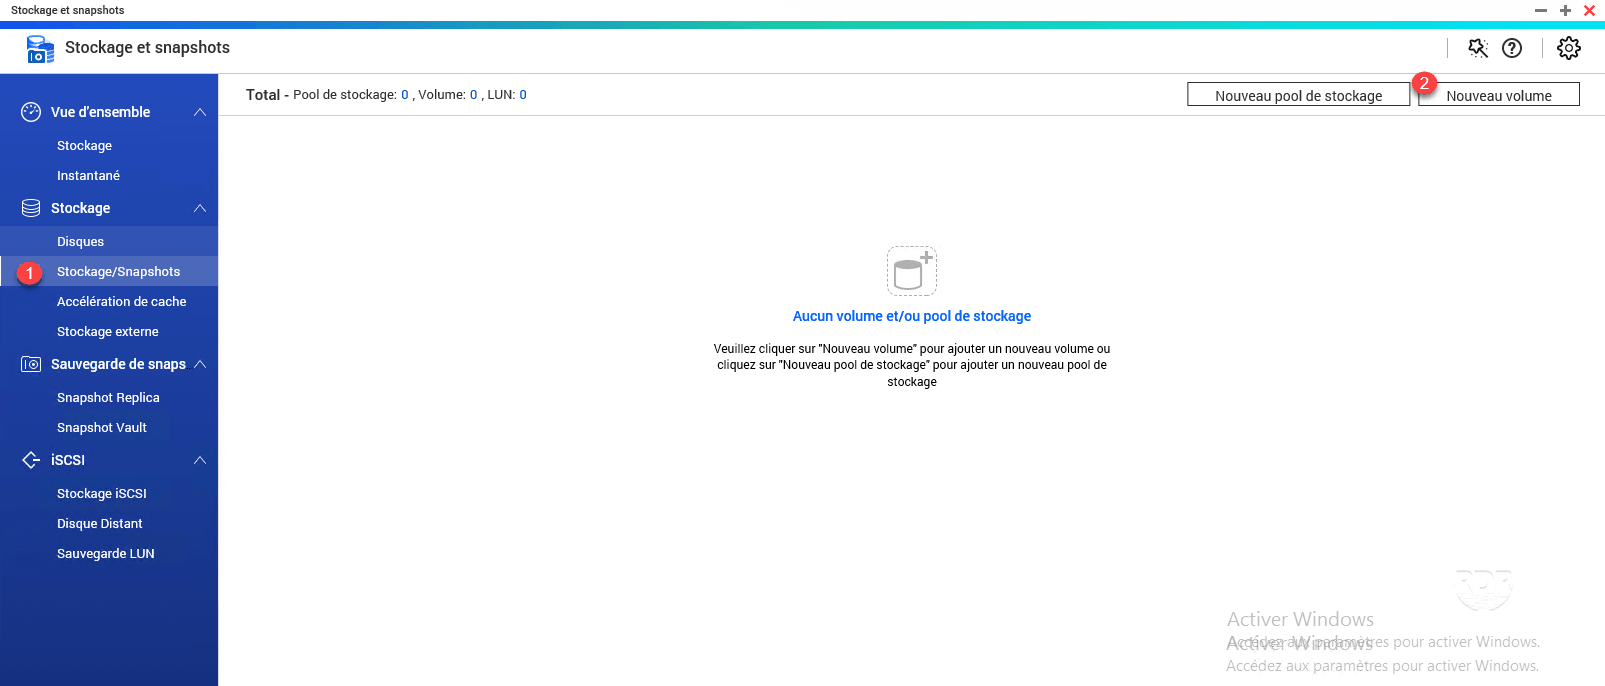
1. From the storage management on Storage / Snapshots 1 , click Create 2 then New Volume 3 .
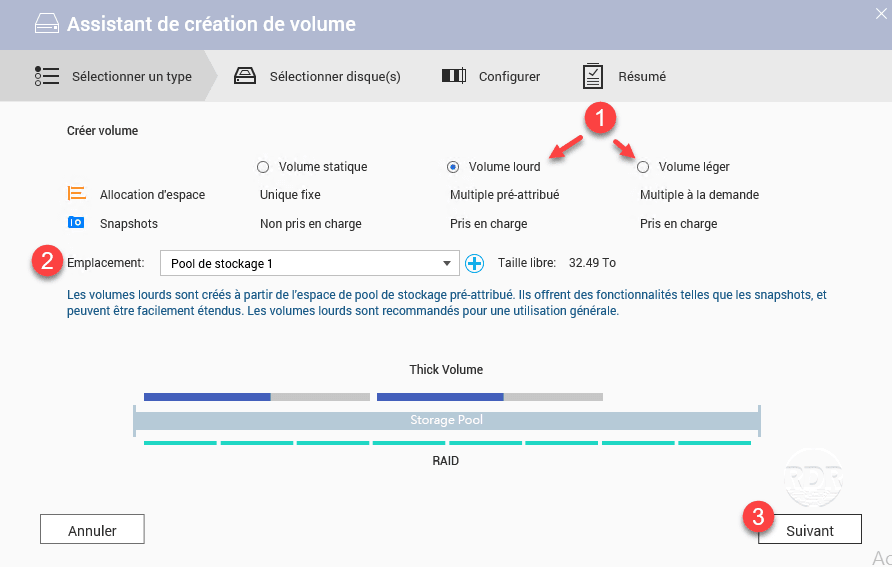
2. Select the volume type (heavy or light) 1 , select the pool 2 then click Next 3 .
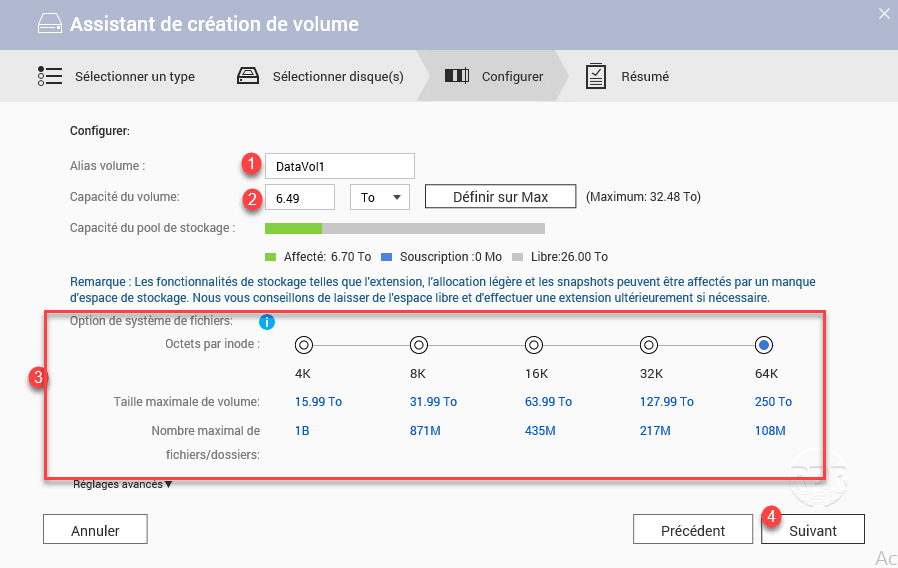
3. Configure the volume: name 1 / size 2 / file system 3 and click Next 4 .
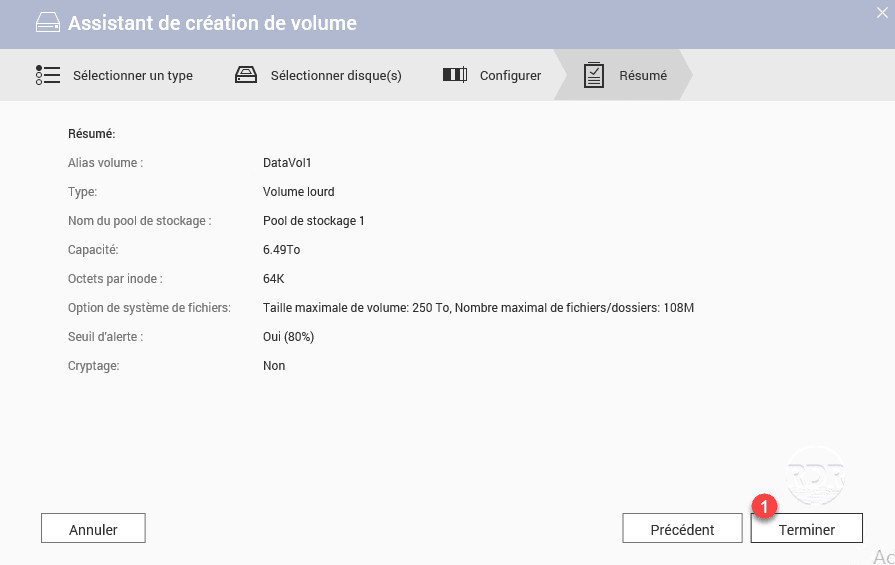
4. Confirm the creation by clicking Finish 1 .
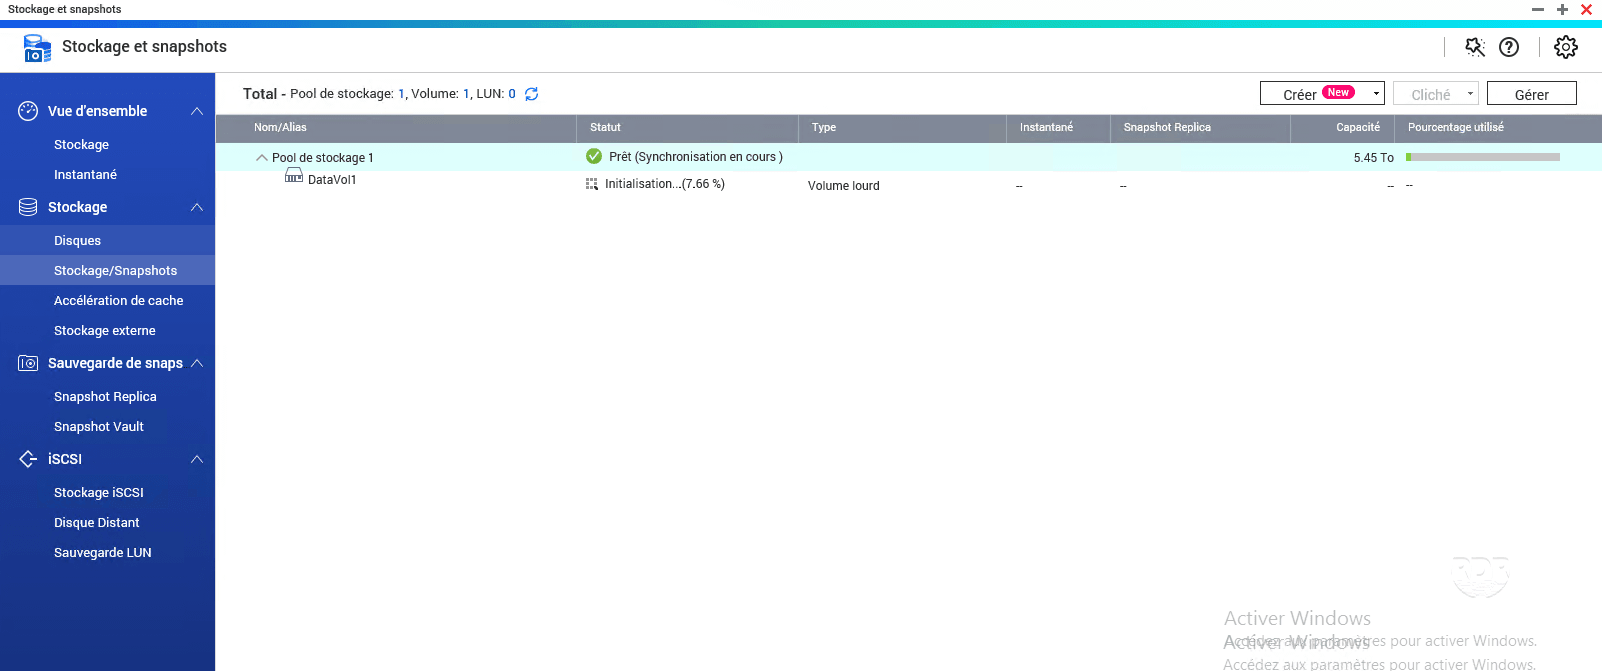
5. Wait while creating the volume …
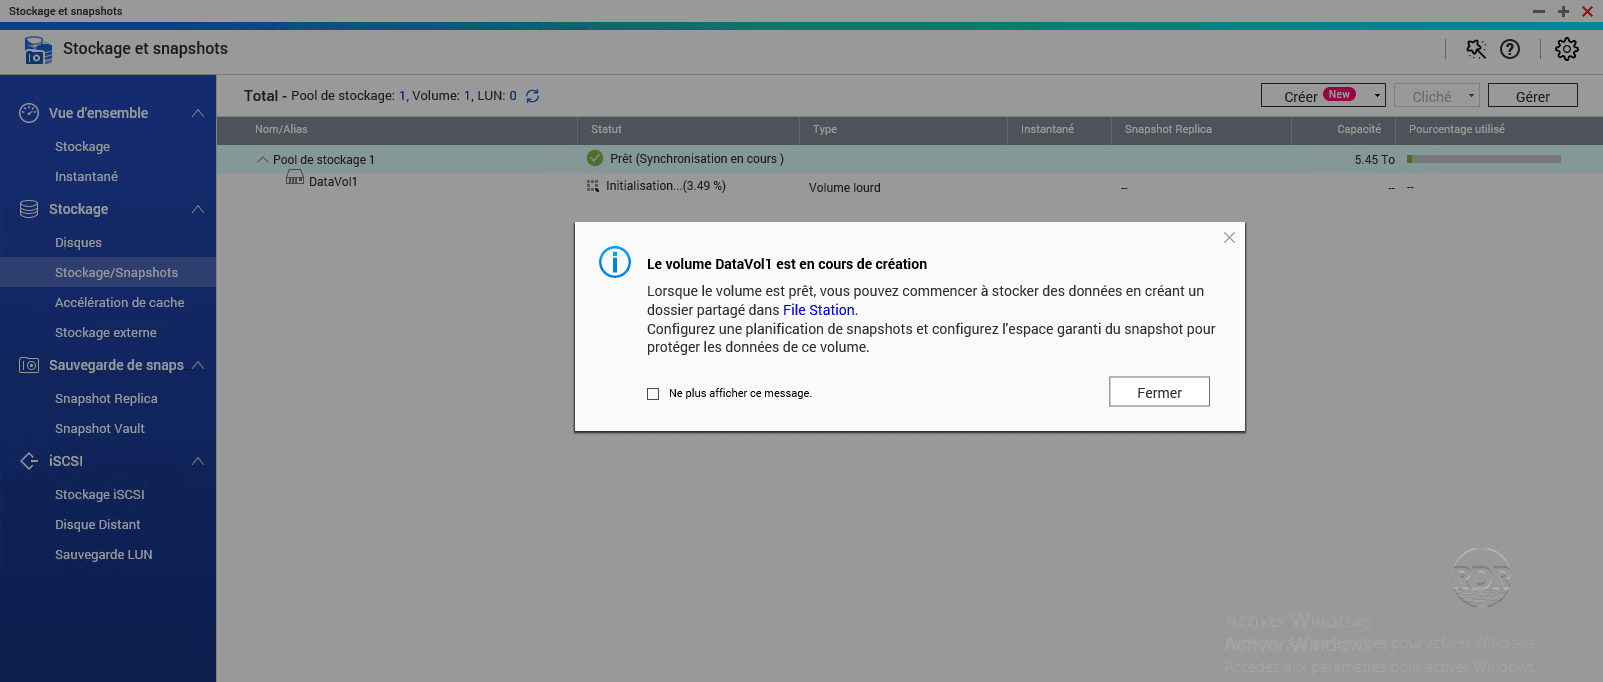
6. The volume is ready.

Static volume in RAID
In order to create a static volume, it is necessary to have free disks (not pooled and not allocated to a static volume).
1. On the Storage Management page, go to Storage / Snapshots 1 and click New Volume 2 .
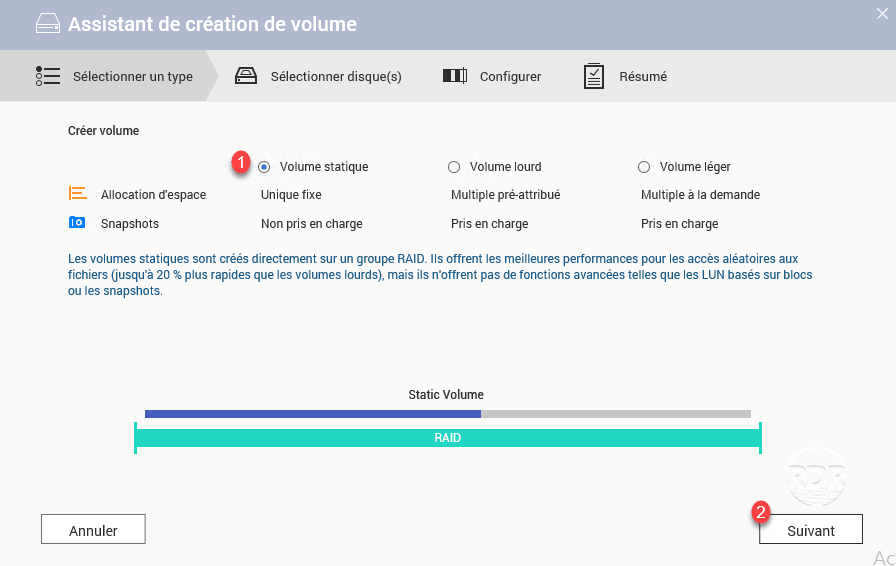
2. Select static volume 1 and click Next 2 .
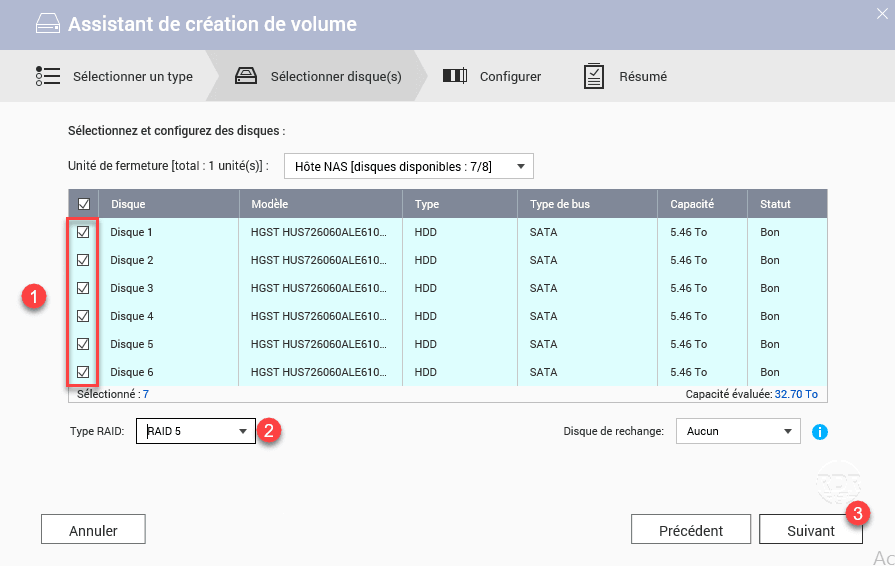
3. Select disks 1 , RAID types 2 and click Next 3 .
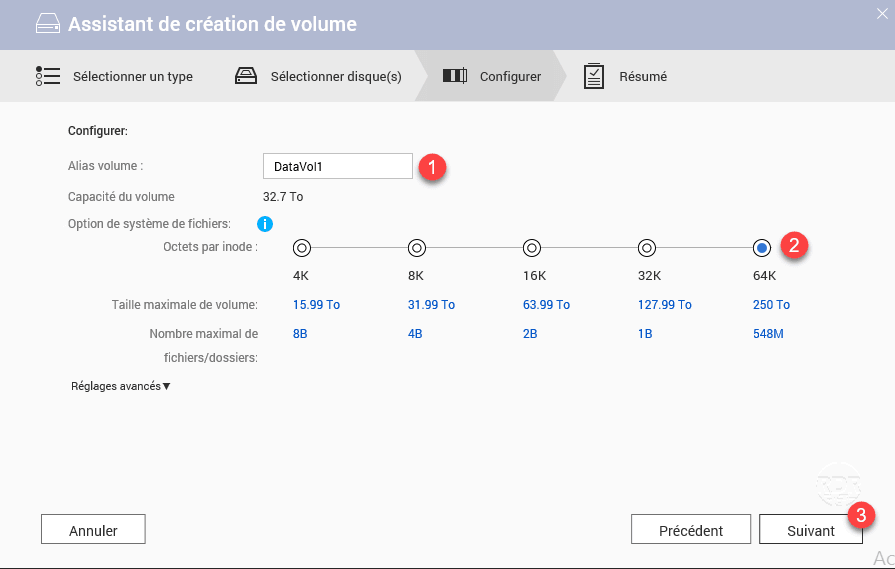
4. Change the volume name if necessary 1 , configure file system 2 and click Next 3 .
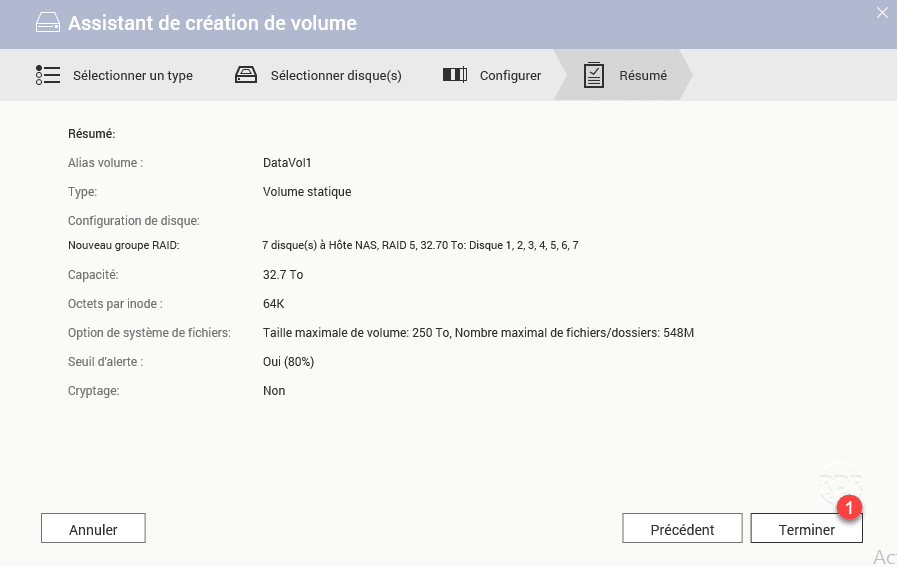
5. A configuration summary is displayed, click Finish 1 to start creating the volume.
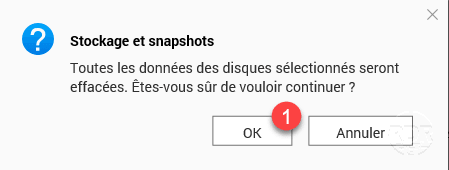
6. Confirm the creation by clicking OK 1 .
7. Wait while creating the storage volume.
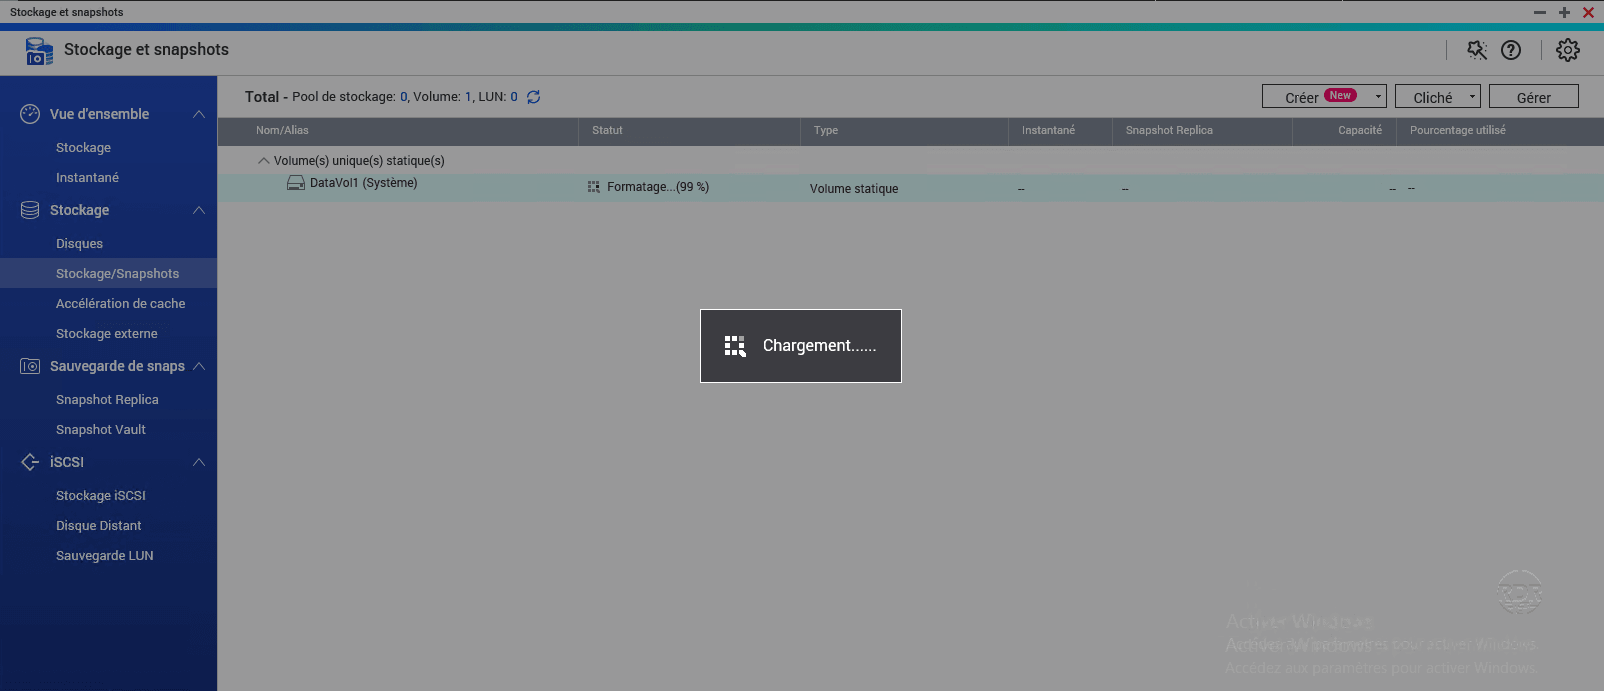
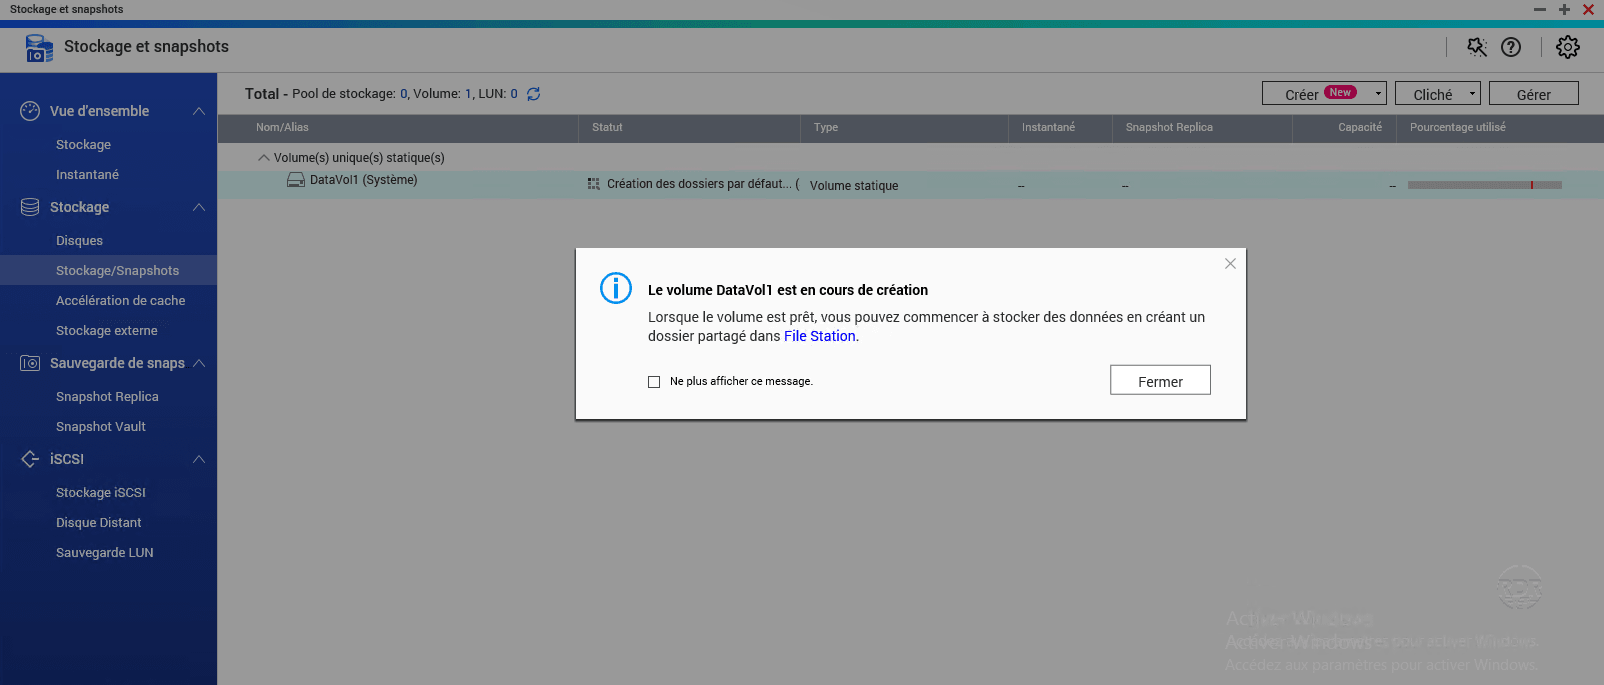
Close the information messages that opens during the operation.
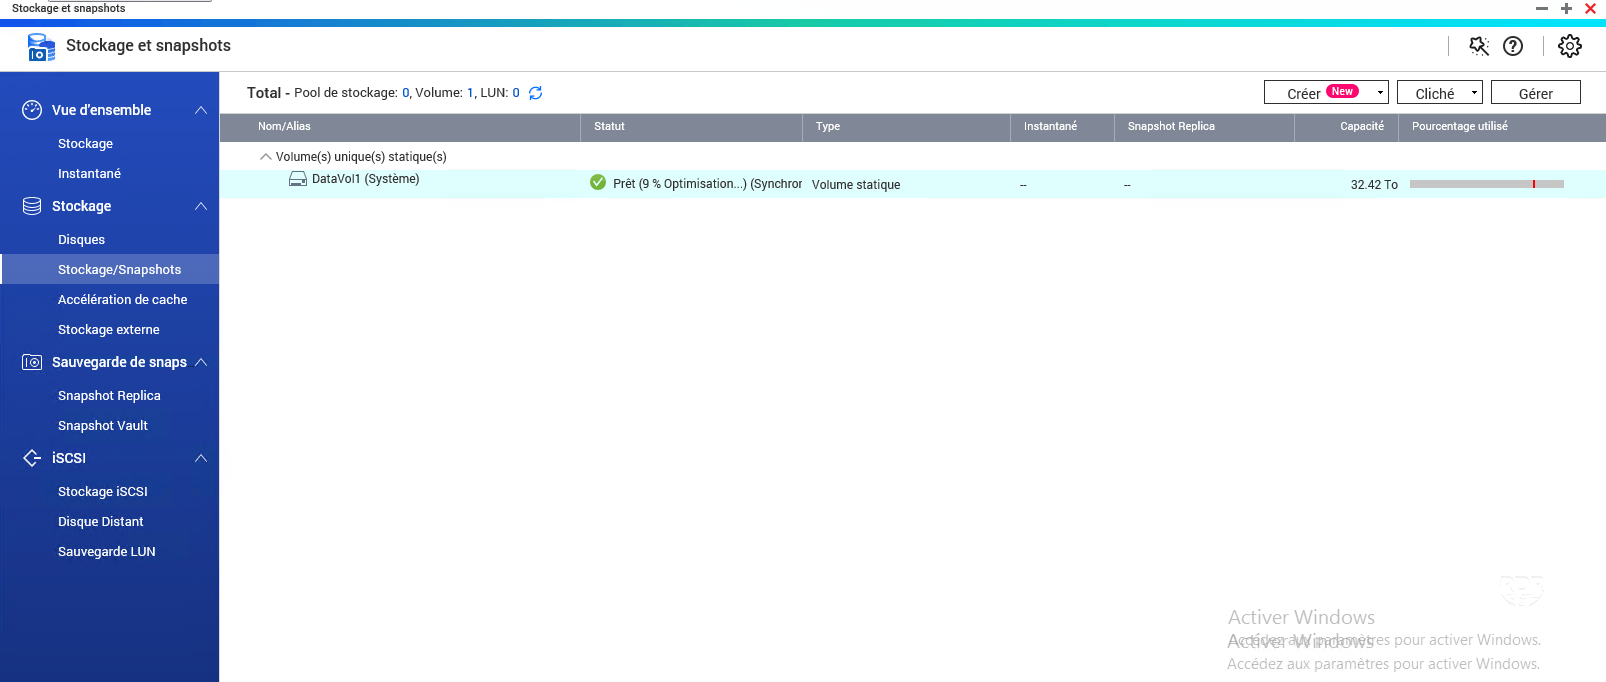
8. The volume is created and being optimized, it is possible to start using the available storage on the volume with degraded performance.
Conclusion
The choice of volume type is something important because it is difficult after changing it. Before you create a volume, you must define what it will serve.
Here are 2 examples of uses that I recommend:
- Virtual Machine Backup Storage: Static Volume
- File sharing or robocopy type backup: Pool + heavy volume to take advantage of snapshots.
When it comes to virtual machine storage for Hyper-V or VMware, I prefer to use SAN solutions that I think are more reliable and efficient.